Floor it!
With the drawing for the floor in one of the resin-seat kits way off, I make my own
I started with a relatively thin piece of evergreen, and cut, testfitted, cut, testfitted, filed, testfitted, sanded, testfitted etc etc etc
-
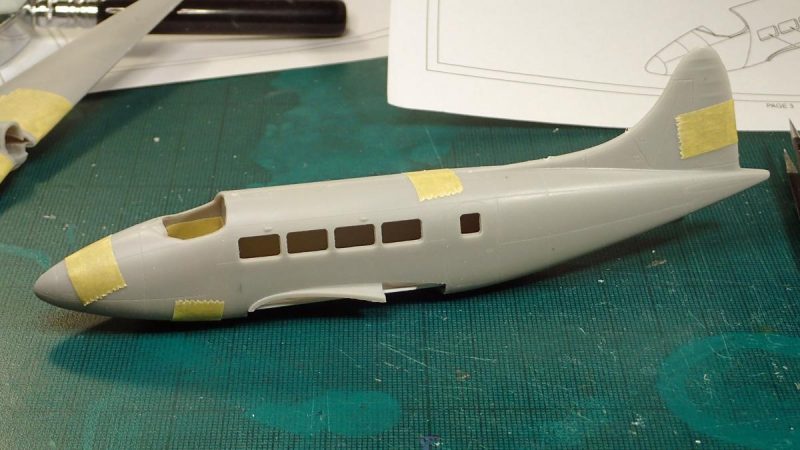
1. The floor will have to be flush with the door here to enable the door to be open
-
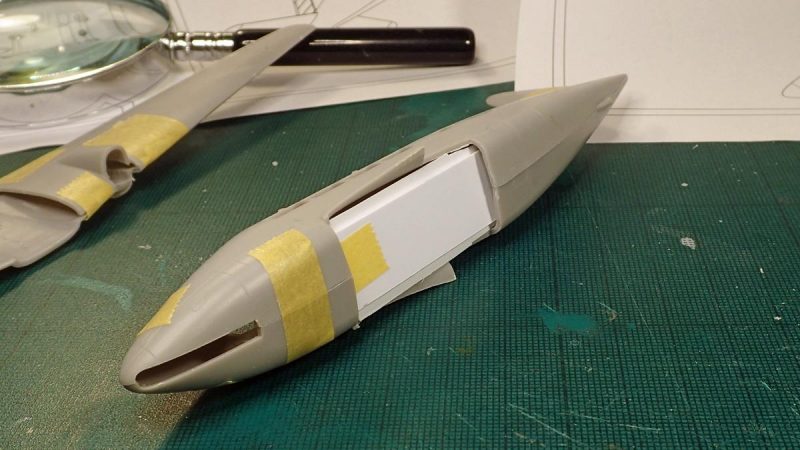
1. The thick piece will be rounded to fit the curve of the fuselage
With the fuselage taped together and the cockpitbulkhead from the kit installed with tape too.
In the end I got a decent fit and added one of the thicker floors I made previously that were far too slim
-
1. just about 1mm overlap to create an edge for the aft bulkhead to stand on
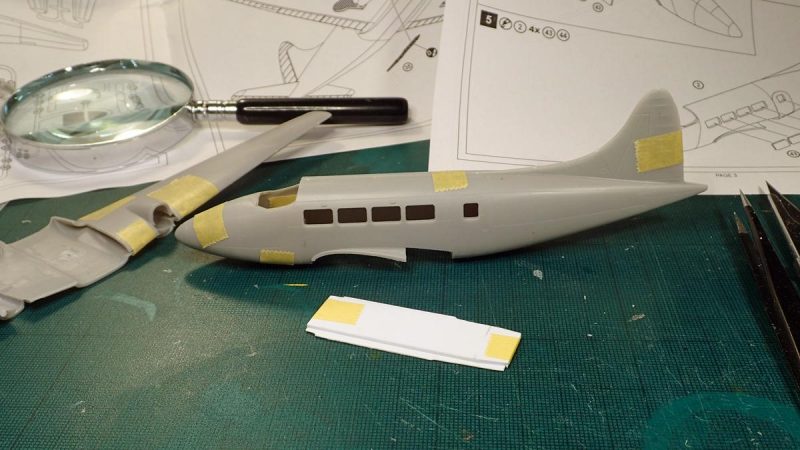
It has been trimmed to length to fit the aft bulkhead that has to be fabricated too.
Now the slim piece has to be trimmed to fit so that the floor will be level with the door, and I think maybe I will make a drawing of the pieces and scan them for future use. (I ordered a scanNcut today, and will be able to make more of these should demand be there)
next up – well, as usual I do not know. Perhaps I will continue the nosewheel work, perhaps continue the cabin. First it is off to work a few days.