Hello Eric, @eb801
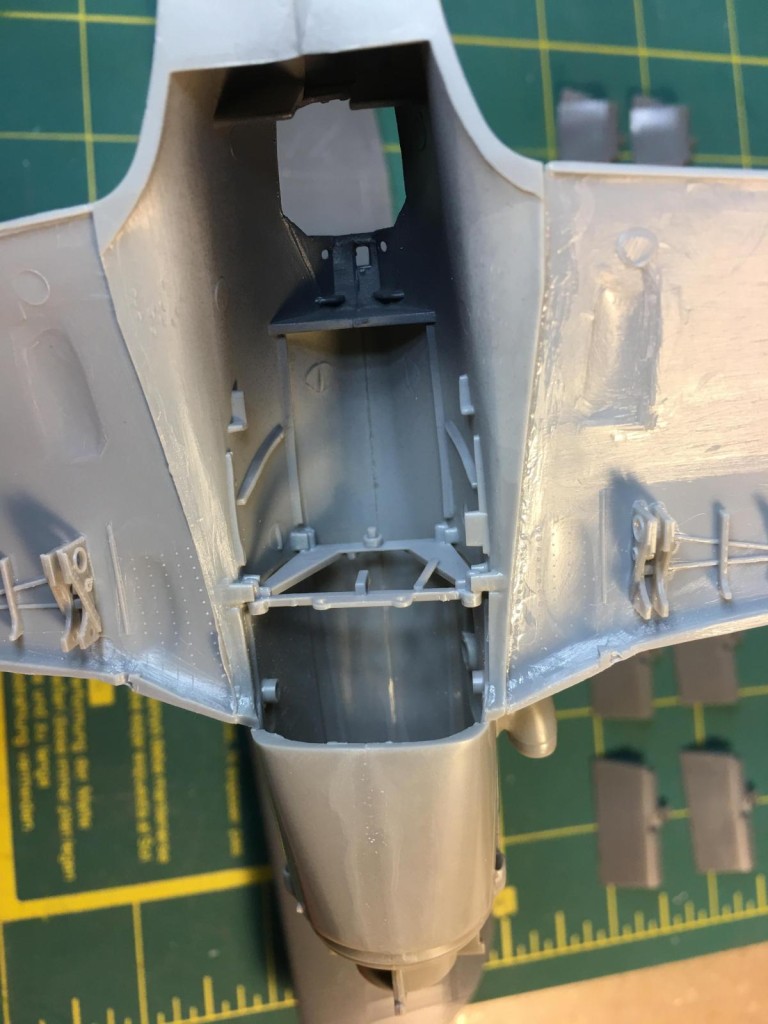
I have painted the cockpit and I was going to install it into the fuselage from underneath. However, I was contemplating what to do about the engine, specifically, the lack of having one. This Italeri version didn't come with the engine as the original Dragon / Trimaster kits did. It does have the rear most fuselage spreader, that acted as the main engine support in the original kit form.
-

1. Engine bearer / fuselage spreader
Your comments got me thinking... These Ta-152's had the lower most rear section of the engine, (and some of the turbo charger along with the plumbing) visible from the landing gear bay while the main gear doors were open.
I have two of the 1/48 scale Tamiya Ki-61 Hien kits sitting near the work bench. These kits come with a license built Daimler Benz engine that was designed to be installed inside the fuselage. However, I would like to preserve the graceful lines of the "Tony" so I will not be using them.
Granted these are not the same engine that was used in the Ta-152, with the most obvious difference being the intake for the supercharger being on the opposite side as what was used for the DB. I have several of the 1/48 Hobby Boss Focke Wulf kits underway and they come with the rear section of the engine, the turbo and plumbing included.
This is the built up Hobby Boss engine section that is visible from the main gear bays.
I figured I could take the Tamiya Ki-61 engine parts, do a little scratch building and come up with something that resembled what Hobby Boss has done.
I have another Dragon FW under way as I try to do in my "Iron Werke" style of building multiple kits of the same type at the same time. This particular kit is the FW-190 D-12, but I will likely be building it up as a "Big Tail" version of the Dora 9.
The inside section of the fuselage is empty on this kit, and the landing gear well is incorrectly depicted as being sealed off as it was done on the radial engine versions of the 190.
I will look into cutting these upper gear bay parts up some, in an effort to make this area look more realistic.
I have included some pictures that might help to explain what I'm trying to describe.
Thanks for bringing this up to me attention. By all means, please drag your kit out, and feel free to join me if you like to.