I did my typical prepainting of the interior green components with in the air frame of the Invader as I will forego showing for now. Also with some flat black in the airbrush while working on another project went ahead and went over the engines and props.
.
Next to start working on the kit, starting with the pilot seat.
The instruction sequence used by ICM is similar to an Airfix build in style. This is my first ICM kit ever to build so I am going in with both feet and looking forward to any challenges along the way. Using Tolga's recent build of the "B" as a guide. The grey plastic is soft and so far reacts well with the Tamiya and Squadron adhesives that I will use to build her. The seat is of 3 pieces, pedestal, seat bottom and back.
-
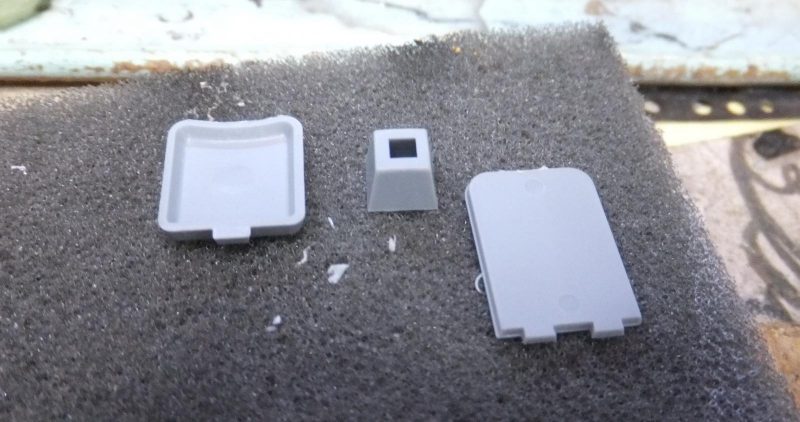
1. pedestal
2. Seat pan/bottom
3. Seat back
Start with attaching the seat pan to the pedestal. Then the seat back to the seat assy. Off to a good start. Will add the seatbelts later.
Step 2 is to build the nicely detailed center console. Made up of 3 parts. The Monogram console is molded as one piece on the flight deck. ICM has it as a separate part.
-
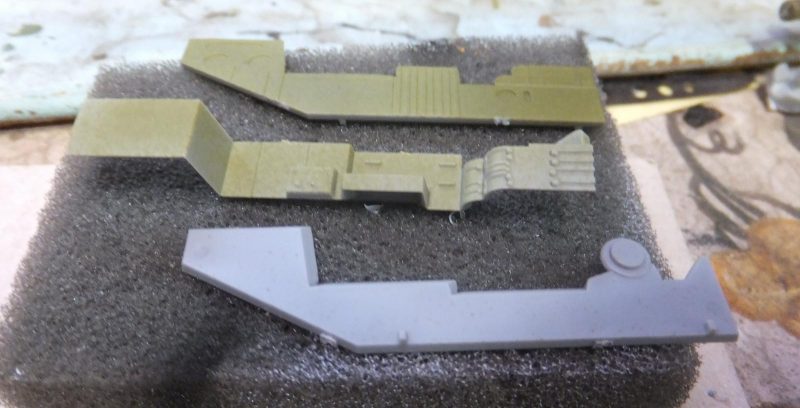
1. Lh side panel
2. Center top panel
3. RH side panel
Before assembly, a portion is removed on the RH outer edge for a PE replacement part.
-
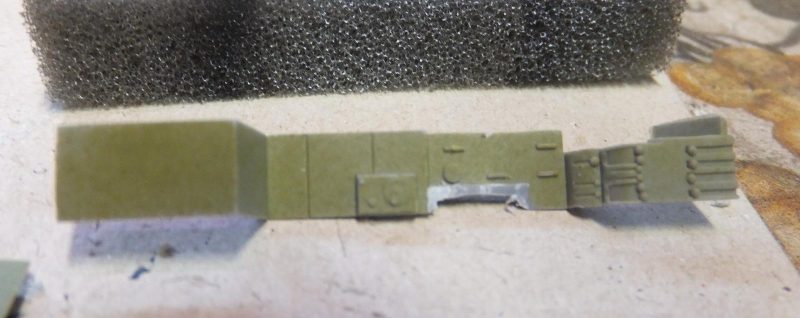
1. Nice soft details
2. This part is removed for the replacement PE part
Then the 3 parts are assembled to build the center console.
Step 3 is to attach the console and seat to the flight deck floor.
Both completed sub assemblies are cemented to the floor. And then once set airbrushed Mission Models Interior Green.
-
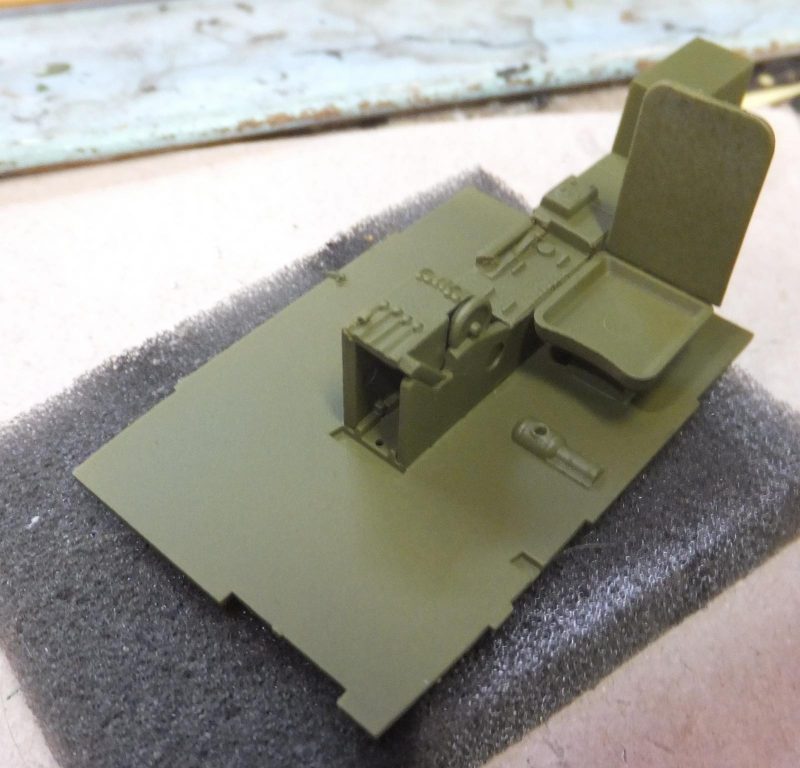
1. Mission Models Interior Green
Next to prepare the center console for the PE enhancements, by removing the details on the top panel.
This will really enhance the console. The main panel is placed in the center.
The rear part of the console has some more details added.
I know not everyone is a fan of PE. There are resin replacements as well. Which are great to use on some instances. My dilemma is I do not have the steady hand as I once had. Eyesight is still 20/20 not an issue as I can still work with 1/72nd scale. So using PE is my way to really get the most out of the cockpit these days. The PE for this kit is just right for me. And it fits so far. The console looks pretty good now with what I have attached so far.
-
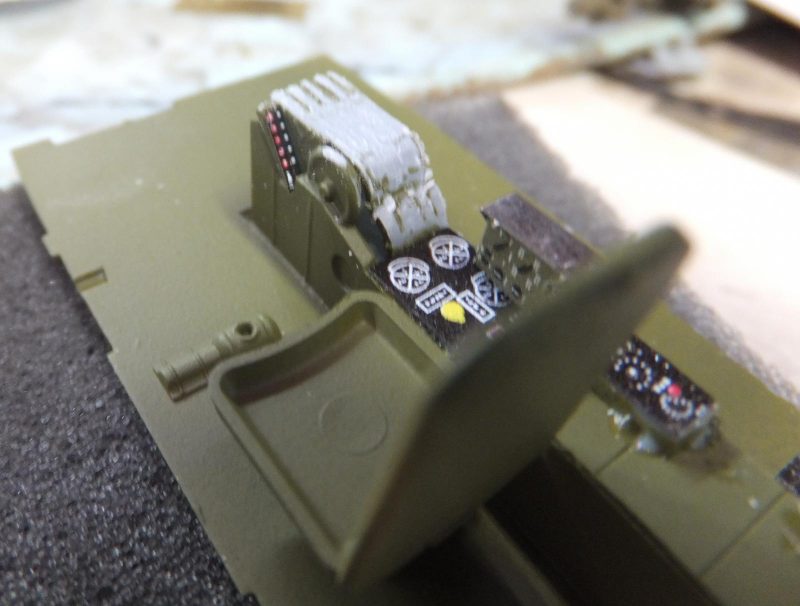
1. The upper panel will be added next session
More to follow as I complete the console and add the seatbelts. Then start working on the other interior compartments. There is a bit more to do.