So everyone, here's the latest scoop on "Stuff"...
If you have been following along, I have also been working a little bit on a Monogram 1/48 scale B-24 that will be finished as "The Dragon and it's Tail". So as I have been painting various parts for the B-25 "Stuff", in the background I have been doing similar items the "The Dragon"...
Here are the props from the B-25. I went back and touched up the center hub with some Metalizer "Aluminum Plate" color.
While I was spraying this color, I decided to paint the props on the Dragon too...
Here's a comparison of the difference in size between the two. In this next picture, the B-25 prop is on the left, while the smaller B-24 prop is on the right.
-
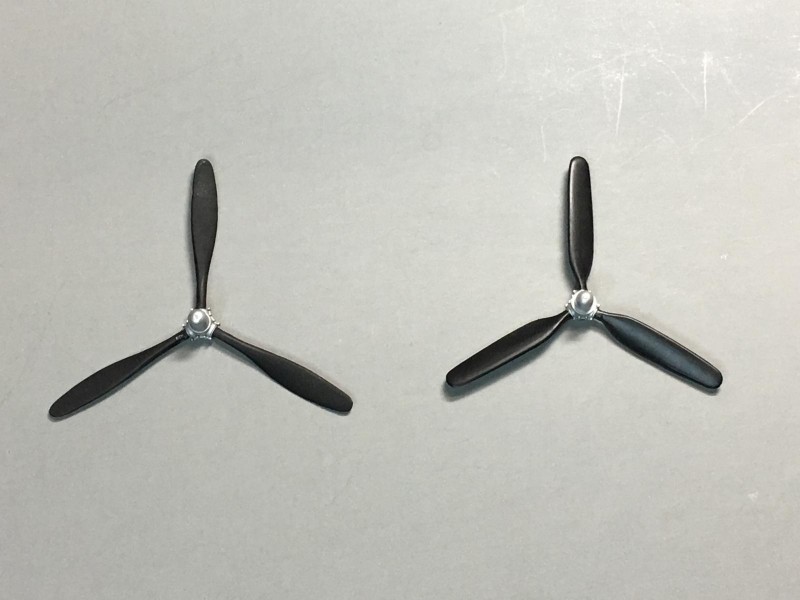
1. B-25 propeller
2. B-24 prop. Notice how the blades are wider.
I decided to build the wheels on the B-24 and spray them too. This next photo shows a comparison between the two sets. B-25 on the left, B-24 on the right... The hubs were also sprayed with Aluminum Plate color.
-
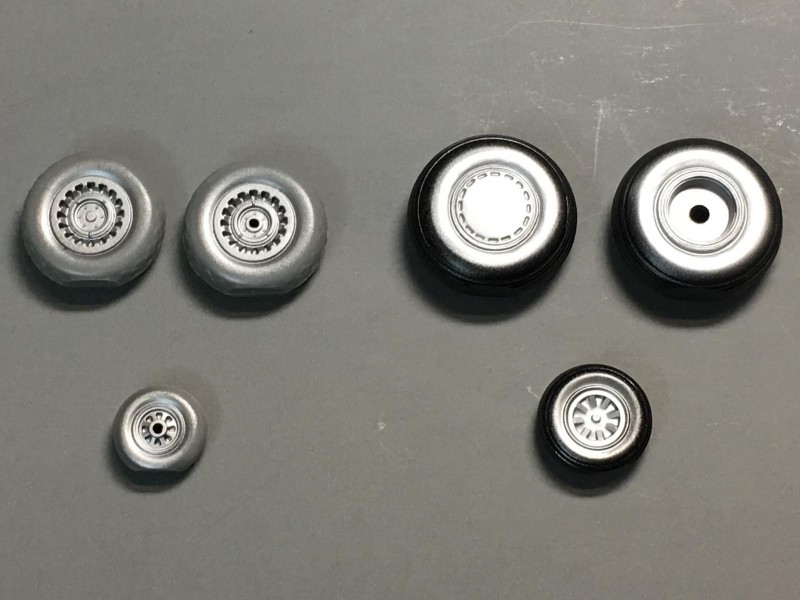
1. B-25 wheels
2. B-24 wheels
I glued the fuselage halves together, and allowed them to sit overnight. The next day I started working on the seams.
-
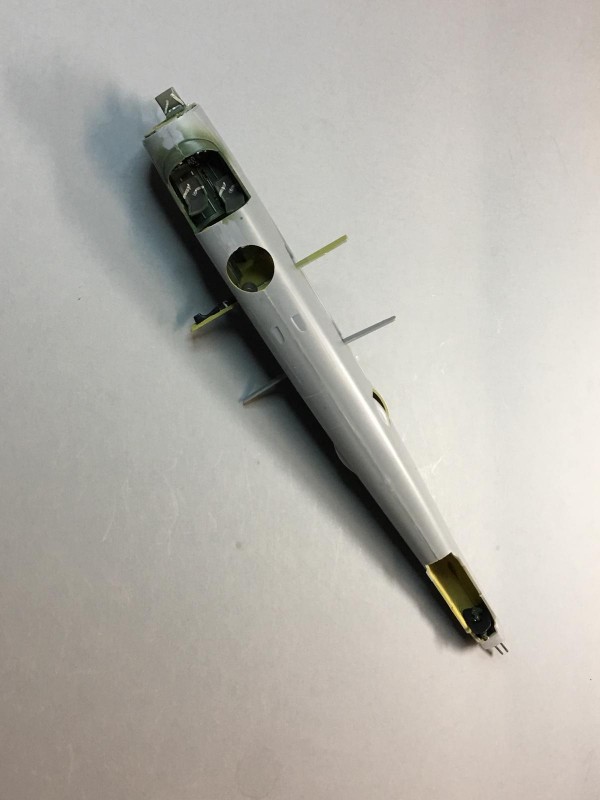
1. Fuselage is glued together and work begun on the seams.
Here's a picture showing the instrument panel and control yokes in "Stuff".
This photo shows the Tail Gunner position rather well. The armor plate was painted flat black before installation. Not much will be visible I'm guessing once the stabilizer and canopy are installed.
Here's the Bomb Bay. You can see how the yellow stripes are not too visible once in position on the upper 500 lb. bombs.
I staggered them. The overall Aluminum color is seen in this photo of the bomb bay.
On one side they are closer together and the other side farther apart.
This picture shows the cockpit and you can see a little of the fuselage interior where the upper turret will eventually go.
This photo shows how I staggered the seats. This was typically done when the plane was on the ground. It made it easier for the crew to get in and out of the seats.
Since I was spraying Aluminum Plate color, I sprayed the engines for the B-24... This revealed a flaw, that I should have seen but didn't until afterwards.
Each engine has a small hole in them... like this.
Two engines from the B-24 are on the same plastic tree. The holes are the same from each tree. I turned the engines to make the holes a little more visible.
what a shame ...
-

1. Notice the hole. All 4 engines had this.
Since I have been comparing parts between the B-24 and the B-25, here's a side by side comparison of the engines. Each one is marked.
-
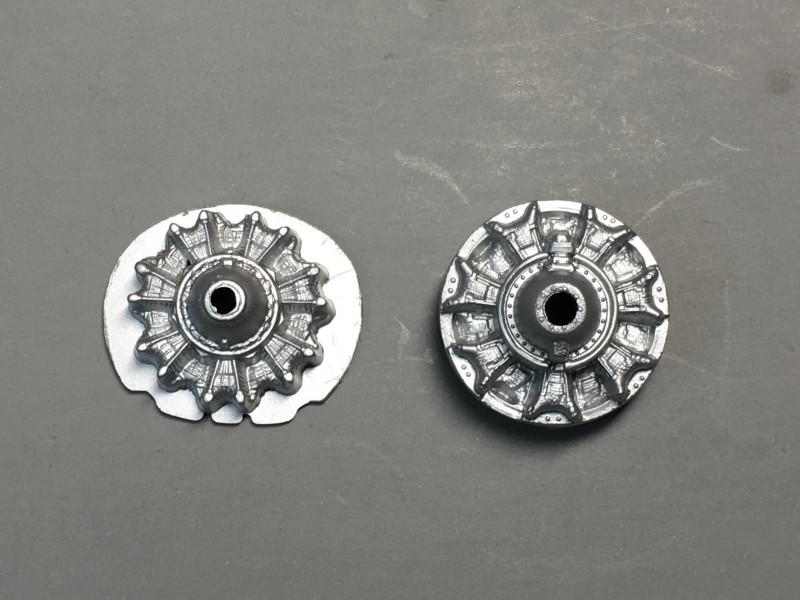
1. B-24 engine
2. B-25 engine
And a picture I took showing a real life B-25 engine...
followed by a real life B-24 engine.
Who's this guy, and what is he sitting in ?
I had a solution in mind for the molding flaw in the engines for the B-24, in the form of a replacement resin set that were made by Quickboost. I ordered a set of replacement engines for the Dragon, and they should arrive in about a week or so. I'll post up a photo when they arrive. This may be a good idea since the originals were not too good. I'm sure with a little work they could be made better.
-
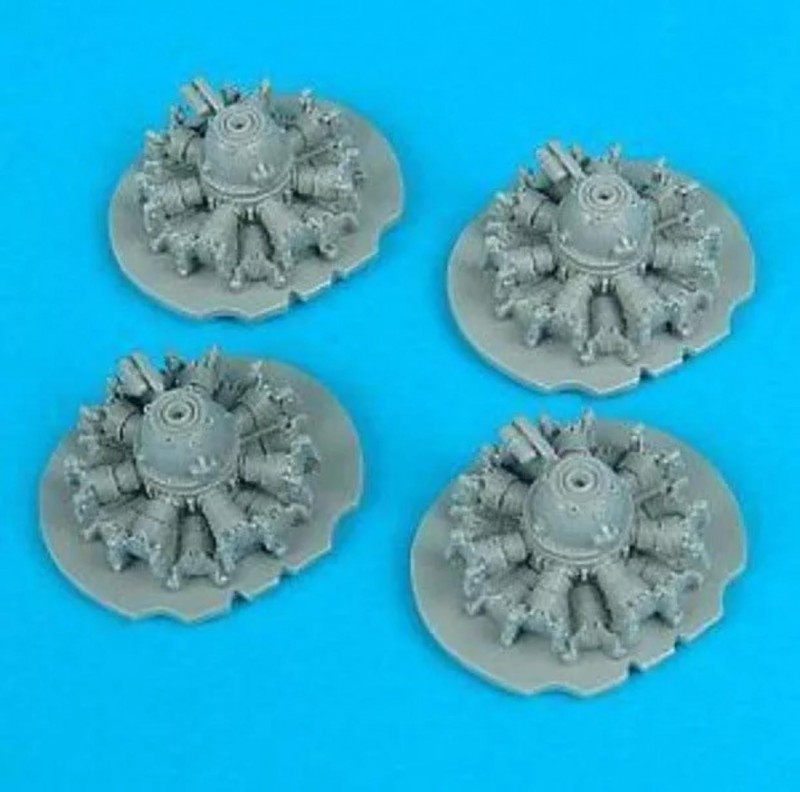
1. Quick Boost resin replacement B-24 engine set.
The last thing I sprayed Aluminum Plate color was the fabric covered control surfaces. Here you can see the elevators. The Ailerons look very similar.
The I started covering the stabilizer assembly using Bare Metal Foil on the bottom side.
The light reflecting from the surface of the foil gives it a different look.
I decided to wrap the foil around the leading edge (and trailing edge for the trim tabs). This top side will get a coat of Olive Drab once the plane is ready for paint.
Calling it a night.
As usual,
"comments are encouraged".
Good night.