Greenlandair DC-4, Revell 1/72

Started by Erik Gjørup · 29 · 1 year ago · 1/72, DC-4, dc4, Douglas, greenlandair, Revell, SAS, SAS75
  • Profile Photo
    Erik Gjørup said 1 year, 2 months ago:

    Every bit of progress seem like just a small bit due to the amount of plastic in the kit @fiveten and @johnb. But progress it is 🙂

    Taking it in.

    With the offices drying, I looked for another place to get some work done

    That turned out to be the intakes.


    They have some nice places to sit in on top of the cowls, and fit is OK, but needs some attention

    Care must be taken to choose the right ones, as two types are on the runners.


    To save a bit on filler, I used Revell Contacta for the assembly, using a bit more than I expected to need. That created a small edge that can be sanded later on, but still need filler to be flush.

    next up, I did go ahead and primed most of the parts that need color as the plastic did not take acrylic paint well. This is a big kit, but I did not expect the amount needed – almost emptied a can of Tamiya primer! (OK it was cold and windy) so now I wait for that to cure before I can continue.

  • Profile Photo
    Spiros Pendedekas said 1 year, 2 months ago:

    A great progress it is, my friend @airbum!

  • Profile Photo
    John vd Biggelaar said 1 year, 2 months ago:

    Nice progress indeed, Erik @airbum

  • Profile Photo
    Erik Gjørup said 1 year, 2 months ago:

    @eb801, @chinesegeorge, @johnb and @fiveten, another update in this “secret” build.

    Do NOT follow the instructions!

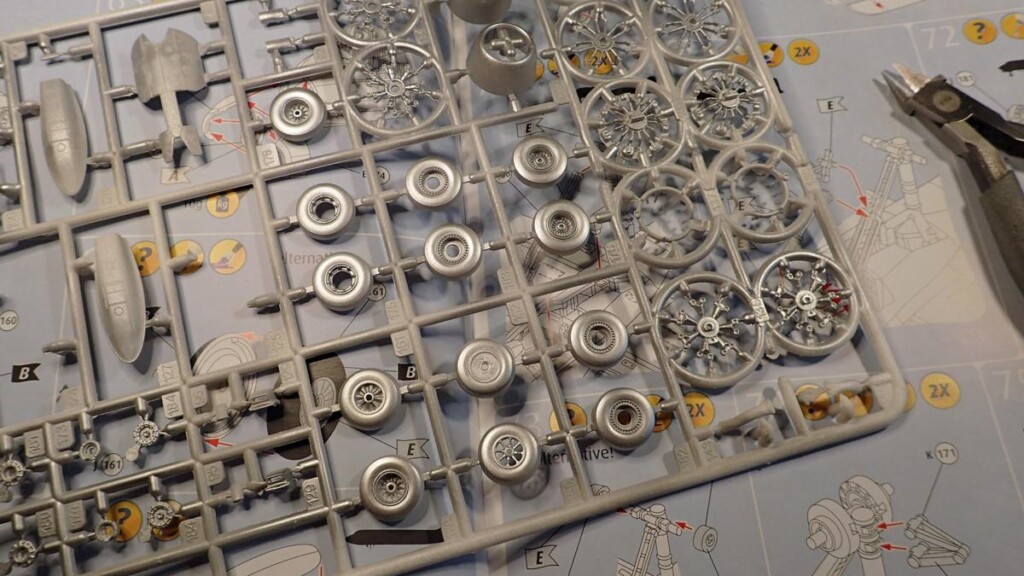
    Moving on, I have primed and airbrushed alu. Deviating from instructions as they are wrong.

    First off, I assemble the nosewheel!
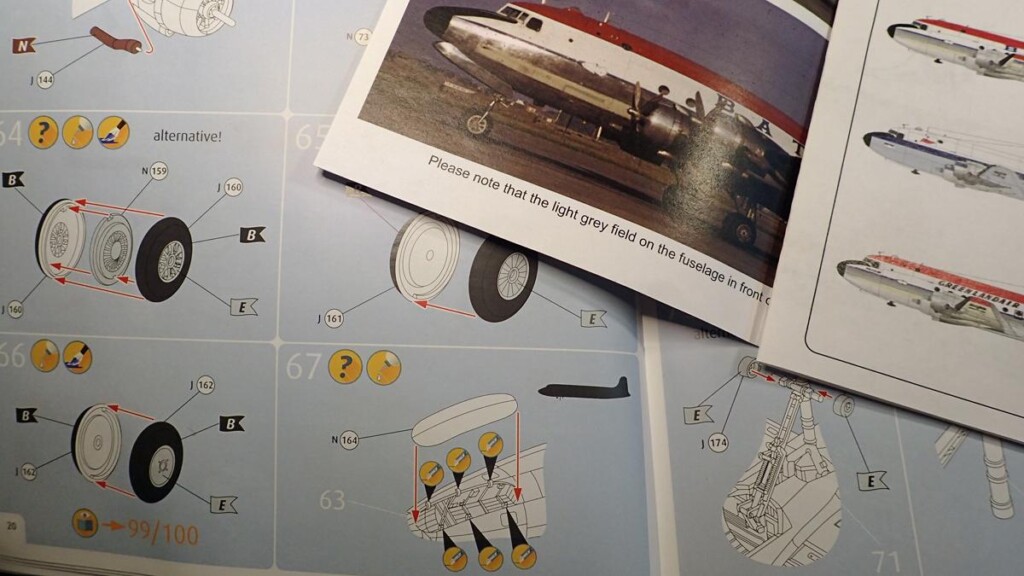


    I think I shall also install the lot under the cockpit as the cockpit can be installed into the fuselage late in the build!

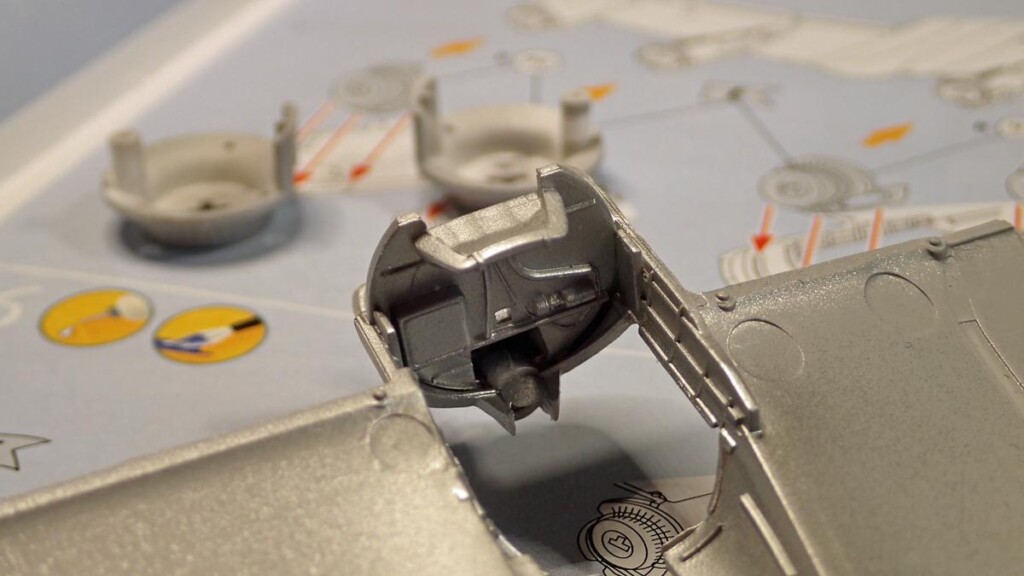
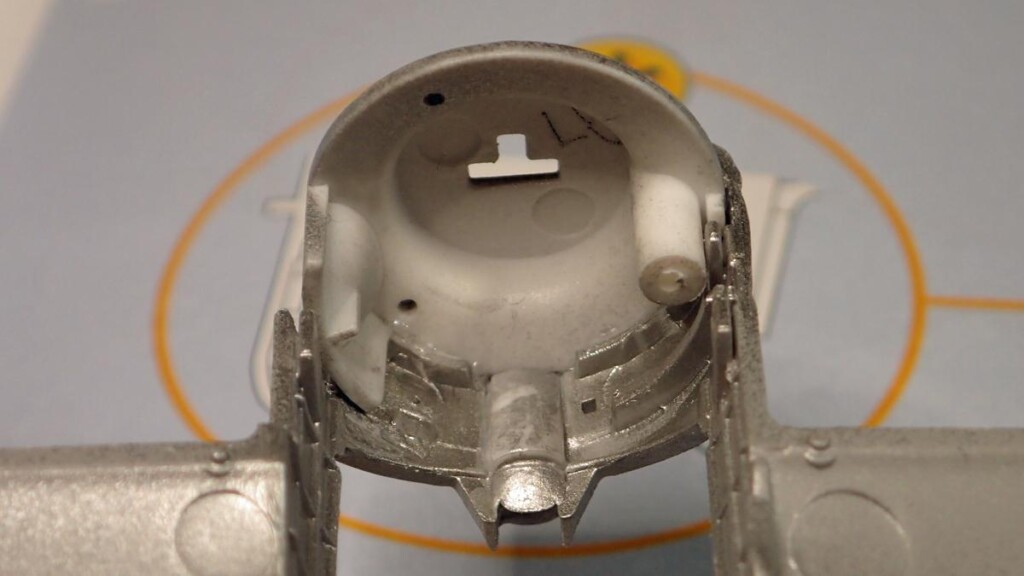
    And while jumping through the pages, the nose gets assembled


    only partly though, as it need to have all the lead it can, and there should be room for a few gram here at the very front. I want the glue to cure before adding lead.

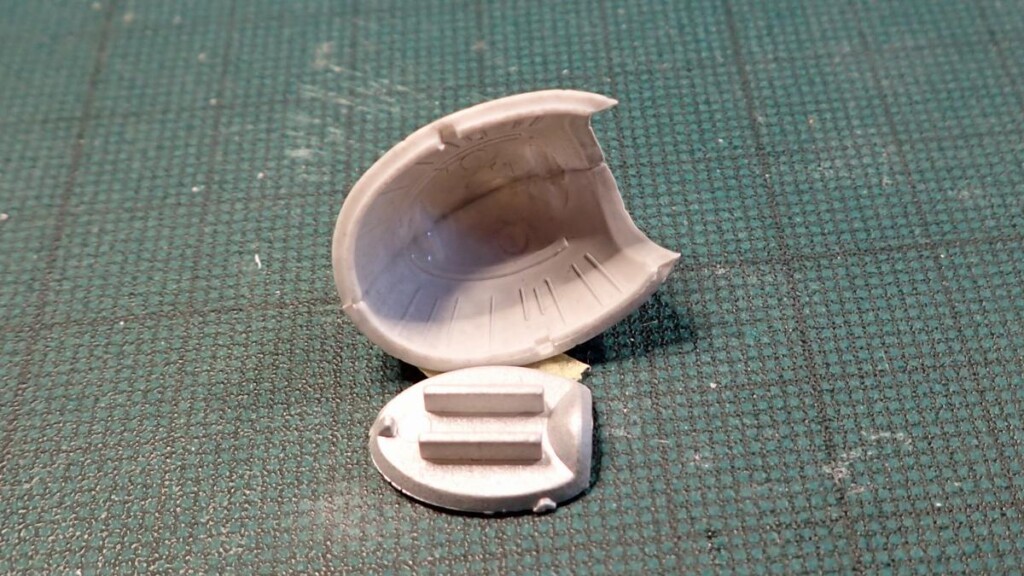
    Now, on to the engines! Revell wants you to install the oilcoolers with the flat part facing rearwards.
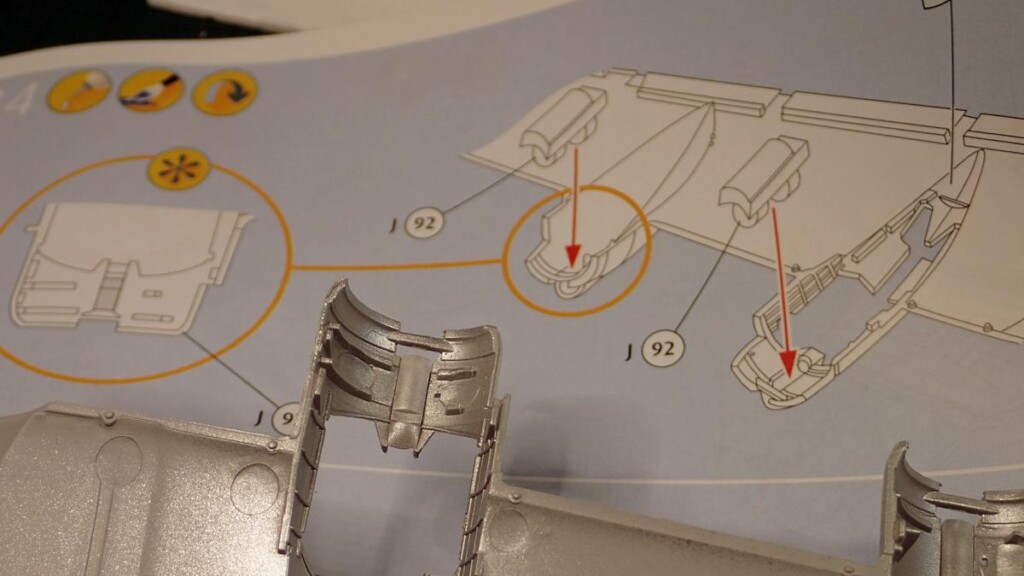

    I only found out too late that they should face forwards, or else the firewall could not be installed!

    And so the parts were persuaded to come out again


    fits a lot better! I have not seen the C-54 kit instructions that should be the same parts, so word of caution – check fit before committing to glue (well, you should always do so anyway, and I did – just not all parts, as it was separate steps. . . )

    Thanks for comments– I appreciate having you along.

  • Profile Photo
    Spiros Pendedekas said 1 year, 2 months ago:

    That's some great progress, my friend @airbum! I agree on using all the space provided to add weight, better safe than sorry. Great catch on the oil coolers! (Copied).
    Looking forward to your progress!

  • Profile Photo
    George Williams said 1 year, 2 months ago:

    It must be a big old plane to use all that primer, @airbum.

  • Profile Photo
    Eric Berg said 1 year, 2 months ago:

    Nothing like a bit of progress, Erik @airbum. I've read some complaints about this kit. Mostly that it's a bit of a difficult build, fit problems and mistakes in the instructions. What do you say or is it too early to tell?

  • Profile Photo
    Erik Gjørup said 1 year, 2 months ago:

    Bigger bench needed?

    or do I have to do the unthinkable and make room by cleaning up the mess?

    It is indeed a big plane @chinesegeorge!


    It only just fits in my display cabinet – except I’m out of room and need to get another. True @fiveten, and I have stuffed some in under the cockpit by now, but still needs more – a lot more.

    This was just a dryfit to check size – it has been taken apart again to let the glue dry before further work is taking place.

  • Profile Photo
    Erik Gjørup said 1 year, 2 months ago:

    Hi Eric - I posted at the same time as you. However it is indeed a bit of a struggle. The basics look very good, but it is marred by some flash, and I shall have to check before committing to glue for the rest of the build. The dryfit revealed there may be some problems with the wing/nacelles too, but I shall get back on that later @eb801.

  • Profile Photo
    Spiros Pendedekas said 1 year, 2 months ago:

    This is a lovely, alive and productive bench, my friend @airbum!

  • Profile Photo
    John vd Biggelaar said 1 year, 2 months ago:

    Great progress, Erik @airbum
    Using all the space available to add some extra weight is the best approach.
    Cleaning out the bench will help to create extra space, but from experience I can say that this is only temporary.

  • Profile Photo
    George R Blair Jr said 1 year ago:

    Erik (@airbum): I totally missed the start of this build. DC-4s, along with DC-6s, C-54s, etc are some of my favorite planes. I have 3 of these models, unbuilt. Glad you are leading the way through the mis-instructions.

  • Profile Photo
    John Healy said 1 year ago:

    Looking good, Erik. Lots of great detail in this kit.

  • Profile Photo
    Erik Gjørup said 1 year ago:

    Thanks gents

    I hope to be able to work a little more on this one through the summer here.