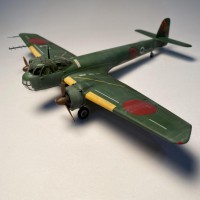
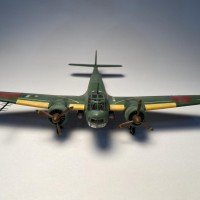
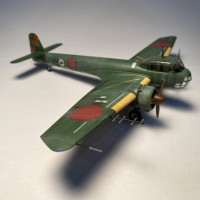
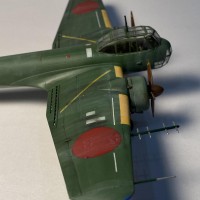
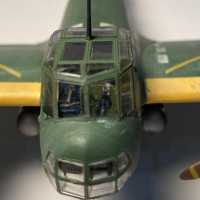
The Lorna is finally done. I decided to depict it as a late war plane that was showing some signs of war weariness. After the basic paint was complete, I sprayed several thin layers of AK Real Colors Clear Gloss. Thinned about 30%, it sprayed a glossy surface that dried in just a few minutes. I let the gloss dry overnight just to be sure that I had a really hard layer to work on.
I had already painted some of the markings on the airplane, but used the kit decals for the rest of the plane. I was really impressed by the kit decals, which were very thin and had an absolute minimum of clear carrier around the colored parts. They went on easily, and Microsol & Microset helped them snug down over details.
-
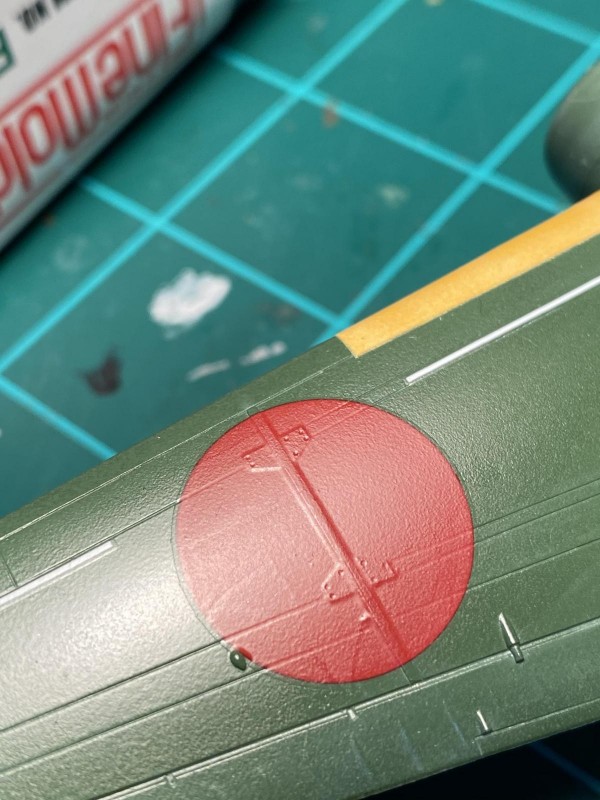
1. Decals snugged down over details well
The kit decals are very complete and even come with "Don't Walk" stencils for the wings.
-
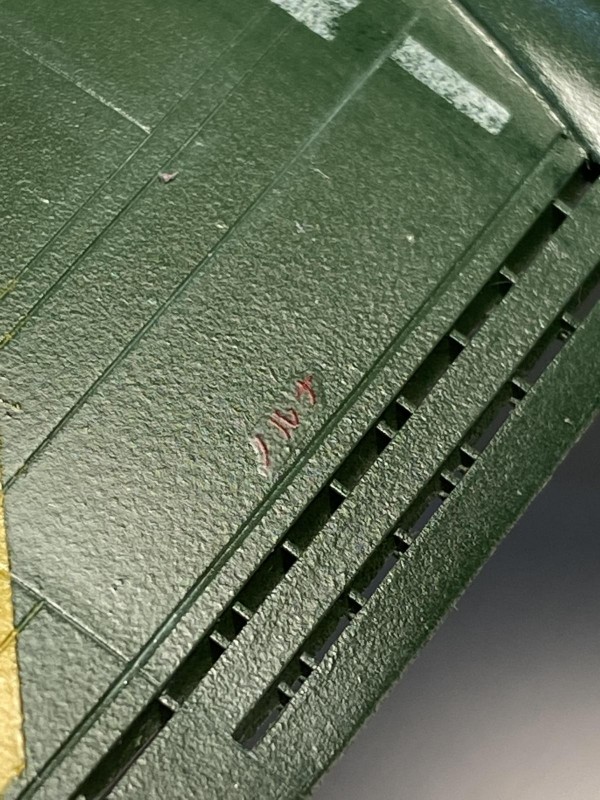
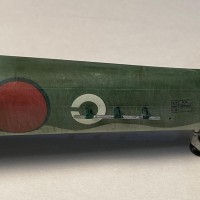
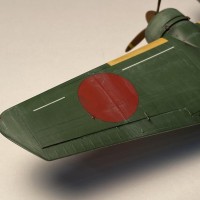
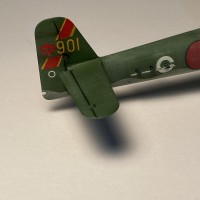
I didn't want to mask and paint the yellow leading edges of the wings, so I decided to use the decals that came with the kit. I wanted to try to fade the bright yellow of the decals, so I sprayed some dull yellow on the kit decals before I applied them. It worked great, but I could have achieved the same thing with the later oil paint washes. The decal for the tail number was all yellow, but the plane I was modeling needed the Japanese character on the decal to be red. I hand-painted the red with Vallejo acrylics and then sealed the decal with some clear gloss from a spray can. This was a mistake, as it made the decal quite thick. In an irrational moment, I decided to use fine sandpaper to lightly sand the decal to reduce its thickness. Although I did manage to reduce the thickness of the decal, I also managed to reduce the clarity of the decal, making it look like it was misted over with something. I decided to use the decal anyway, hoping that the sealing layer of clear would restore the clarity of the decal. (It did.)
-
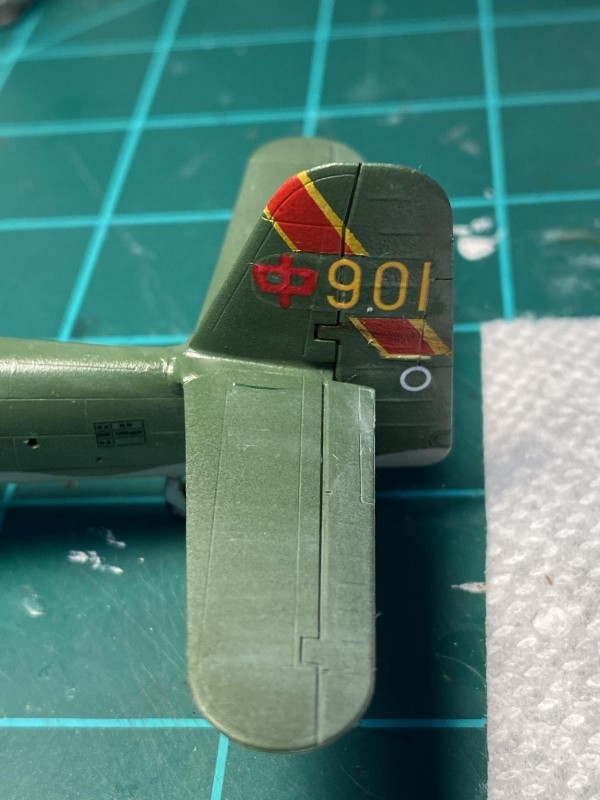
1. Hand-painted red Japanese character, along with painted red/yellow stripe.
2. Red and yellow stripe, along with red character, indicate this plane has both radar and MAD gear.
I let the decals dry for 24 hours before I sealed them in with Clear Flat from AK Real Colors.
I tried a variety of weathering methods on the plane. I used both black and dark brown Tamiya oil washes. I wanted to simulate uneven fading on the upper surfaces, so I decided to use some artist's oil paints and mineral spirits. I used mainly Naples Yellow, which is almost a light tan, and Veridian Green, which is a dark green. I applied these colors in various mixes to specific areas on the plane, and then used a soft brush damp with Mineral Spirits to blend the effect.
-
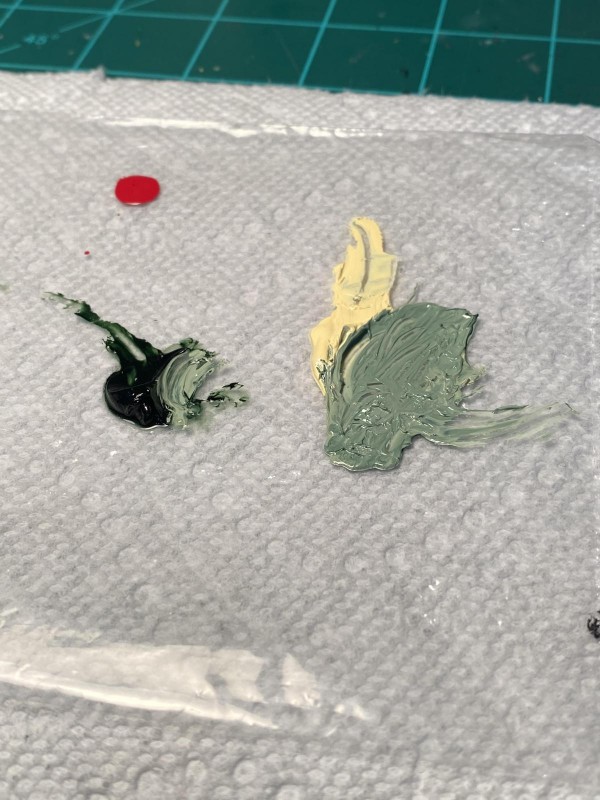
1. Mixes of artist oils used in weathering.
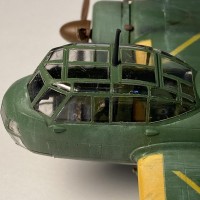
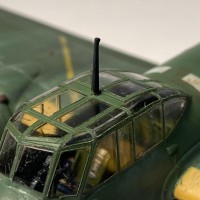
Playing around with these oil effects turned out to be really fun. A little Naples here, a little green there, and a little brown somewhere else. Oil colors can take a long time to dry, but the mineral spirits help with the dry time. I let the oil effects dry for 24 hours before sealing them in with some more flat clear. Finally it was time to add all of the small stuff that I left off till now to be sure it didn't break off and end up lost in the carpet. So, the various radars were added, along with the pitot tube, and the antenna on top of the canopy. All that was left was to take some pictures and add to its buddies on the 1/72 scale shelf.
15 additional images. Click to enlarge.
-
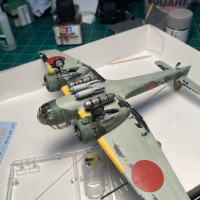
1. Two external fuel tanks and two anti-submarine bombs.
2. Extra canopy with hatches open.
-
-
-
-
-
-
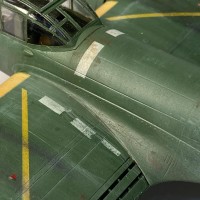
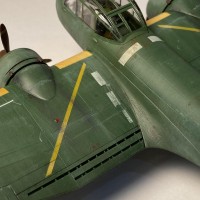
1. White patches indicate walk ways.
-
-
-
-
-
-
-

1. White walk ways on right wing are for access to the radar equipment located within the wing.
-
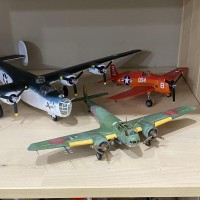
1. New home for the Lorna. Size difference between the Lorna and the Liberator is amazing.