Thank you, Spiros, Erik and Eric. Great to have you participating in this GB. I am in a bit of a state of shock. I had this model almost literally kicking around for at least 15 years with major work done (as I already shared with you). Now I am finally getting it completed and moving along surprisingly quickly . Over the years, I actually deliberately had it out of the box for awhile, trying to get up the gumption to finish it. That's how it got yellowed in the sun sitting on top of a display cabinet! All that time, I got hung up feeling reluctant to do the underside re-scribing. By the dymotape method, I thought it would take me a ridiculous amount of time and effort to do. Now that I have a better skill set and more patience I have done more than half the work in a single afternoon! The key was to trust a simple flexible steel rule for almost all of the work with the scriber rather than fussing with dymotape.
-
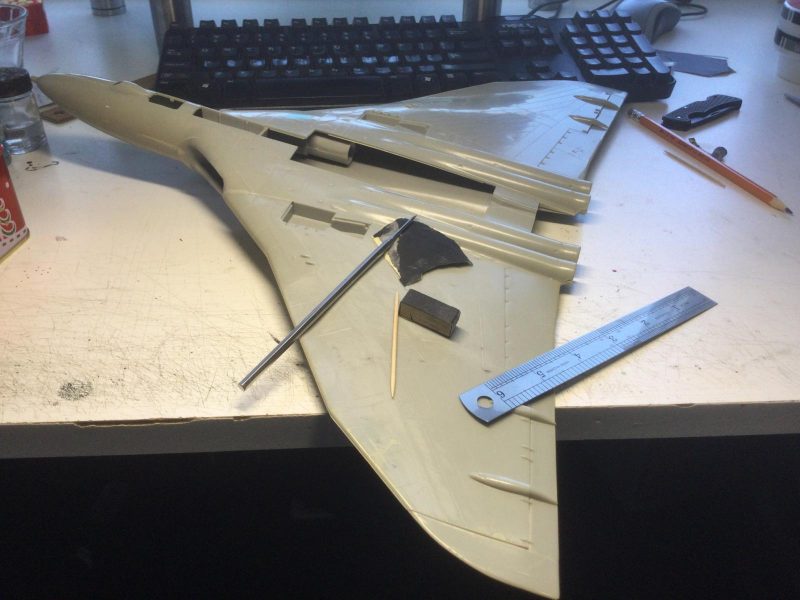
By pressing really hard with the ruler and watching my work very closely and carefully with my visor I sped through the 60 + lines on one side. I also worked out how to do the complex shapes between lines by leaving them to last and then using a needle in a pin vise and my photo-etch scribing template to carefully craft each shape.
-
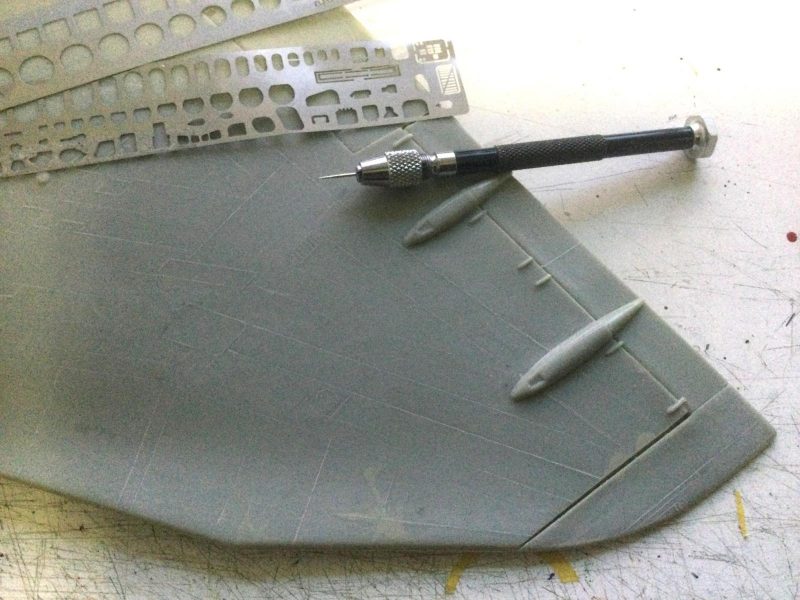
1. A pin vise and needle provides more control than a scribing tool for small panel detail - the line it makes is cruder, though and needs more cleaning out. Some modeler use liquid glue and capiliary effect to smooth out scribed lines but I find it risky
I did use some dymotape but only at the end for very curved parts of the engine fairings.
-
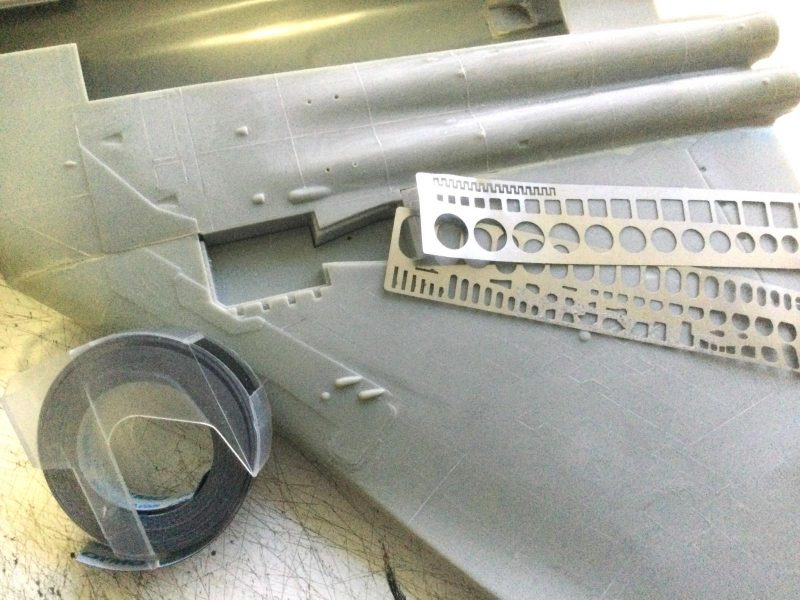
1. I needed dymotape to get around these curves - no problem in the end.
In general, my method is I think the standard one. I simply lightly sanded down the raised lines until just a ghost of them was left, then used those impressions as a guide to scribing new lines right through the old ones.
-
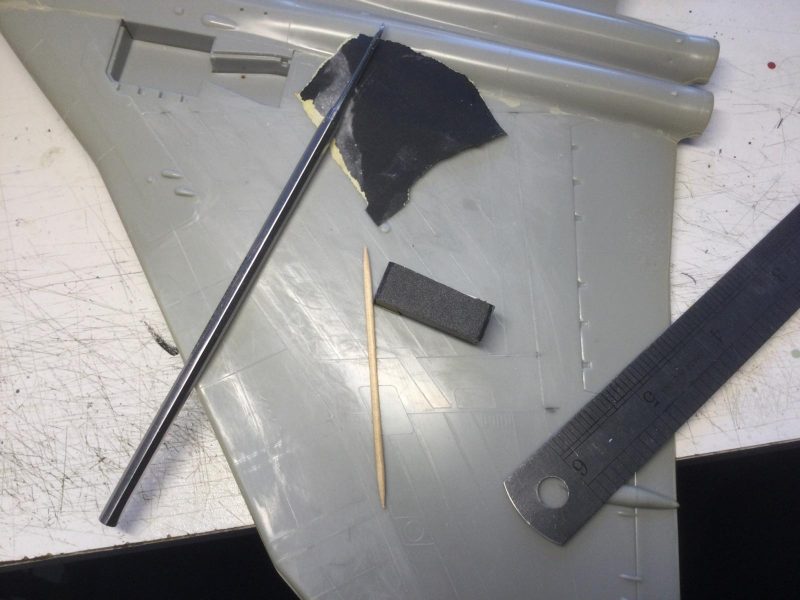
1. The toothpick is handy to drag through the scribed lines and chip out the plastic burrs and sanding dust that accumulates - very effective without damaging the line itself.
2. Sanding as I go with 400 grit and then 600 and 1200 grit to get rid of scratches finally.
Here are the results for one whole side. I had to use low light to catch the scribed lines as they are so subtle in 1/72 and disappear in bright light. So that's a huge amount done.
-
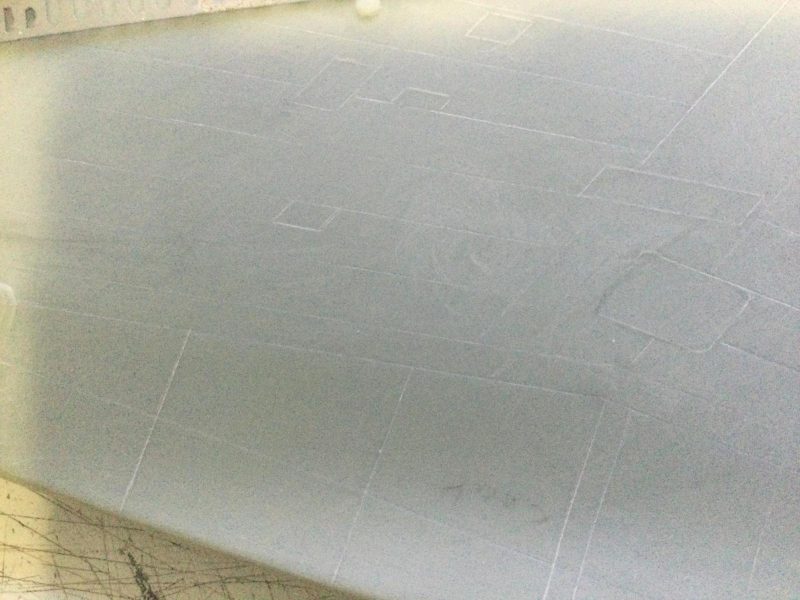
1. this is a burr here, rather than an error. I have to go through the lines with a toothpick to chip off all of the lifted plastic.
I will certainly finish the scribing up completely tomorrow. Right now, I need to give my eyes a rest.
Meanwhile, I have dug up my references for the Vulcan and will motor ahead with detailing the cockpit (ie. mainly the seats, since the instrument panel is already done and nothing much can be seen through the windows anyway) and prepping for painting.
At this rate, I might even catch up to Spiros on the Black Buck Victor tanker!