I wanted to try some new weathering techniques on this plane. I have seen some videos on AK Weathering Pencils, which seemed like they might be interesting to use. I bought a handful of the pencils, and off I went.
-
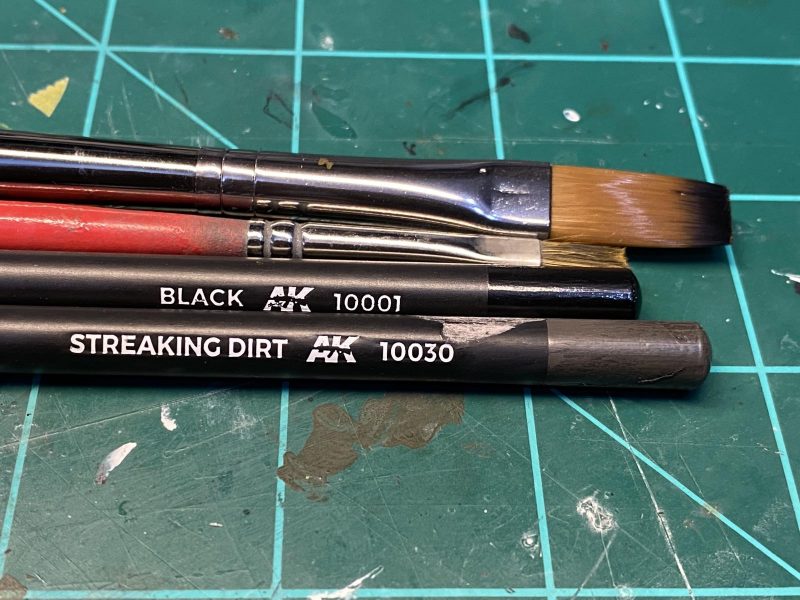
1. All the tools you need.
They are basically watercolor pencils that are similar to the ones that an artist might use. The pencils release their color when they have come into contact with water, which activates the color in a hopefully controlled manner. There are two ways to activate the pencils: (1) Dip the pencil tip in water, and then apply the color to the model, or (2) Apply paint to the model and then apply the pencil to the wet areas. Once applied, you can use a damp/wet brush to clean up extra color and move the color where you want it. It seems to work best on non-glossy surfaces, since there is a little tooth to hold the paint, but I think it would work for panel lines over a gloss finish. I discovered you need to move fairly quickly because it will quickly stain the clear coat and be almost impossible to remove. I learned this the hard way, but managed to remove most of the unwanted effects using mineral spirits. I am not sure I like this any better than my normal weathering using artist's oils and mineral spirits.
-
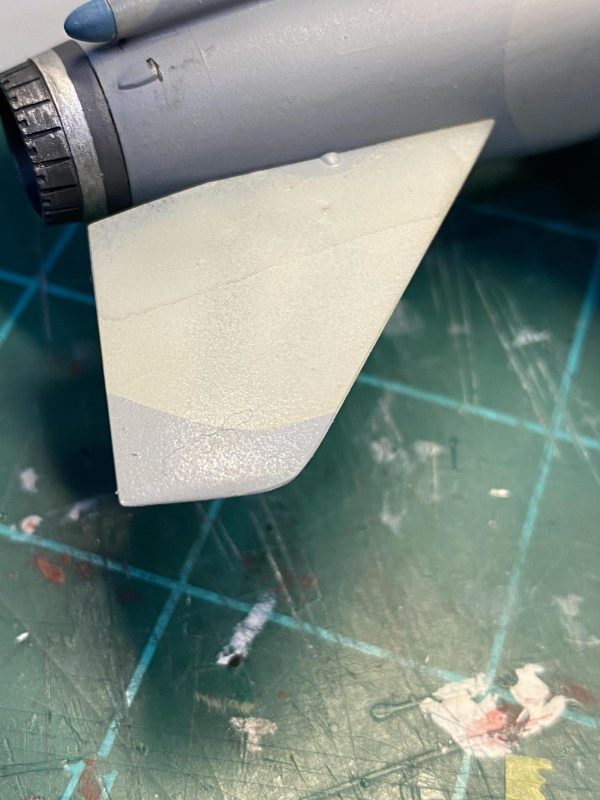
1. Canvas for the experiment
-

1. Water brushed on the surface
-
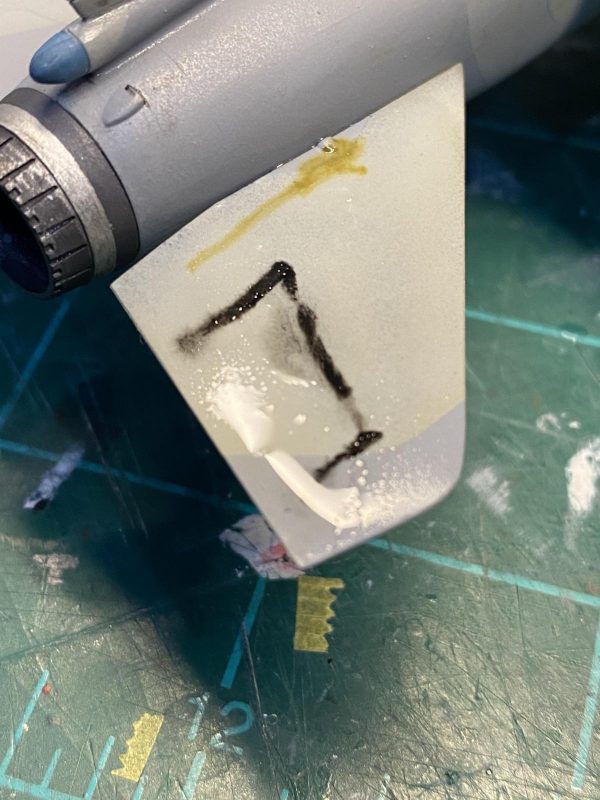
1. Colors drawn into place
-
1. Surface after using a damp brush to remove excess color
-
1. Leftover color, to be removed later with mineral spirits.
-

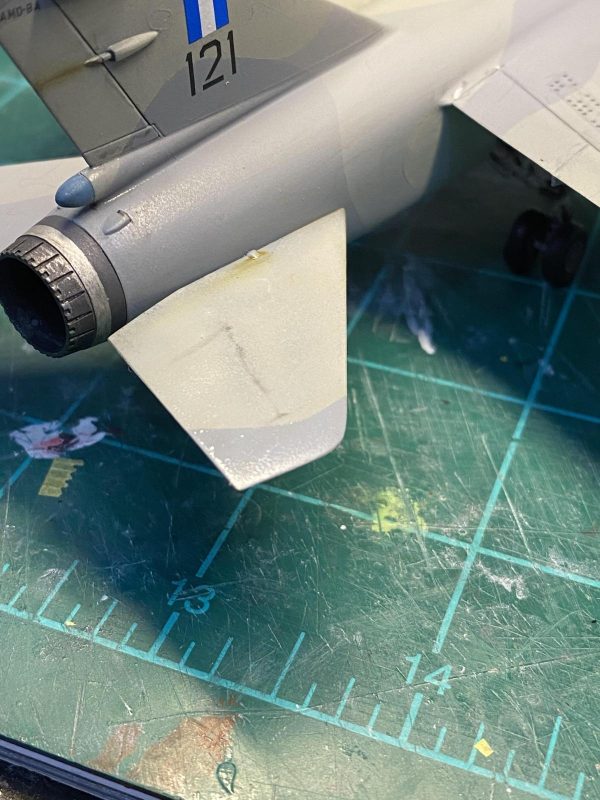
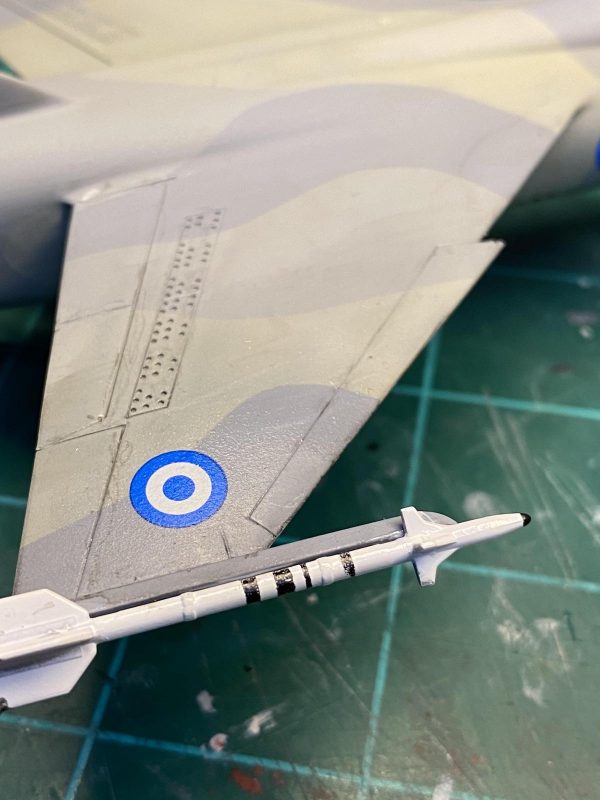
1. If you look closely, you can see the places where the color soaked into the clear cote and could not be removed with water. Mineral spirits removed most of the unwanted color.
I finally finished the last bits on the model. I added some plastic rod to represent the missing machine guns, and then replaced the blade antenna under the nose of the airplane. The Eduard photoetch set had canopy frames for the forward and rear canopy that contained some gauges on the front frame and rearview mirrors on the rear frame. This set was for the Special Hobby Mirage, so I wasn't surprised to see that the rear frame didn't fit the canopy at all. I added to strips of plastic to represent the mirrors, painted them black and silver, and called it good. The front frame looked like it would be a reasonable fit, so I added it to the front canopy frame. Once in place, it goes a long way toward making the cockpit look as busy as it should. The cockpit is all black and it is very difficult to see much when you look inside. I mention this because after I took the pictures of the finished plane I discovered that the front piece for the canopy frame is tilted to the left. It is amazing the things you miss until you take the pictures. Anyway, I will fix this later.
This was a fun plane to build, even with all of the missteps that I made. I really liked the way the plane looked after I drilled out the holes in the speed brakes. I don't wouldn't do something like that, preferring to use a black wash to fill the depressions where the holes should be. I don't normally build 1/72 planes, so there is still some room on my shelf that I have reserved for my 1/72 fleet. Now, on to something larger. :o) Cheers
9 additional images. Click to enlarge.