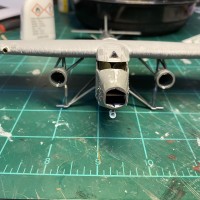
1/77 Monogram Ford Trimotor 4-AT

Started by George R Blair Jr · 67 · 3 years ago · 1/77, Ford Trimotor, Monogram
  • Profile Photo
    George R Blair Jr said 3 years, 1 month ago:

    Thanks, Spiros (@fiveten) and John (@johnb). All the work to clean up the parts probably reduces my willingness to do the extra detailing, but we will see. Cheers.

  • Profile Photo
    George R Blair Jr said 3 years, 1 month ago:

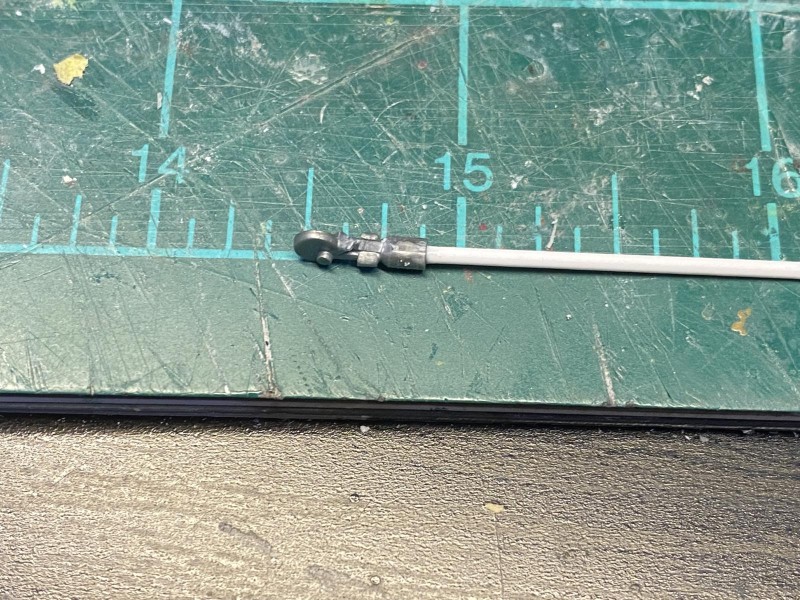
    I don't think much will be visible through the cockpit window, but I wanted to add a simple cockpit just in case. I am afraid I might have gone a little overboard, but it was fun and didn't take much time. I gathered some online photos of the cockpit and some Evergreen strips, and got started. I built and added an instrument panel, throttle quadrant and throttle levers, rudder pedals, seats, rear panels, and control columns and yokes. As I was making sure the the cockpit windows would fit over the interior structure, I noticed that there was a huge, deep ejector pin mark on the outside of the right side of the cockpit glass. I really don't think there is any way to fix this issue short of replacing that portion of the glass, but I will work a little to see if I can make it less noticeable.

    That's it for today. Tomorrow it will be time to assemble the fuselage and add the wings. Everyone stay safe. Cheers.

    5 attached images. Click to enlarge.

  • Profile Photo
    Robert Royes said 3 years, 1 month ago:

    Nice to see one being built, I did the exact same kit about a year ago, though I did not detail as well as yours. In my research some photos show the center engine with a three bladed prop while he wing motors had two blades.

    1 attached image. Click to enlarge.

  • Profile Photo
    John vd Biggelaar said 3 years, 1 month ago:

    You did great on the cockpit section, George @gblair
    The handmade seatbelts look very realistic, especially because of the scale.
    Looking forward to the next step.

  • Profile Photo
    Tom Cleaver said 3 years, 1 month ago:

    That's a lot of cockpit, @gblair! Looks very good.

  • Profile Photo
    Spiros Pendedekas said 3 years, 1 month ago:

    Looking great, my friend @gblair! No matter that it won't be very visible, we now know a detailed cockpit is there!

  • Profile Photo
    George R Blair Jr said 3 years, 1 month ago:

    Thanks, Robert (@roofrat), John (@johnb), Tom (@tcinla), and Spiros (@fiveten). We should know soon if there is anything to see once I close everything up. Robert, your model came out great and it looks like you got the decals to settle into the corrugations. One of the things that really impressed me was the great variety in these planes, especially as they were sold to the secondary users. When they became firefighters, crop dusters, survey planes, etc, there were a lot of modifications. You can find different props, different engines, engine shrouds or none, different tires and wheels, and a bunch of other modifications. You could probably modify just about anything on your model and find a real life example. Surprisingly (or maybe unsurprisingly), there doesn't seem to be a shortage of photos available for the Trimotor, especially of the ones that are still flying.

  • Profile Photo
    Greg Kittinger said 3 years, 1 month ago:

    Nice project! Great work on the "clean-up" effort - always a challenge, but looks like you have it handled.

  • Profile Photo
    George R Blair Jr said 3 years, 1 month ago:

    Thanks, Greg (@gkittinger). I'm building a plane that took 30 minutes to build when I was a kid, and now it takes weeks to do. Hopefully the extra effort will be worth it. :o)

  • Profile Photo
    George R Blair Jr said 3 years, 1 month ago:

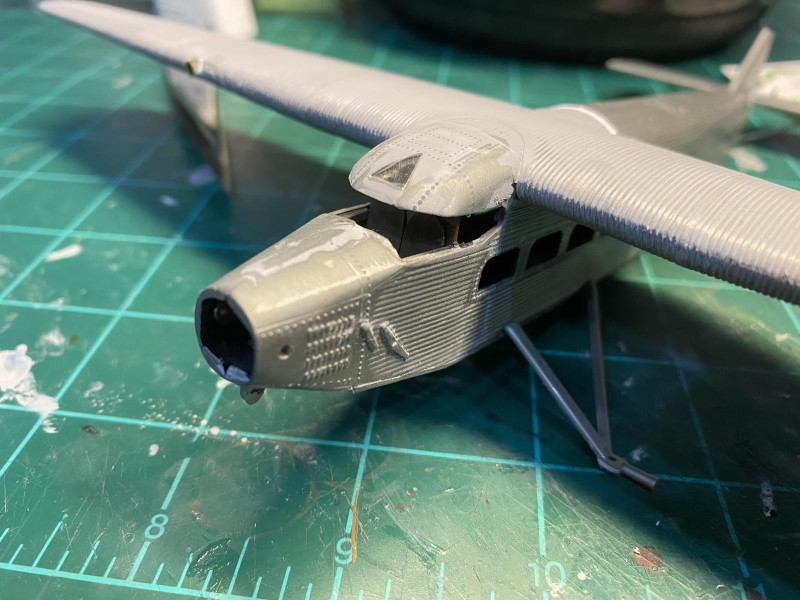
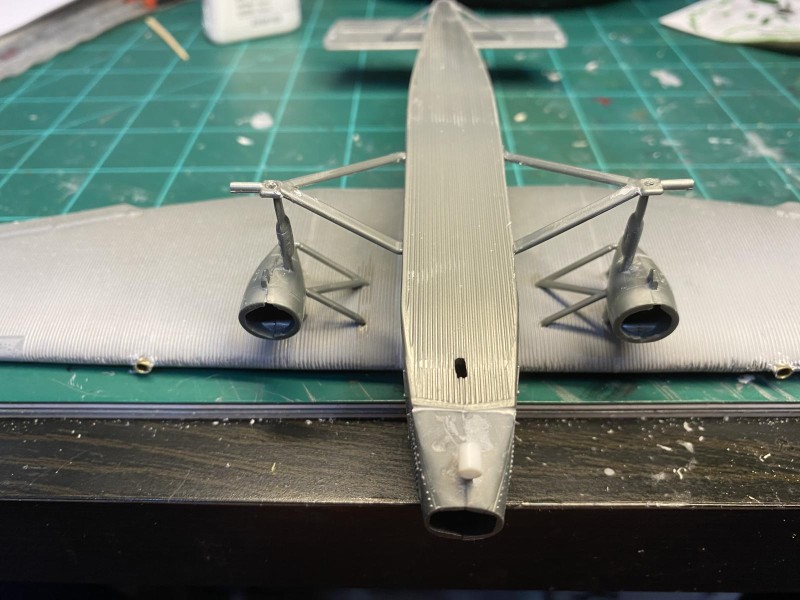
    I keep moving forward on this model, and I keep finding stuff to fix. Probably the biggest job is trying to fix detail that is missing or completely wrong. The second time-consuming task is cleaning up the ejector marks and mold lines. Virtually every piece requires some level of cleanup.

    I cut the tailwheel off the rudder and began the process of attaching it to the rear fuselage, where it belongs.

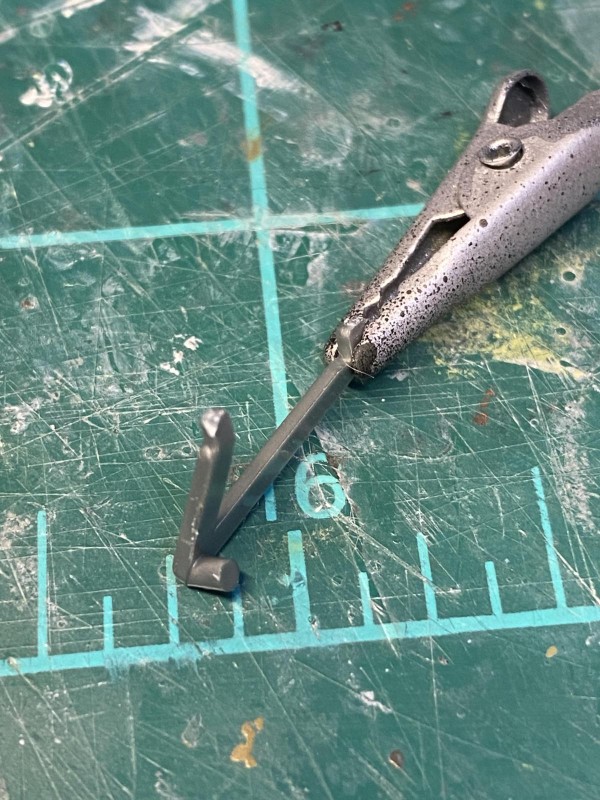
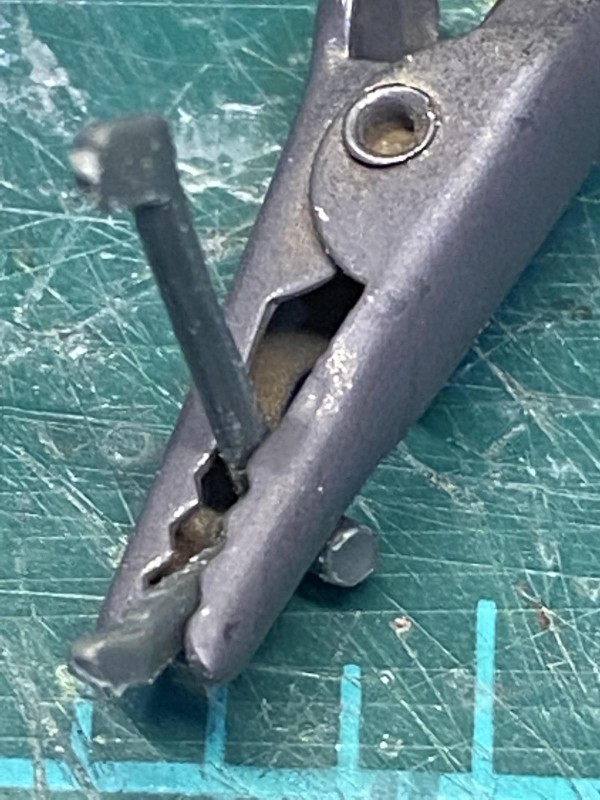
    There are some interesting flat pieces of plastic that stick up near each engine. It is hard to figure out what they should be, since it seems like every trimotor that was built had different features. As near as I can tell, they are supposed to represent a small intake or engine vent. I replaced the one under the nose engine, and I will get to the other engines later. The nose engine has exhaust pipes, but the other two engines don't, so I plan to add some kind of exhaust system for the other two engines.

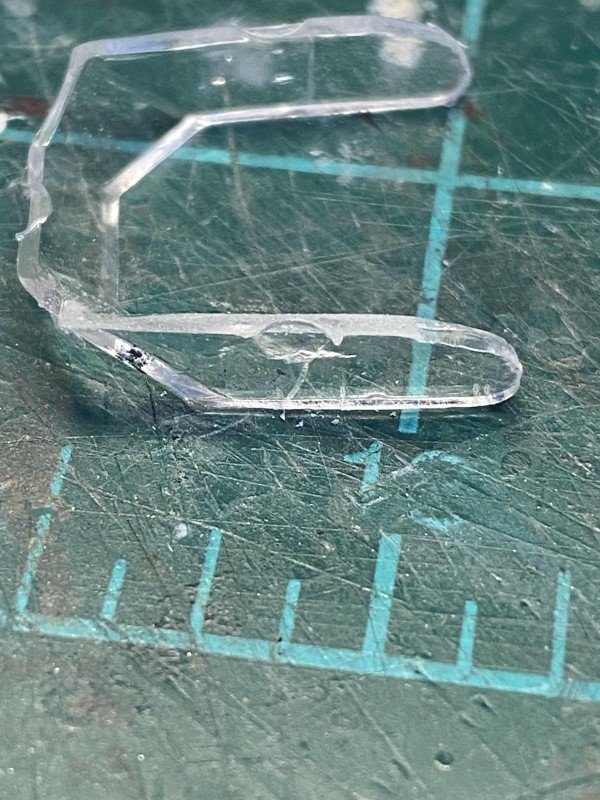
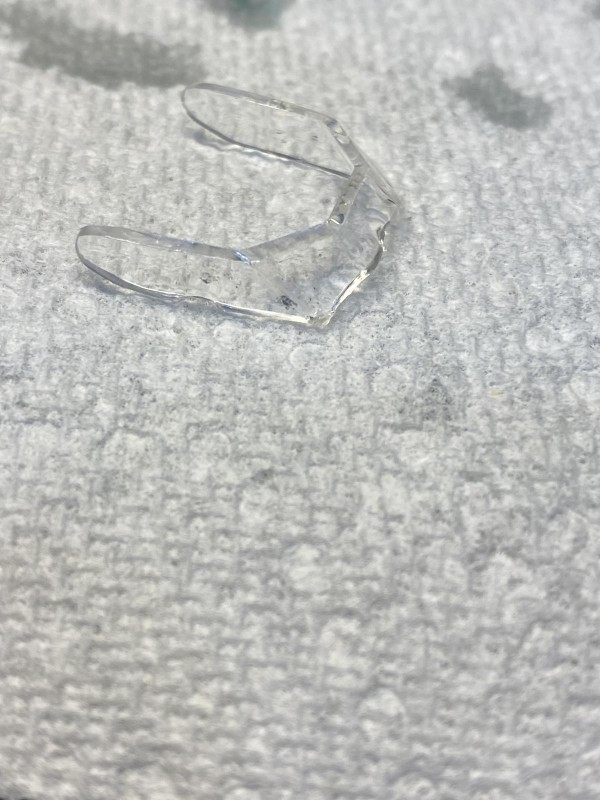
    The canopy glass needed a lot of work to get it ready for the model. First problem was that there are two large ejector marks in places that will be impossible to fix. The second problem was that the canopy didn't fit, so I had to do some sanding and shaping of both the fuselage and the canopy glass to get everything to fit. I gave the glass a dunk in some Future and discovered that there was a dark fleck of something molded into the glass. No way to fix that, so hopefully it won't be too noticeable.

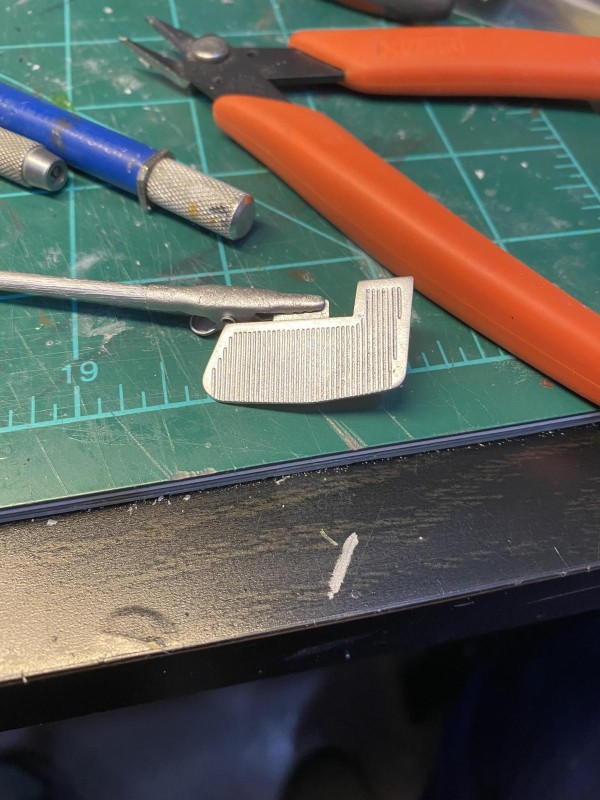
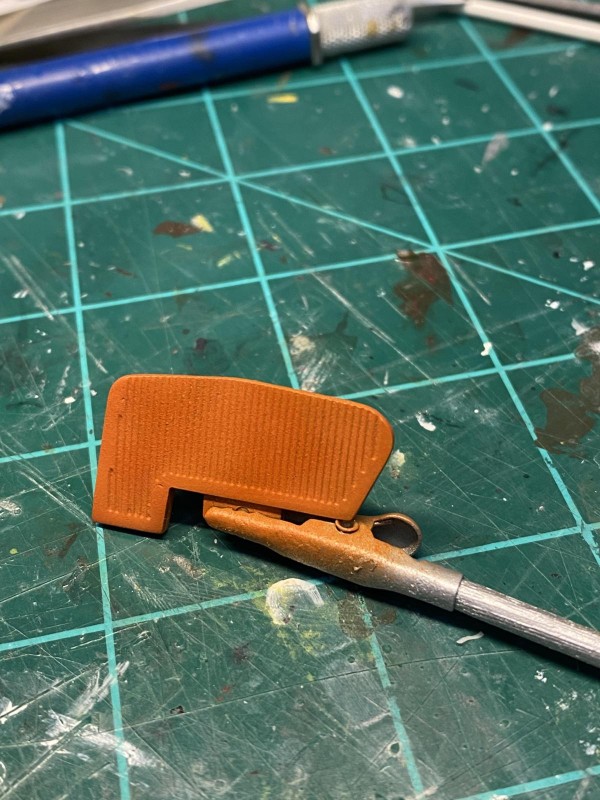
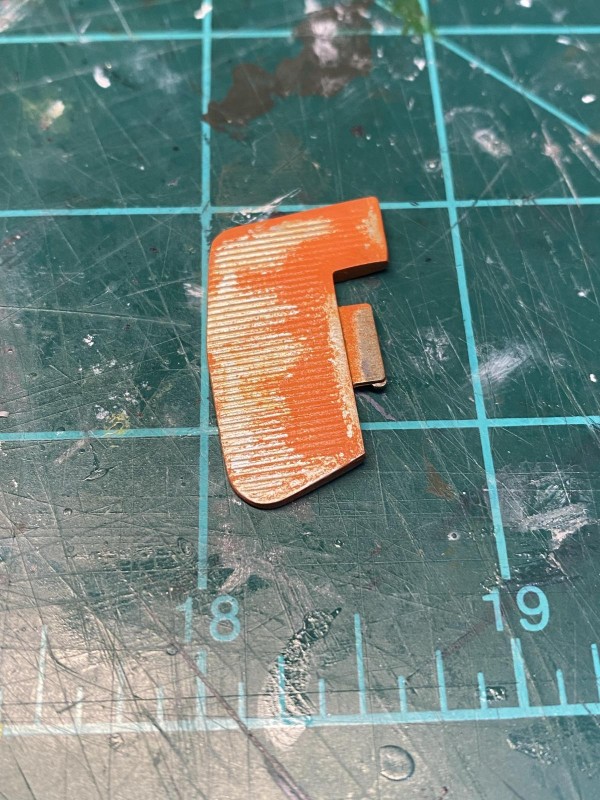
    I wanted to try some of the techniques before I committed them to the fuselage, so the separate rudder seemed like a good candidate. I painted the rudder natural metal, than brushed on some chipping fluid. I waited about 30 minutes and then sprayed a layer of orange, followed by a blotchy layer of orange lightened with a little light gray. I then attacked the rudder with a little water and a brush, leaving the rudder looking very weary.

    I had to let everything dry, so it is time to take a break till tomorrow. Hopefully, I can get everything ready for painting tomorrow. I also want to borrow my wife's die cut machine and get the mask cut for my markings. Everyone stay safe. Cheers.

    3 additional images. Click to enlarge.

  • Profile Photo
    Robert Royes said 3 years, 1 month ago:

    Coming along nicely! Yes, those struts were fun to line up, and that canopy ...

  • Profile Photo
    John vd Biggelaar said 3 years, 1 month ago:

    A lot of hard work to be done on this one, George @gblair
    The rudder worn effect looks awesome.

  • Profile Photo
    George R Blair Jr said 3 years, 1 month ago:

    Thanks, Robert @roofrat (@roofrat) and John (@johnb). Nothing too demanding, just a lot of it.

  • Profile Photo
    Spiros Pendedekas said 3 years, 1 month ago:

    What a great progress, my friend @gblair!

    Loved all the jobs you did in order to improve the parts and bringing the Trimotor the model a lot closer to the real thing.

    Yep, pity about the canopy, it should have been noticed upon kit's quality inspection before being packed. My feeling is the discrepancy will be passable, not too noticeable.

    Loved the rudder chipped look; good decision to deflect it, a very natural posture for the Trimotor.

    This is going to be a superb build, love it already!

  • Profile Photo
    George R Blair Jr said 3 years, 1 month ago:

    Thanks, Spiros (@fiveten). I may try to fill the large depressions in the glass using KrystalKlear, but we will see how it looks when I get done painting. Rudder is just temp fitted, so final position is to be determined.