I keep moving forward on this model, and I keep finding stuff to fix. Probably the biggest job is trying to fix detail that is missing or completely wrong. The second time-consuming task is cleaning up the ejector marks and mold lines. Virtually every piece requires some level of cleanup.
-
1. Struts are flat on one side, curved on the other.
-
1. Strut rounded on both sides.
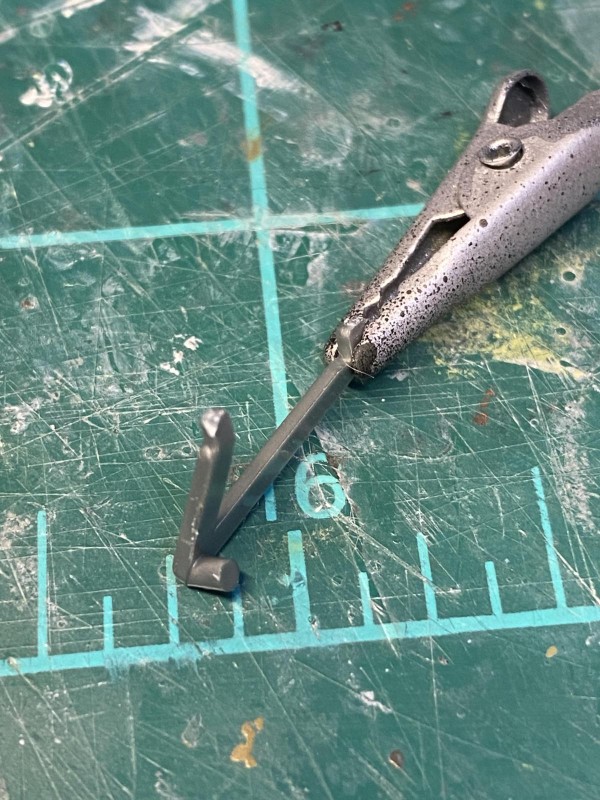
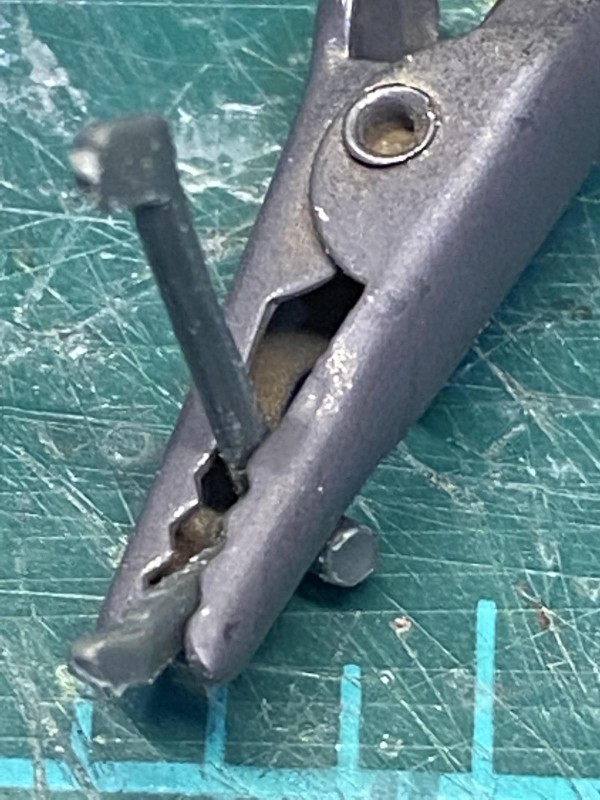
I cut the tailwheel off the rudder and began the process of attaching it to the rear fuselage, where it belongs.
-
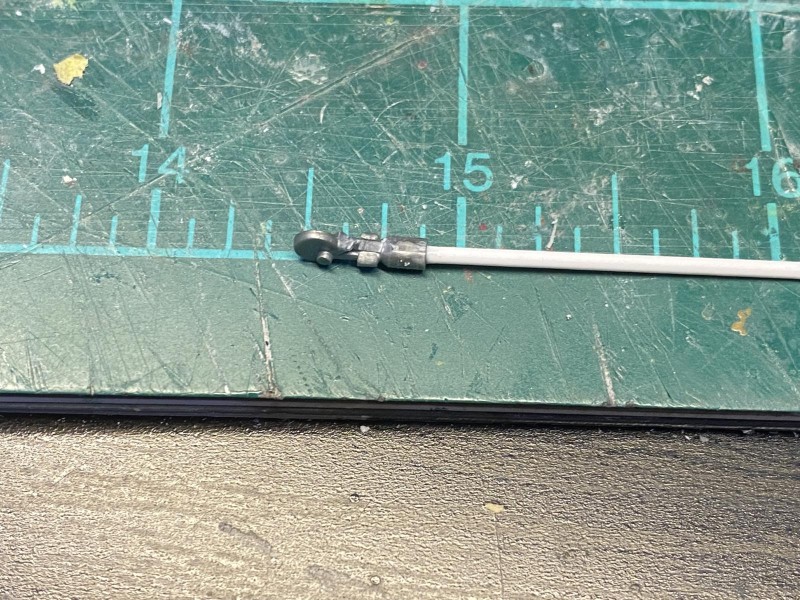
1. Part of tailwheel, created with part of the kit part plus some plastic rod.
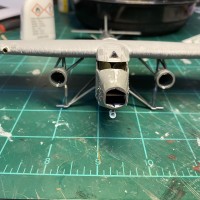
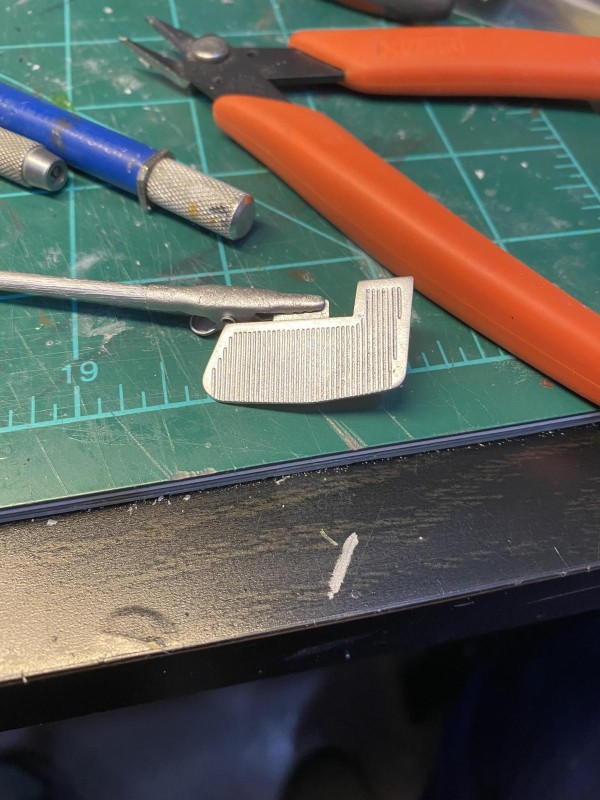
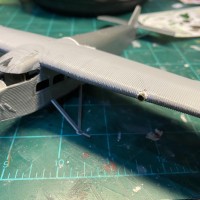
There are some interesting flat pieces of plastic that stick up near each engine. It is hard to figure out what they should be, since it seems like every trimotor that was built had different features. As near as I can tell, they are supposed to represent a small intake or engine vent. I replaced the one under the nose engine, and I will get to the other engines later. The nose engine has exhaust pipes, but the other two engines don't, so I plan to add some kind of exhaust system for the other two engines.
-

1. Wings and fuselage mated
2. Unknown appendage that I think is supposed to be an intake or vent.
-
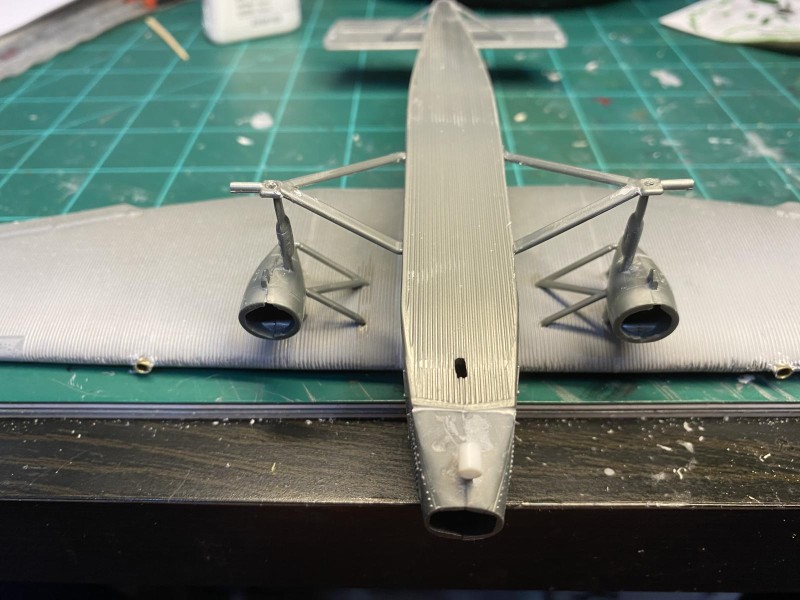
1. These were fun to get lined up.
2. Added intake/vent
The canopy glass needed a lot of work to get it ready for the model. First problem was that there are two large ejector marks in places that will be impossible to fix. The second problem was that the canopy didn't fit, so I had to do some sanding and shaping of both the fuselage and the canopy glass to get everything to fit. I gave the glass a dunk in some Future and discovered that there was a dark fleck of something molded into the glass. No way to fix that, so hopefully it won't be too noticeable.
-
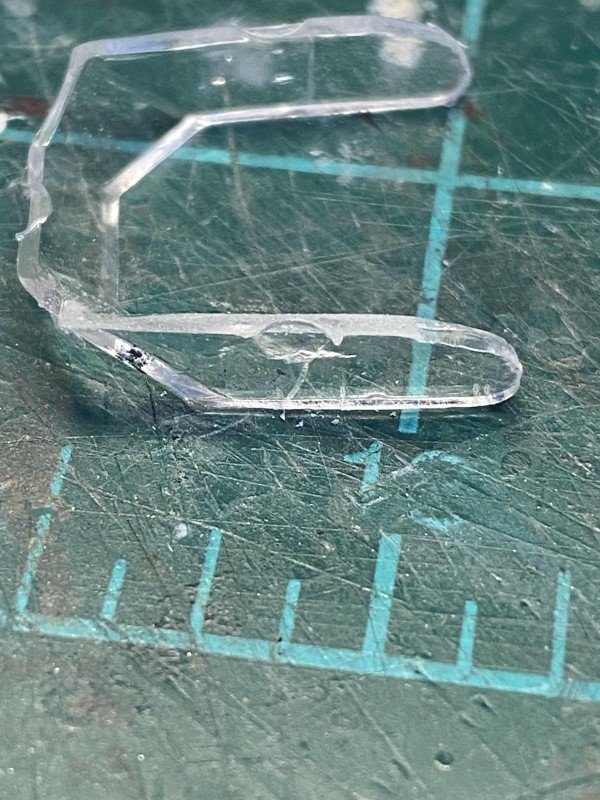
1. Three deep ejector marks, one on each side, and one in front.
-
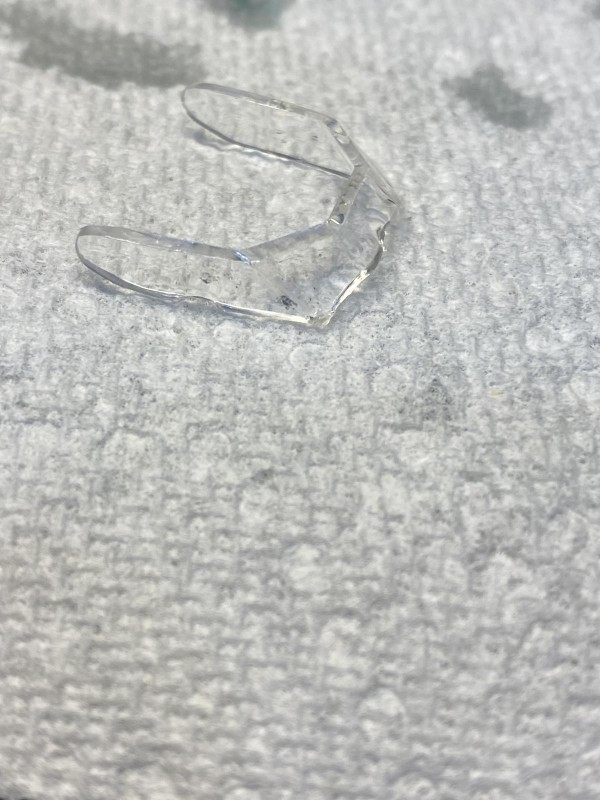
1. This black speck is molded inside the plastic.
I wanted to try some of the techniques before I committed them to the fuselage, so the separate rudder seemed like a good candidate. I painted the rudder natural metal, than brushed on some chipping fluid. I waited about 30 minutes and then sprayed a layer of orange, followed by a blotchy layer of orange lightened with a little light gray. I then attacked the rudder with a little water and a brush, leaving the rudder looking very weary.
-
1. Rudder sprayed with aluminum, then chipping fluid brushed on.
-
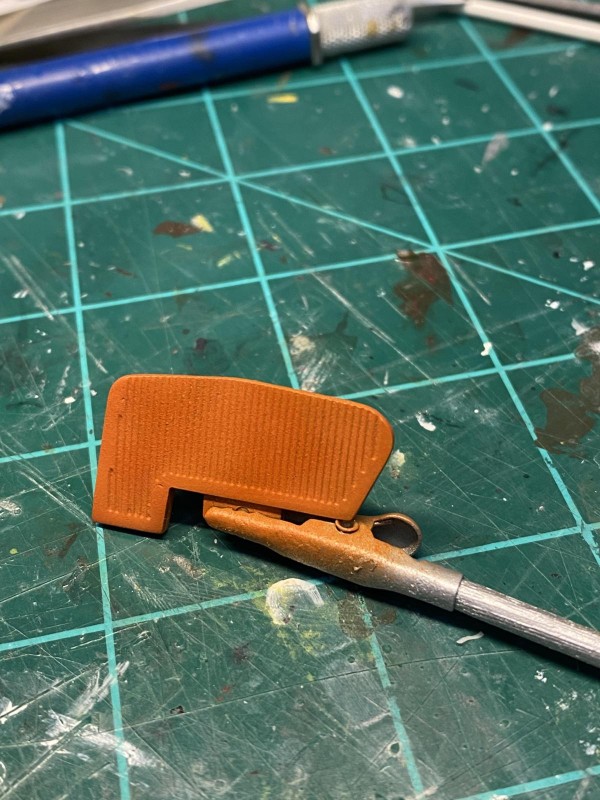
1. Dark and light orange sprayed on.
-

1. Worn rudder following some attention with water and a brush.
I had to let everything dry, so it is time to take a break till tomorrow. Hopefully, I can get everything ready for painting tomorrow. I also want to borrow my wife's die cut machine and get the mask cut for my markings. Everyone stay safe. Cheers.
3 additional images. Click to enlarge.
-
1. Wing landing lights created using brass tube. Glass will be added later.
-
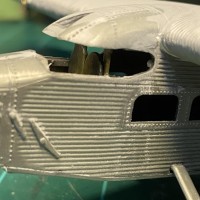
1. Added cockpit looks cool, so far.
-