Some more work done...
One thing that I have learnt the hard way is the importance of preparing the installation of external loads so that it is easy and safe to attach it after painting. I've had a bad history when it comes to fuel tanks especially...
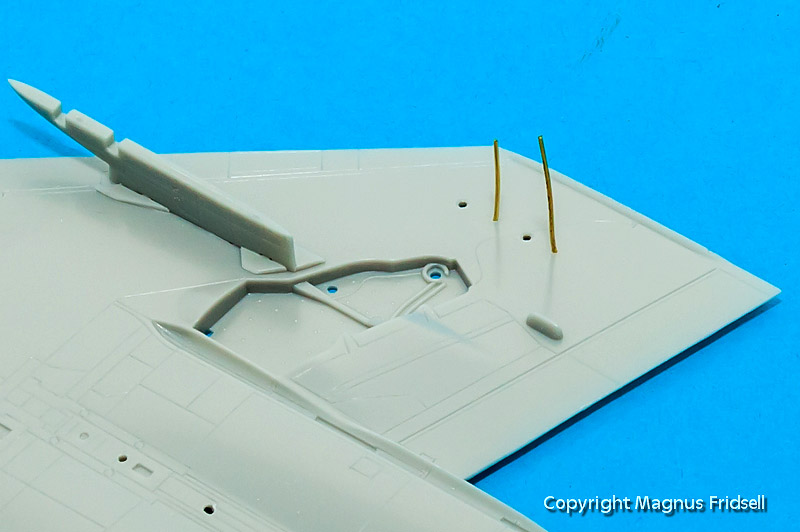
Holding tank and wing together, I drill two holes from the inside of the wing into the tank pylon. This way I get matching holes in the wing and the pylon. After this I bend a wire into an U-shape and insert it from the inside of the wing into the holes, securing it with super glue. Cut to length, these make ideal attachment points for the tank at the end of the project!
And now onto the subject of picking up ideas... This all started with a discussion on Tempests over at the IPMS Stockholm forums, one link led to a build by Californian dentist/master modeller Paul Budzik where he used this trick... The fit of the tank pylon to the wing surface could have been a lot better and it is tricky to get the shape right. Paul uses CA glue to fill out these kind of gaps with Bare Metal foil attached to the opposite surface to avoid the super glue to stick.
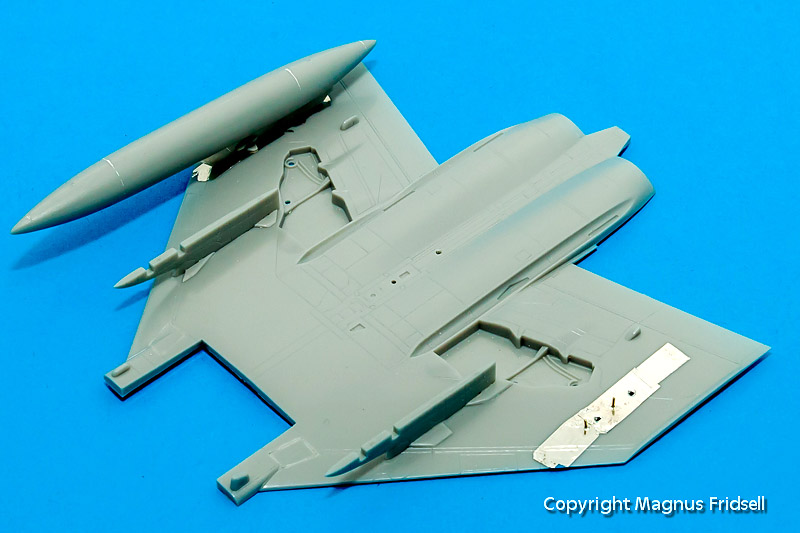
Preparing the wing with foil...
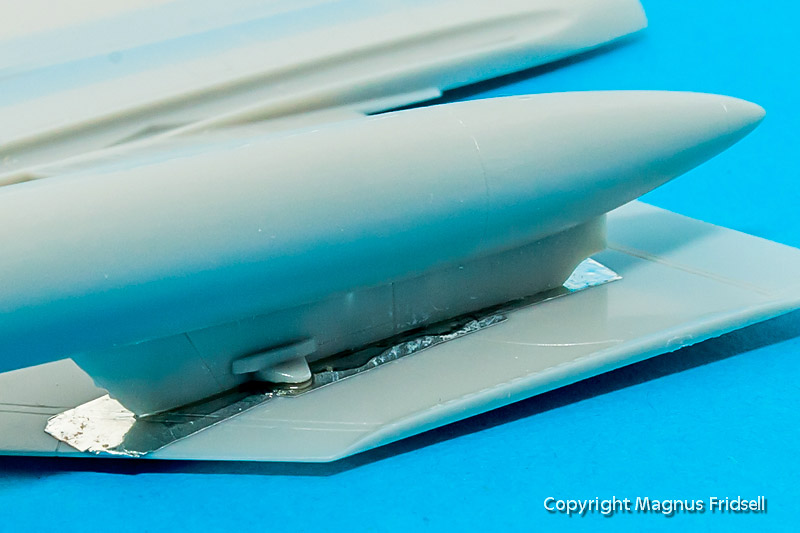
...filling with super glue...
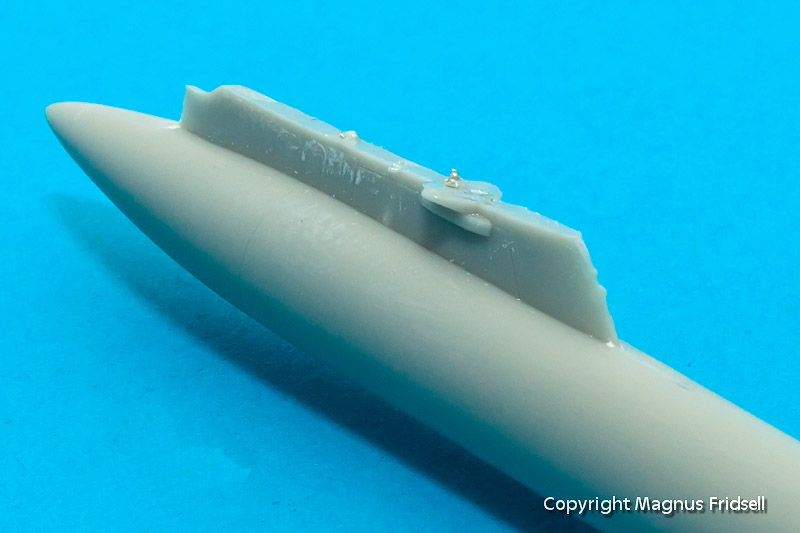
...and a perfectly fitting tank that only needs a bit of sanding around the edges!
Finally, I need some advice! There is no separate centerline pylon in the Hasegawa kits even if there are two different tanks included for this station, both with their rather special looking integrated pylons. I plan to hang a MER with M-117 bombs on the centerline but in the Hasegawa weapon set from where I source both the M-117s and the MER there are no pylons either... Can anyone confirm that I can use the same kind of pylon as used for the Vulcan pod? I have a redundant pod from a Fujimi kit that I can use the pylon from... I know that Scat XXVII at the USAF Museum is loaded this way so if someone has photos I'm all smiles!
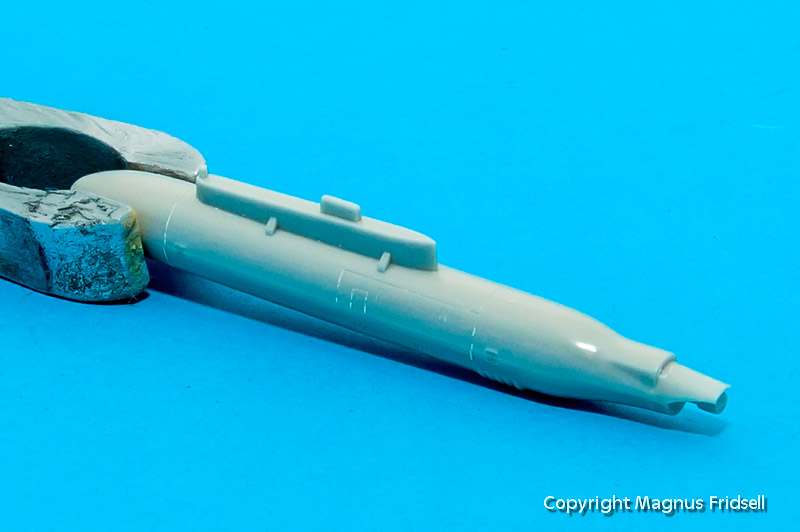
Last photo of the redundant pod. It has already succumbed to the razor saw...
Regards
Magnus