Academy F-4J 1/72

Started by George R Blair Jr · 66 · 5 years ago · Academy, F-4J, Ferris, Greg Kittenger, Phantom, World of Phantoms
  • Profile Photo
    George R Blair Jr said 5 years, 6 months ago:


    This is the start of a new build I am doing along with Greg Kittinger @gkittenger and his World of Phantoms. I always seem to be the first one at the party, so I figured I would kick off the party (group build?), (challenge?). The F-4 Phantom was the primary fighter when I entered the Air Force in 1973, so it has always been a favorite of mine. I have a bunch of F-4's of various types in a variety of scales, but I found this kit at Hobby Lobby on sale for $9. I couldn't resist.

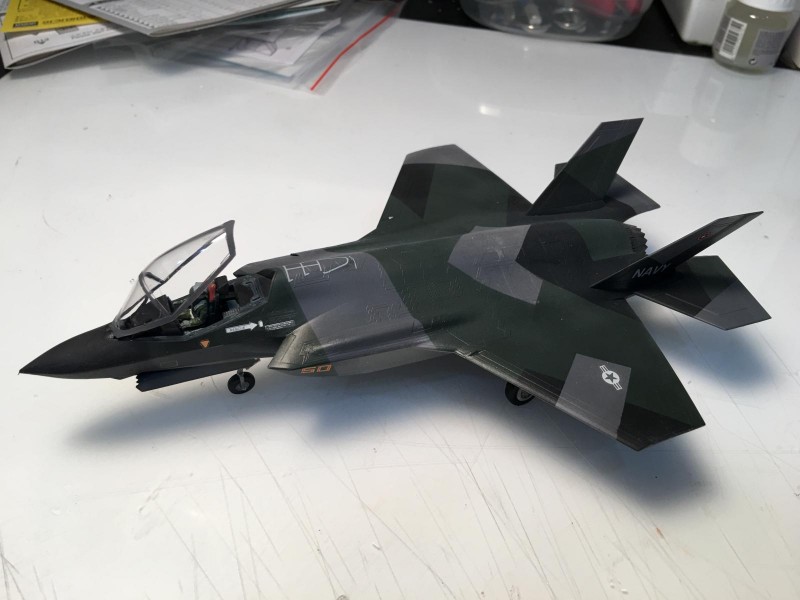
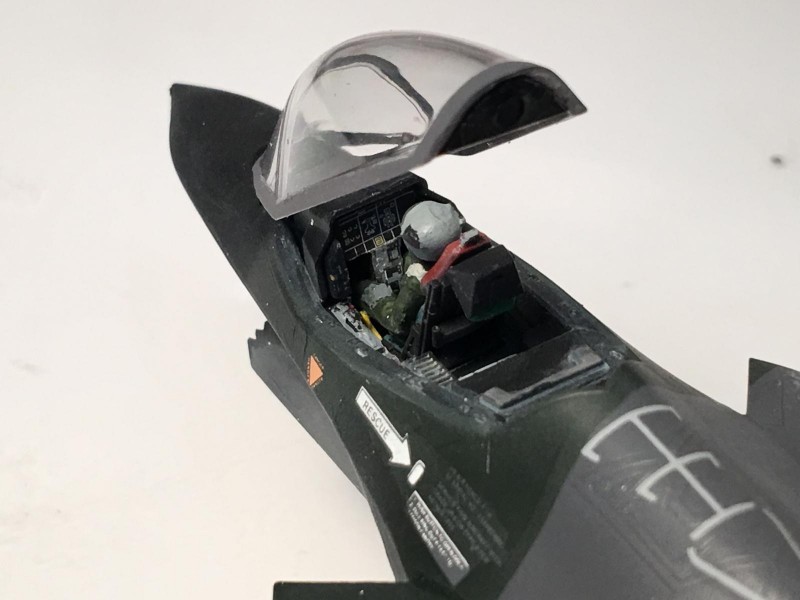
    I have friends who have dismissed this kit, mainly because it is advertised as a model you can build without glue. It is also molded in three colors so that it can basically be build without glue or paint. This makes the kit seem like it is designed for kids, not "real" modelers. But I have built a previous kit in this series, a 1/72 F-35, and have found them to be well-detailed & build into a great model. It was also molded in three colors, but once you spray some primer and paint on the kit it looks like any other model.


    There are a number of positive aspects to this F-4J kit: first, it is well-detailed. Second, the attachment points for the various parts are very firm. No need to worry about parts that just don't seem to stay in place. Third, the parts are divided in such a way that it makes painting easier. For instance, the seat frame is one part, and the cushion and headrest is another part. Fourth, from my experience with my previous build of the F-35, the parts fit very precisely. In fact, many of the parts fit so precisely that a thin layer of acrylic paint was enough to make them too tight to fit without removing the paint.

    Well, enough prologue. I plan to build this kit in one of the Ferris schemes that was applied to various F-4's. I already had the decals.


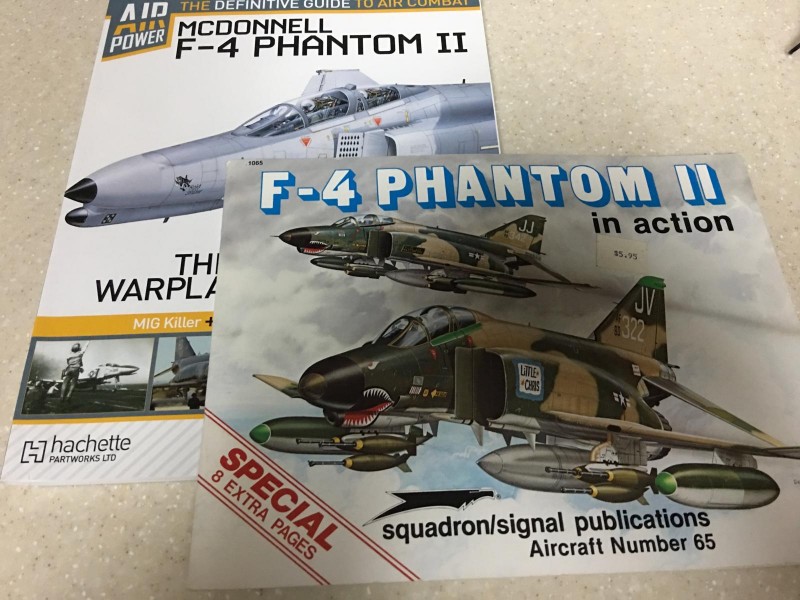
    I gathered some of the resources that I had on the F-4, and then ordered in some paint masks and Eduard photo-etch for the kit.

    I also have some resin seats for the F-4. I am not sure if I will all of these goodies, some of them, or none of them during the build. The kit seats look pretty good, and will look even better after I add the seat straps from the Eduard set. I have reached an age where I really, really, really like to have the pre-cut masks for my build, so these are a given.

    I hope to start the build early this week, and will post some updates as I go. I am looking forward to seeing the other Phabuous Phantoms the rest of you are doing.

    20 additional images. Click to enlarge.

  • Profile Photo
    Mike Licari said 5 years, 6 months ago:

    Cool. I'll be interested to see how this turns out. I have both decal versions of this kit (Showtime 100 and VF-84)...I just got the VF-84 version from Hobby Lobby on clearance like you did!

    I built the "press fit" Academy F/A-18F a few years ago...it was an awesome kit, so I'm interested to see how this one goes together.

  • Profile Photo
    Floyd Fassett said 5 years, 6 months ago:

    I will be watching this build. I have been eyeing one of those Academy Phantoms for a while now.

    Dave Fassett

  • Profile Photo
    Robert Royes said 5 years, 6 months ago:

    Dagnamit again you got me getting the itch, looks like an interesting kit.might have to try one. 'Real? it is real as you want it to be.'

  • Profile Photo
    George R Blair Jr said 5 years, 6 months ago:

    I got a good start on the kit today. I only worked a couple of hours, since today was cockpit photo-etch day, and my patience for working with parts I can't see or feel is fairly low.

    Besides, the new season of Stranger Things is available, so you have to set priorities, right? As in most kits, construction started with the cockpit. A little time studying the instructions for the kit and the Eduard photo-etch is important. I got the Eduard "Zoom" photo-etch for this build, so only the major cockpit pieces are included. There is some small surgery required on the kit parts, but it was fairly minor compared to other kits I have built. With the surgery completed, I began to slowly add the photo-etch to the cockpit and on the inside of the fuselage shell. My tools are pretty simple at this stage: some clamps (wooden clothespins), fine point tweezers, hobby knife with good old #11 blade, some sanding sticks (from my friendly neighborhood beauty supply store), some super glue, some Vallejo paint, and some Tamiya wash.

    After the surgery on the kit pieces, they were primed and painted. I used Vallejo spray paint in rattle cans for most of the painting. I really like this paint, it sprays smooth and thin, and dries quickly. The photo-etch went on without problems.

    The kit parts fit together like a glove. By the end of the my time (and patience), the cockpit was almost complete. It still needs some miscellaneous parts and some more cleanup of the wash, but that will wait for tomorrow.

    I did some test fit on the kit seats and I think they will be fine once I add the all the Eduard belts and straps to the seats. I think there are something like 42 belts and straps per seat (just kidding), but there are a lot of them.

    I will need some rest and meditation time to get my karma in sync with the universe before I tackle the straps. Time to go watch a couple of episodes of Stranger Things. :o)

    4 additional images. Click to enlarge.

  • Profile Photo
    Robert Royes said 5 years, 6 months ago:

    A great start!

  • Profile Photo
    David Mills said 5 years, 6 months ago:

    Nice choice George, looking at the parts count/breakdown/assembly there does not seem to be a lot of difference between the Academy's 1/72 version and their 1/48th!
    Great start - might have to rescue mine off the shelf of doom!

  • Profile Photo
    Erik Gjørup said 5 years, 6 months ago:

    And suddenly the pedals on a 109 in 1/48 seems huge… - and I even use same cheap reading glasses! looking forward to this (and more F4's that suddenly seems in fashion - now where did I put mine...)

  • Profile Photo
    Greg Kittinger said 5 years, 6 months ago:

    You leap-frogged me on the build start, and are off and running nicely! I hadn't considered PE sets for the cockpit, but man - looking at how that pays off on the instruments and panels, I'm really tempted!

  • Profile Photo
    George R Blair Jr said 5 years, 6 months ago:

    Finished the cockpit today, minus the seats. Only had a few minutes in between the gym and an art class I take on Monday. Still looking with dread at all of the belts and straps that go on the seats. I will hopefully jump into them tomorrow.

    5 attached images. Click to enlarge.

  • Profile Photo
    George R Blair Jr said 5 years, 6 months ago:

    Sorry, Greg. This kit was burning a hole in my hobby table. I only plan to build this F-4J right now, and the rest of my F-4's will fall into the long line of models I want to complete in the future. I have many more models than I will be able to complete in the rest of my lifetime, so I gotta keep moving. Being a fairly casual modeler, I figured I would set the bottom mark on these builds, and then let you young guys set the top mark. Are you still starting off with the Turkish F-4?

  • Profile Photo
    Robert Royes said 5 years, 6 months ago:

    Young guys? I wish . It's looking great! I see that the Academy kit has the correct Navy rear cockpit.

  • Profile Photo
    George R Blair Jr said 5 years, 6 months ago:

    The rear cockpit was one of the first things I checked. I know that some of earlier kits of the F-4 used a generic cockpit with sticks in both cockpits for both the USAF & USN versions, but the Navy backseaters (RIO's?) didn't have a stick. I got a chance to fly the F-4 simulator when I was stationed at Luke AFB in the 1970s, and the experience was humbling. I did run into one small problem with the Eduard photo-etch, however. You cut a portion of the rear instrument panel and add a large box of instruments that sits on top of the panel. The box looks good (it would have looked even better if I had superglued it on straight, but the back of the box is empty. So I need to do a little research to see what was there & cobble together something that will look reasonable. I'm guessing that there were probably some wiring and so on, but photographs of the back of this panel are hard to find.

    1 attached image. Click to enlarge.

  • Profile Photo
    Robert Royes said 5 years, 5 months ago:

    If I'd only knew, all the time I spent doing ,pre-flight insp's , or hiding out in the cockpit as a plane captain I could've taken photos , but probably would have been in the brig for spying. The old Monogram 'J' bird has correct cockpit too. Maybe these might help, their a bit unclear though.

    3 attached images. Click to enlarge.

  • Profile Photo
    Ferry Dierckxsens said 5 years, 5 months ago:

    Great start on your Phantom George. Cockpit looks wonderful.