Academy F-4J 1/72

Started by George R Blair Jr · 66 · 5 years ago · Academy, F-4J, Ferris, Greg Kittenger, Phantom, World of Phantoms
  • Profile Photo
    George R Blair Jr said 5 years, 4 months ago:

    Great photo, Robert. I'll bet it sure brings back memories. You might be right about ending up in the brig. I had a small incident when the first F-15's got to Luke and I ended up kissing the concrete. The white diagrams show the large box/panel sitting right on top of the rear seater's instrument panel, but my problem is what is on the other side. No one ever shows the back side of the panel, probably because that's not the interesting side. Thanks for the help.

  • Profile Photo
    Greg Kittinger said 5 years, 4 months ago:

    Hey - no worries! Totally cool that you got the early start - I'm just happy to have the company. I do plan to start with the Turkish bird, probably along with an EJ-Kai to add to our contest theme build next spring (Made In Japan).

    I know what you mean about the backs of the instrument panels. I found decent references for my prior German RF-4 build, but not the same set up as the Navy Phantom obviously! When in doubt, make something up that seems reasonable! (that's my theory/practice, anyway!).

  • Profile Photo
    George R Blair Jr said 5 years, 4 months ago:

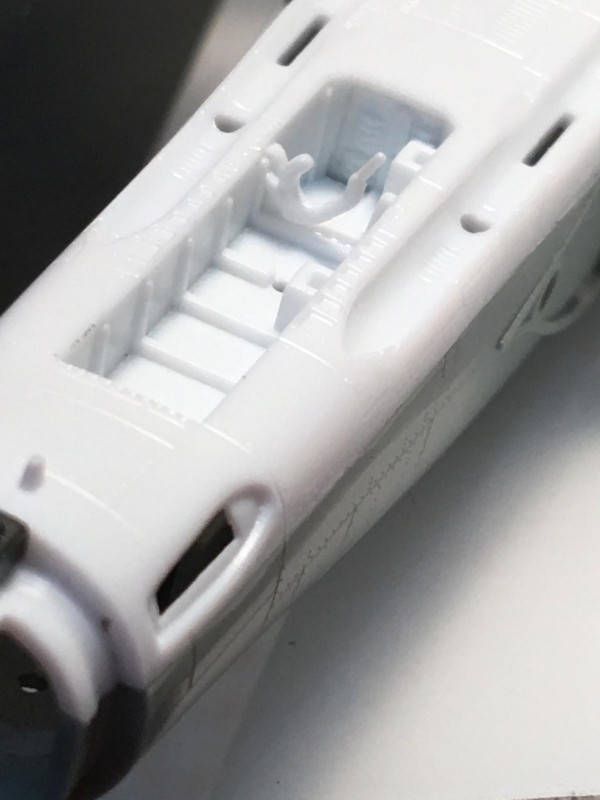
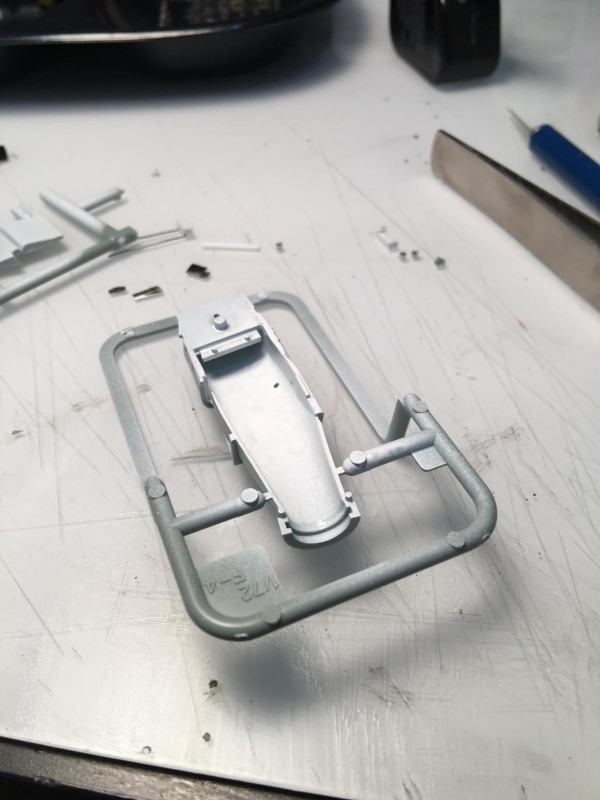
    Got a little more work done today. I started assembling the fuselage. You need to study the parts and the instructions (I know using the instructions is heresy, but it turns out it does make a difference in this case). There are several parts in the assembly of the fuselage that absolutely need to be added in a certain order because they won't go in later.

    All of the attachment points are very positive and firm. The cockpit assembly went in first, followed by the lower metal tail section of the rear fuselage.

    I test fitted the upper part of the fuselage and found that the additional parts added to the cockpit made the forward part of the fuselage reluctant to close. I did a little sanding which slightly eased the fit and so I proceeded with gluing the upper fuselage to the lower fuselage. The fit on the rear of the fuselage was terrific, but I noticed after everything was glued that the cockpit forced the upper part of the fuselage on one side out slightly, resulting in a very small step between the white and gray parts on the forward left fuselage. I think a little clamping and internal glue may eliminate it.

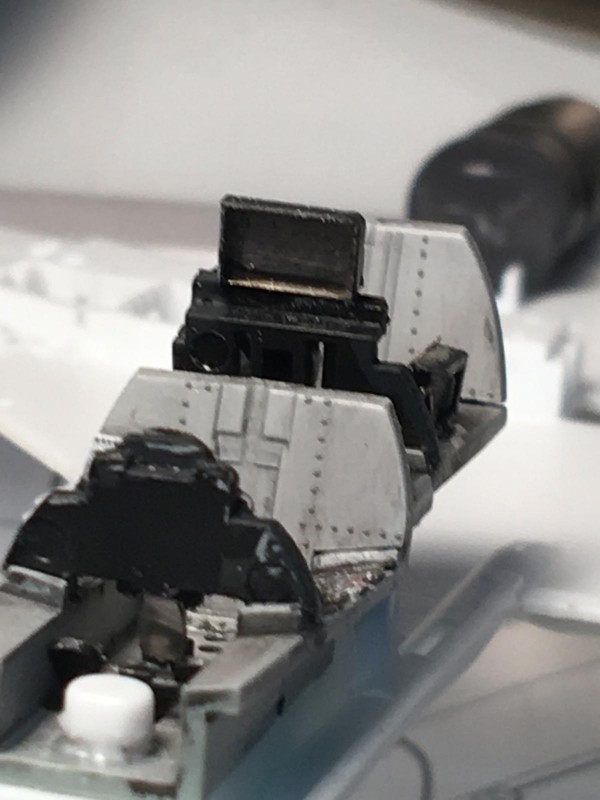
    There is some good news here! Everything fit so tightly that the instrument assembly that had no back detail popped off the rear instrument panel. It was a clean separation, so now I can fix the missing back of the panel on the workbench instead of on the model, and I get to fix the small angle in the panel from when I initially glued it. Another big plus: you can add the seats after everything is built and painted. So I get to delay adding all of those straps and belts to the seats for a few more days. Yeah!

    I am still impressed with the fit and engineering of this kit. The manufacturers seem to have anticipated my ham-fisted skills at every level. The sprue attachment points on many of the parts is on a face that mates with another part and will be out-of-sight when glued. Very cool. They are so conscientious that there are several places in the instructions where they remind you to remove the attachment points before assembling the adjoining part. Almost dummy-proof, which is great for me.

  • Profile Photo
    Robert Royes said 5 years, 4 months ago:

    Man, your really selling me on this kit.

  • Profile Photo
    Mike Licari said 5 years, 4 months ago:

    When I built the Academy press-fit F/A-18, I also found that kit to be well-engineered. The fit was also so good that I could leave parts off to aid in painting.

    Academy really knows what they're doing with this series.

    Your work so far looks great. I'll admit you have far more patience with PE parts that I could ever muster...

    Mike

  • Profile Photo
    Greg Kittinger said 5 years, 4 months ago:

    Looking sharp! I'm used to adding the burner cans last after detailing them, but I can see this kit will involve a different approach to some of my usual processes, though it looks like the results will be well worth it!

  • Profile Photo
    George R Blair Jr said 5 years, 4 months ago:

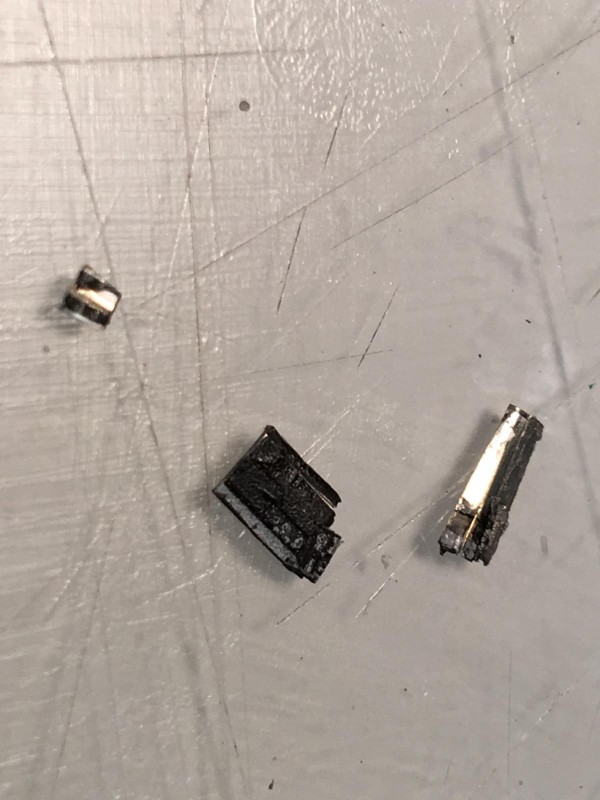
    A little more work today. I hate to admit it, but I don't usually do a lot of test fitting, but for once I did some test fitting and it proved useful. While I was staring at the large empty photoetch box sitting on top of the rear instrument panel trying to figure out what to put behind, I began to wonder if it might be too high. I tried the canopy and found that the box prevented the canopy from closing by about 1/16 of an inch. Not a lot, but nearly a mile in this scale.

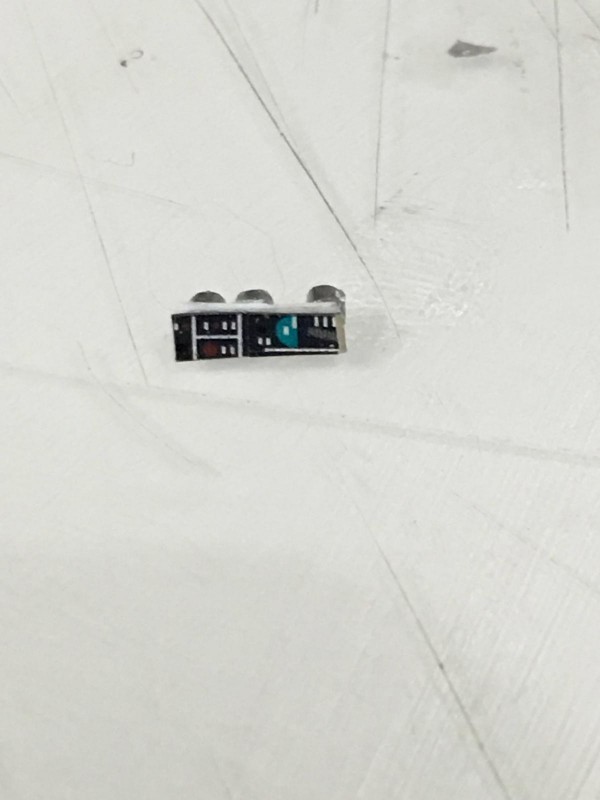
    No problem, I told myself. I can simply cut the photoetch down a little to allow the canopy to close. Well, let's say cutting the photoetch wasn't as successful as I might have hoped. The painted portion of the panel separated from the actual metal itself, so nothing left but a piece of shiny metal and some painted stuff that wasn't going to be reuseable. I decided to scratchbuild a replacement using some plastic strip and some photoetch from the scrap box. I actually found a reference photo showing what was on the other side of the rear instrument panel in question, which turned out to be some round backs to the instruments and some wires. I have some really small diameter aluminum tube that I use for 1/48 machine guns which should work well for the back of the panel. It's interesting, sort of, that by the time I get done with the replacement it will look almost exactly like the part of the panel that Eduard had me remove to add the big giant box.

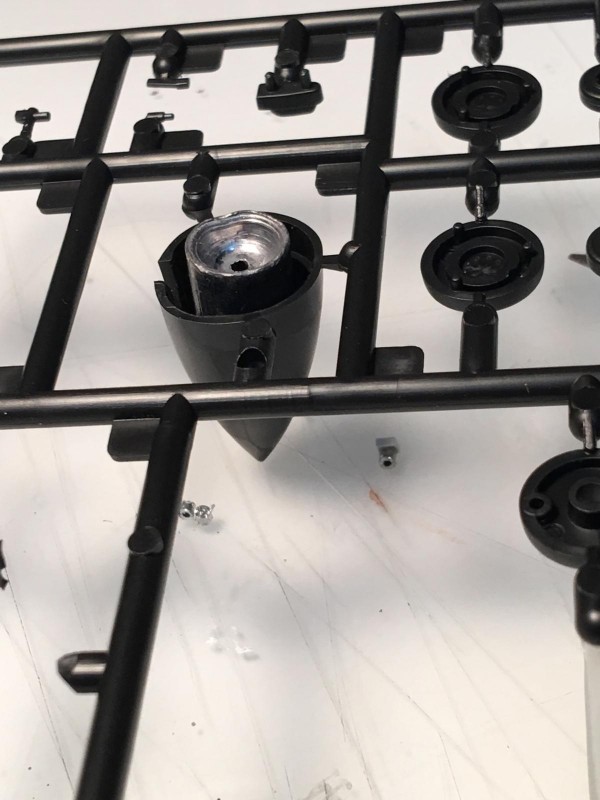
    The seam on the nose of the aircraft that was bulged out a little because of all the stuff I added to the cockpit closed up nicely. The design of the engine trunk made it easy to paint the interior white. Almost forgot to add some weight in the nose, but I found that I have a 3/8 ounce fishing sinker that fits nicely in the nose.

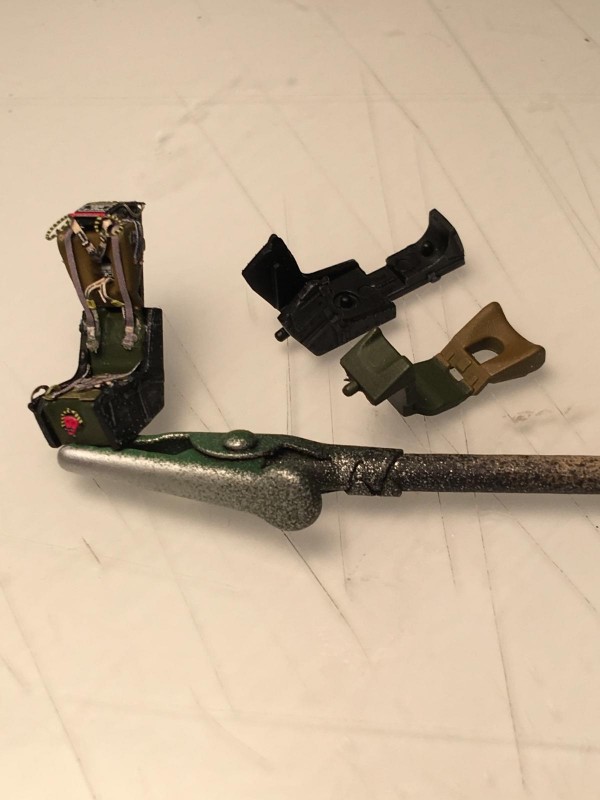
    The last of the photoetch in the Eduard Zoom set consists of 18 parts for each ejection seat. I had been putting this off, because I find working with very small photoetch very unrelaxing. An hour later I had one seat completed. I have to admit that these parts make a big difference. Check out the before and after photos of the seats below. I will finish the second seat as soon as my hands and eyes recover.

  • Profile Photo
    Erik Gjørup said 5 years, 4 months ago:

    Comin' along nicely. Almost making a 109aholic starting to speculate to think of adding a "düsenjäger" to the buildbenchcluster...

  • Profile Photo
    Greg Kittinger said 5 years, 4 months ago:

    All that stuff definitely spruses up the seats. My favorite tactic for saving a lot of that work is plunking a pilot down on the seat!

  • Profile Photo
    George R Blair Jr said 5 years, 4 months ago:

    I like the pilot-in-the seat tactic, but sadly there weren't pilots with the kit. Now that I am done with seats, it was probably worth it. You would have gotten a different answer if you had asked me right after I had dropped one of the seat straps into the carpet. I must be living right, because I found the errant strap.

  • Profile Photo
    Robert Royes said 5 years, 4 months ago:

    I close the canopy, my shaky fingers and all. The seat is great! , just ready for the plane captain to put the seven safety pins in.

  • Profile Photo
    George R Blair Jr said 5 years, 4 months ago:

    Seven! The stuff I flew in the Air Force had only one pin. Probably because the seats in the T-37 & T-38 weren't as advanced as the F-4's.

  • Profile Photo
    Ferry Dierckxsens said 5 years, 4 months ago:

    Coming along very nicely. Seats look fantastic with the PE additions.

  • Profile Photo
    George R Blair Jr said 5 years, 4 months ago:

    I really got side-tracked trying to fix the rear instrument panel, which made me feel like I was spinning my wheels. After finding the big photo-etch piece from Eduard wouldn't fit above the rear panel, I built a new one out of strip plastic. I added some round instrument cases/backs on the rear of the panel, along with some wires, and I raided my photoetch spares box for something that would work on the front of the panel.

    While I was admiring the closeup photos I took of my completed cockpit, I discovered that somewhere in all the handling the small curved part of the forward instrument panel had disappeared. So, back to the spares box for some more stand-in photoetch to replace the missing part.

    I also finished the photoetch on the second pilot's seat, thereby completing (hopefully) all of the photoetch work on this plane.

    I moved on to the intakes, each made up of four parts. I prepainted everything I could and assembled the parts. There are two small holes on the upper curve of the intake that need to be filled. I'm sure these holes are for parts that would be used on another version of the Navy F-4. This is the only filler I have used on the build so far.

    I also added a fishing sinker to the nose and then glued it in place.

    Everything has fit together like a glove and really looks the part when done.

  • Profile Photo
    Erik Gjørup said 5 years, 4 months ago:

    Comin' along nicely - thank you for pointing out the need for a pre-assembly wash of the sprue.