Got some good work done today. The plane is coming together and is starting to look like an F-4.
-
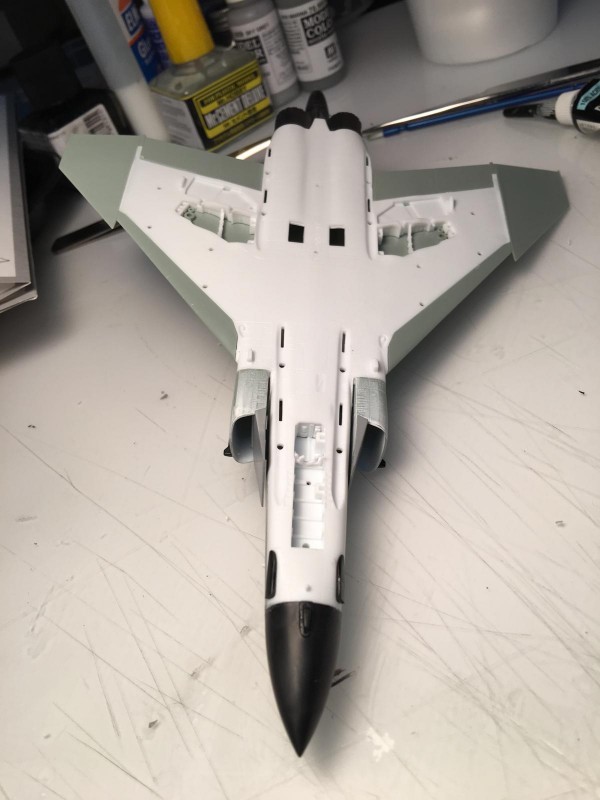
1. The kit is molded in three colors, but doesn't quite work on the belly.
I added the intakes to the fuselage, along with the top of the wings. On other F-4 kits the intakes are usually an area that need some work with some sandpaper and filler to make everything fit, but these went on almost perfectly. No sanding required and just a wisp of filler at the bottom of the joint.
-
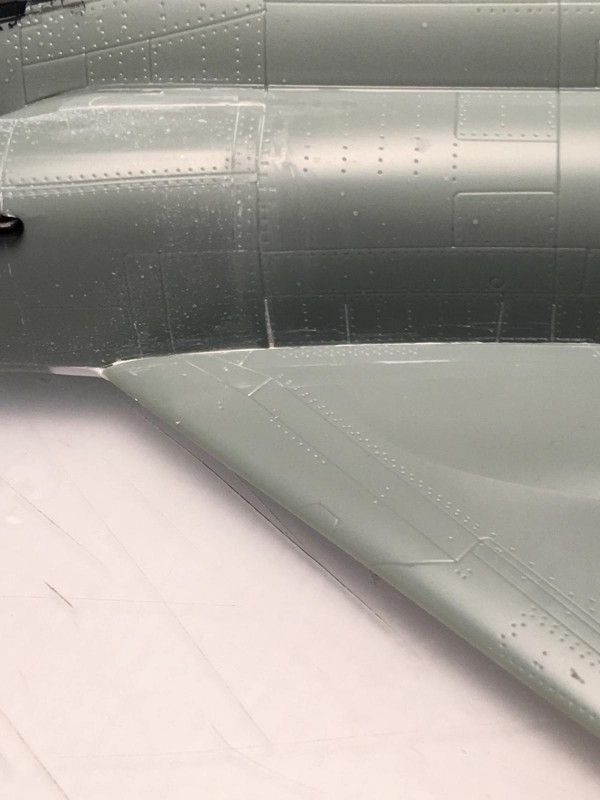
1. No sanding needed, only light filler.
The wings were the same, with no filler needed on one wing and another wisp of filler on the other side.
-
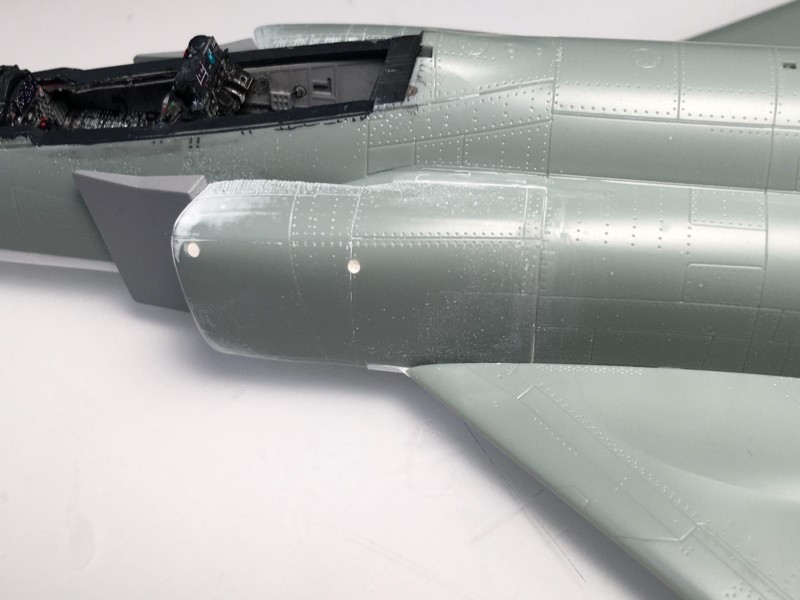
1. I had to unfill these holes.
2. This is the only place on the wings that needed filler, and only a tiny amount.
The only part I have found that didn't quite fit was the small cover over what I think is the braking parachute housing at the extreme aft end of the fuselage. It was a little high on top, but some quick work with a sanding stick brought everything together.
-
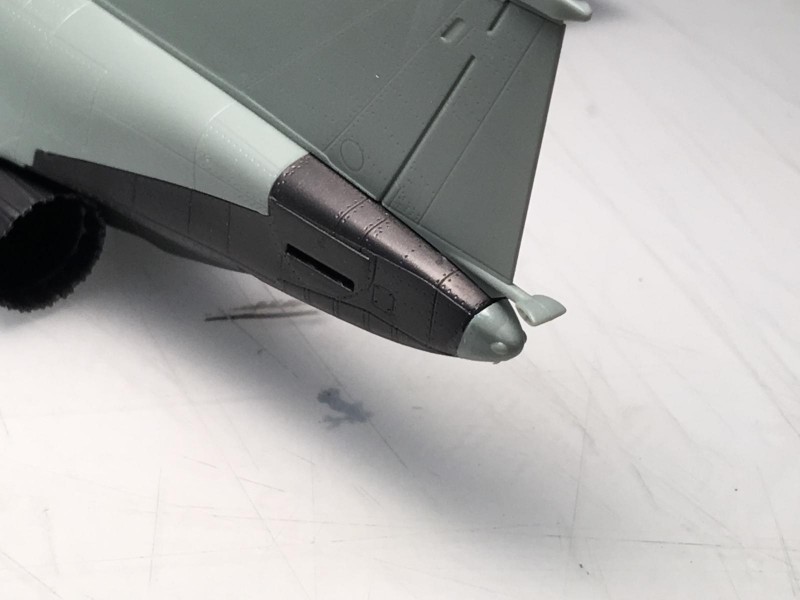
1. The only part that didn't really fit, just light sanding needed.
I was a little skeptical about the arrangement to add the tail fin, which was just three small pins that fit into the fuselage. I figured it would take some work to make sure that the fin was perfectly vertical. Well, I was wrong. The pins fit so tightly into the fuselage that the fin is absolutely vertical with no side play at all.
-
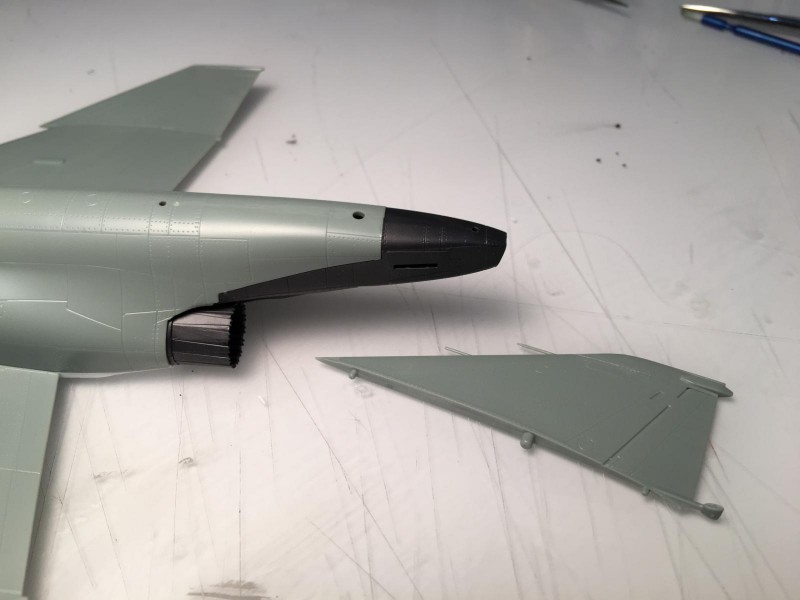
1. Turns out these pins mate the fin perfectly with the fuselage.
I also found some thoughtful design with the gear doors. For instance, for gear down, the nose gear door parts are split into two sections, as you would expect. But if you want to depict the plane with the gear up, there is another kit part with the doors molded all in one piece. Great engineering.
-
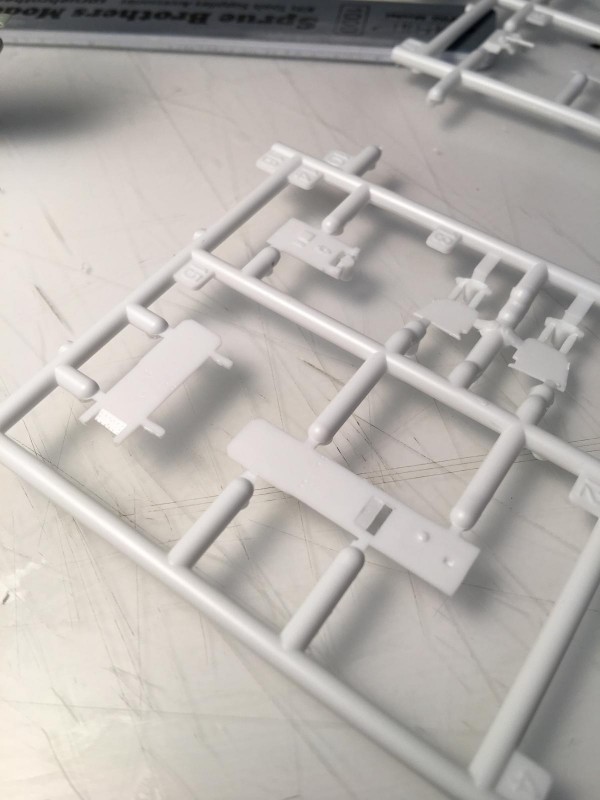
1. Nose doors for wheels down
2. Nose door for wheels up
I should have checked my references sooner, because I discovered that the plane I want to model is a later "J" with the ECM pods on the sides of the intakes. So I took the filler out of the holes I had previously filled and added the required parts. Thankfully these were included in the kit, although the kit instructions have you fill the holes in the intake and not use the extra parts.
-
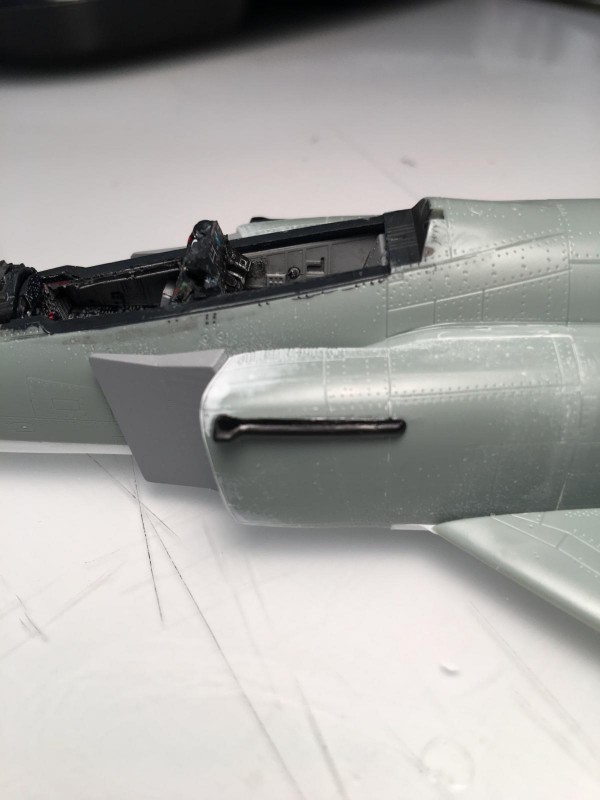
1. Thankfully these pods are included in the kit.
The last thing I dealt with today was sorting out the blue-tinted windscreen using some diluted clear blue from Tamiya. I think I will be close to being ready to paint tomorrow.