A little more work today. I hate to admit it, but I don't usually do a lot of test fitting, but for once I did some test fitting and it proved useful. While I was staring at the large empty photoetch box sitting on top of the rear instrument panel trying to figure out what to put behind, I began to wonder if it might be too high. I tried the canopy and found that the box prevented the canopy from closing by about 1/16 of an inch. Not a lot, but nearly a mile in this scale.
-
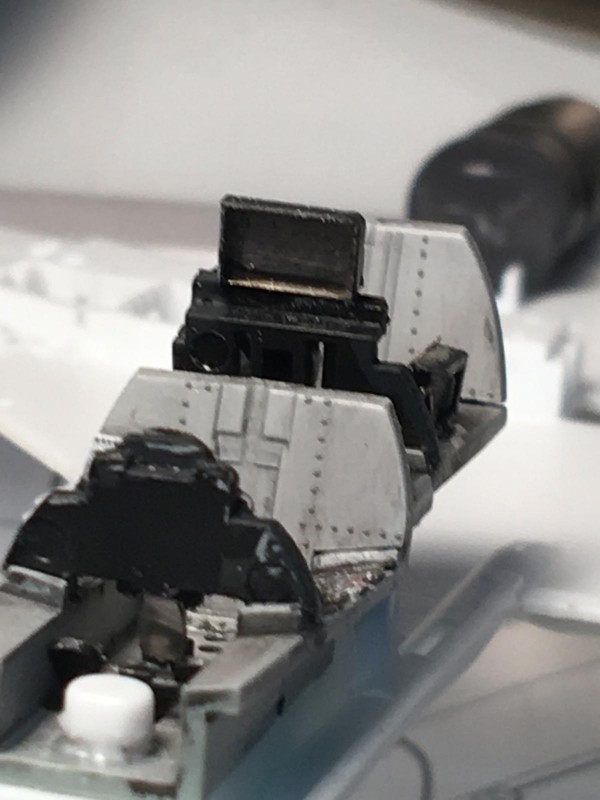
1. Big, giant box that wouldn't allow the canopy to close.
No problem, I told myself. I can simply cut the photoetch down a little to allow the canopy to close. Well, let's say cutting the photoetch wasn't as successful as I might have hoped. The painted portion of the panel separated from the actual metal itself, so nothing left but a piece of shiny metal and some painted stuff that wasn't going to be reuseable. I decided to scratchbuild a replacement using some plastic strip and some photoetch from the scrap box. I actually found a reference photo showing what was on the other side of the rear instrument panel in question, which turned out to be some round backs to the instruments and some wires. I have some really small diameter aluminum tube that I use for 1/48 machine guns which should work well for the back of the panel. It's interesting, sort of, that by the time I get done with the replacement it will look almost exactly like the part of the panel that Eduard had me remove to add the big giant box.
-
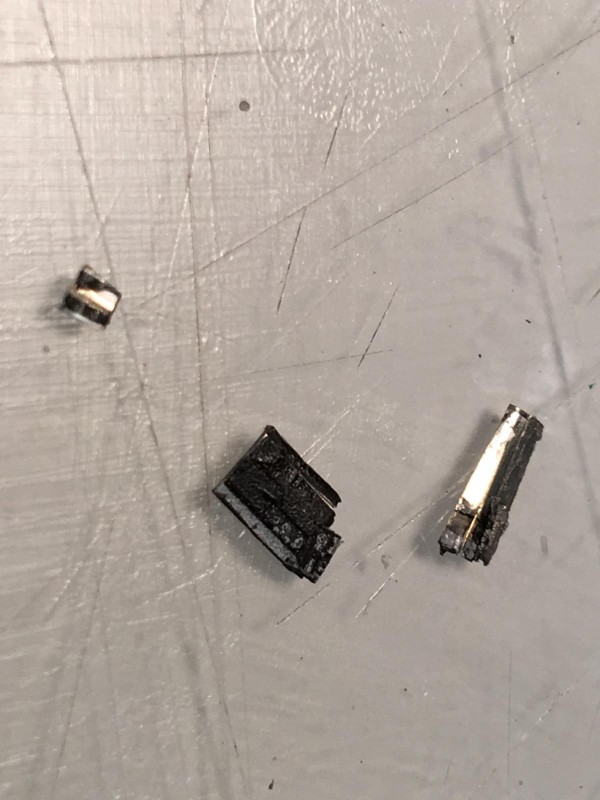
1. Painted instruments, with no metal back
2. Metal back, with no paint
-
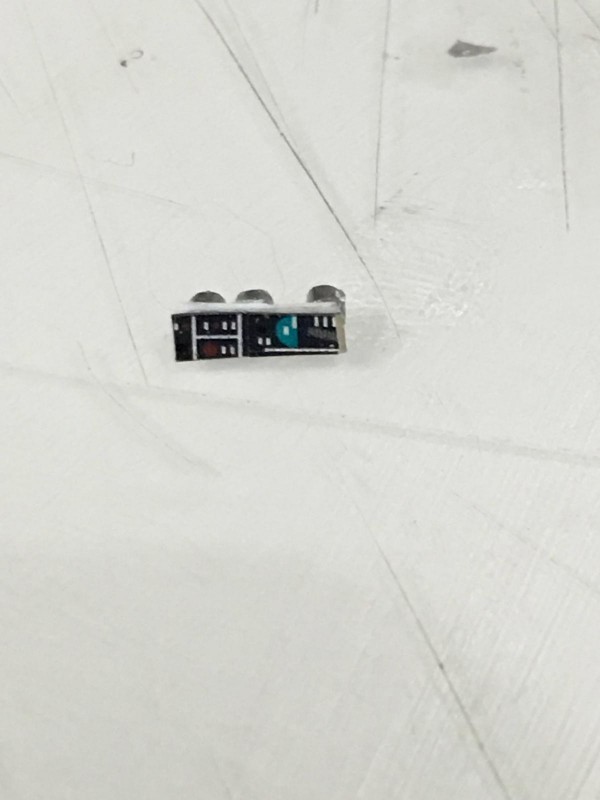
1. Substitute panel. Will add a single instrument on top to bulk it up.
The seam on the nose of the aircraft that was bulged out a little because of all the stuff I added to the cockpit closed up nicely. The design of the engine trunk made it easy to paint the interior white. Almost forgot to add some weight in the nose, but I found that I have a 3/8 ounce fishing sinker that fits nicely in the nose.
-
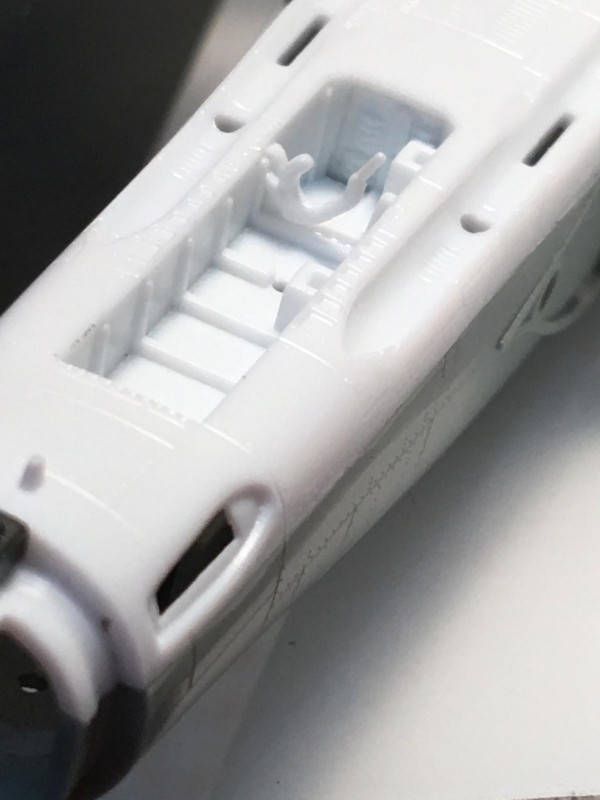
1. Seam came together nicely
2. Some of the parts are fairly detailed for this scale.
-
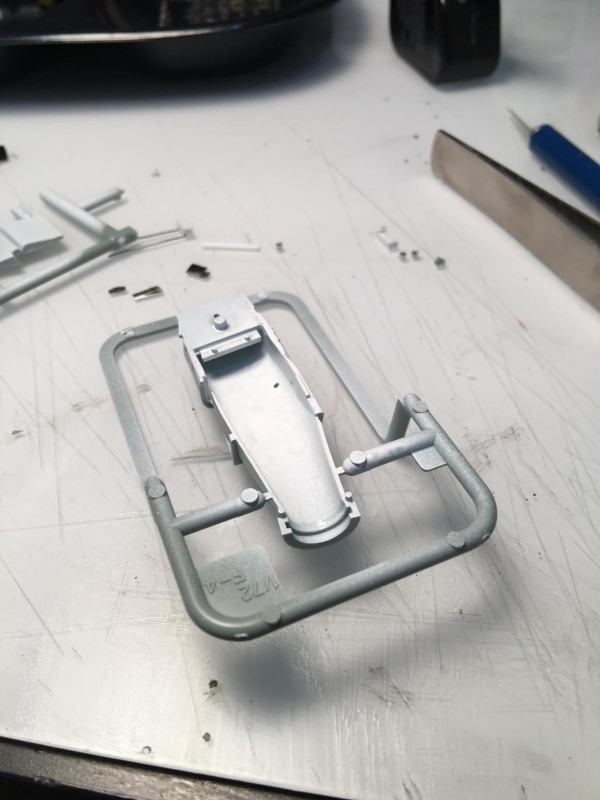
1. Inside of engine trunk prepainted white. The other side was already molded in white.
-
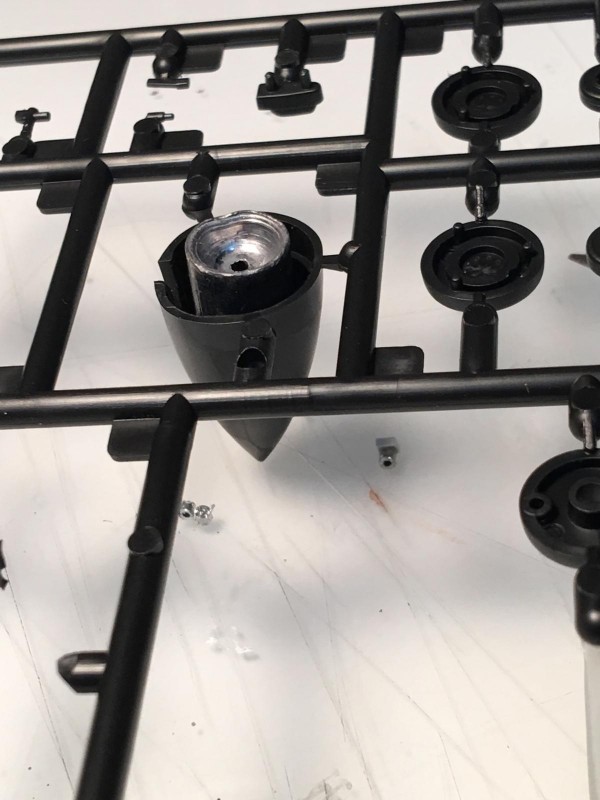
1. 3/8 ounce fishing sinker
The last of the photoetch in the Eduard Zoom set consists of 18 parts for each ejection seat. I had been putting this off, because I find working with very small photoetch very unrelaxing. An hour later I had one seat completed. I have to admit that these parts make a big difference. Check out the before and after photos of the seats below. I will finish the second seat as soon as my hands and eyes recover.
-
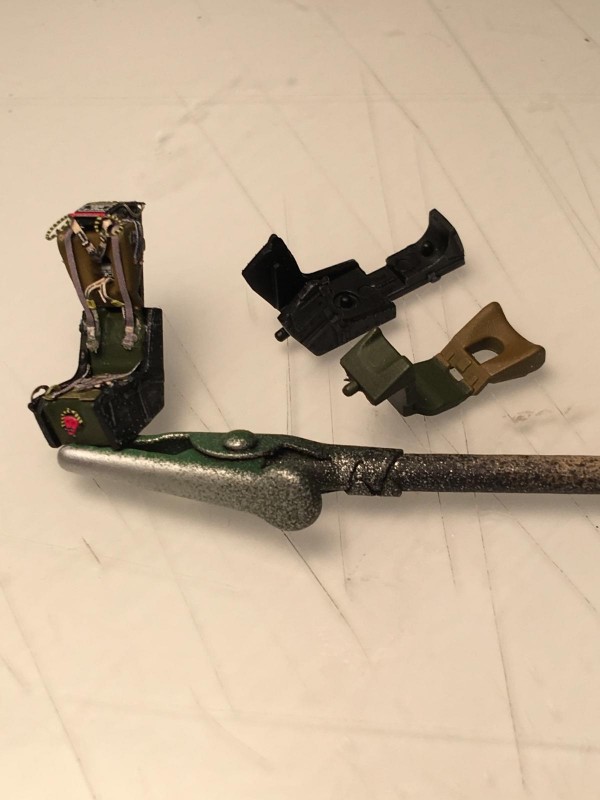
1. Photoetch makes quite a difference