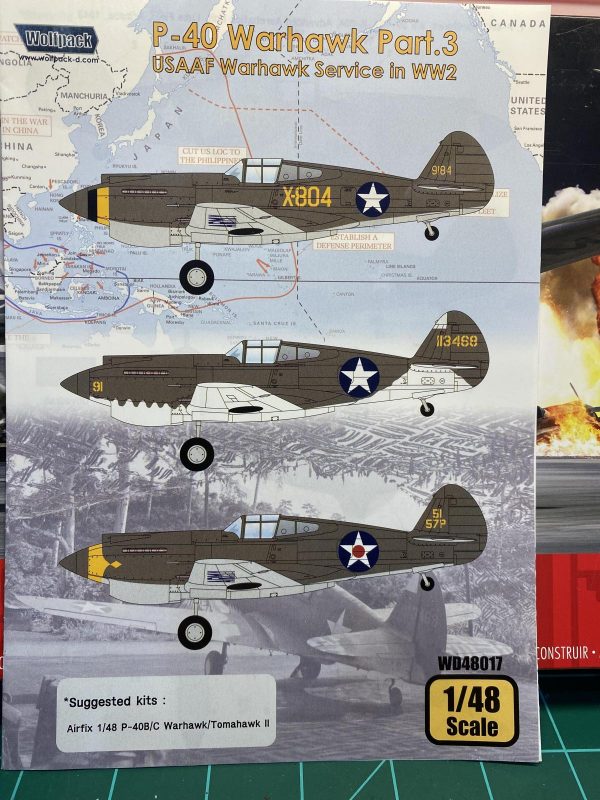
I have wanted to build this particular kit for a long time. When you search the internet for photos of P-40s, you will inevitably find a color photo of an early P-40 with a fuselage code of "X-804". This plane, which was the subject of a wartime article in Life magazine, was used for advanced fighter training at Luke Army Air Corps base near Phoenix, Arizona. My first assignment in the Air Force as a new Second Lieutenant was at Luke Air Force Base, so building a model of this plane was a no-brainer.
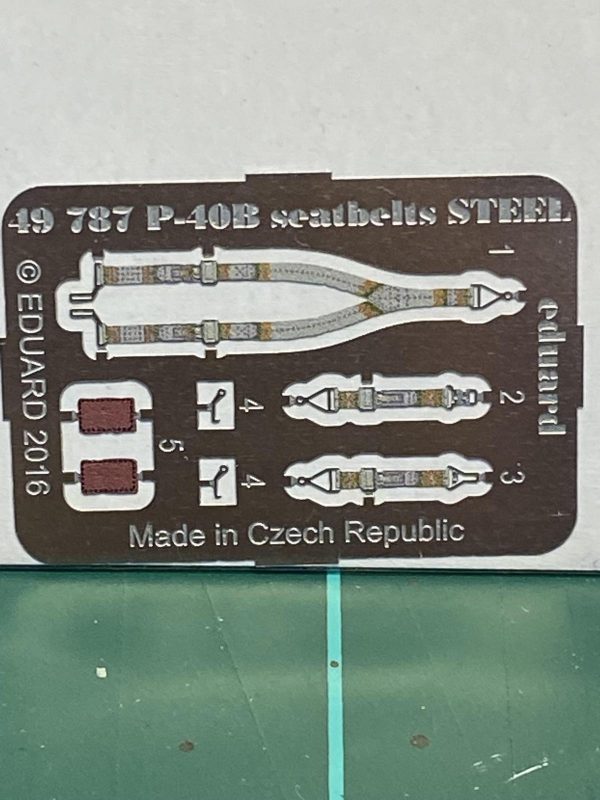
I had heard good things about the Airfix P-40B, so that was easy to acquire. I had planned to piece the markings together using my spare decals, but it turns out that Wolfpack makes a decal set for X-804. Problem solved. The only thing I added to the basic kit was a set of Eduard seatbelts for the P-40B.
-
-
Looking at the photo, you can see that the plane is an early model P-40. The next step was to figure out whether X-804 was a basic P-40, a P-40B, or a P-40C. I was a little fuzzy about the difference between the early models, but the basic external difference has to do with the number of guns in the wings. This is where things get a little confusing. The first production P-40, known as a P-40 or P-40-CU, had no guns in the wings. But it seems that some P-40-CUs had guns added later. The next model was the P-40B, that had a couple of guns in each wing. The P-40C also had guns in the wings. When you look at the photo, you can't see any guns in the wings, so I figured it was a basic P-40, but further research revealed that planes used in training sometimes had their guns removed. The internet can be a real swamp of mis-information, and I found sources that identified X-804 as a P-40-CU, a P-40B, a P-40C, and a P-40N (really?). I finally found an extract from an accident report from late 1942. It turns out X-804 was destroyed in a crash, and the accident report identifies it as a P-40-CU. So, I figure I will probably build my model as a P-40-CU with no wing guns. The other thing the photo reveals is a very weathered finish on the plane, which is something I want to try to replicate.
Initial look at the model parts were very promising. They looked detailed and accurate. The kit includes two different types of canopies, as well as separate canopies for an open or closed cockpit. It also includes two different sets of tires, one with weighted tires for gear down, and one set with round tires for gear up.
-
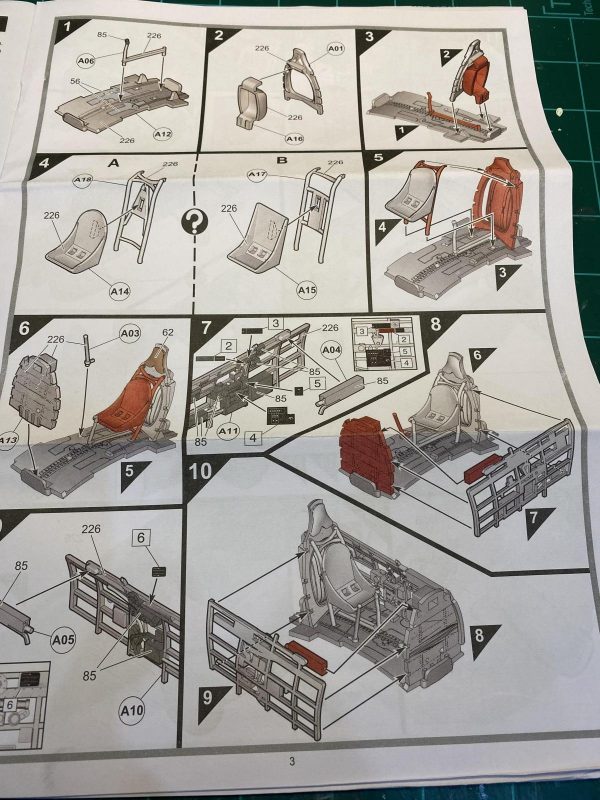
1. I like Airfix's new instructions.
-
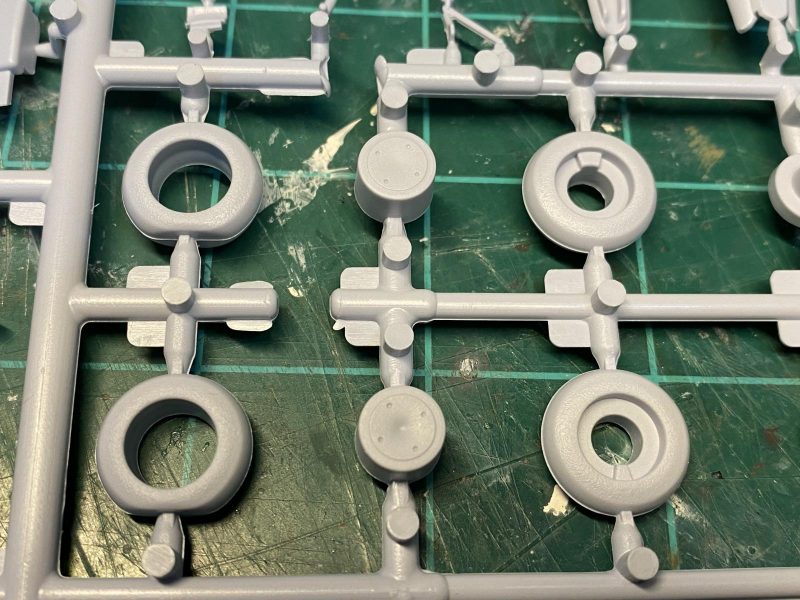
1. Weighted tires
2. Unweighted tires
-
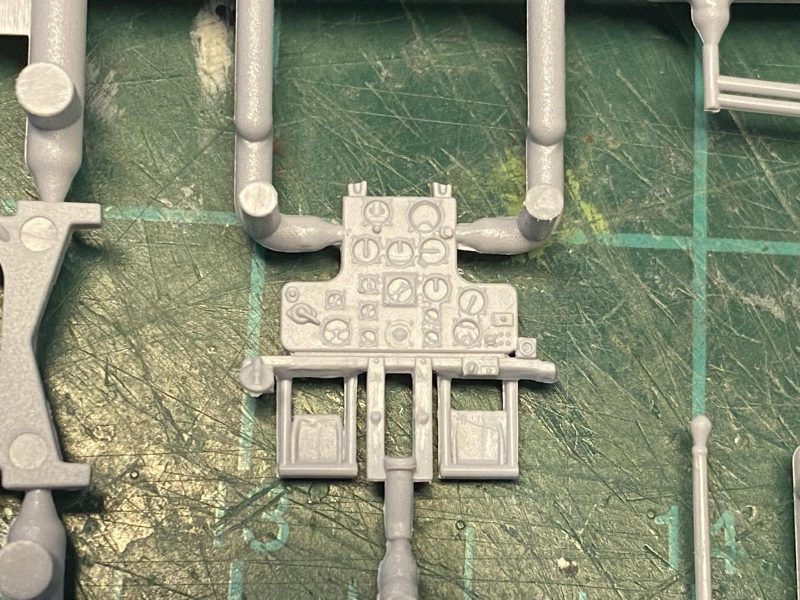
1. Instrument panel is fairly detailed.
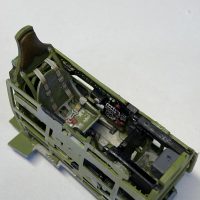
Work unsurprisingly begins with the cockpit. I wanted to try using some Worn Effects fluid from AK Interactive to create some wear in the cockpit. I started by painting the cockpit floor and the seat with a aluminum paint. After this had dried, I sprayed a couple of layers of Worn Effects fluid over the aluminum. Once dry, I sprayed a layer of cockpit green over the parts. As soon as this was dry, I sprayed water over the parts to reactivate the Worn Effect fluid, and then I started scrubbing the surface with a stiff brush. I worked slowly and carefully, and soon had a nice pattern of wear in the seat and on the floor. I let all this dry for a few hours, and then sprayed a layer of clear over the parts to protect the finish. This is basically the "hairspray" method that has been around for a while. I like the effect and will use it some more in the future.
-
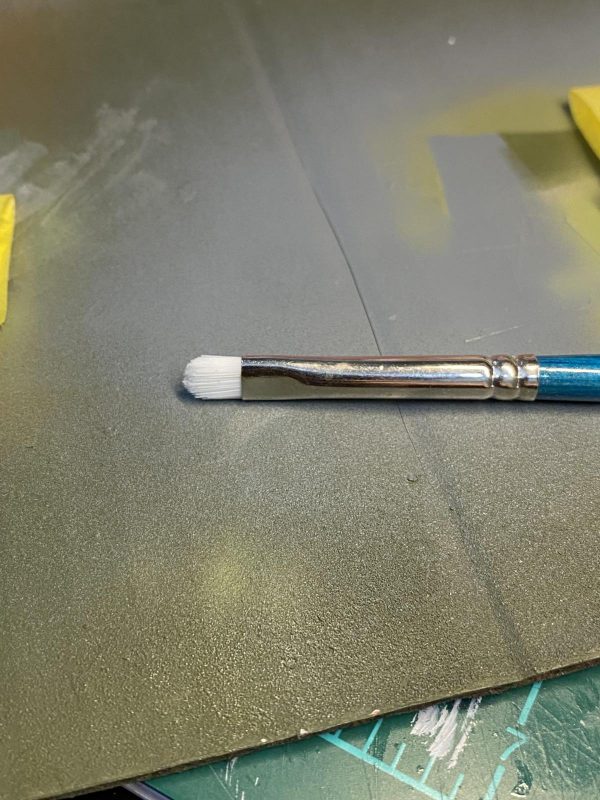
1. I bought this brush, but you can also use an old, wornout brush.
-
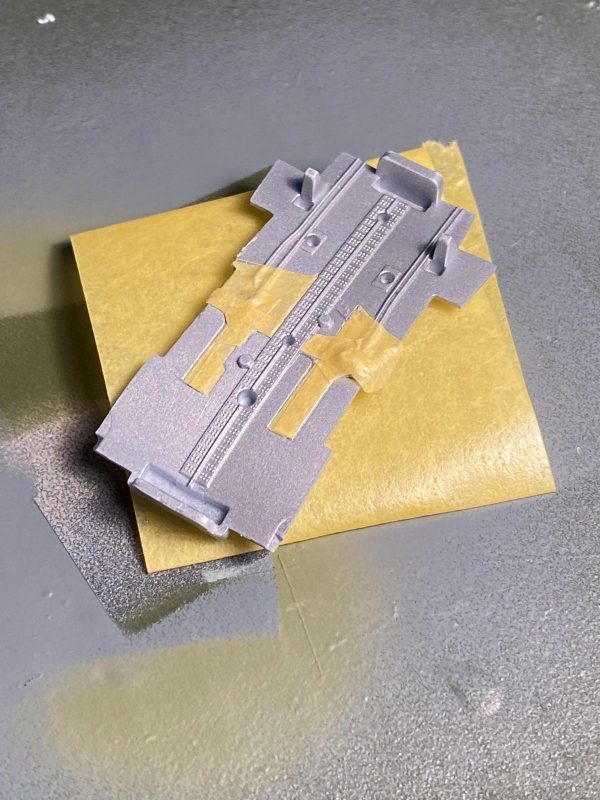
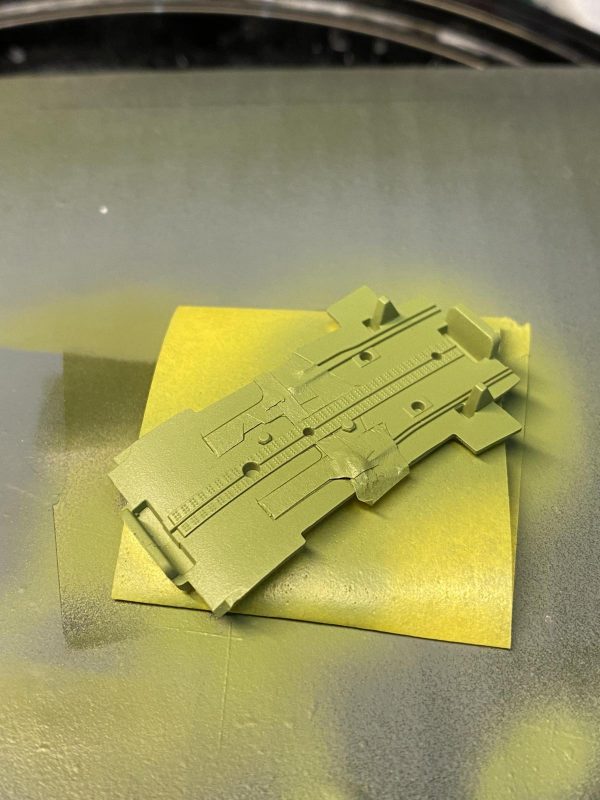
1. Step 1: Floor painted silver and metal parts masked.
-
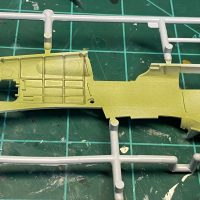
1. Worn Effects sprayed on, followed by cockpit green.
-
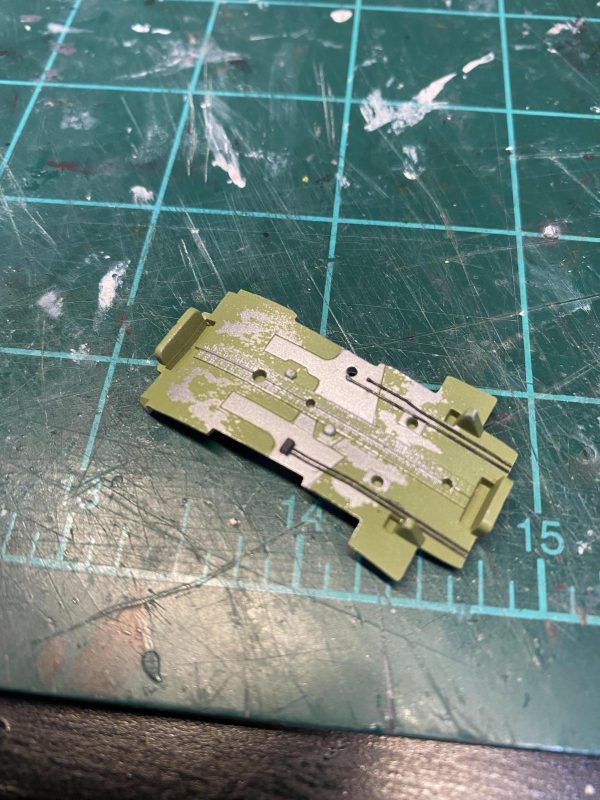
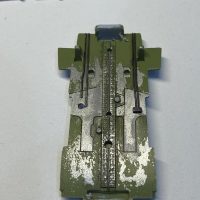
1. Work with water and brush produced this effect.
-
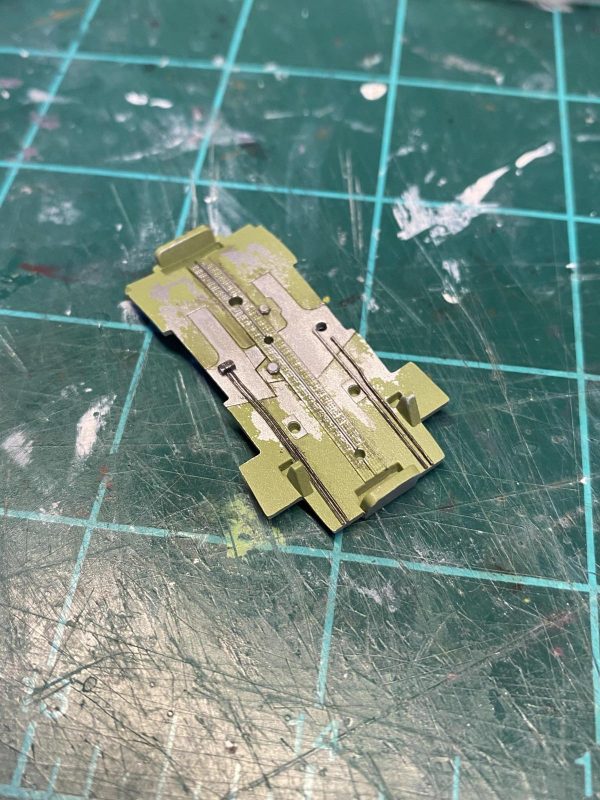
1. Floor with dark wash added.
-
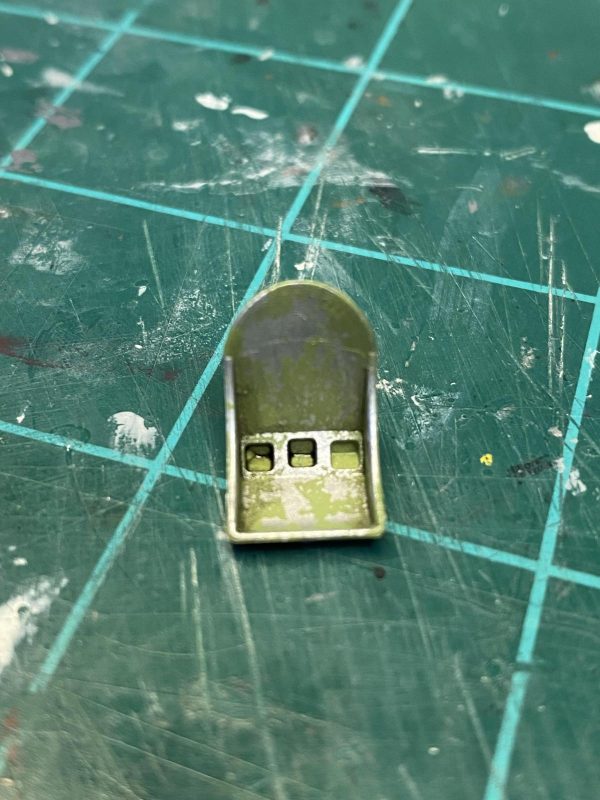
1. Seat completed with dark wash.
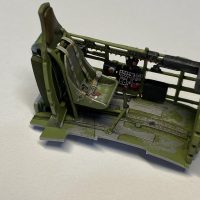
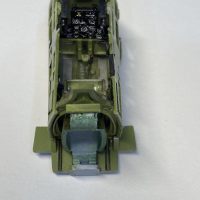
I painted and built as much of the cockpit as I could while the parts were still on the sprues. This makes it easier to handle and paint some of the smaller and intricate parts. One problem I had with this model that I had with the previous Airfix kit I had built was that the plastic is very soft. I managed to break several of the horizontal spars on the cockpit sides as I tried to clean and paint them. I repaired them with liquid glue and everything was fine. I used the kit decal for the instrument panel and after several applications of decal solvent, I think it looks fine. I added the seatbelts to the seat, and then assembled the various cockpit parts. Everything fit like a glove.
I should be able to move on to the fuselage tomorrow. Everyone stay safe!
7 additional images. Click to enlarge.
-
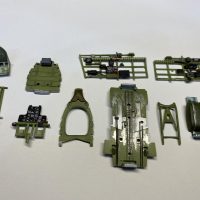
1. Cockpit parts ready to go.
-
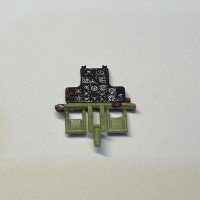
1. Decal worked well with instrument panel.
-
-
-
-
-