Thinking of flappin’ and fitting
It is time to re-visit this build, and I go into deep-thought mode
What to do about the radiatorflaps? And some testfitting of, and fiddling with, the resin parts. Oh yes, and the undercarriage gets installed.
The radiator flaps on the new Tamiya 109 can be positioned two ways; fully up and closed or fully down and open
-
1. Two versions in one - this has to be kept to display up/closed position. . .
2. and these two has to be kept if the lowered option is chosen
3. "up-tap" has been removed - the other two will be re-angled
4. up- position to be glued here
5. Down position to be placed here
Now, that will do for most builds, but really, only two positions. That screams to me that I have to locate them somewhere else!
I have installed the guides for the up/closed position, but that is just to be able to install the radiatorparts.
-
1. "up" installed - will be cut
2. "down" will be cut too and glued in place on the moving surfaces
I shall have to cut both guides to enable another position, as this is to be displayed in the hot Spanish Sun.
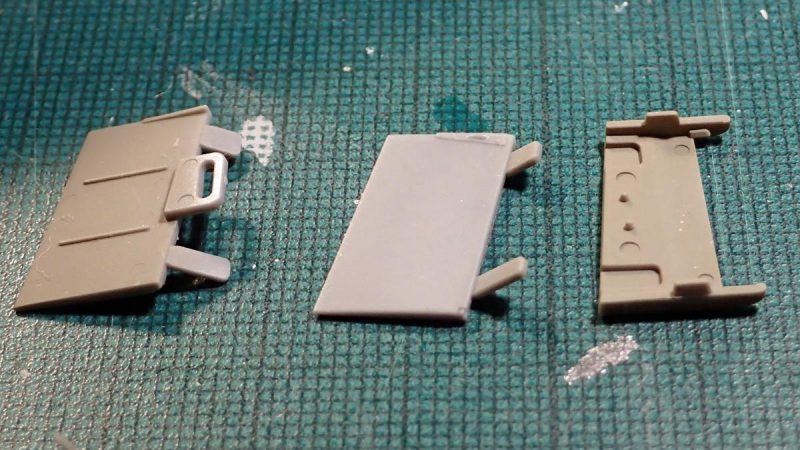
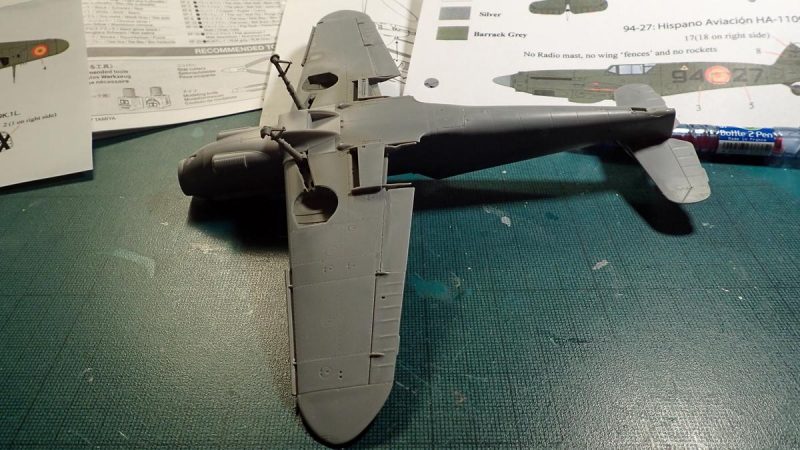
And then it is on to the resin parts. In order to test-fit these I glued the legs in place (fantastic solution by Tamiya for a sturdy assembly that will stand up to the weight of the resin without any problems . . . . I think)
-
1. legs in place - cured overnight
Having dryed overnight it is right side up
And the resin gets trimmed with a sharp blade, avoiding any dust, just cutoffs!
-
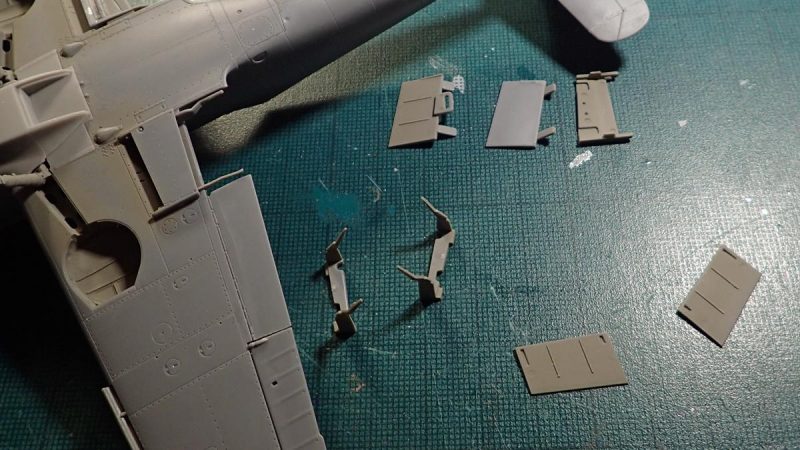
1. no glue - just testing
-
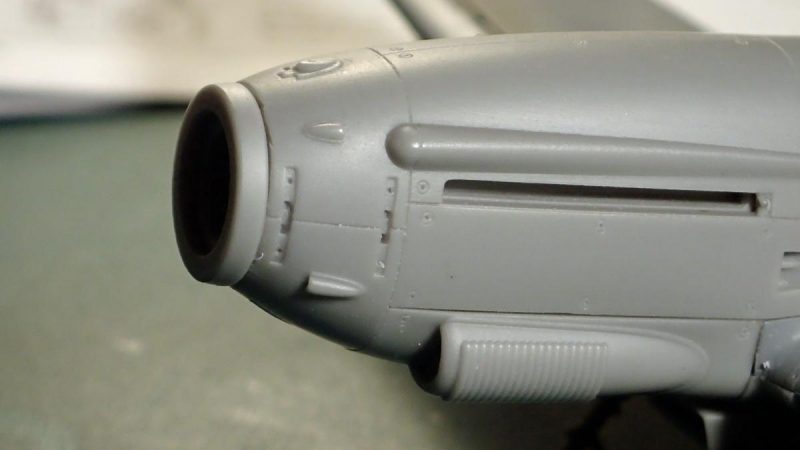
1. needs some minor adjustment
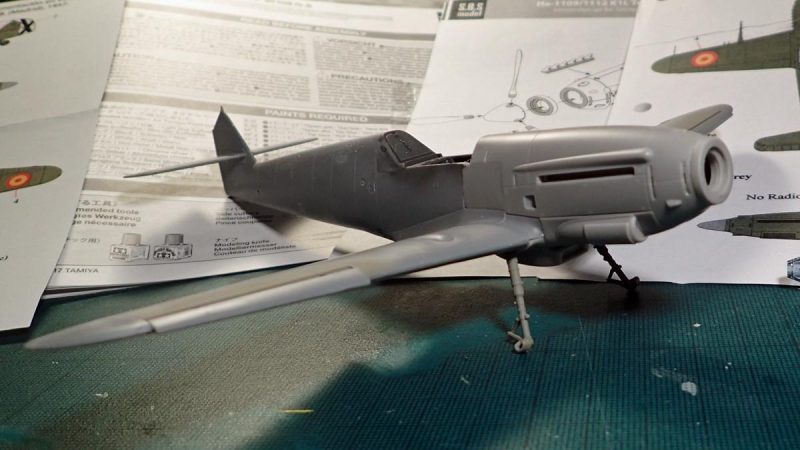
The nosering did not fit properly the first time, so it was removed, some finetuning taking place, and a testfit showed the need for more work, but that is just minor adjustments. I think I have to get some Epoxy to mount the parts, as it was all to easy to remove the ring.
(That ring is by the way one of the differences between the 1109J and 1109K, the J being without it and having another cooler/radiator arrangement – fingers crossed that SBS will supply the J some day)
With that in progress I have to get some Epoxy before progressing with the resin, the plastic will be next in line