The Aardvark has a very complicated main landing gear system. Hasegawa has replicated the system and their approach in assembling a very complicated multi component structure is excellent. Details in this scale is more than what Academy provides in 48th scale. When you first look at the steps in the construction, the arms, struts doors that are involved in assembling the main gear looks daunting at first. However what helps is that all the little bits and pieces fit as they should, which is to me the most important factor to the whole process.
The first step build the main arms and actuators which attach to the main rear bulkhead of the gear bay.
-
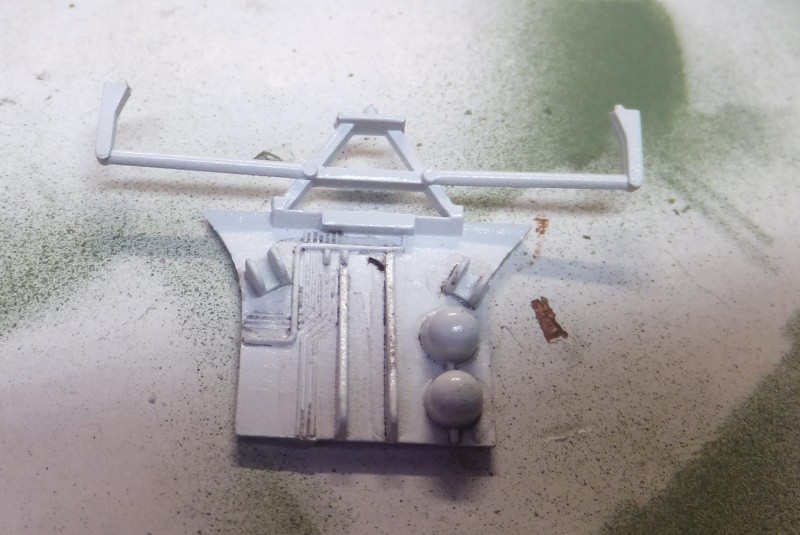
1. wash applied rear bulkhead
2. for 72nd scale nice details
A few bits are involved, for the first step. The most important step that set the foundation for the whole assy. By following the steps carefully it is not difficult and goes together quite easily. All the locating point for each part are as they should, not short, not long but precise locating pins in their place as pointed out in the directions.
-
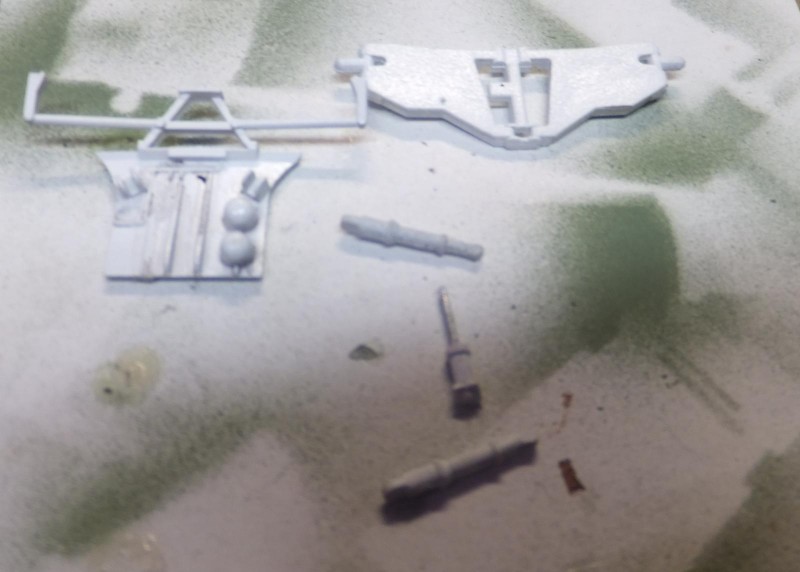
1. rear bulkhead
2. main swing arms
3. retractring struts
Next up is attaching the wheels and doors with actuators.
The layout of the wheels and associated components in completing the whole shabang.
-
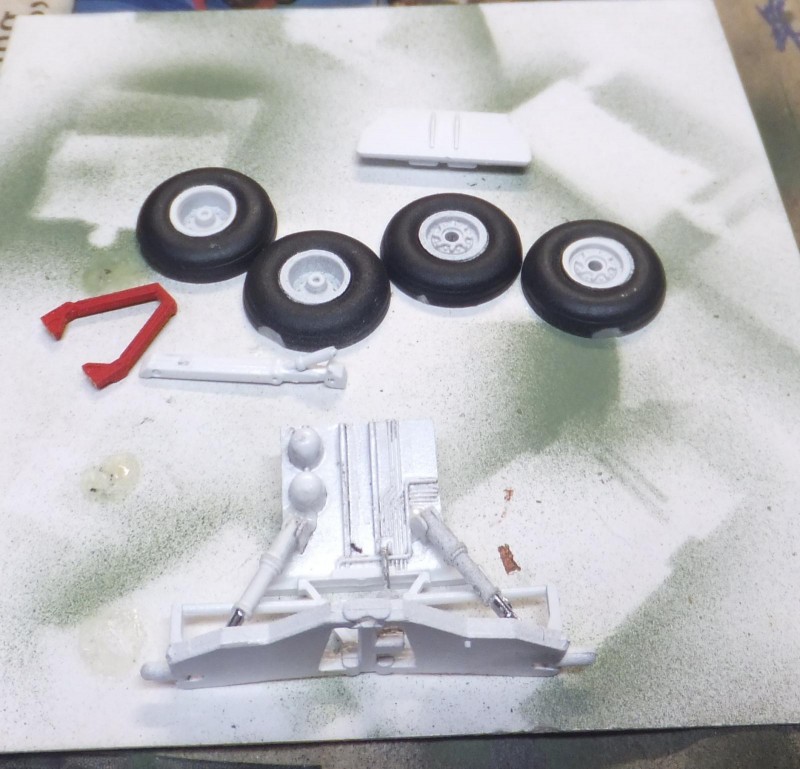
1. main gear assembled
2. this should be white
The rear main gear door.
The wheels are glossy white and Testors Rubber (the small bottle)
The sub assy as it looks before step 2 of attaching the doors, actuators and wheels
The assy now completed less the wheels.
-
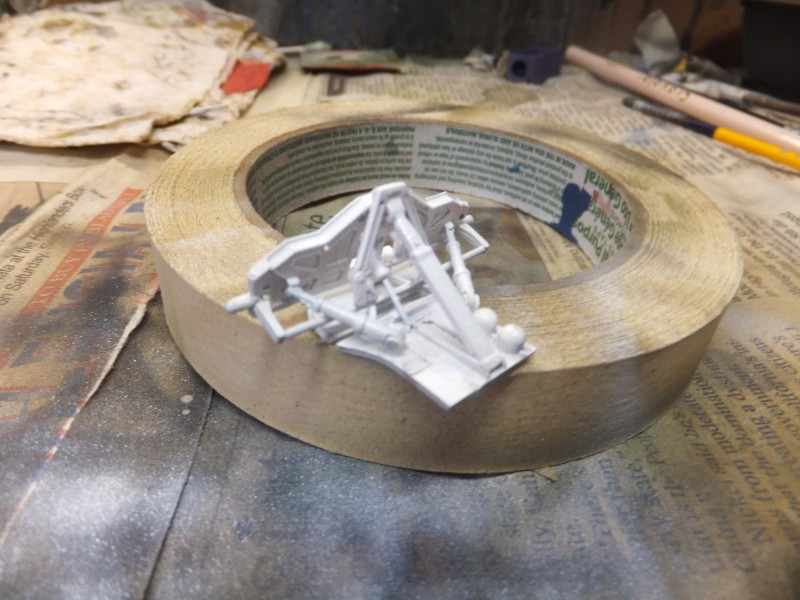
1. main landing gear assy
Now the wheels are attached and is now ready to be installed into the airframe.
The forward main gear door also serves as a dive brake during certain maneuvers. The inside of the door is MM Insignia Red Enamel as well as the door actuator.
-
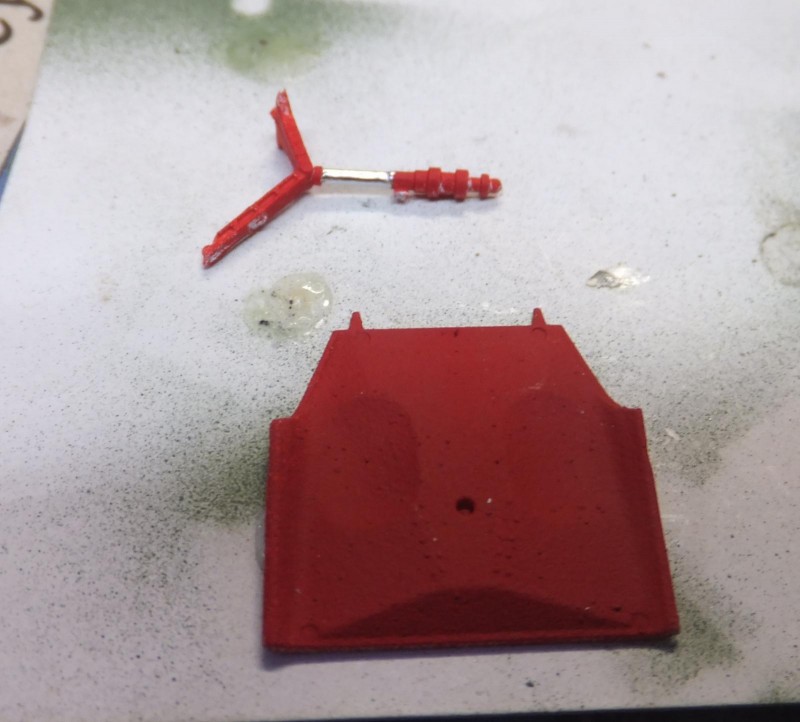
1. Forward door was painted Insignia Red
2. Door actuator
Next to install the landing gear and dive brake door.
Again Hasegawa has helped the process with a precise fit, very little chance of any misalignment, using the bulkhead as the main attachment point within the gear bay well. Also the forward door attachment point is excellent as well.
-
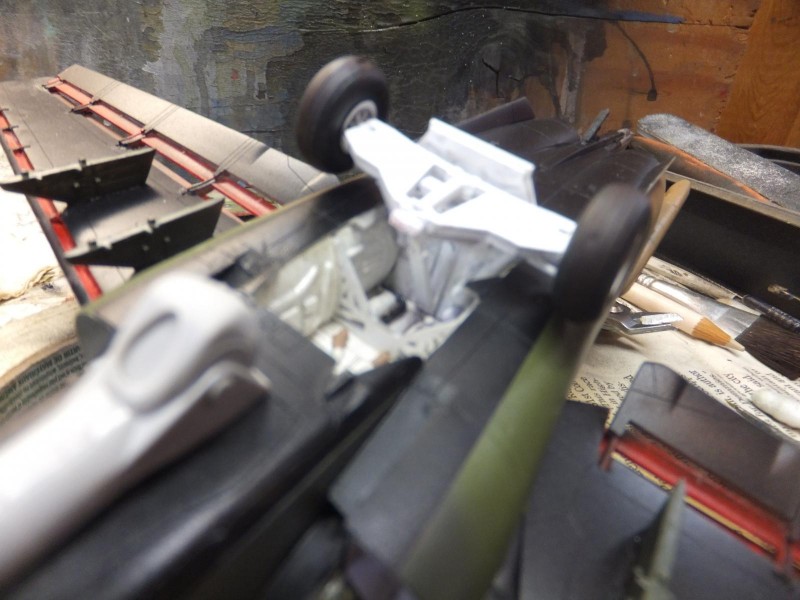
1. Again very good fit into the fuselage
-
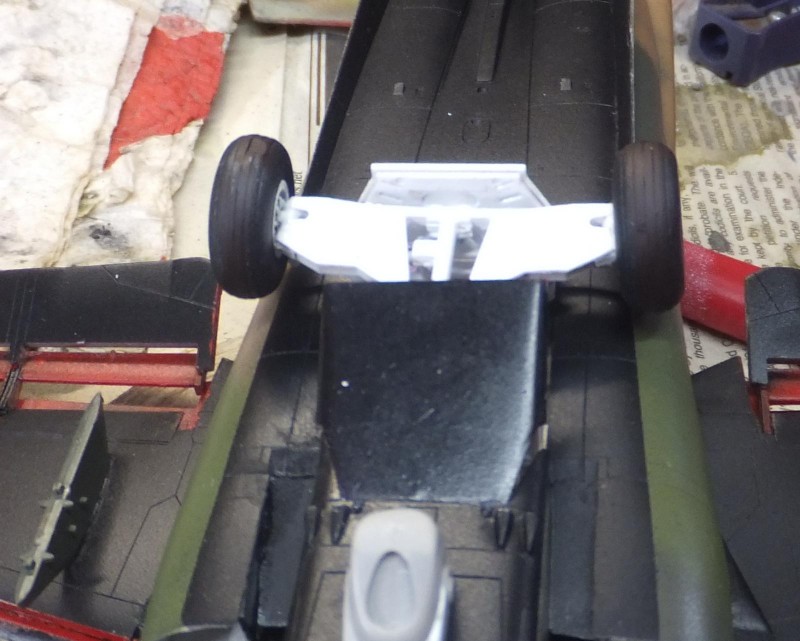
1. The assy is attached, perfect fit, kudos for Hasegawa.
Next while still working under the A/C is to attach the forward ID lamp in front of the nose gear bay.
-
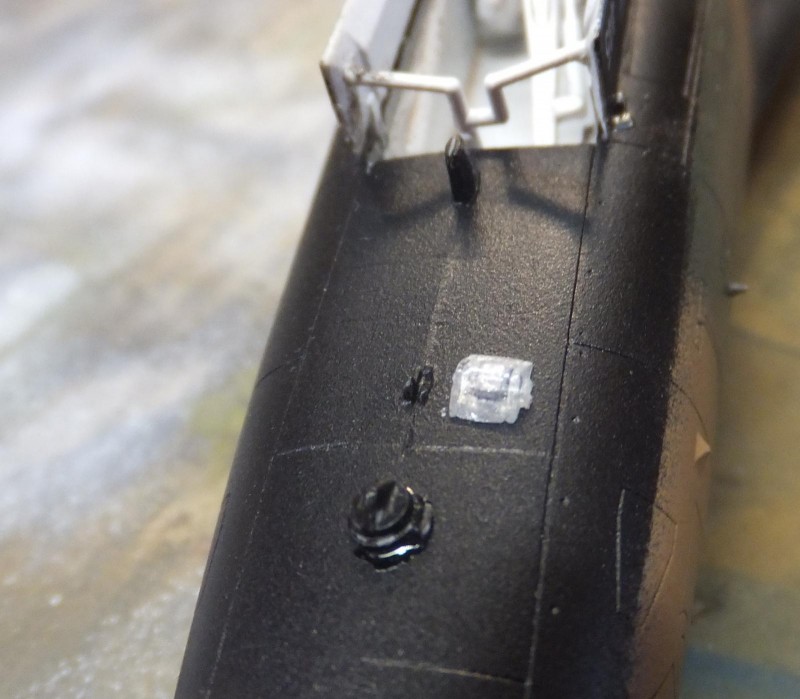
1. The edges of this ID lamp will be in black.
Finally to assemble, paint and attach the Paveway pod. It will be in Olive Drab. Using Lifecolor Acrylic for this color. While in the airbrush i painted the Paveway GBU-10 bombs in this color as well. The pod glass is painted Tamiya Clear Blue with a chrome backing.
-
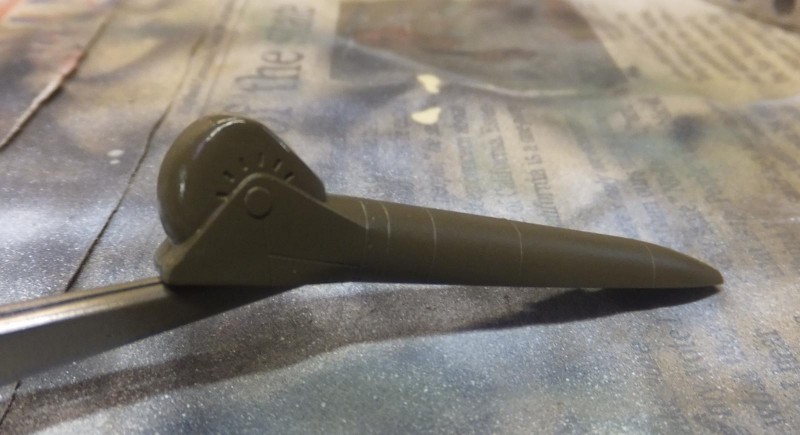
1. Pod painted Lifecolor Olive Drab
Next up is to install the bombs and work on the detail bits on the upper airframe. More to follow.
Happy Easter!