Hawker Hurricane Mk.1, RAF, GiNA,1/48th, Airfix

Started by Chuck A. Villanueva · 73 · 4 years ago
  • Profile Photo
    Spiros Pendedekas said 4 years, 5 months ago:

    Nice process and tutorial, Chuck. Had no idea of that detail. Looks very good, and hopefully will be seen well after the fuselage joined.
    All the best!

  • Profile Photo
    George R Blair Jr said 4 years, 5 months ago:

    I love the detail in this kit, Chuck. I keep buying many of the new, more detailed kits, but I seem to keep building the old Revell and Monogram. Some day I will follow your lead and build one of my newer kits.

  • Profile Photo
    Chuck A. Villanueva said 4 years, 5 months ago:

    Thanks Spiros, yes Airfix really did the Hurricane very well. Having the Hase kit for awhile now, which is quite good but not even close to the attention to detail the Airfix has produced.
    Hey George, you know I will do a Monogram or Revell kit anytime. Just love building them with quite a few in the stash. I prefer to balance as many as I can with some of the newer stuff along with some of the old war horses of models.

  • Profile Photo
    Chuck A. Villanueva said 4 years, 5 months ago:

    Just when you think your ready to button this baby up, we still need to work on the interior stuff before getting the fuselage halves together. This time the wing internal components starting with the main wheel bays.

    Step 11 has us install an oil reserve tank, (hydraulic most likely and a pipe. You may notice one detail that Airfix does on each step. The part highlighted in the images shows what you just installed on the prior step,

    Next is to place the rear wall of the main gear bay.

    The main wheel bay and components are in Aluminum. The areas in the wheel bay area on the wing panel are also Aluminum.

    Next is the LH and RH inner wall and braces.

    The LH and RH inner wall braces are attached into each wheel bay.

    With the wheel bays completed, now to place the cockpit assy and wing spar into the lower wing.

    Carefully the front and rear wingspars are place on their contact points on the lower wing panel. The fit is so precise where the walls of the wheel bays fit perfectly in between. The fit is tight but not where you have to fight it. It is that good. Once pressed into place just place the cement along the contact points and it's done.

    Next up we work on the fuselage interior and finally close it up.

    More to follow.

  • Profile Photo
    Erik Gjørup said 4 years, 5 months ago:

    You are absolutely right on the Airfix instructions @uscusn - they are very easy to follow with the new graphics, even though they are small books as a result. Looking forward to see the next major parts assembled here!

  • Profile Photo
    Spiros Pendedekas said 4 years, 5 months ago:

    Nice along process, Chuck @uscusn! As always, excellent tutorial photo/commenting coverage.
    Agree with Erik @airbum: great instructions, no problem them being small books.

  • Profile Photo
    Chuck A. Villanueva said 4 years, 5 months ago:

    Hello Erik and Spiros, the instructions are almost part by part. Not like an exploded view of the individual pieces and where they go. Most of the time the builder decides which part to attach first and then proceed with the process. With Airfix the part is shown precisely where it goes and what position the part is attached to. Eliminates a lot of incorrect installation of parts, but still the human factor even in the best of us find ways to still screw up somewhere.

  • Profile Photo
    George Schembri said 4 years, 5 months ago:

    Thanks for posting with great detail Chuck - I read the Airfix Hurricane was an excellent kit, pretty much the best Hurricane kit in any scale and your photos and visuals prove it. Excellent work. I can't get over the cockpit and wheel well detail and all in 1/48.

  • Profile Photo
    Chuck A. Villanueva said 4 years, 5 months ago:

    Hi George, thanks and welcome, yes the kit is everything that everyone has written about, though still not all positive. Just a matter of individual thought really. My experience so far has been quite positive. You know I have been chomping on the bit in getting around to start on any new mold Airfix kit. And finally took the opportunity to start on the Hurricane. Still trying to get more of the other new stuff in this scale and 72nd. Like the Buccaneer for instance. So far this model has been a pleasure to build so far. I hope this inspires other to get a hold of some and get them built.

  • Profile Photo
    Erik Gjørup said 4 years, 5 months ago:

    @uscusn, I totally agree on the new mould Airfix kits. The quality is vastly improved (and needed to) over the old as well as recent kits. I just bought a Heron in the Classic-range, and boy is it classic! one-sheet instructions and plenty of opportunity for scratchbuilding and AM details to be purchased if available. Loking forward to your next post here - happy modeling!

  • Profile Photo
    George R Blair Jr said 4 years, 5 months ago:

    I have a new-mold Airfix Buccaneer that calls to me every time I walk by. I just want to finish some other stuff first. Ditto on the new Airfix instructions, which are awesome.

  • Profile Photo
    Chuck A. Villanueva said 4 years, 5 months ago:

    Thanks George, I have been eyeing that kit since it was released. And that Airfix will now also release another Buc Sb.2 version which is the one I will wait for. I have the original boxing, so basic of a kit compared to the well detailed updated new molding. Hoping that they will scale it up to 48th as I have that one also and thats a bear to build.

  • Profile Photo
    Chuck A. Villanueva said 4 years, 5 months ago:

    In this step will do some actual work on the interior of the fuselage halves. Install the Ip and forward bulkhead. One of the few times that a step in the instructions has multiple parts.

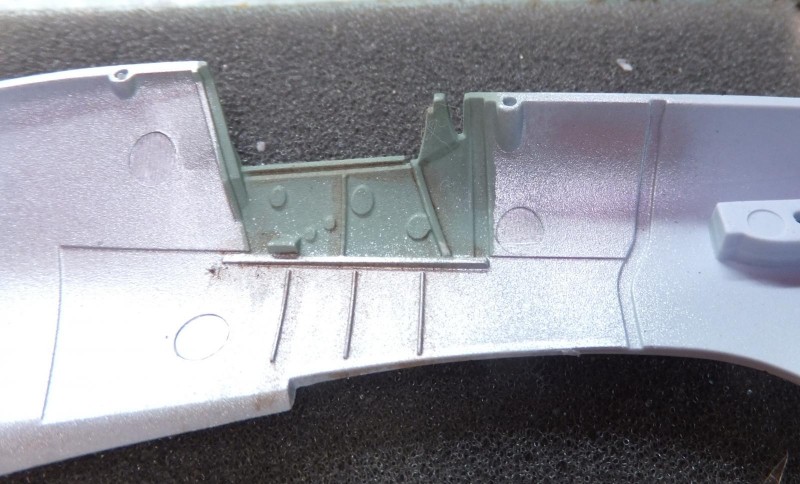
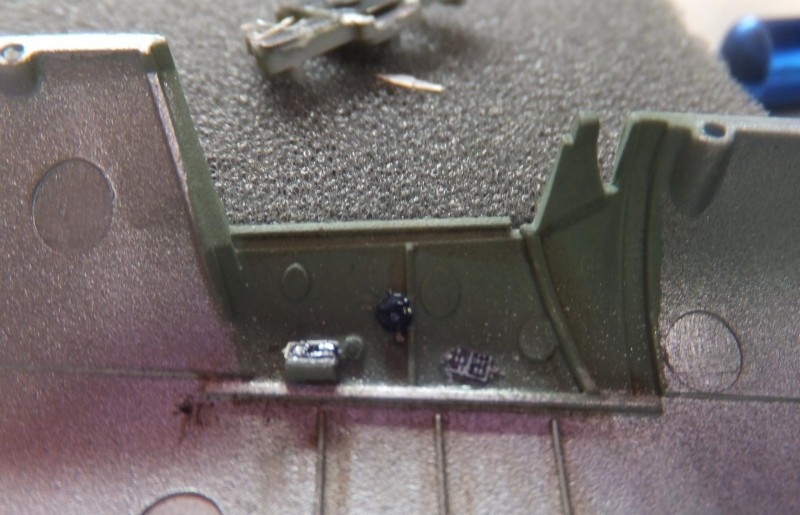
    The LH side of the cockpit side wall is RAF Interior Grey Green from the bottom of the IP to the sliding canopy. Below the IP is aluminum.

    The forward bulkhead is RAF G/G. Is then attached just forward of the instrument panel.

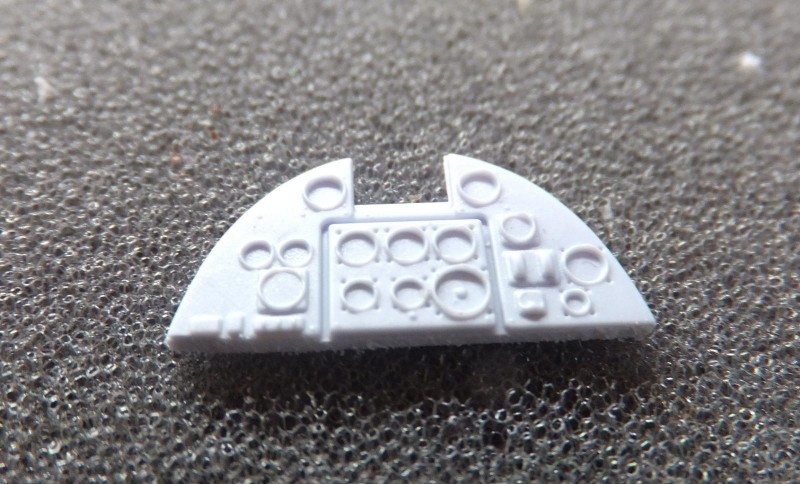
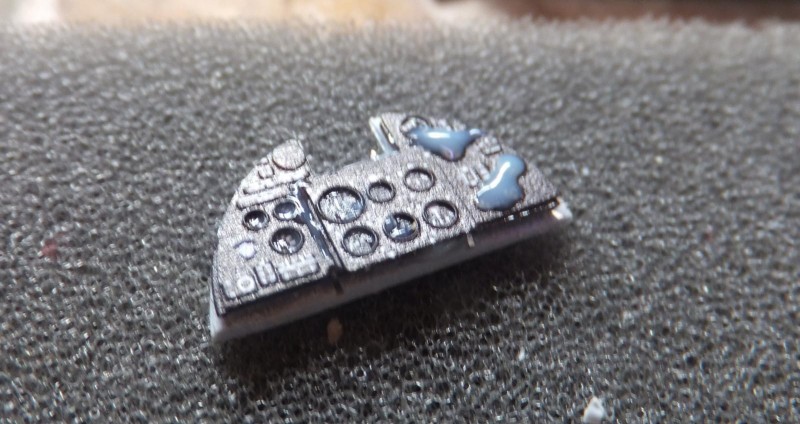
    Next is to work on the IP and add the PE enhancements. First the details are sanded off. Airfix gives you decals or the option of detail painting the panel.

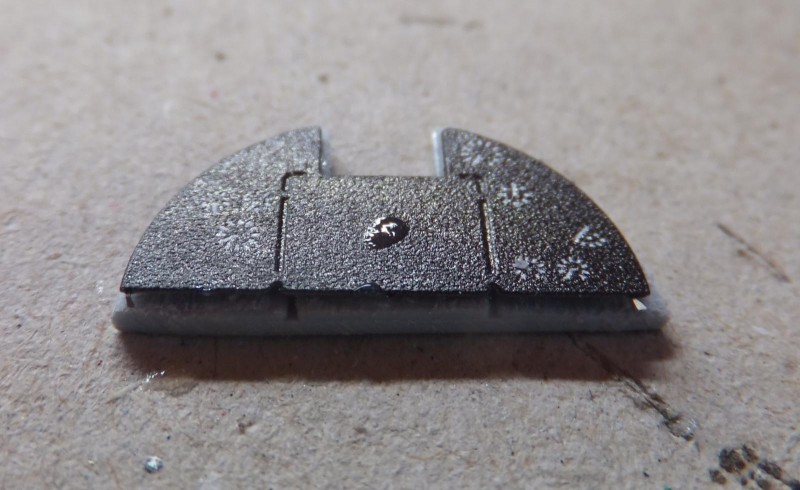
    After the details are sanded of the first layer of the panel is placed on the base IP.

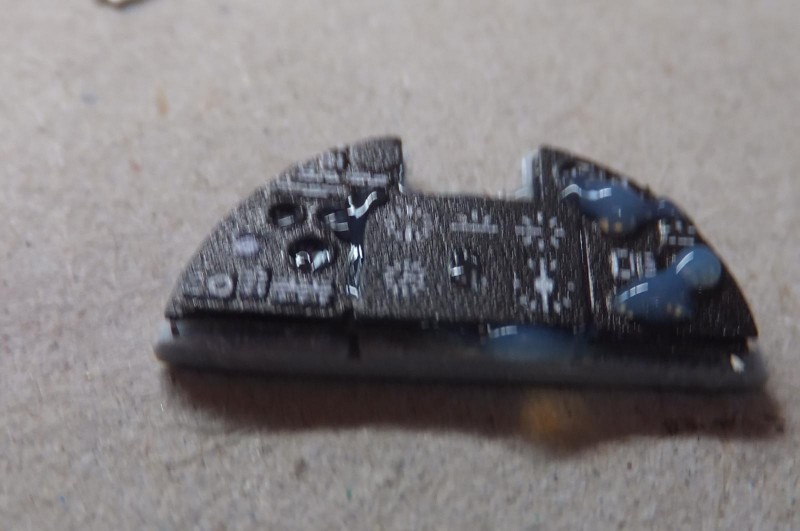
    Next the second layer covers the outer gauges and also has the center gauges and dials.

    Finally the center panel covers the gauges and dials, then put aside to set before installing into the fuselage half.

    While the IP sets, I then start attaching some PE bits on the LH side cockpit panel.

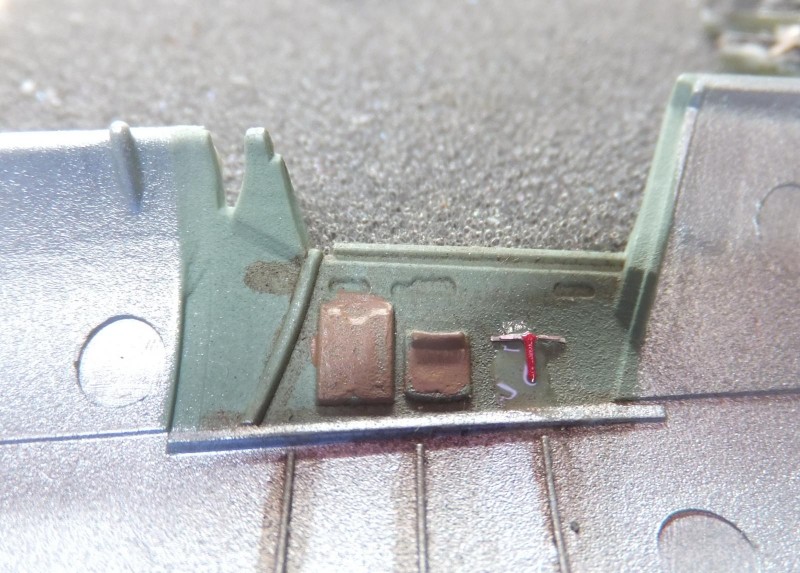
    On the RH side panel, the pouches are painted brown and a PE valve is place just aft of the pouches.

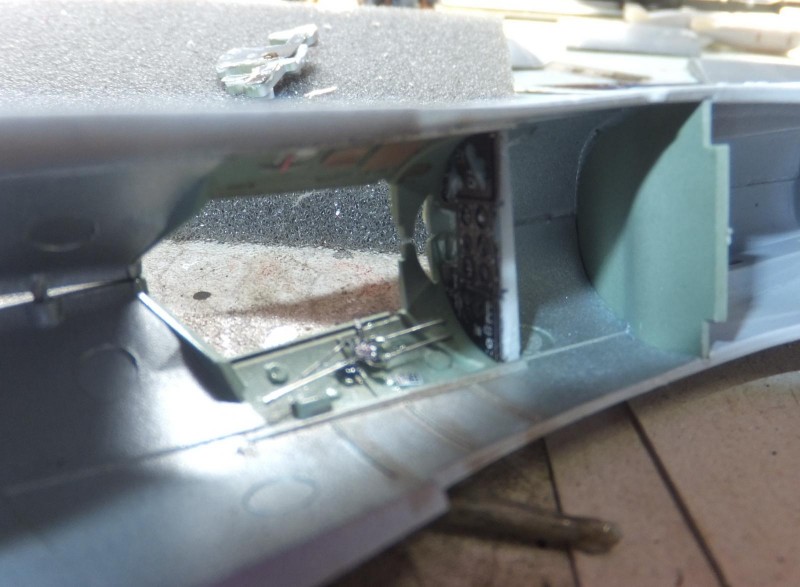
    Next is to install the IP into the LH side fuselage half. The is very good here as well as the alignment, still a tight fit when the RH side is loosely attach to check and make sure.

    Once everything checks out the both fuselage halve are methodically cemented along the contact points along the seam and bulkhead.

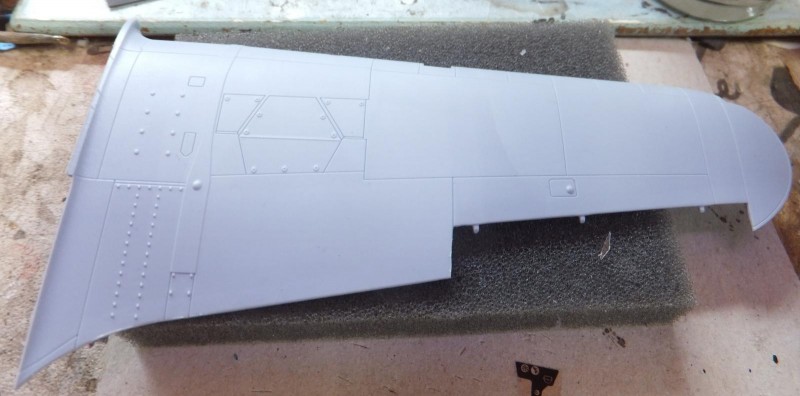
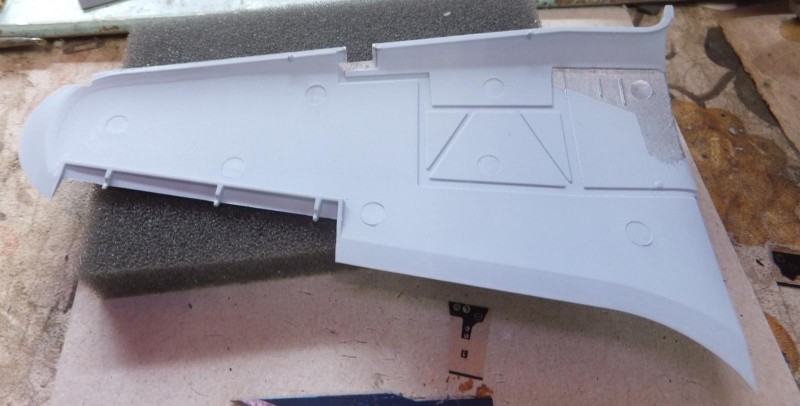
    Finally the upper wing panels are removed and prepped to be placed on the lower wing.

    With the upper wing panels place loosely on the lower wing, the completed fuselage is place into the lower wing and the upper panel to fuselage contact point fit very well.

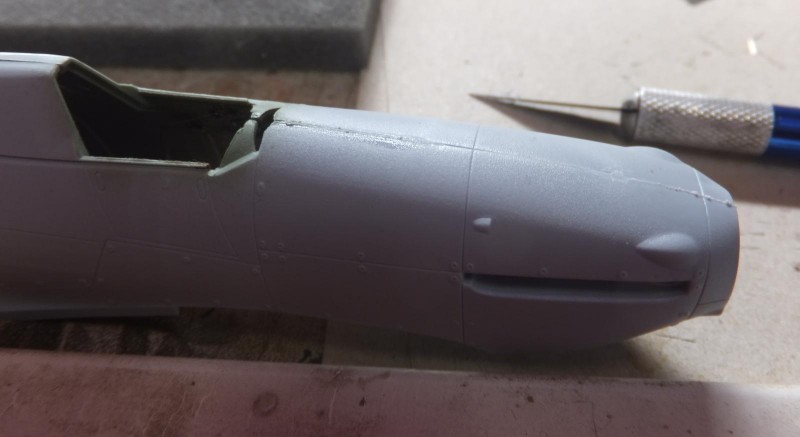
    Again great fit, very minor seam work will be at the rear lower contact point, Some work on the front point of contact at the wing to fuselage join.

    Then the wing panels are cemented in place, and held with clamps. Now it looks like a Hurricane.

    Next up the tail feathers and ailerons. More to follow.

  • Profile Photo
    Pedro L. Rocha said 4 years, 5 months ago:

    Good progress being made here Chuck

  • Profile Photo
    Erik Gjørup said 4 years, 5 months ago:

    And with this monster update it does indeed look like a Hurricane. Standing by for more.