Lets get this Hurricane on it's feet. Starting with the tail wheel.
Fragile looking but actually sturdy and should last for years on the shelf. Attaching it inline with the turned rudder.
Next is to assemble the landing gear. Not a complicated system, again Airfix provides the main struts and retraction arms. Again the parts looking delicate yet sturdy once assemble with positive contact points with in the wheel bay well.
The retraction arms are attached. Both sides completed.
Standing on her own before the wheels are attached, nice and level.
Another set of arms are attached on the back side of the struts
Next to attach the gear doors and assemble the wheels.
Was going to get a set of resin wheels, but with Airfix providing weighted wheels in the kit. And they looked just fine detail wise. I decided to use the kit wheels.
-
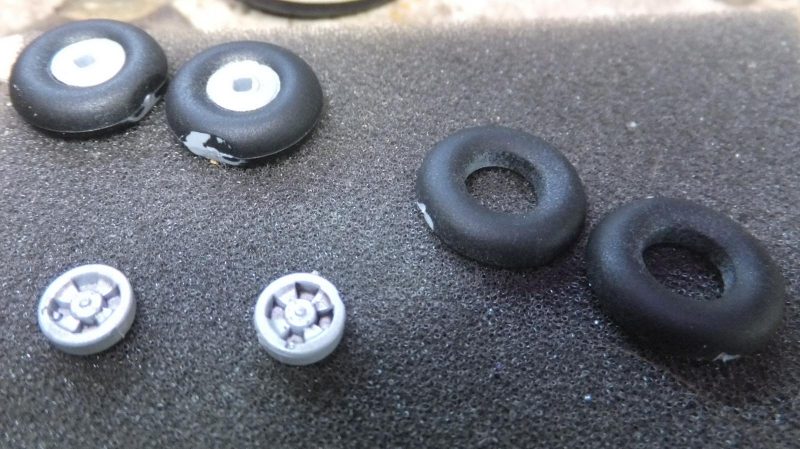
1. Vallejo Aluminum
2. Tamiya Tire Black
-
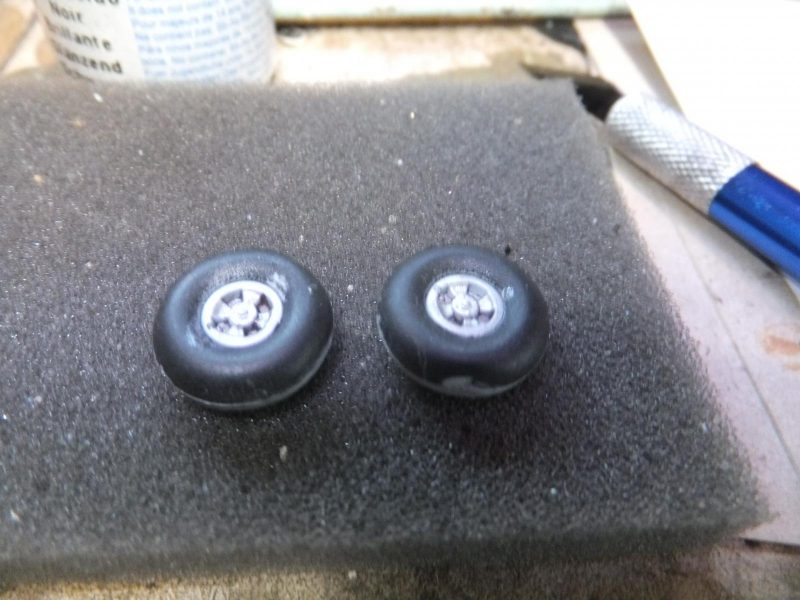
1. A dirty wash in the hubs
After assembling the wheels, they are place on the spindles and then rotated to where the weighted part is level with the ground.
Next attach the gear bay doors. Designed in a way to support the landing gear when placed on the shelf.
Once attached, again the contact point to the strut is positive, no muss or fuss.
The tires are touched up and ready for the final bit of details.
1 additional image. Click to enlarge.