In this step will do some actual work on the interior of the fuselage halves. Install the Ip and forward bulkhead. One of the few times that a step in the instructions has multiple parts.
The LH side of the cockpit side wall is RAF Interior Grey Green from the bottom of the IP to the sliding canopy. Below the IP is aluminum.
-
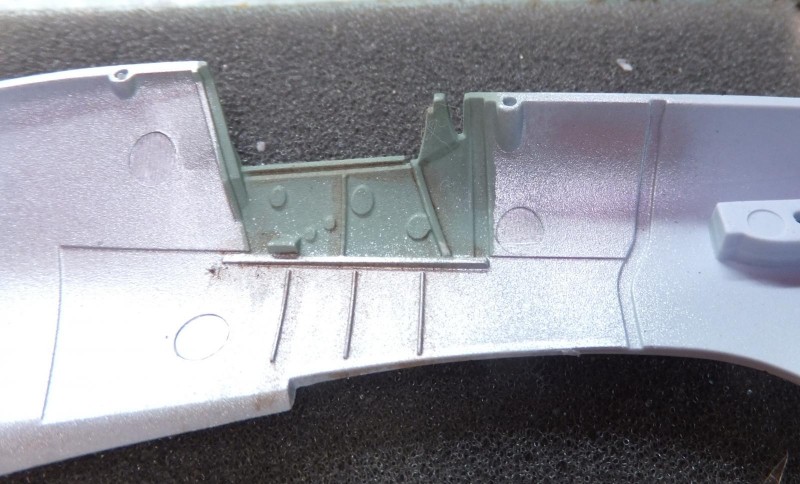
1. RAF Grey Green
2. Aluminum
The forward bulkhead is RAF G/G. Is then attached just forward of the instrument panel.
Next is to work on the IP and add the PE enhancements. First the details are sanded off. Airfix gives you decals or the option of detail painting the panel.
-
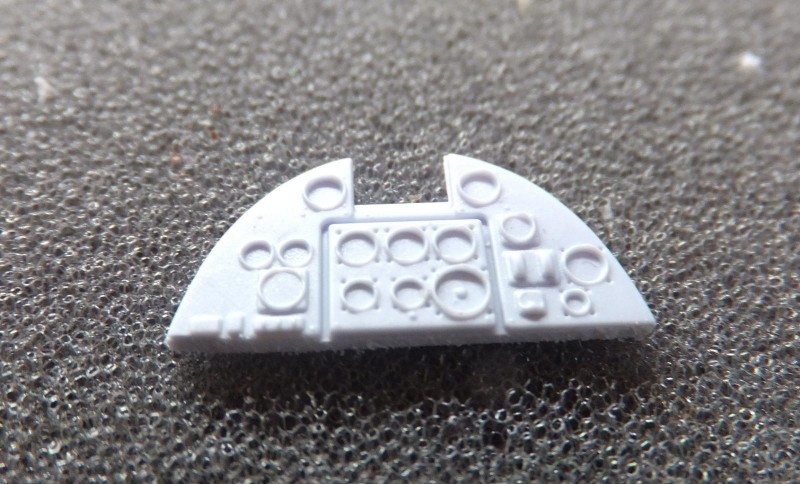
1. Good detail if you choose to detail paint
2. Or use the provided decal for the gauges and dials
After the details are sanded of the first layer of the panel is placed on the base IP.
-
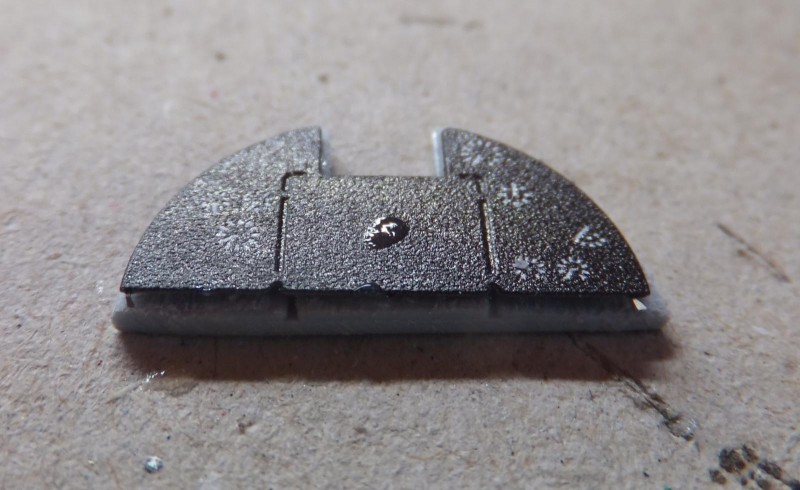
1. 1st panel has gauges and dials on the outer panels
Next the second layer covers the outer gauges and also has the center gauges and dials.
-
1. Testors clear is applied which will dry clear to represent glass faces
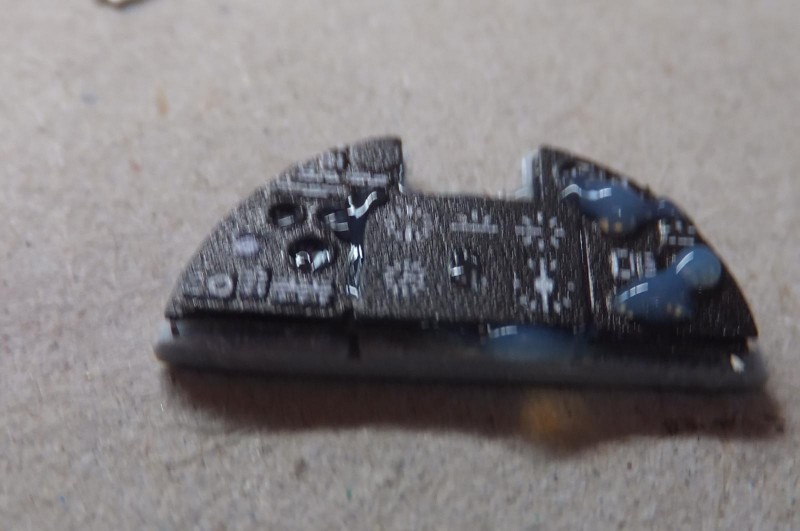
Finally the center panel covers the gauges and dials, then put aside to set before installing into the fuselage half.
-
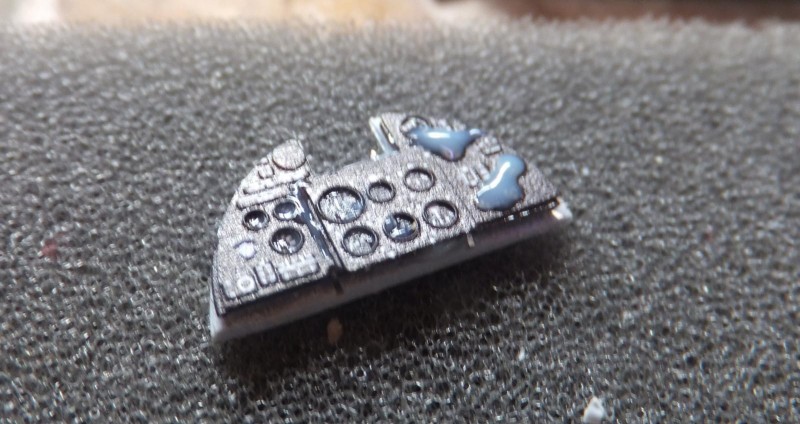
1. Center layer covers the dials and gauges
While the IP sets, I then start attaching some PE bits on the LH side cockpit panel.
-
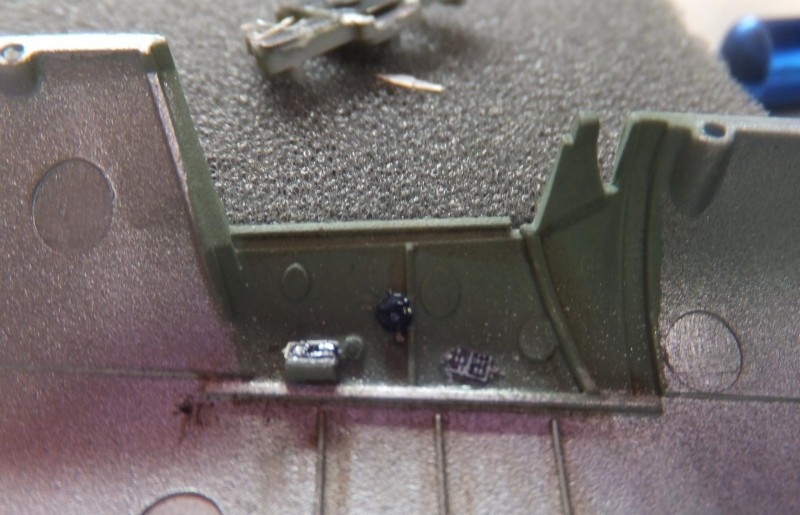
1. PE electical boxes and turn wheel
On the RH side panel, the pouches are painted brown and a PE valve is place just aft of the pouches.
-
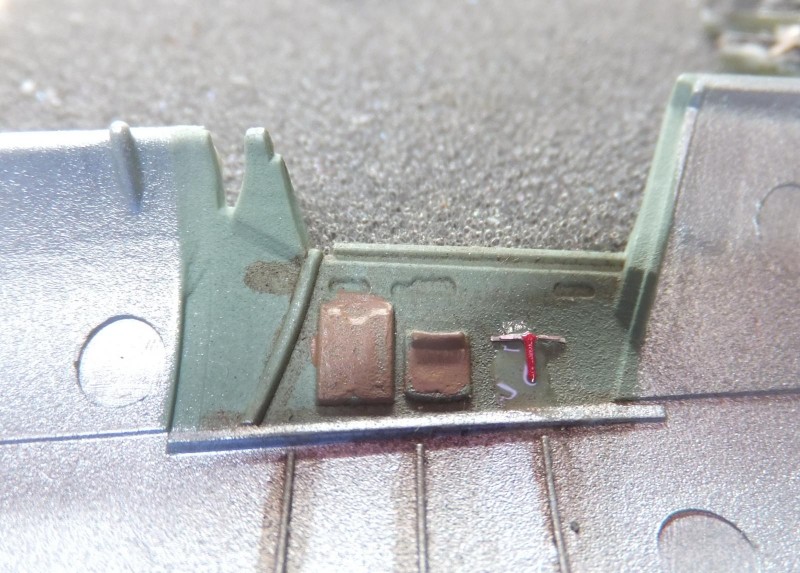
1. Pouches painted brown
2. PE valve
Next is to install the IP into the LH side fuselage half. The is very good here as well as the alignment, still a tight fit when the RH side is loosely attach to check and make sure.
-
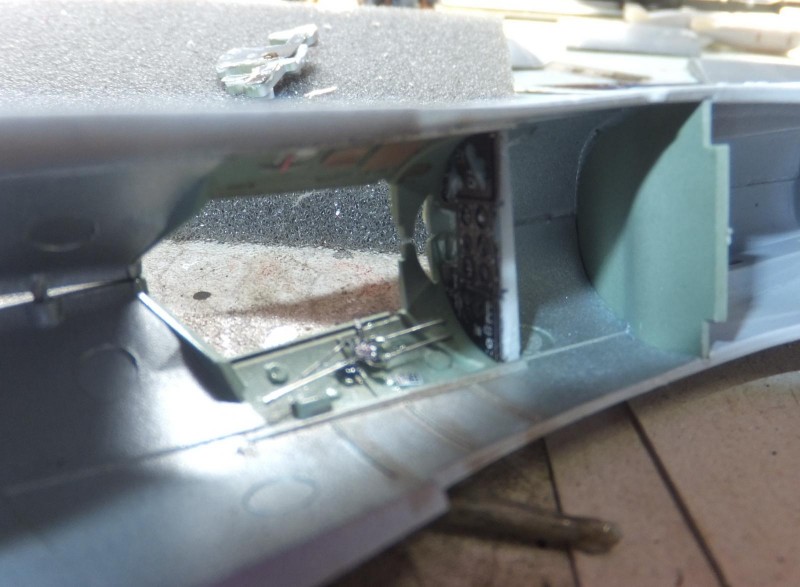
1. Very good fit and tight but where you have to force it.
Once everything checks out the both fuselage halve are methodically cemented along the contact points along the seam and bulkhead.
-
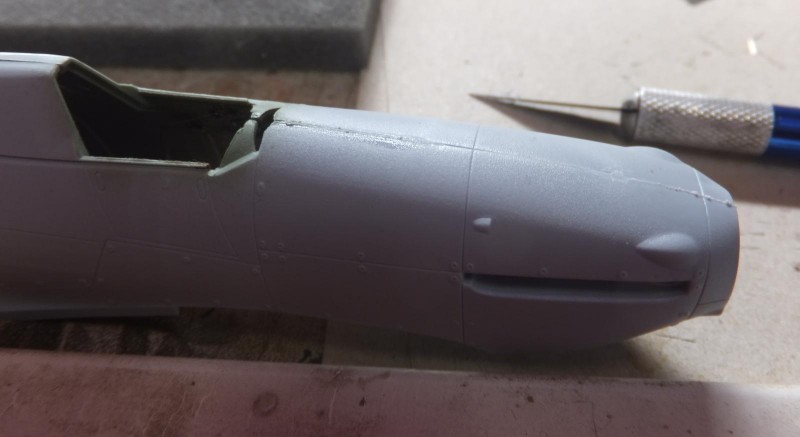
1. Easy does it seam clean up
Finally the upper wing panels are removed and prepped to be placed on the lower wing.
-
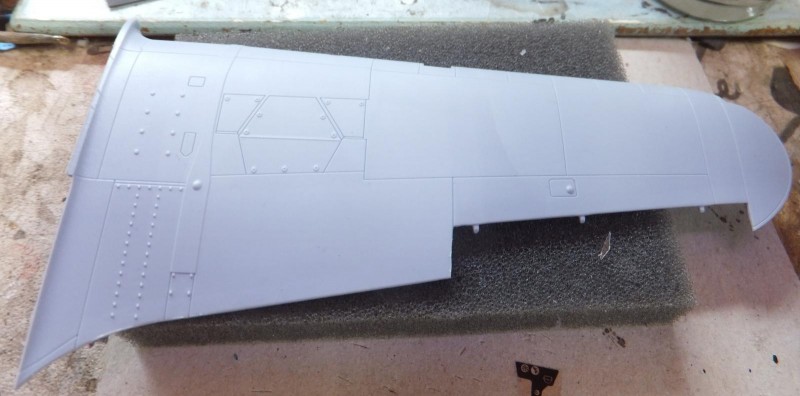
1. RH upper wing panel, very details
-
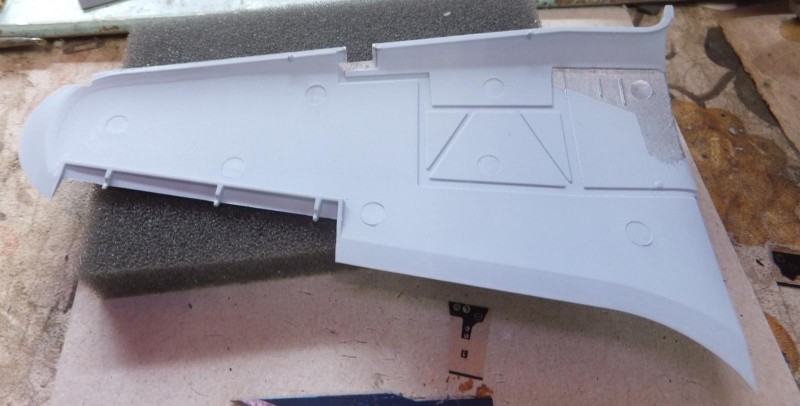
1. upper wheel bay painted Aluminum
With the upper wing panels place loosely on the lower wing, the completed fuselage is place into the lower wing and the upper panel to fuselage contact point fit very well.
Again great fit, very minor seam work will be at the rear lower contact point, Some work on the front point of contact at the wing to fuselage join.
Then the wing panels are cemented in place, and held with clamps. Now it looks like a Hurricane.
Next up the tail feathers and ailerons. More to follow.