Here is an update to a build I have left for a while - about 6 months on the shelf. This is the first big scale super-detailed Tamiya kit I have ever done. I usually like to do Hasegawa or Special Hobby in this scale, since they have a low parts count and go together quite quickly, with some finishing and scratch detailing to do to get the best result. The Tamiya P-51D is quite different. Engineering is extremely precise, so I have to be extra careful to remove parts from the tree and clean them up so that no gaps appear from over sanding or over trimming. Very slow work for me. Build sequence is also crucial so instructions need to be followed like scripture. I had some challenges getting the complex contents of the cockpit and engine bay all lined up precisely when things were closed up. Likewise, getting the wings on successfully with the complex flap mechanism was a headache in which I narrowly averted disaster from a misaligned part. It is not that this is a badly designed kit. It's just that it is unforgiving.
Anyway, I had put the build way when I got a bit spooked by how to handle all the panel detail around the engine and how to mask all of that for painting. This week, I found that I would need to use some spray metal to finish the prop and landing gear for my B5N Kate. The stuff is so expensive and tricky to use that I decided to finally get on with the P-51 and paint on the metal coat in the same session so not waste any metalizer.
So, first I trimmed and fitted all the engine panels for the P-51, carefully fixing all of the metal bits and remaining magnets. This finally gave me some clear ideas how to get this exterior painted without overspray on the exhaust stubs (which can't be removed) or engine detail. Thus, I decided I could leave just the two side panels off and mask the only exposed area left - which would make room to mask the exhaust stubs around that.
-
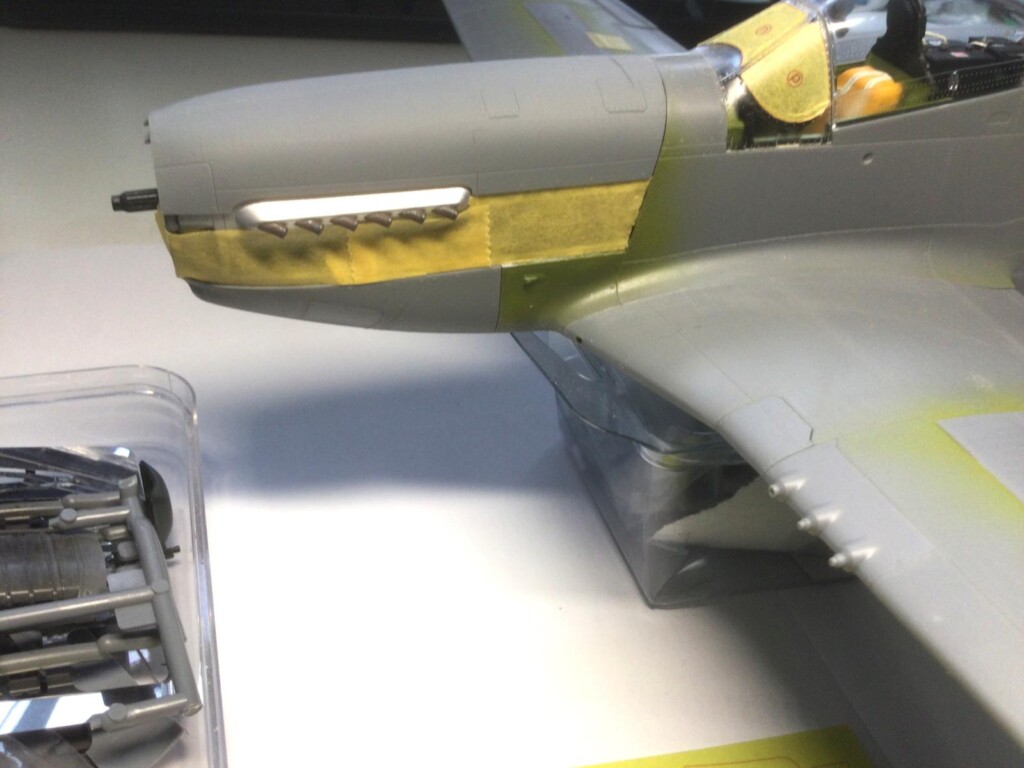
1. This kind of masking will allow me to protect the exhaust stubs from the metalizer since I can maske them without needing to spray the panel area underneath. The stubs are not masked yet.
-
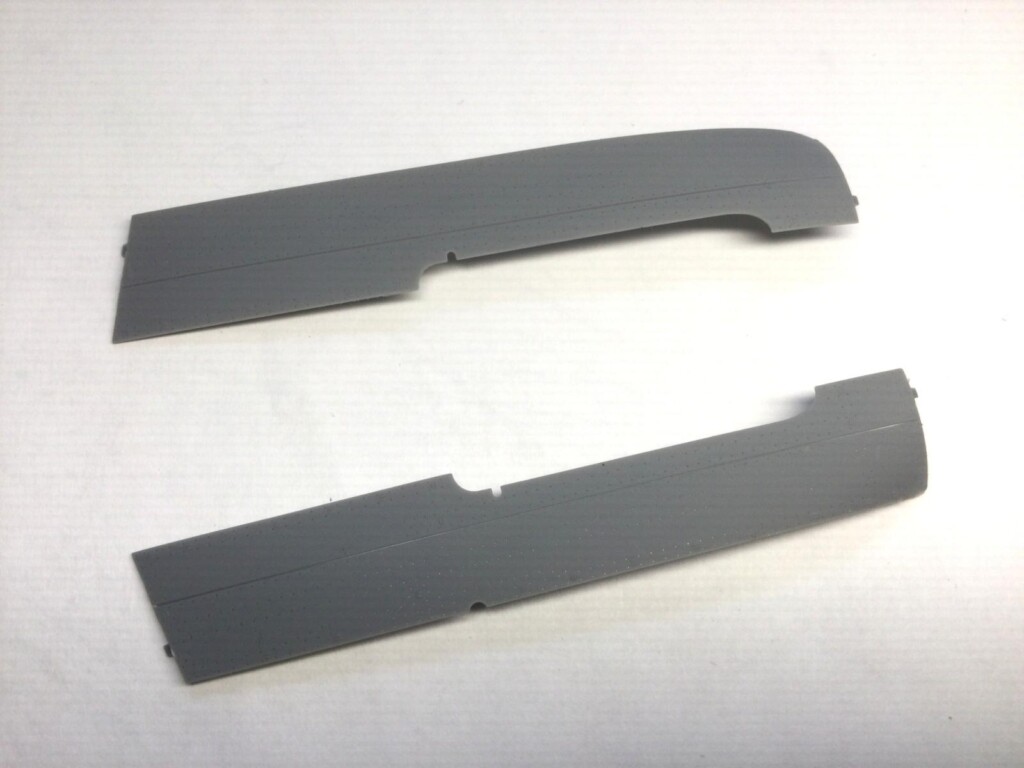
1. I will do the metal coat on these off the model and fit them later when the main work is done with the exhaust stubs protected.
I haven't done the stub masking yet in the pics but this is the start I got. In masking the canopy, I realized I had to polish out the raised center line that results for the molding process. After some careful work with a sanding stick and Novus plastic polish, it looks good now.
On to masking the hood next. Masking is a bit tedious, because you have to cut out each piece from the sheet by hand.
These are not laser cut sections ala Eduard. Anyway, the sprues are almost empty now, so this is really coming along. Here is the overview.
I should get some metal coat down this week and finally get this one done (fingers crossed).