Some more progress to report! Also that is a good idea Andrew, I'll look into it. Currently I'm testing the magnets on the fuel tanks as they are the easiest to just glue in place if I decide not to and are the ones I'm most likely to always leave on, but the rod would be a smart solution for those thin pylons!
The Cockpit and Forward Fuselage
She does indeed be big.
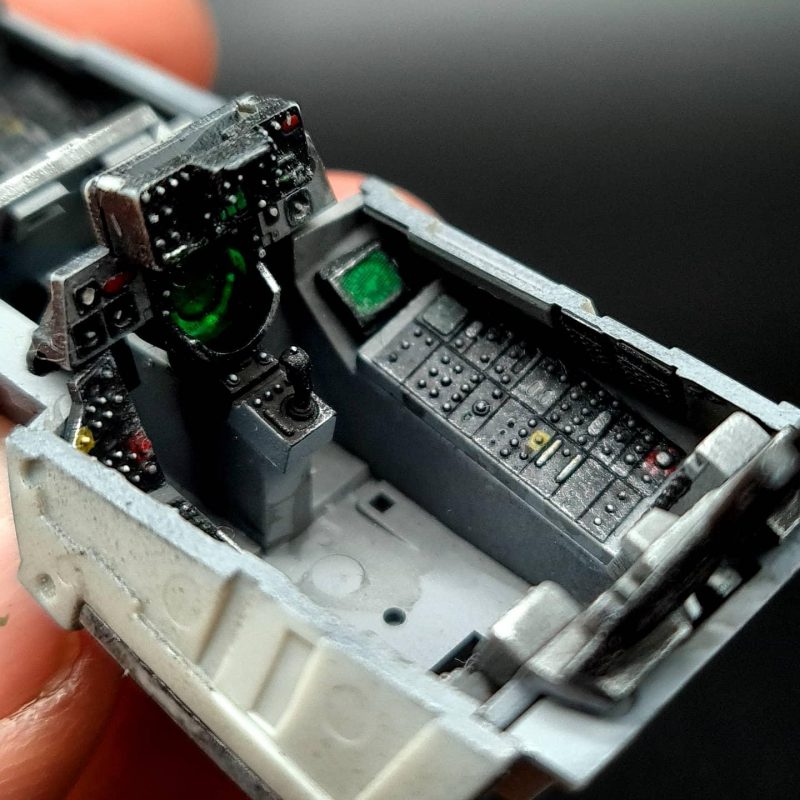
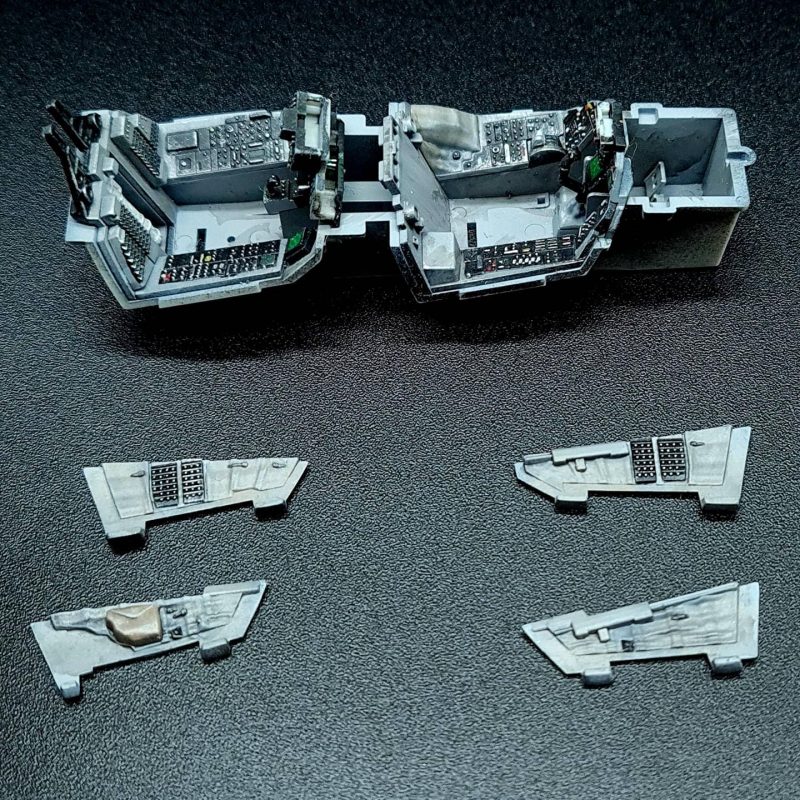
The Tomcats cockpit has been mostly assembled, ideally I'll put a clear coat over it but I generally forget to do this as it doesn't particularly matter on an area that won't be touched. One thing I do like to do is use a gloss, or Micro Krystal Klear and put a tiny drop on each instrument to give it a bit of very subtle shine so that's next on the to do list. I also need to paint the base of the joystick the same fabric material as on the sidewalls which I decided to do a darker grey. Overall its shaping up nicely, I may use the PE and put in the missing circuit breakers by the pilots legs though naturally when he is shoved in you won't see them. Regardless, it's going well and fits great. The cockpit hasn't been glued onto the front wheel bay, nor have the fuselage halves been glued, but as a size comparison I've put it next to another US Navy fighter that is slightly older...
-

-

-

Now I really need to get on the ball and order some paint for this bird, I was originally going to go for MRP but they seem to be out of stock of most of the required colours. I may have to use Tamiya but finding paint comparisons are hard as a lot of forum threads seem to just say 'don't use Tamiya and buy this random other paint', which isn't particularly helpful.
4 additional images. Click to enlarge.