Evening folks, another quick update.
The First Steps with MRP Painting
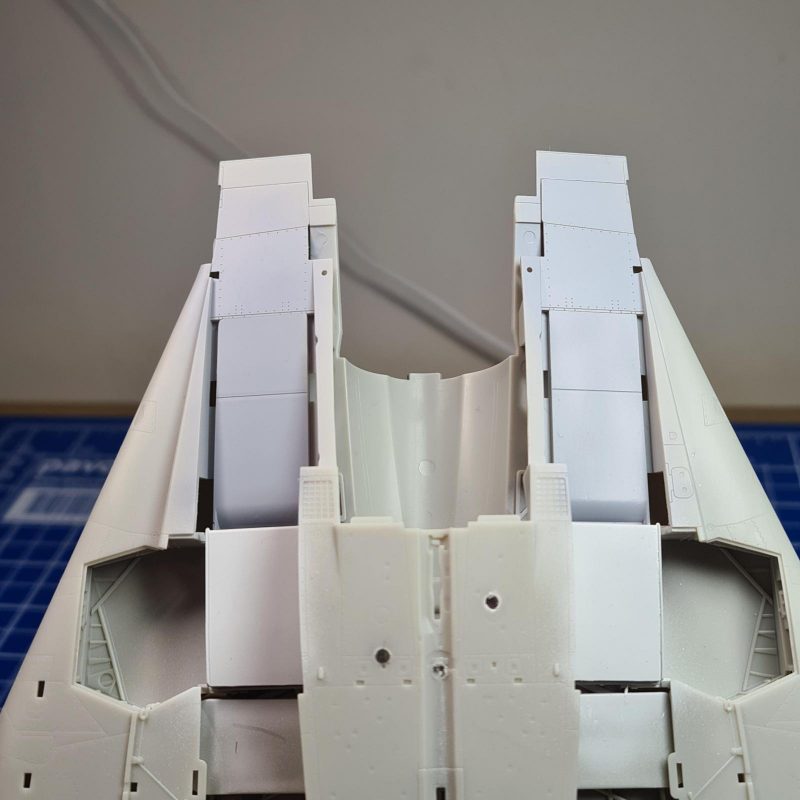
Last time I said I'd glue the intakes in place, paint, then remove the masking tape. Then I realised that I had overlooked the simple solution of painting them now, clogging them up with sponge later. As such I cracked open a fresh bottle of MRP FS 36375, which is the colour of the entrance of the intakes as well as the underside of this F-14.
Simply put, as much as the smell and fumes are an issue, the results with MRP do blow me away every time. I haven't painted that much on this build yet, but it's almost like I just used bare plastic of the right colour rather than paint, there is 0 noticeable layer, bumps, or other minor things that show its painted. For small tasks like this my filter/extractor plus a mask are plenty good enough, but I'll need to find a better solution later on when it comes to painting the entire bird. Furthermore, I really need to find that FS 35327 (which is number I can recite off the top of my head due to searching for the MRP paint so often this last week).
-

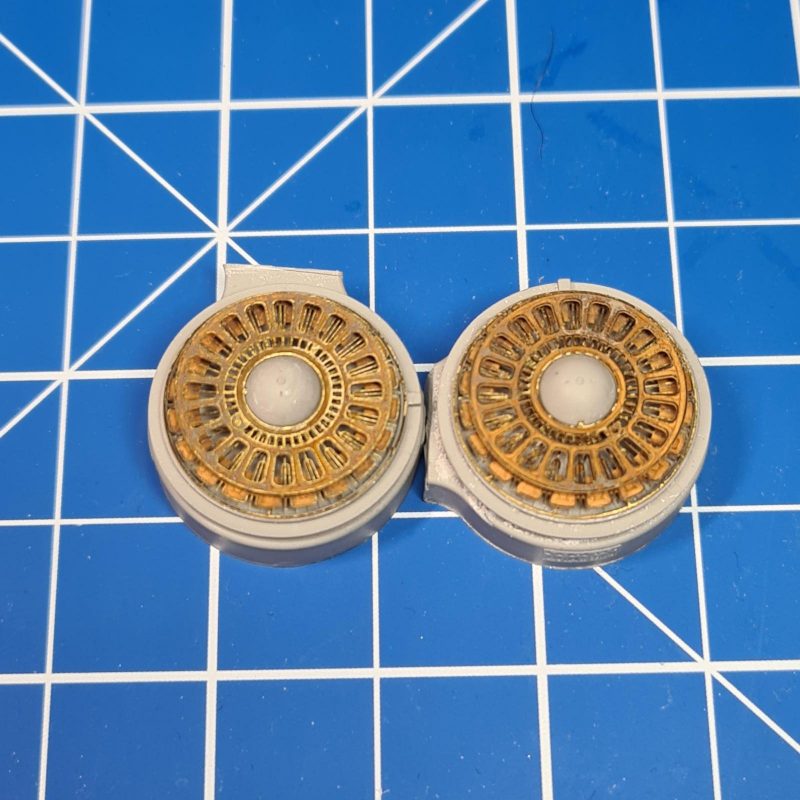
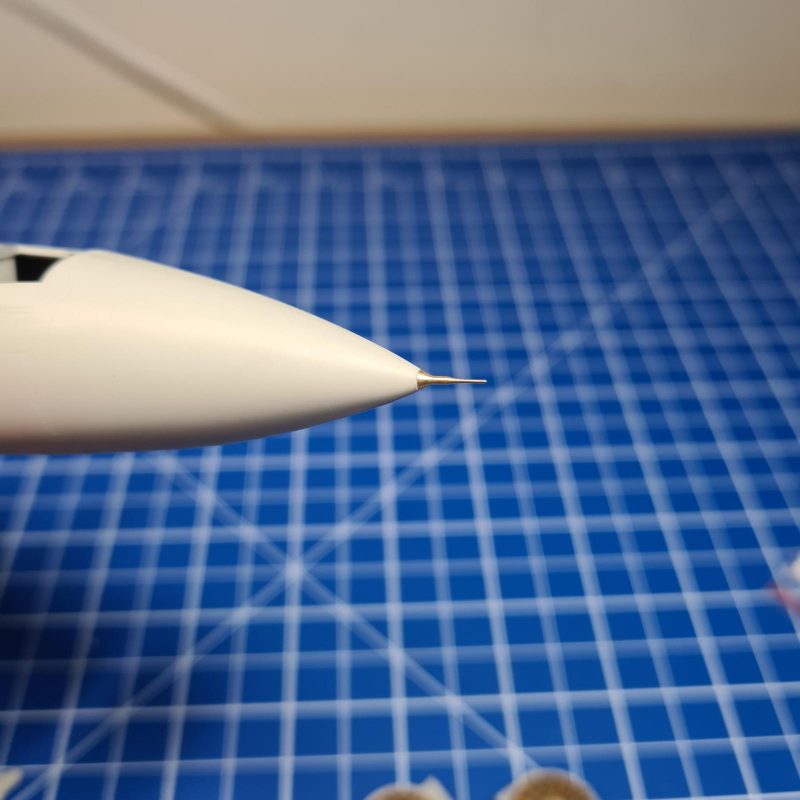
I've also started work on the engine, I 'primed' it in black (not actual primer, Tamiya XF-2 is good enough for me in these areas) and tomorrow I'll apply a few metallic paints, I especially need to paint the intake fans so I can glue the intakes on properly. I also started work on the brassin exhaust set with the photoetch that comes with it, definitely looks interesting to my eyes. On the subject of aftermarket, I also sanded down and filled the radome and added the Alfa probe, I do have an AoA probe in brass to add but the Tamiya moulded plastic is fine and seems strong, hasn't broke off yet!
-

-

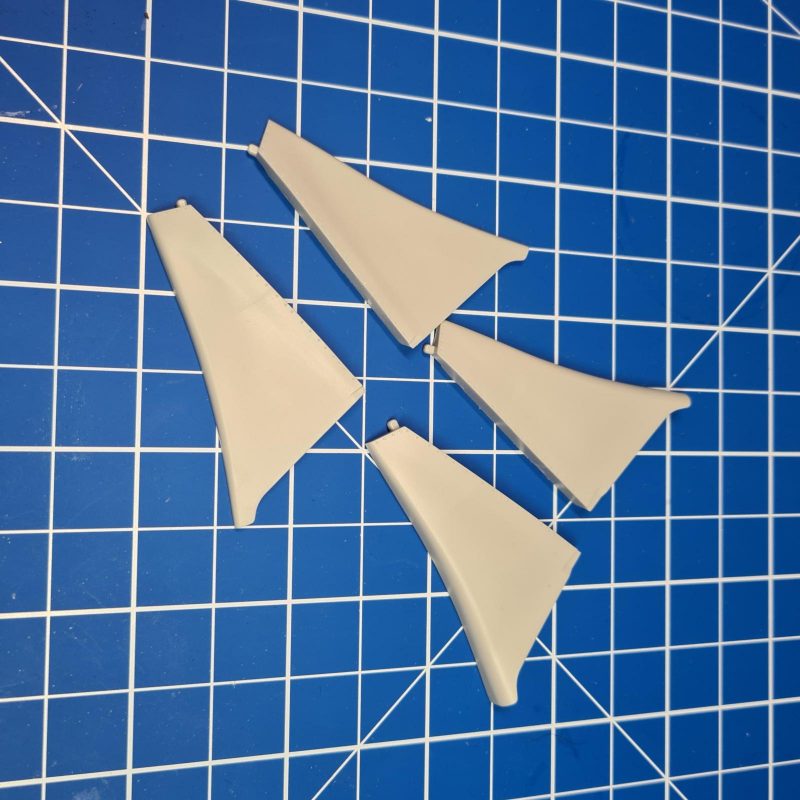
Speaking of how handy the removable wings are during building, I'd thought I'd just show how Tamiya handle the F-14s wing. The Tomcat had an air bladder behind the wings that would inflate/deflate depending on the wing sweep in order to fill the gap under the wing no matter what angle it was at, naturally plastic doesn't move so Tamiya provides two separate parts for the bladder. Tamiya recommends not gluing these in place and they certainly fit well, allowing you to switch them off when you like. Personally I'll probably keep the swept back one on 99% of the time, the difference isn't all that noticeable and I think the Tamiya F-14 has bigger concerns before it can be airworthy than a gap under the wing, but I'll paint them both up and use them during the end of build photography spree. One issue is that I happened to sand too much off of the part of the wing that keeps the bladder in place (which is meant to be removable), as such there's a slight gap on the left which is pretty annoying and naturally can't be filled in. Hopefully it's not too noticeable.
-

Also, I shoved the F-14 in the lightbox and took some quick snaps, too over-exposed if you ask me. The other half asked 'why get a big lightbox when you don't need it?', but that slightly too unwieldy lightbox is coming in useful as it actually fits the Tomcat with its 40cm wingspan.
On a side note, whilst I'm enjoying this build, I'm glad it's a Tamiya kit. I'm not quite as motivated to build this as I normally am with kits but thankfully it's a relatively care-free build even with my modifications, I do really want to get this done and move back to the propeller fighters though!