Starting with the cockpit. Finally get some build time in.
The Skyraider cockpit is a typical Tamiya layout. Nice details on the side consoles, not many parts are involved and will build to a decent representation with the parts provided and detail painting. Just the lack of seat belts is the constant on Tamiya interiors. Decal seat belts don't work for me. So I will use the Eduards zoom set to enhance it a bit.
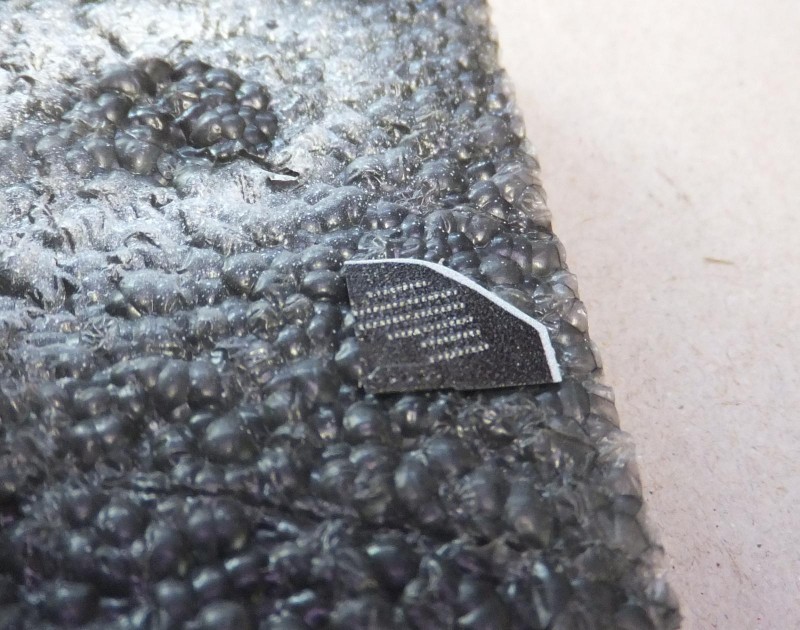
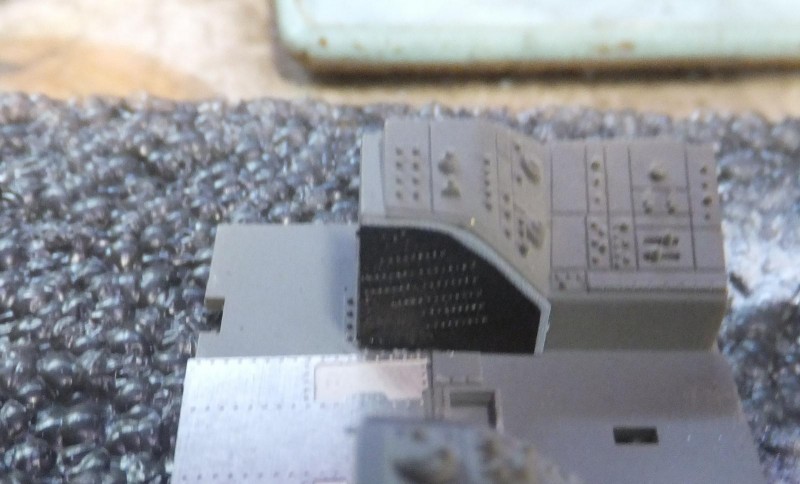
A steel PE plate is attached to the floor of the cockpit.
-
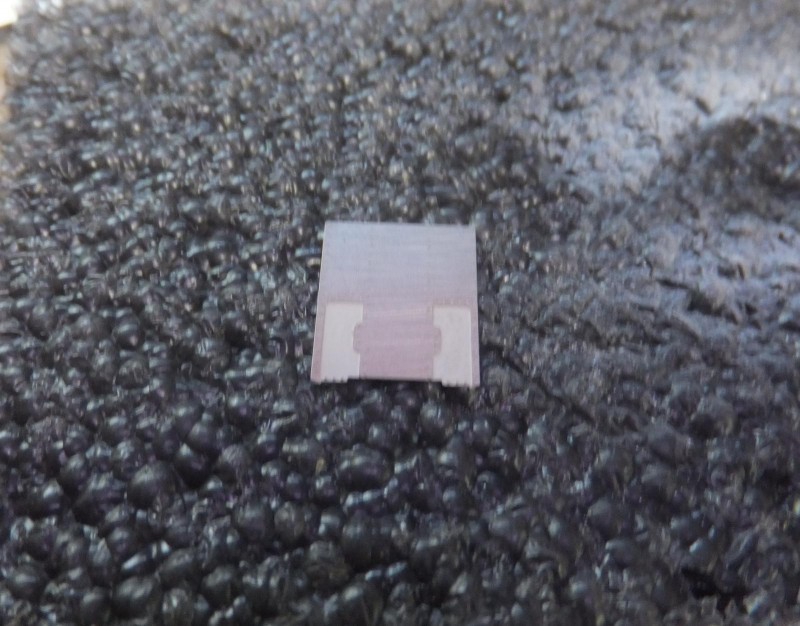
1. PE steel plate attached to floor of cockpit
-
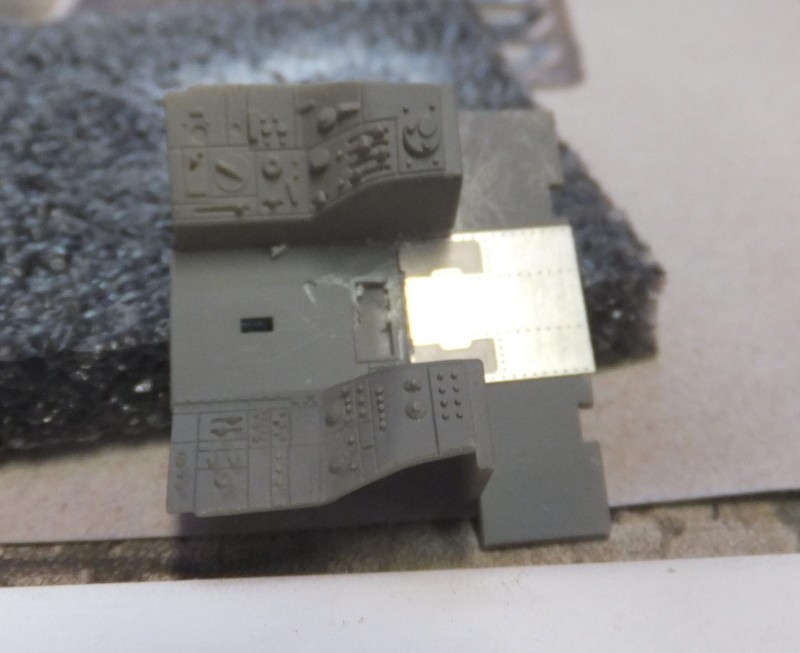
1. Between the side consoles
-
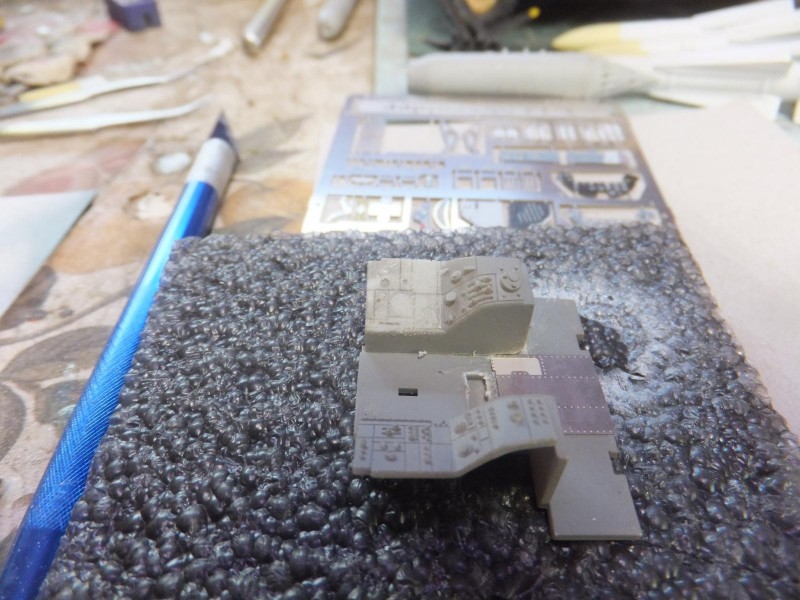
1. Details cleaned to enhance this part of the console
Next a side panel is placed on the LH inner side of the Left console.
-
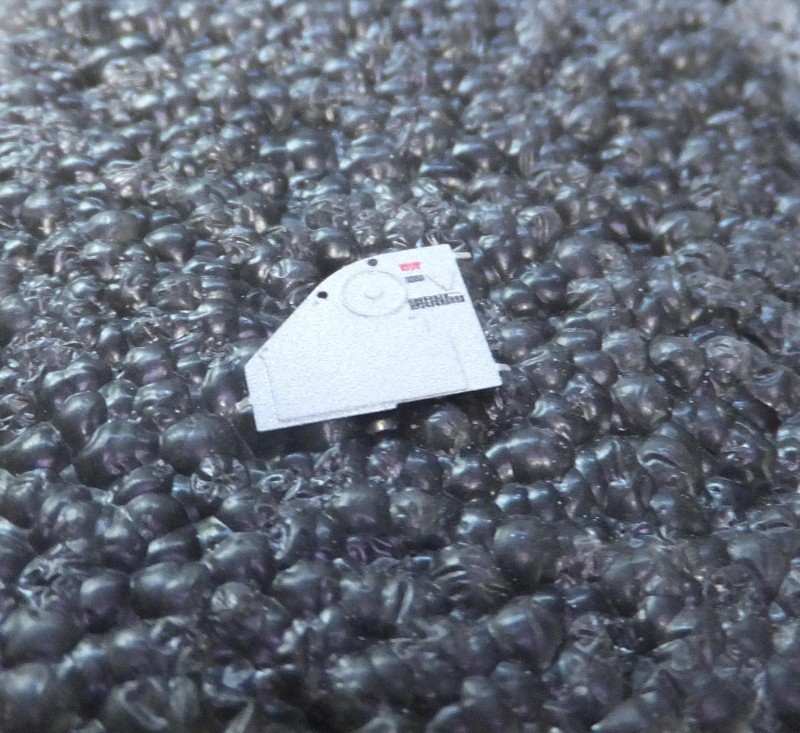
1. This panel is placed on the LH side inner console
Next the Fuse buss panel is placed on the RH side inner side of the Right console.
-
1. Fuse panel is placed on the RH side inner console.
-
1. Fuse panel placed here
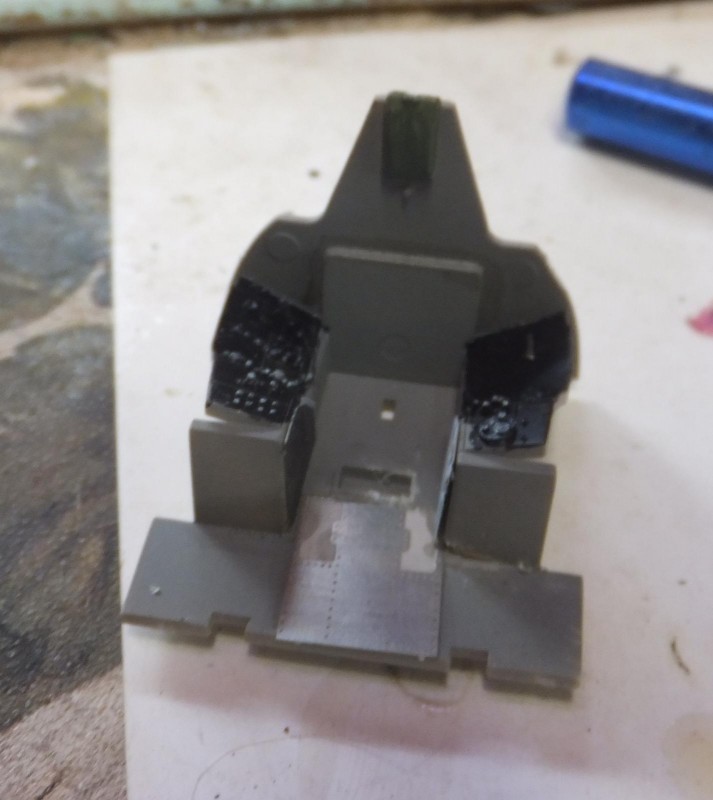
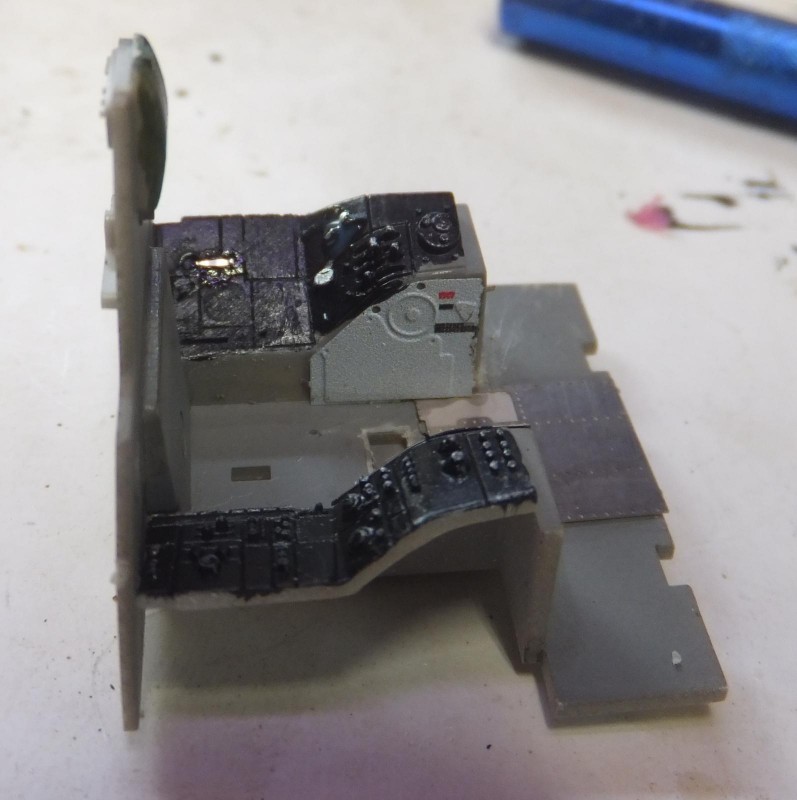
The the side console panels are painted semi gloss black
-

1. LH/RH side console panels painted semi Gloss Black
The rear bulk head will be attached to the back of the cockpit floor.
The headrest is painted leather brown,details knobs, switches are picked out with silver and light grey pencil.
-
1. Brown leather headrest
-
1. Console knob and switches picked out in silver and lt grey
-
1. Silver pencil to highlight some of the switches
Next the control stick is attached to cockpit floor.
Now to work on the seat. Adding the PE belts will really help on a basic ho hum seat.
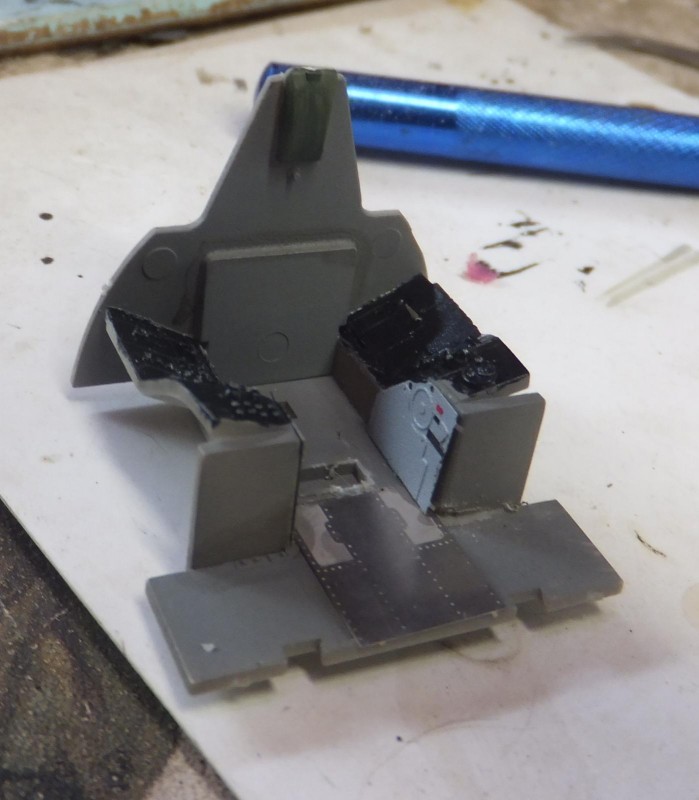
The seat is then placed into cockpit tub.
-
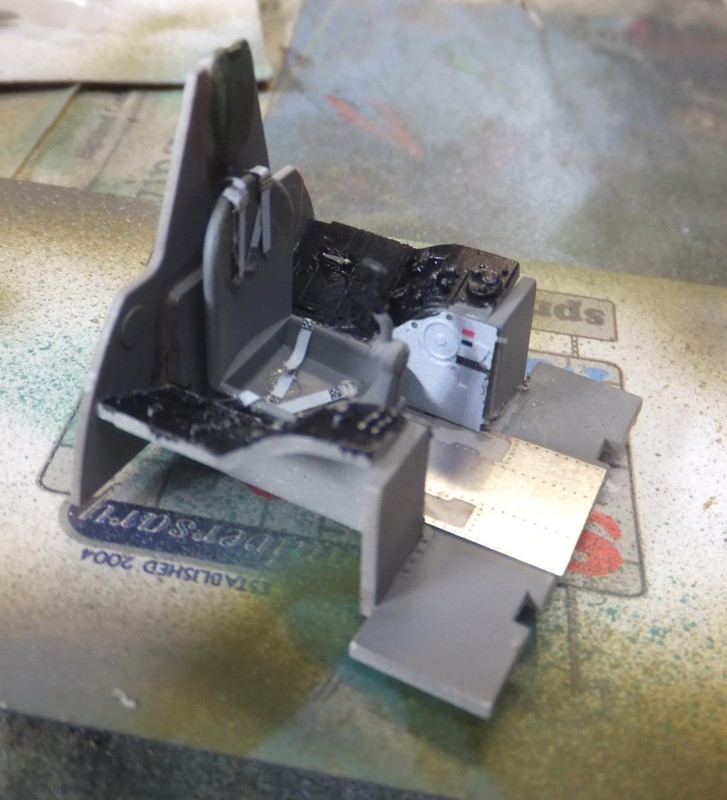
1. seat placed into cockpit tub.
Next is to work on the Instrument panel. Again a decal is supplied for the dials and gauges. The details are ok, but do lack any dials, numbers and indicators with in each gauge.
So after sanding off the details and now ready to install the PE bits to really enhance the IP.
First the lower set of gauges and dials are installed.
-
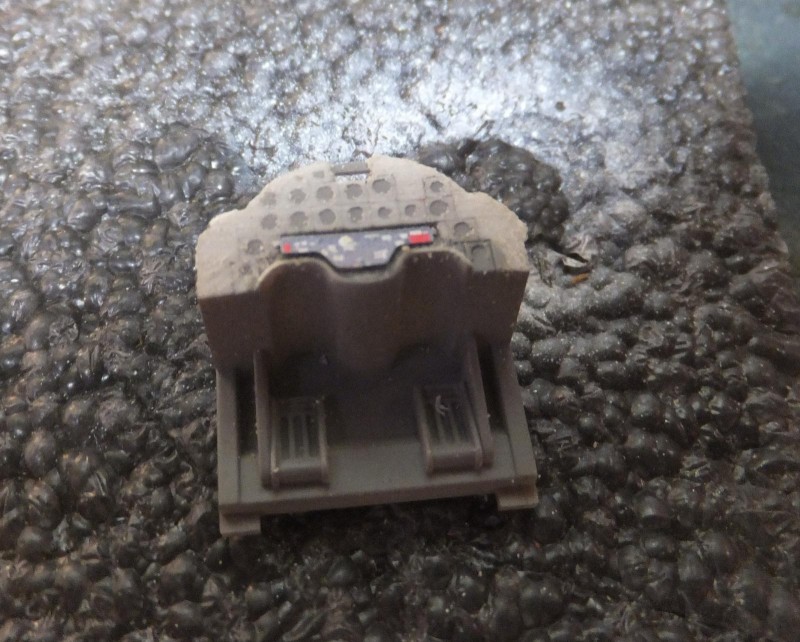
1. The lower set of gauges placed on bottom section of the IP
Next is to attach the gauge and dial panel and place over the rest of the IP with Cyno and let set for an hour.
-

1. Gauge panel next covers the rest of the IP
After an hour, first a bit of Testors clear cement is placed on the gauge panel. Then the gauge cover is placed over the top and let set again, for an hour.
When the Testers dries it is clear like glass lenses in the IP. And the installed to the cockpit tub.
Thats it for the cockpit. Next to work on the fuselage halves and install the cockpit.
more to follow.