Review: Kitty Hawk 1/48 UH-1D “Huey” – Build Review, Part 1
Bell UH-1D/H Iroquois (Huey)
Scale: 1/48
Manufacturer: Kitty Hawk
Manufacturer Website: https://www.kittyhawkmodel.com/
Ref.KH80154
MSRP: £37.99/$55.99
A Brief History of the Type
The Bell HU-1 Iroquois was developed in the 1950s for the US Army. The "HU" company development reference led to the now-familiar nickname, "Huey", which continued even after the redesignation of the type in September 1962 as "UH" (Utility Helicopter).
Even during initial production of the "A" series, the Army had already requested changes to the turbo powerplant and other aerodynamic corrections. The "D" version (Bell 205) was a stretch version, with longer rotors and tail boom and increased load-carrying capacity.
Thousands were on operational duties in Vietnam, and it's this link that's led to their iconic status as troop-carriers and gunships.
A useful account is here: https://en.wikipedia.org/wiki/Bell_UH-1_Iroquois.
The Kit
The Kitty Hawk version here has been available since earlier this summer, and there are a number of both in-box, as well as a few build reviews on the Internet. For my part, in order to give a clear view of the kit, I'm avoiding elaborate enhancements through scratchbuilding or arbitrary substitutions, which I hope will give a reasonable overview of the kit built OOB. That said, I have had to make a couple of small adjustments, which I'll point out in due course.
Preliminaries and interior work
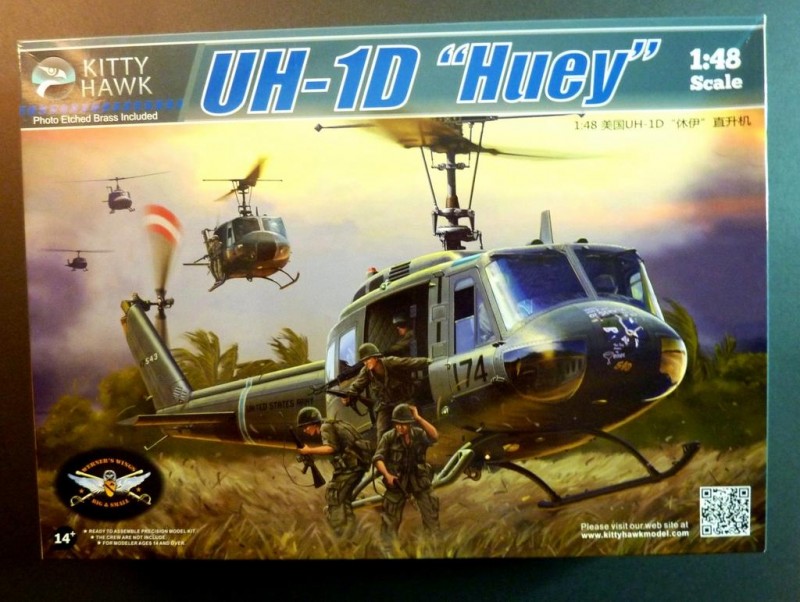
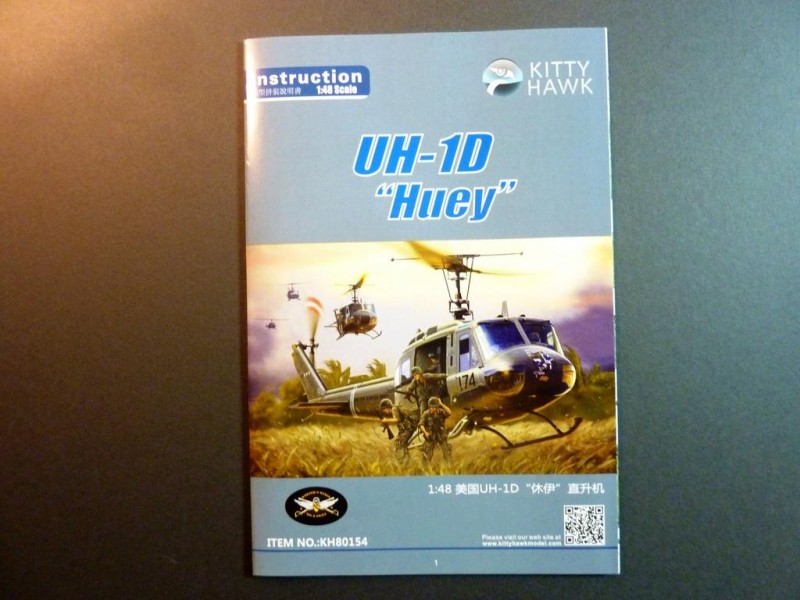
The kit is well boxed, with attractive cover art, depicting a scene from Vietnam, presumably.
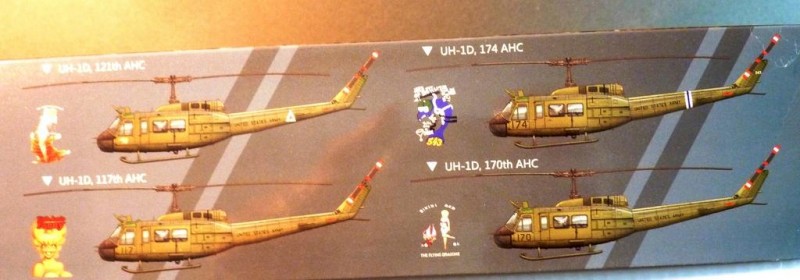
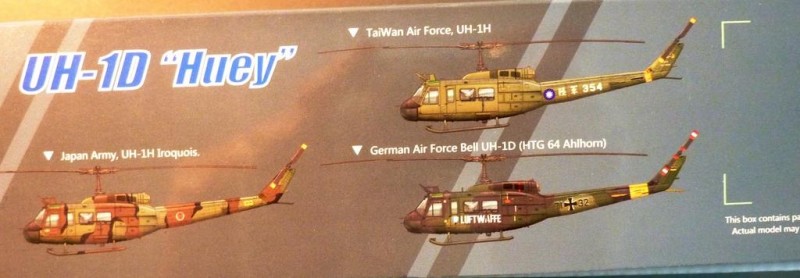
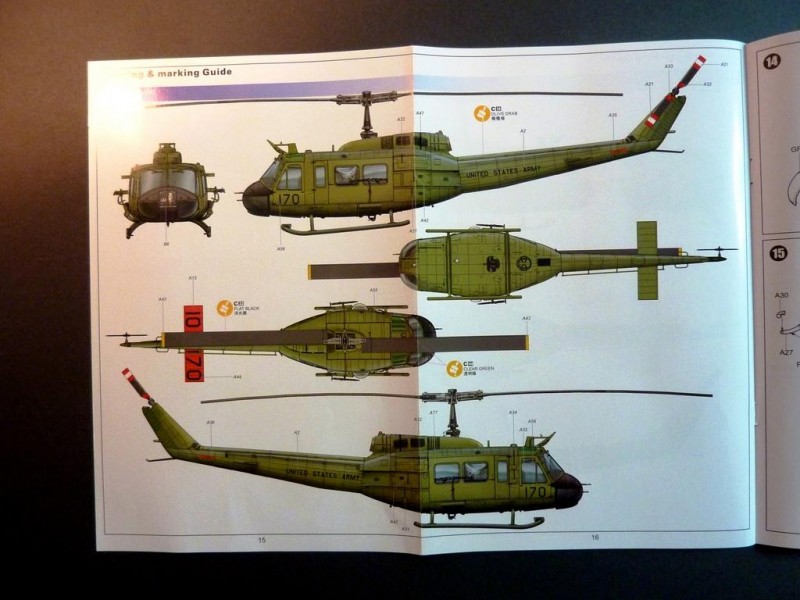
There are seven options to model, four of which are"Ds" in US Army service in Vietnam.
The instructions are in booklet format, and include colour foldout elevations of the seven types.
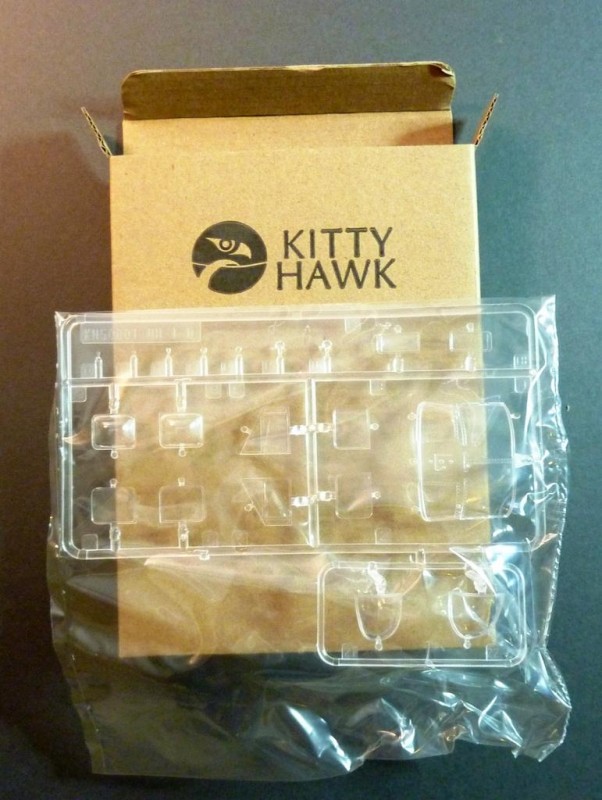
The clear parts are safely packaged in plastic within a separate small cardboard box.
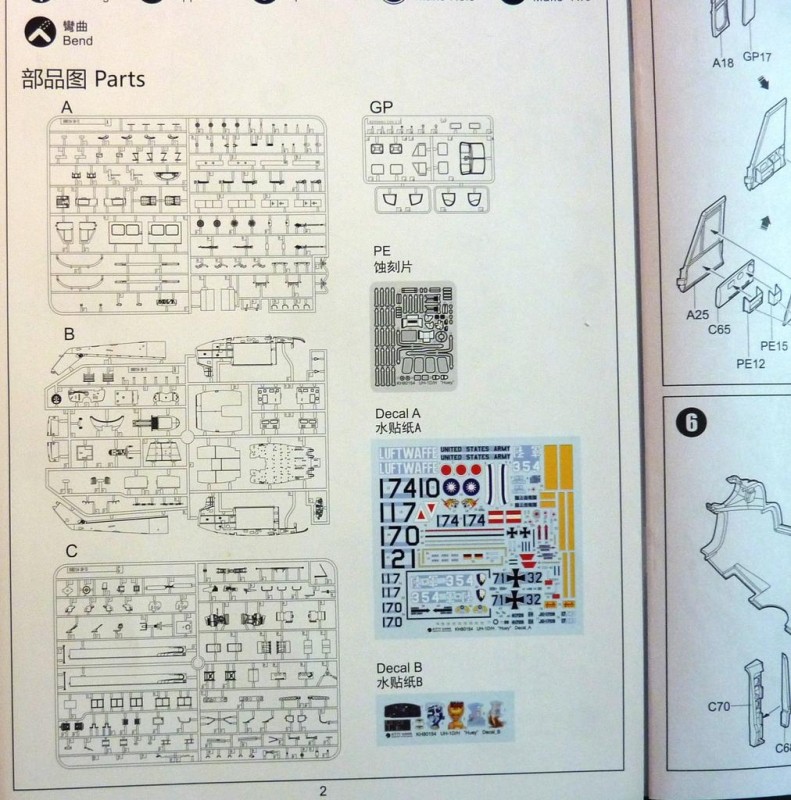
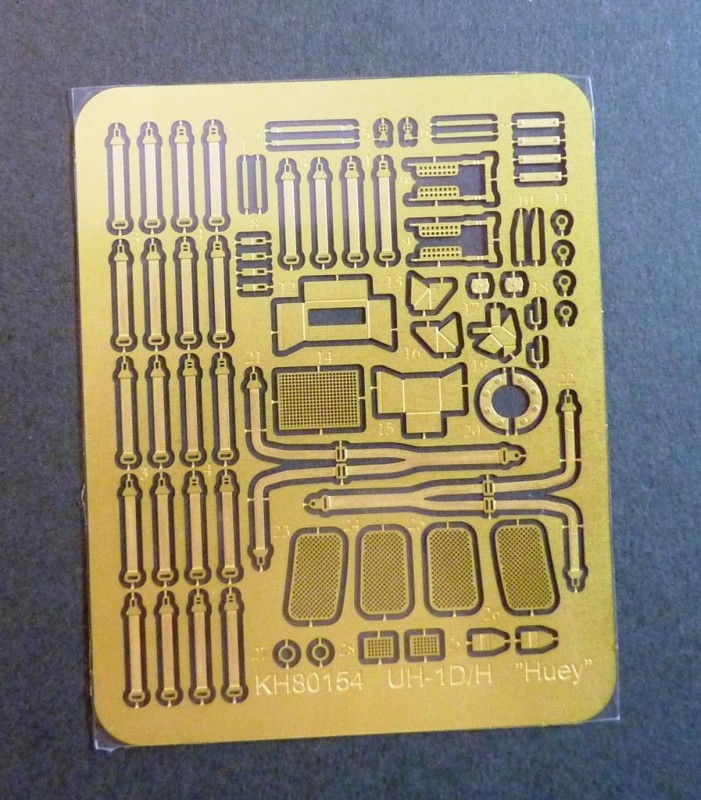
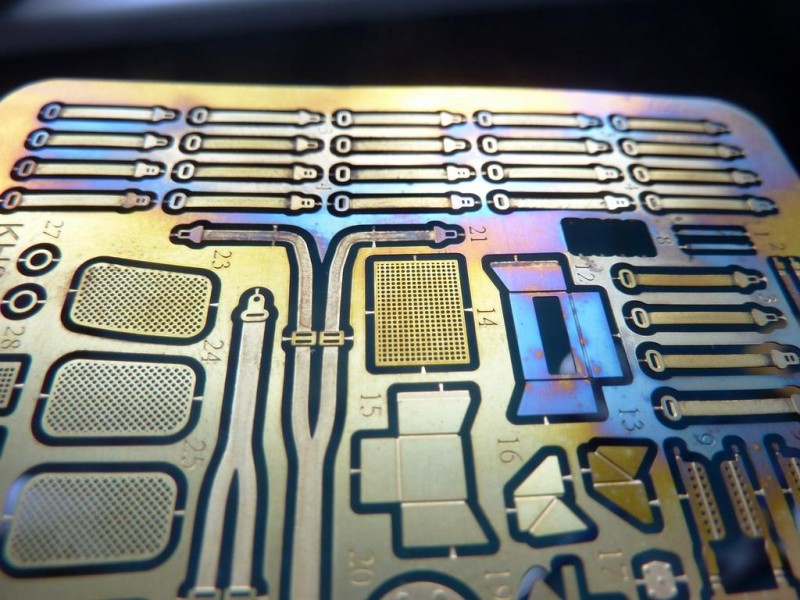
The kit includes a small etch fret.
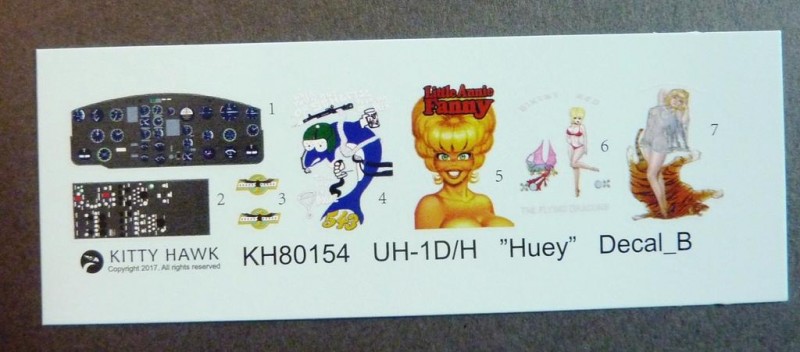
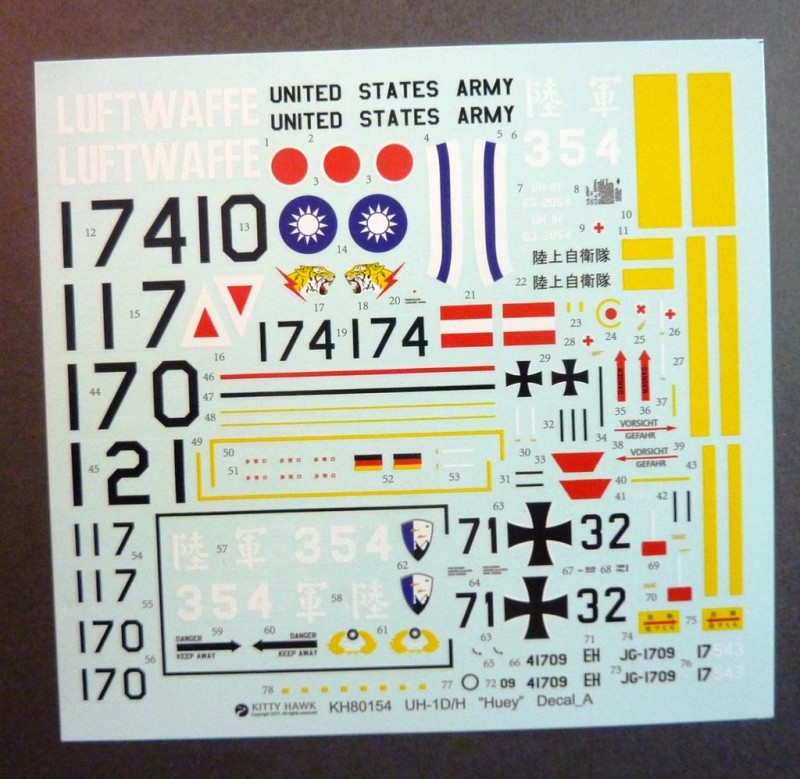
Two decal sheets - one main sheet for the majority of external markings, and a smaller sheet with instrument decals (more on that later) and selective examples of nose art.
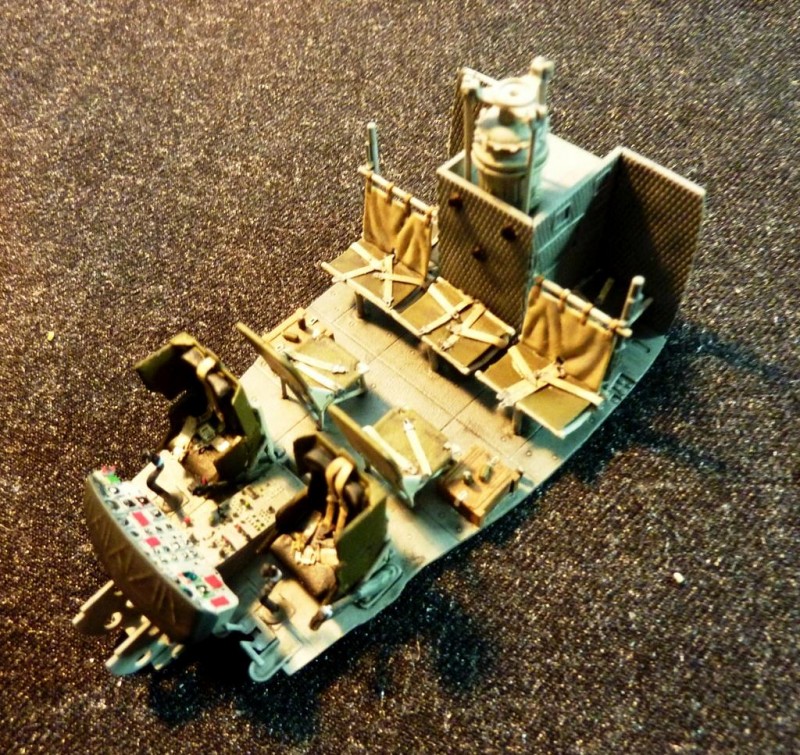
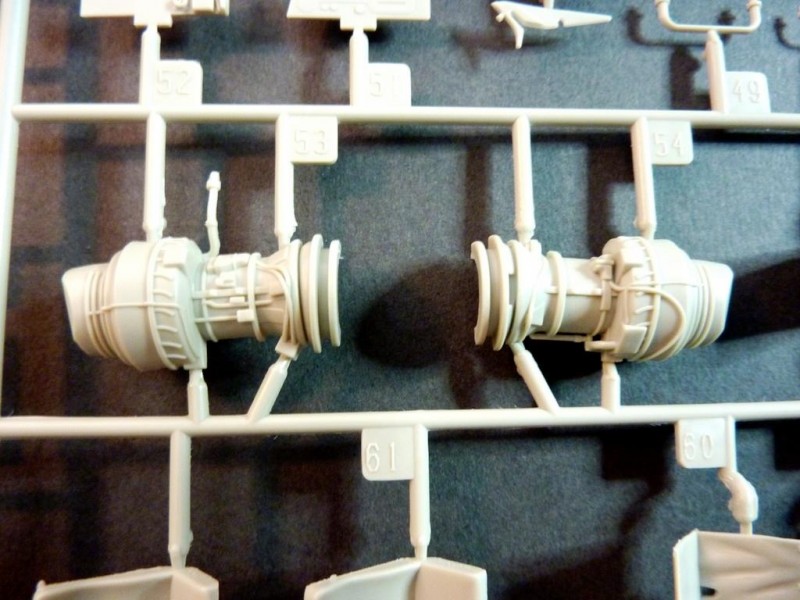
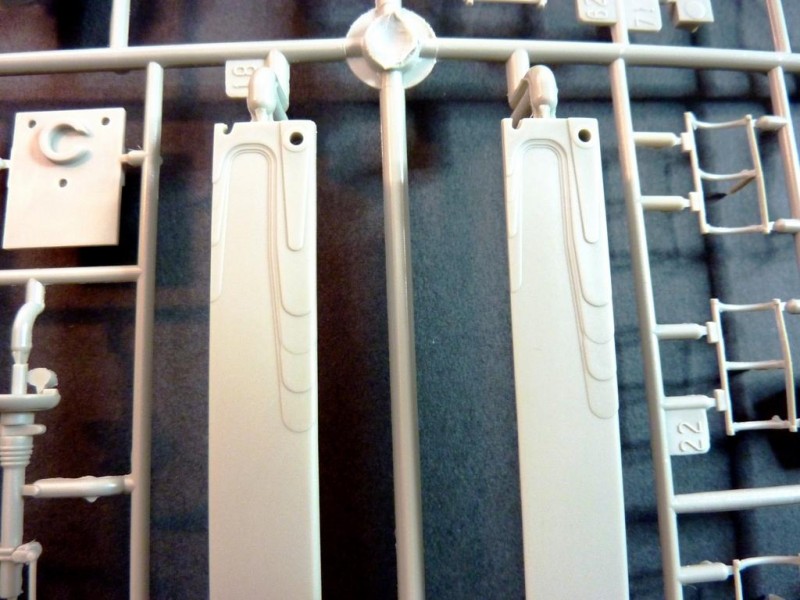
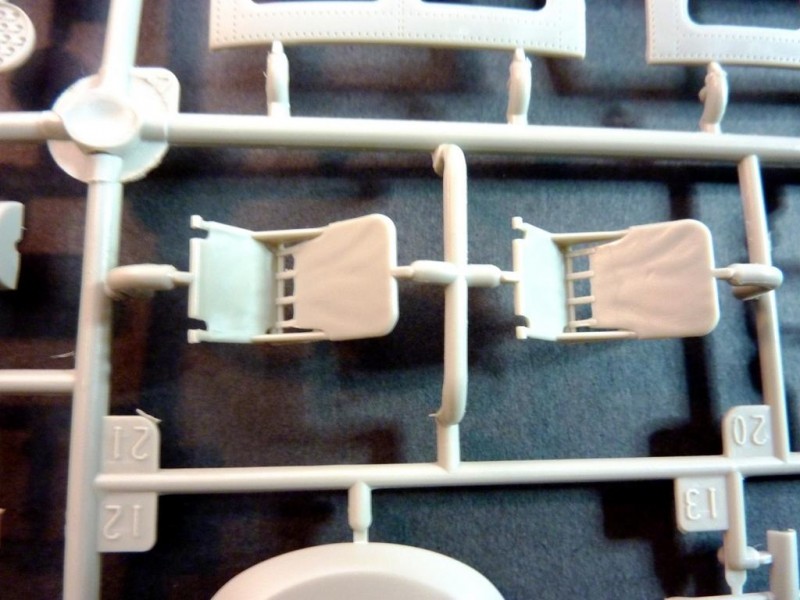
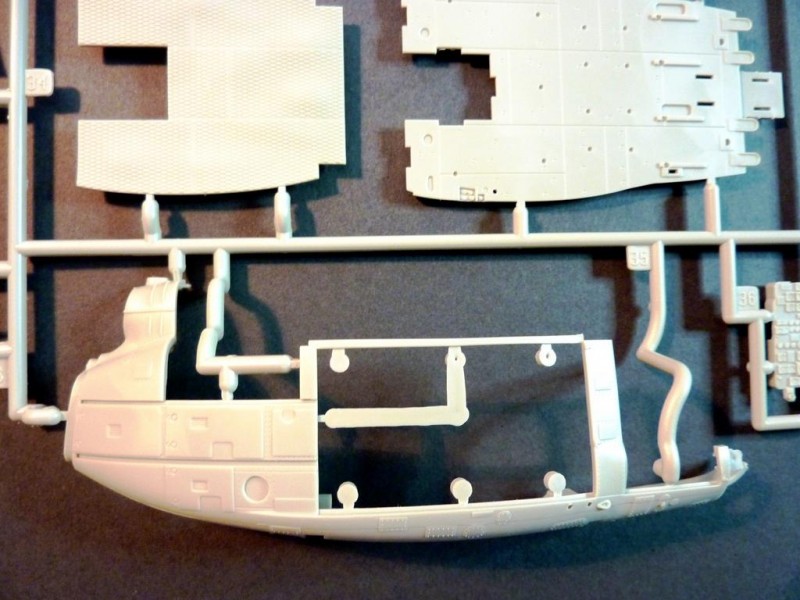
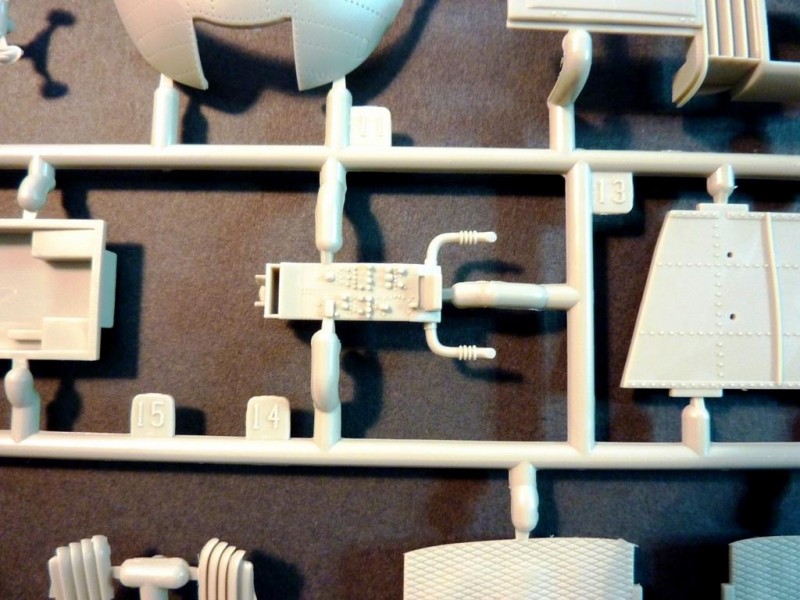
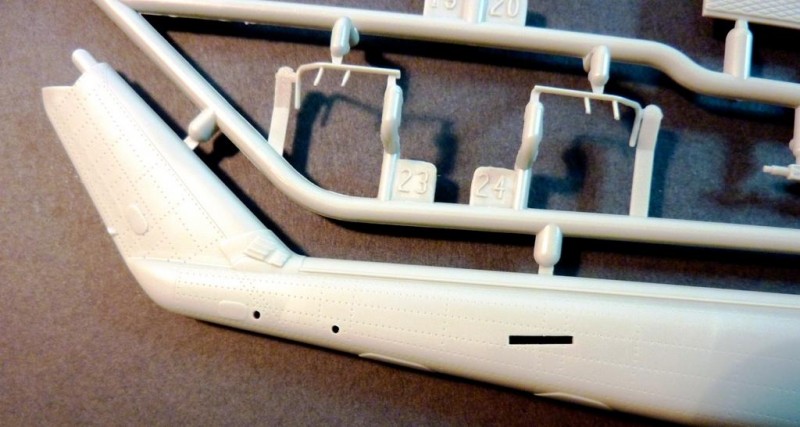
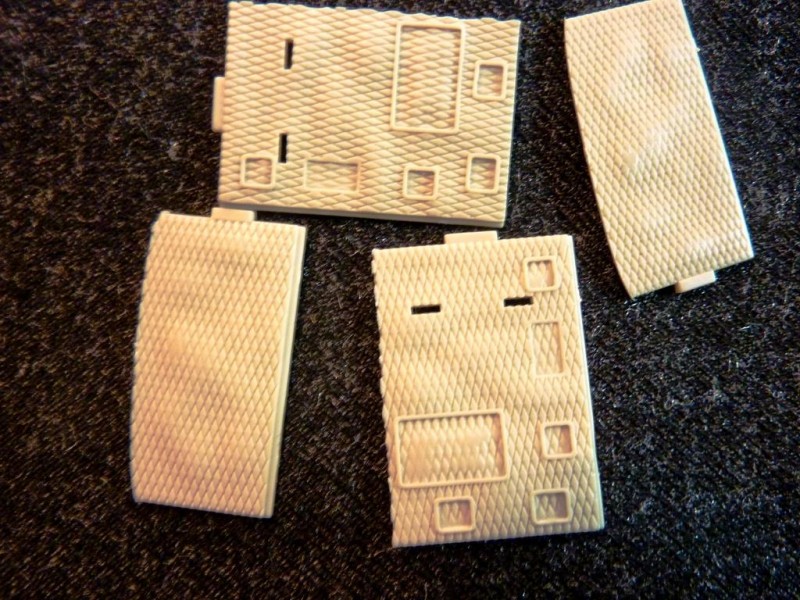
The following photos show a nicely detailed array of parts on the three main sprues. The quilted sound-proofing panels are especially well rendered.
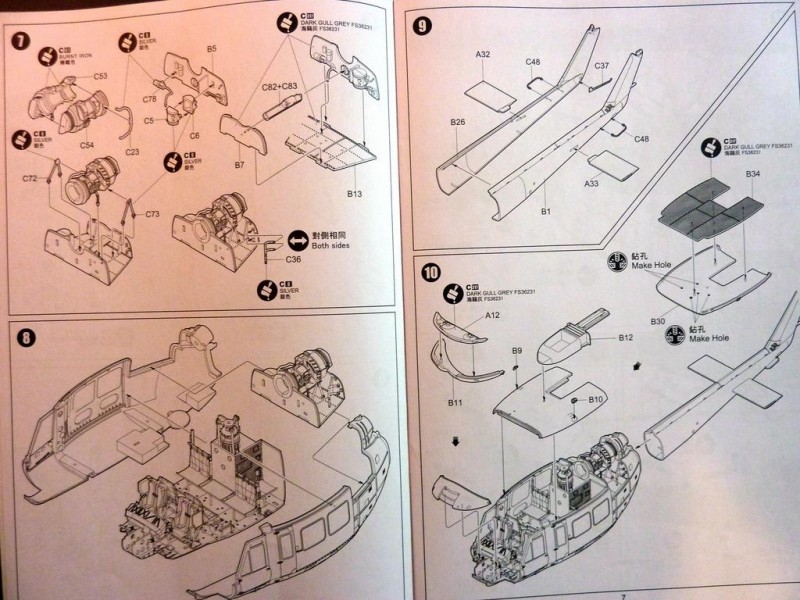
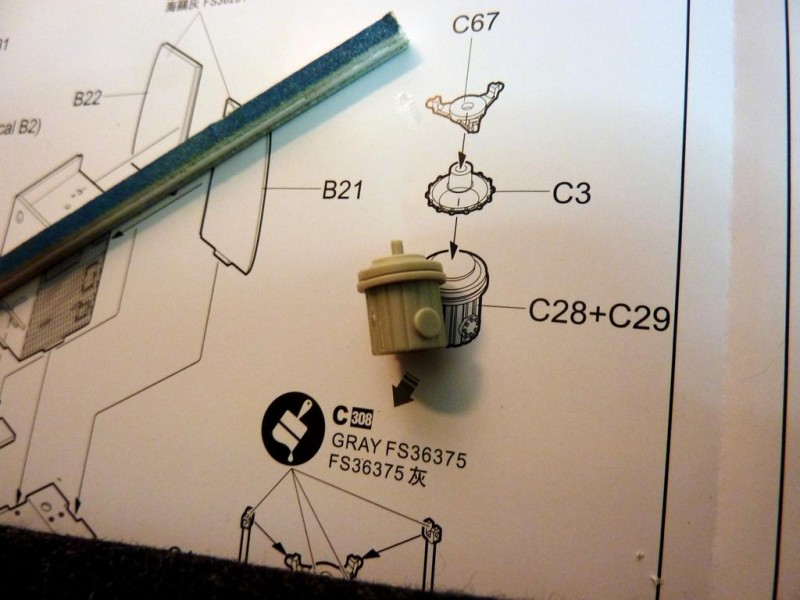
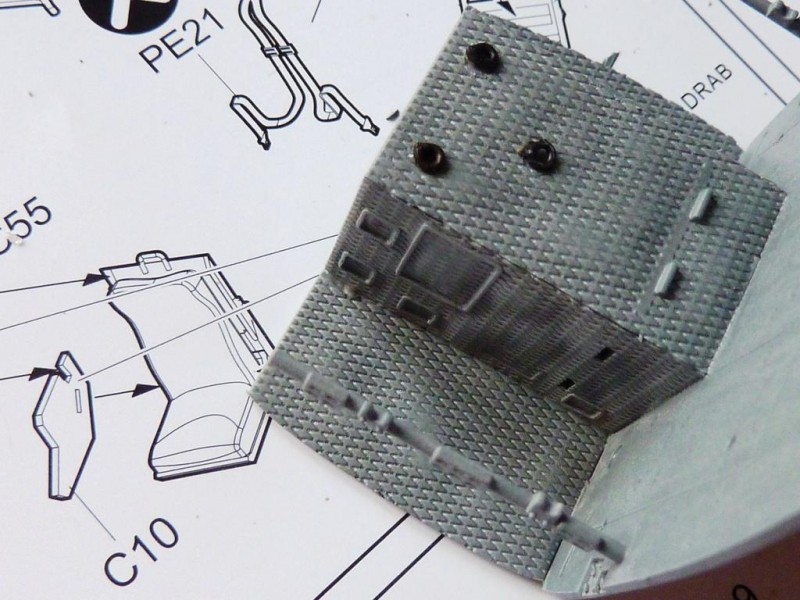
The first issue, albeit a small one, is the position of the rotor mast platform base. The instructions indicate tabs within the well, but none are present. I've tried to estimate the correct location.
And with the gear itself there are details at the posts on the drawing, but in fact these are blank on the parts. I added a couple of small pieces of spare etch (my first amendment), to replicate what the plan indicated.
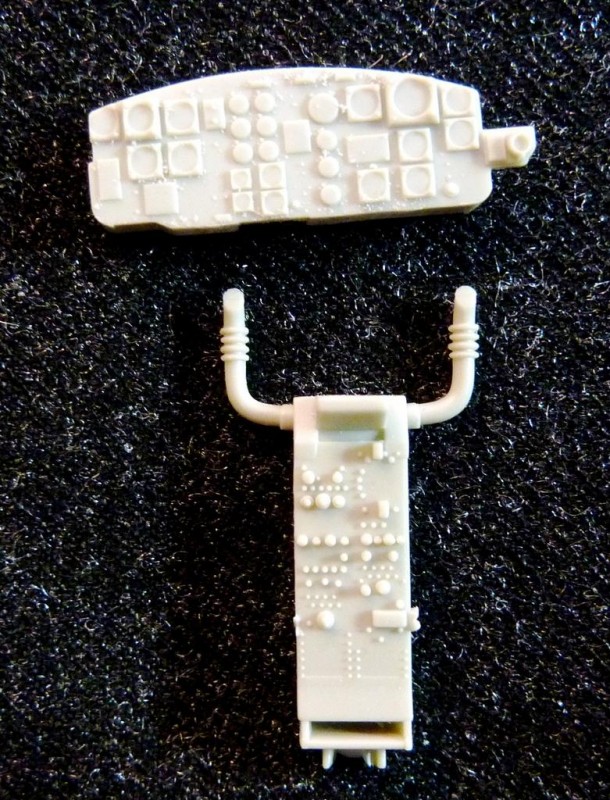
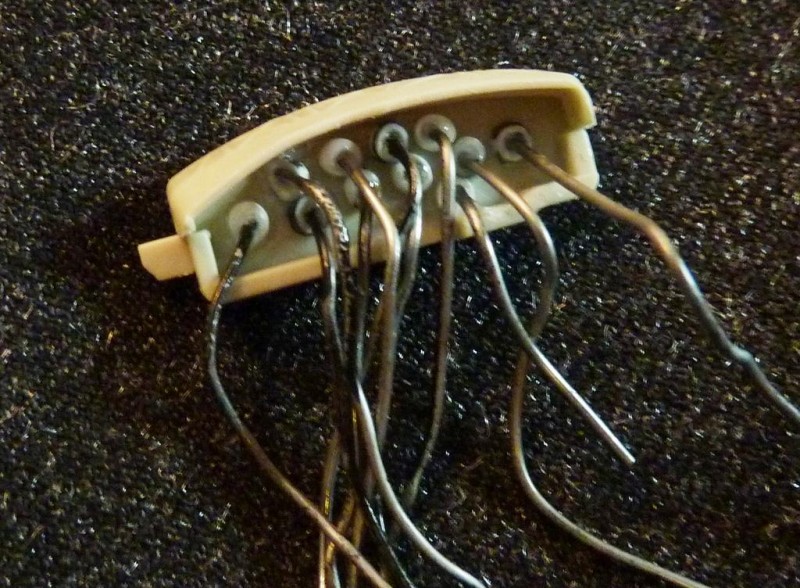
My second addition was to fix hollowed stubs of plastic rod to which were attached lead wire, as detail behind the instrument panel. There's a fair amount of clear plastic at the front of the model and I didn't want the area to jump out for not having any detail at all. It's all quite basic and tucked away in any case.
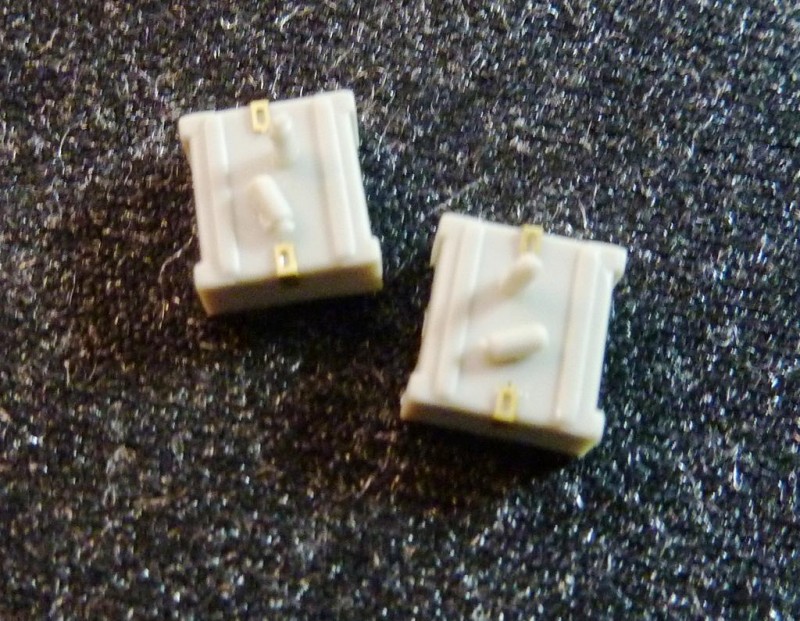
Here are two timber cases of what I think are smoke grenades. The etch hinges are a nice touch.
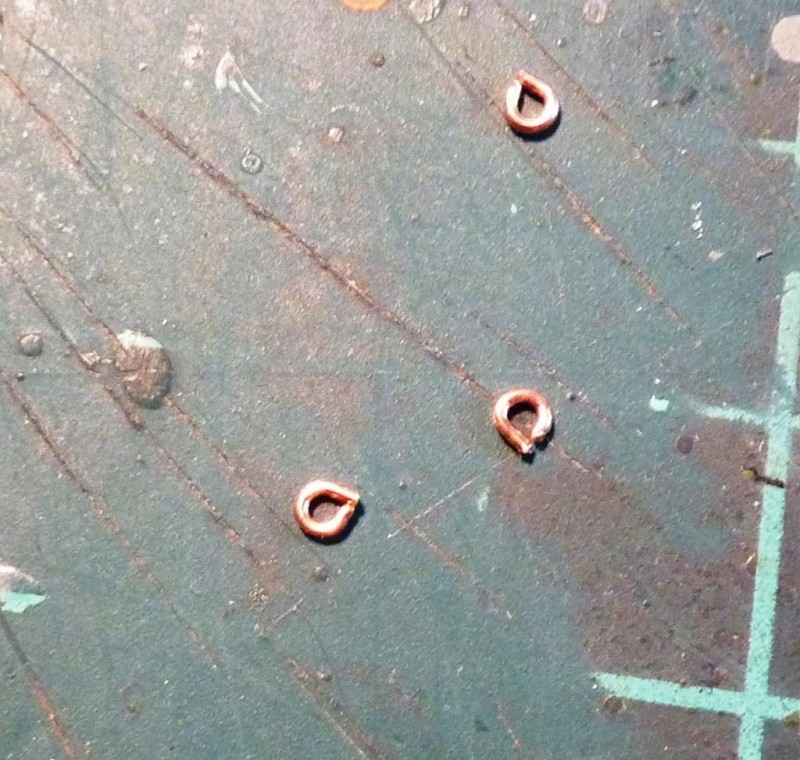
On one of the rear quilted walls there are three circular depressions that at first I thought were mould ejection marks, but then realised were placements for tie-down rings - nothing in the instructions about this, and it's just my own assumption. I took three brass eyebolts, cut off the tails, and then filed down the gaps. These were painted and popped in place. Although an addition, like the etch on the gear head, I felt I was simply providing what should have been noted and was in fact moulded-in.
As I usually do, the etched belts were anodised with a candle flame to make them more pliable.
I should say something about paints here. The interior is predominately grey. KW callout FS numbers with corresponding Gunze references, the main colour being Dark Gull Grey. The gear base on the rotor mast in Light Gull Grey, but only plainly noted as 'Grey' with an FS reference.
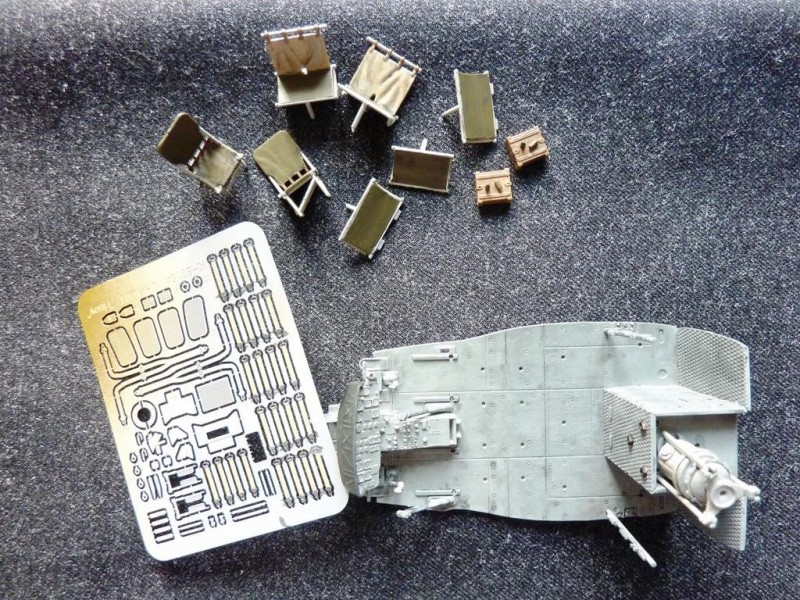
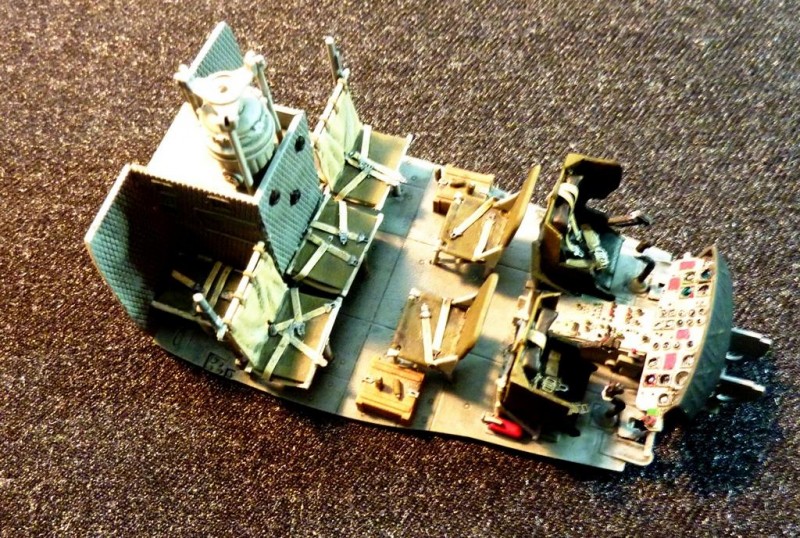
The seats are all very good, with canvas 'sag' moulded convincingly into the seat backs.There are plenty of Internet references to Huey interiors, and several finishes to various areas also in evidence. Generally, I painted the frames in LGG, the seats Olive Drab, and seat backs of the two front-facing rear seats in a 'sail' colour. The sail colour was also used for the seat belts.
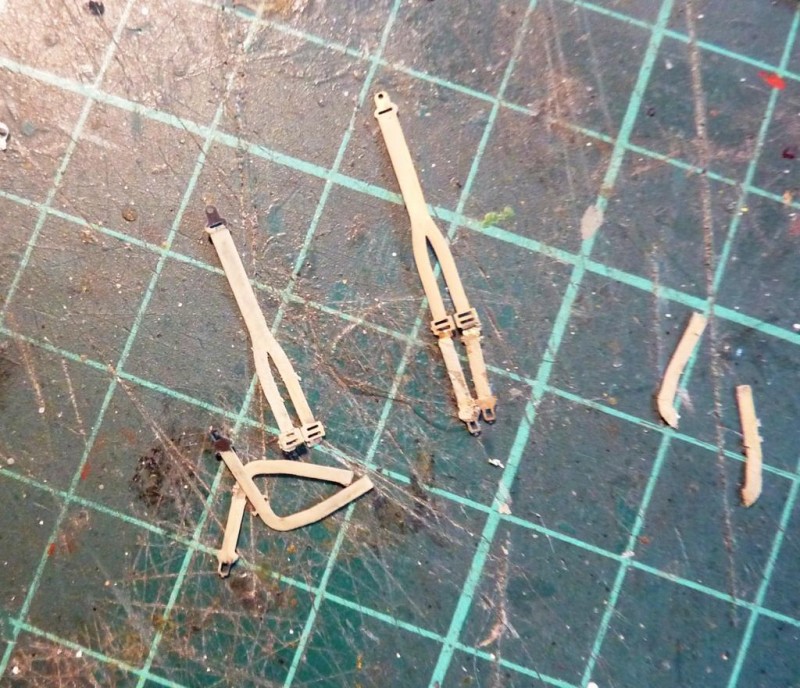
A particularly annoying issue arose with the belts on the pilot/co-pilot seats. The shoulder harness is too long. It can be seen as such at a glance at the etch fret. It's baffling as to how KW could render so much of the interior so well, and then present something like this.
I had to cut the harness at the mid-buckles, reduce the offcuts to a straight section with a clip at the end, and then glue each of these back to the main harness. There are no lap belts. I had to make up two sets from tape and spares, which never looks as clean as pressed brass; this was my third change to OOB, but again, not really my choice.
Everything now painted and in place here.
You may notice the instrument panel in grey, as is the console. KW provide two decals with black backgrounds, but if you're modelling a Vietnam-era kit these areas had a grey face. I was indeed modelling one of the four Vietnam choices and decided to paint the grey backgrounds in LGG and pick out the dials. In keeping with the spirit of this review, I tried out the two decals on another surface. They separated from the backing paper within two minutes (good) but the console decal went to pieces (bad) and the main panel decal remained leather-like even under solution (also bad). I hope the other decals behave better. I noticed that KW have their own branding on the decal sheets so presumably it's something they're undertaking in-house. The black decal type/finish, I think would be correct for an "H" type, by the way.
I've noted a few silly issues here thus far, both with the instructions and the kit parts, but overall the detail is impressive. The armour to the pilot/copilot seats I don't think has been kitted out before this, for example, the seating details are generally excellent, and the quilted walls finely expressed. There are a few areas where it would be easy to add detail, although a fair amount would be covered up in due course, but that never put anyone off before so I'm sure there will be many 'detail-up' exercises in future builds.
There have been a few kits of the Huey in the past (not all "Ds"), from Dragon, Revell-Monogram, and Academy, generally in 1/35. I think despite my overall favourable impressions to date, I'm at a loss to understand why KW would offer a new-tool Huey in quarter scale. The subject cries out to be placed in a vignette or diorama, and I'm aware of only a couple of choices in this scale for crew figures, from CMK and Aerobonus (Aires), which doesn't exactly open up the subject for dramatic development.
Part 2 will follow in due course.




Rob, the first 48th Huey I remember was the Monogram, with the stretcher bearers, subsequently modified as a rescue ship and he gunship 1-C, with the grenade launcher on the nose, in it's several guises. Aurora had one, as well. The only reason I know is I have one. The "D" in its several incarnations was the Esci. All are either old or unavailable except on the second hand market. There is a definate need for a modern molding, "better" Huey, now can we also see a 48th Cayuse? Or an RVN Hueycobra? Rather than yet another ME-109 or Nazi "paper project"? Before all us RVN Vets shuffle off, might one hope?
I know there have been several, certainly more than I mentioned in passing, but the nature of the review is more of a snapshot with a few practical illustrative build images, rather than an exhaustive compendium of the type.
For instance, the seats should have additional vertical support posts but I didn't mention them or scratch those required. As I mentioned, I'm sure people will thoroughly immerse themselves in additional detailing, whether by preference or as a corrective.
Despite my reservations re the scale, it's in fact a very nice kit with lovely details, although I'm obliged to note any oddities in the construction process.
As to your other point, I agree we need a more thoughtful, considered development of new subjects for modelling.
A very comprehensive review presentation, Rob - well done. And thanks for the tip about heating the PE parts - a process I shall adhere to in the future.
By the way, Rob...could expound a little on the anodizing procedure so I don't melt 'em by accident?
i.e. How close, How long, do ya keep the flame moving...etc.
Just hold the piece in flame and move it back and forth, also flipping it over once or twice, for 90 seconds or so. The piece will soot over in the flame but when you wash it off you'll see the familiar rainbow effect on the metal. Try a scrap piece first if you're worried.
Thanks for detailing this technique, Rob. Many of us appreciate the hints!
Great start Rob.
Great job Rob 😉
Eric
Great! I too started mt Huey but haven't got as far along as you have. Too many Honey Dos! LOL!
Floyd Warner set that transmission base 5 mm from top of all three Island walls. My kit doesn't have tabs either. M/Rotor mast should have slight forward slant. 5 degrees someone said?
Good show! More please!
Private Message sent.
Bo
I've only attached my rotor base with white glue at present as was anticipating giving to make an adjustment.
Hi Rob. Can't wait to see the end result of this most iconic symbol of the Vietnam war. The cockpit looks great!
awesome review Rob! I am looking forward to seeing the rest of your build! Also, be advised that the box says UH-1D (pitot tube on the nose), but the parts included are for UH-1D or UH-1H (pitot tube on the cockpit roof), if you follow the instructions to the letter you will build a hybrid aircraft with both pitot systems, and the box art displays neither D nor H. if this doesn't bother you then read no further, but if it does, then just be sure to check your references for which aircraft you want to model so that you will know which parts to use.
Again, great work!
Cheers!
-Ramon
Hello Rob,
You did put a lot of effort in the history and as I can see in the model itself. Deserved, because this must be the most successful helicopter in history. Still rolling off the production line (different type numbers but still amazing).By the way,
Italeri will bring out this year a 1/48 scale Agusta Bell ASW 212.
The Naval Antis Submarine version. Used by Spain, Greece, Turkey and Italy.
I was talking to a Huey crew at an air show. The pilot said that when the last Blackhawk flew into Davis Monthan, a Huey was going to pick up the crew. We all grinned, and nodded.
Yeppir!