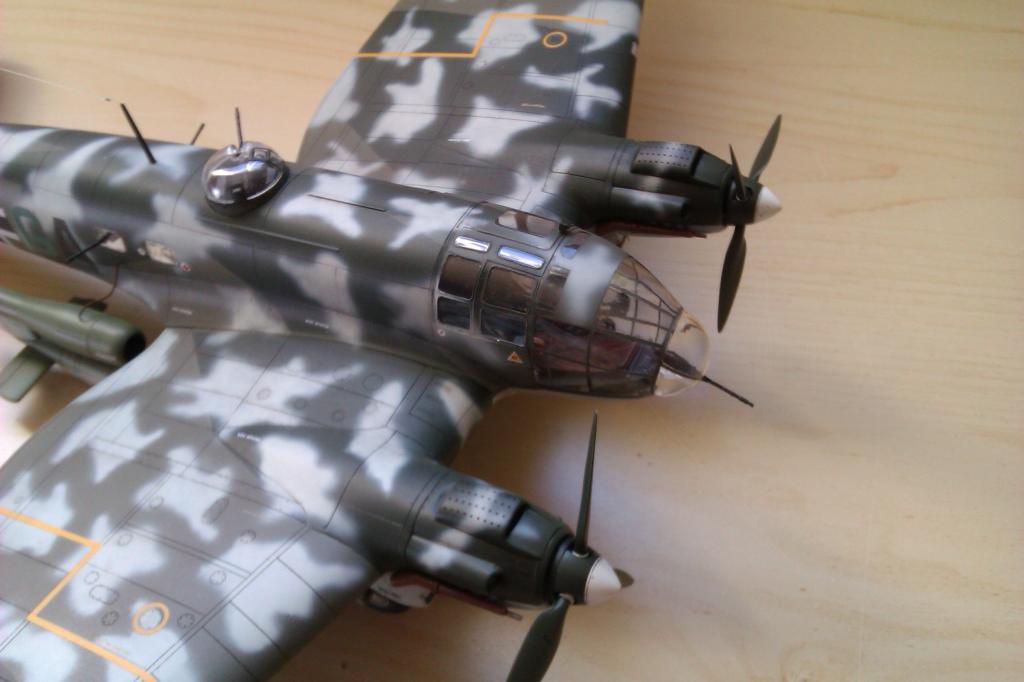
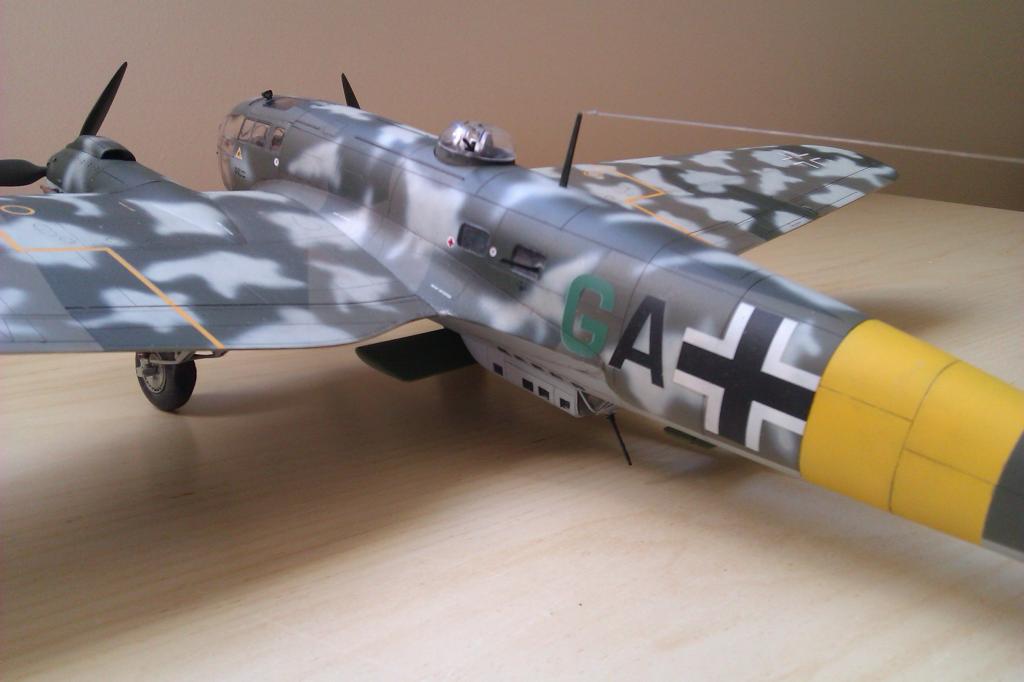
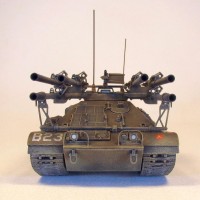
Heinkel He 111 H-22
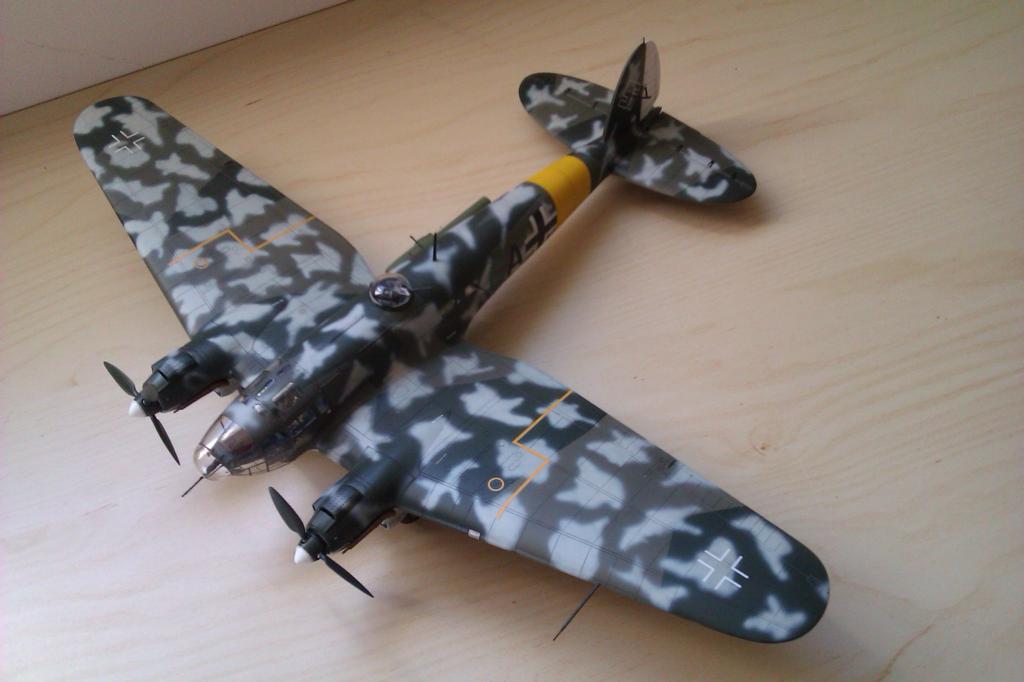
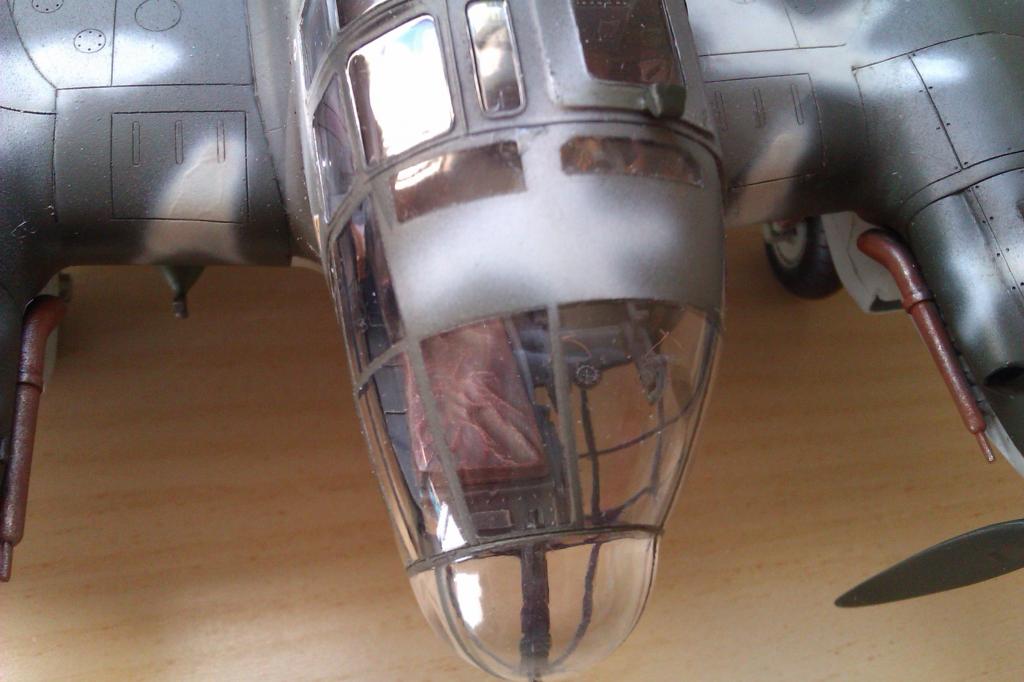
Built from the Monogram/Revell kit. Lot's of fit issues with much filling, sanding, re-scribing. Managed to lose 2 of the guns inside during construction. Got lots of dust in the glass nose from all the sanding. When I attempted to tap the nose to try and clear it, the nose fell off. Yay! Still, to paraphrase Tommy Lee Jones in MIB, I got my guns back. Nice interior detail which was further enhanced with Eduard coloured etch. This model featured my first attempt at a Luftwaffe bomber splinter scheme, which I then (nervously) obliterated with my first attempt at freehand mottling. I think that with all it's flaws, the final product looks very nice.


Mike,
Brilliant work on that camo. I always admire people than can do such a fine freehand airbrush job without any notable overspray.
Wonder if you have seen this http://imodeler.com/2012/11/monogram-revell-germany-148-he-111h-22/ model by @danfrombermuda ?
That's a Very Attractive scheme, and extremely well executed. Kudos from the antipodes...
I have that kit in the stash but nowhere to store the finished article...
I also want to get the H-6 variant with the glasshouse upper gun...
Do you think I can find one, here in NZ? No way, Jose!
(and when one does show up on Trade,me (out local ebay!) I'm always too broke to buy!)
Thanks for the comments guys.
Brett, I built first and thought about where to put it afterwards. I too would like to build other variants. Hopefully encountered most of the pitfalls on this one.
Martin, I followed the advice that said thin paint, low pressure, wind down the aperture and get in close. It was nerve wracking doing the mottle as the splinter camo looked so darn good.
"thin paint, low pressure, wind down the aperture and get in close."
That's the way do do it...
" It was nerve wracking"
An that's a given part of the experience... 🙂
Mike, great looking plane. I have built a version of this kit and found it to be a joy. It was not a Tamiya thats for sure but I don't think I used but a couple small smears of putty. I have this version in my stash to...I really want to build it to so I can hang the buzz bomb from it. I think that really helps set if off. Good job on yours, I really like the camo scheme and how well you did it.
It's probably just me, but I used lots of filler and plasticard around the engine nacelles and along the fuselage joints. I found that one of the wings refused to line up at the root. Also, the nose fit poorly and had to be faired in with filler quite extensively. I think I actually lost the will to live at one point during this build. It's funny how modellers experiences with basically the same kit, vary so much. I do like the look of the finished model so it was all worth it. And the V1 does look cool, slung underneath.
Well done! The final result looks great after your trials with the fit. I understand completely, when I built the CASAs, I used a number of shims and spent some time trimming and shimming even before I got t the conversion.
Again, very nice model Mike!
Thanks Eric. I followed your CASA dual build with interest. The level of detail and accuracy you achieved was incredible. And you built two of them! I would have been pulling my hair out.
really nice result! I wish I could have had some better weather when i was off from work to shoot mine in better conditions- I wish I could have shot more of the v-1 mountup like you did!
Amazing!