Hasegawa 1/48th Kawasaki Ki-61 Hein Tony IJAF,PTO,WWII, Part 1 WIP
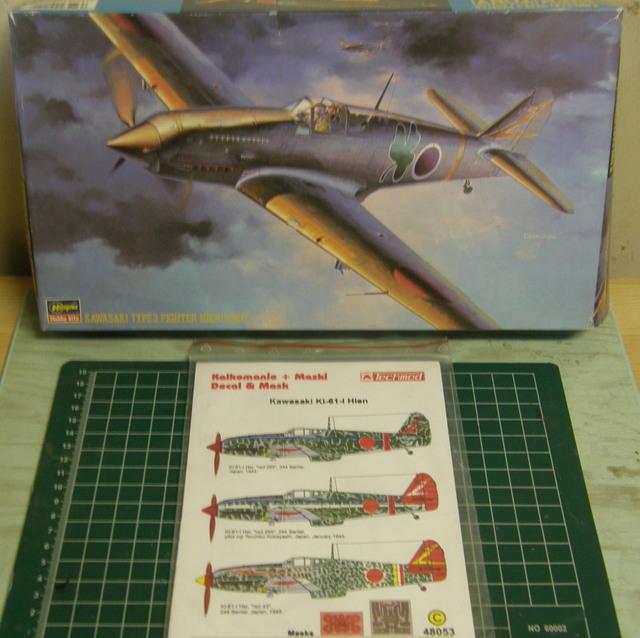
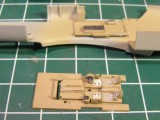
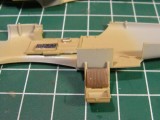
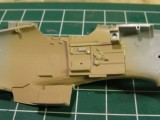
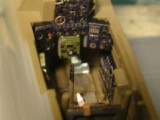
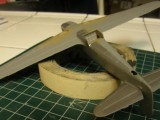
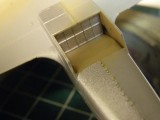
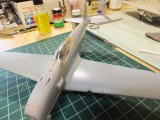
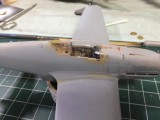
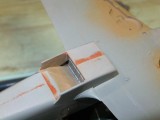
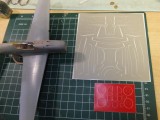
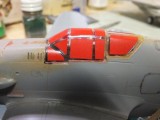
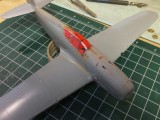
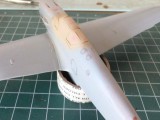
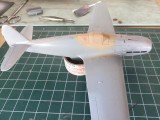
Due to an unplanned move I have been away from y'all for way to long. Missed quite a few builds along the way. But now that things are slowly getting back to a routine. The workshop is still being set up so I can get back to building but not quite ready. Noticed a few Hein's this month, very well done Tony's. So I figure I would get back into the fray with one I had just completed this year. But to start this endeavour I will approach this article with a WIP and then follow up with a completed sequence of images. This will be Hasegawa's excellent Tony with Eduard's cockpit zoom set and Techmod decals. The decal set includes masks for the canopy as well as masks for certain areas that will need to be masked for the scheme such as the ailerons, stabilizers, cowl and rudder. (Not required for my chosen scheme with an overall red tail). Starting with the cockpit, the interior scheme is a very light tan color or what is called Bamboo, to create this I used Aeromaster Tan Special, Polly scale white along with Polly Scale SEA Tan to get the color that I figured was close to what the interior color was for the Tony. The kit seat was used with the upper seat back painted Flat Brown with the PE belts to be applied after. The PE instrument panel really enhances the finished cockpit. Too bad the canopy is not designed to open in this kit. The one thing I have not mastered is to learn how to cut the kits cockpit open. I just not ready to so and didn't start with this one. I get nervous just to remove clear parts from the sprue as they are quite brittle. Once the cockpit is completed the kit assembles quite quickly, adding the wings, tailplanes and some of the fuselage components before prepping the seams for the paint work. Some of the prepainting is done at this stage in my way of doing things. The main gear bays, probably too shallow are painted Bamboo, the radiator and intake area are painted aluminum and also the Bamboo color as well. Nice about the Hase's 48th kits, they go together quite well, easy to work with plastic, most of the seam work is more my doing than the kit, but still most of the work is usually around the lower wing to fuselage joint and the cowl to fuselage area on the nose. Otherwise not to much sanding and clean up. Once this is done I then install the canopy and get ready to mask it prior to painting. Especially a silver finish airframe which demands invisible seams. Though Alclad aluminum is a little more forgiving than the Testors metal finishes, it still has to be pretty flawless. Even with the Green splotch camo, over the NMF finish. So now I will apply the Techmod masks on the canopy before I apply the Bamboo interior color first and then the Alcad aluminum over that. Quite cool that this set is includes these details. A little off on the framing but good and they stick too. whew! Though the Hinomaru's may be too bright hoping that when I get to the Flat clear stage that they will tone down a bit. With the interior painted on the canopy framework. Part 2 will have us complete the project. Thanks for viewing. And glad to be back. God Bless you and the United States of America,
Chuck
Fly Navy
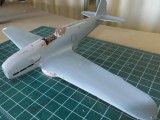
Nice-lookin' build, Chuck...gonna do that "splotchy" camo ?
Thx Craig, yes the splochy green over natural metal scheme.
As soon as I find where I put my memory card with the images on them I can do part II. Gosh I hate unpacking or trying to find where ya packed certain items. Grrrrrr
Chuck: You have a Ki.61-I "hei" - the only one of the options on that Lifelike sheet that's a "hei" is the one on top. The other two are "tei" versions.
call the police...smile
Noted
Chuck,
Your work looks excellent. I am excited to see the final results.
Thank you Frank, now if I can find where I put my photo memory card so I can post part II!