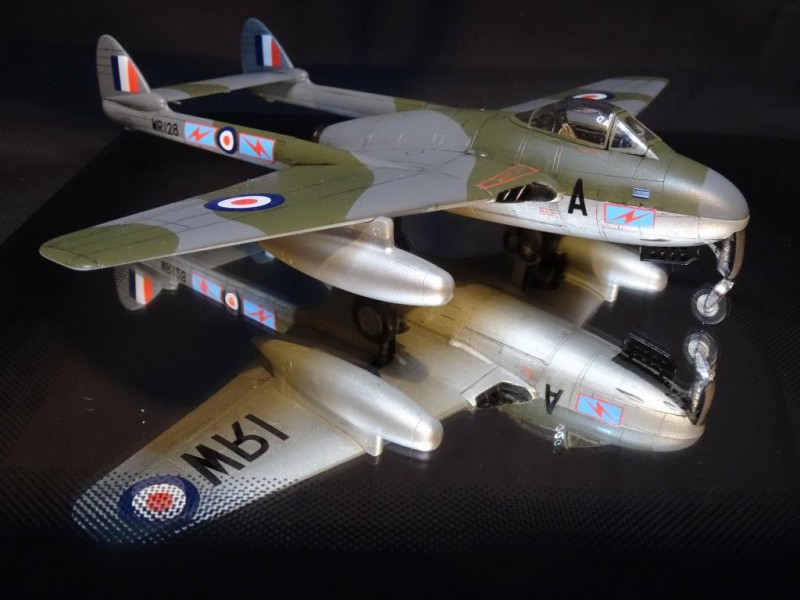
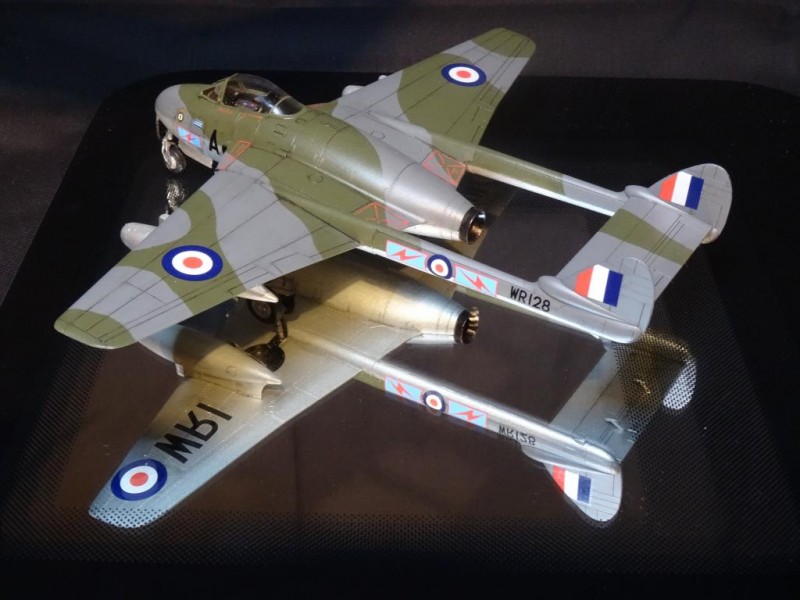
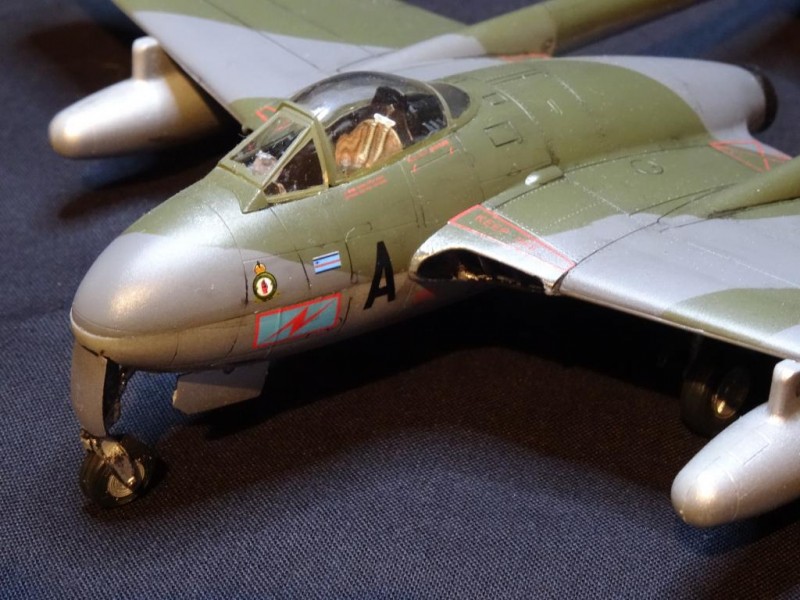
DH Vampire Mk9 – Build Completed
After my ever first post, with the positive comments I received, I was encouraged to crack on with the Vampire as and when spare time allowed. I always like to learn lessons, new techniques and improve on every build, and with this one I certainly managed to do that.
Lesson 1 - "don't worry it can be fixed"
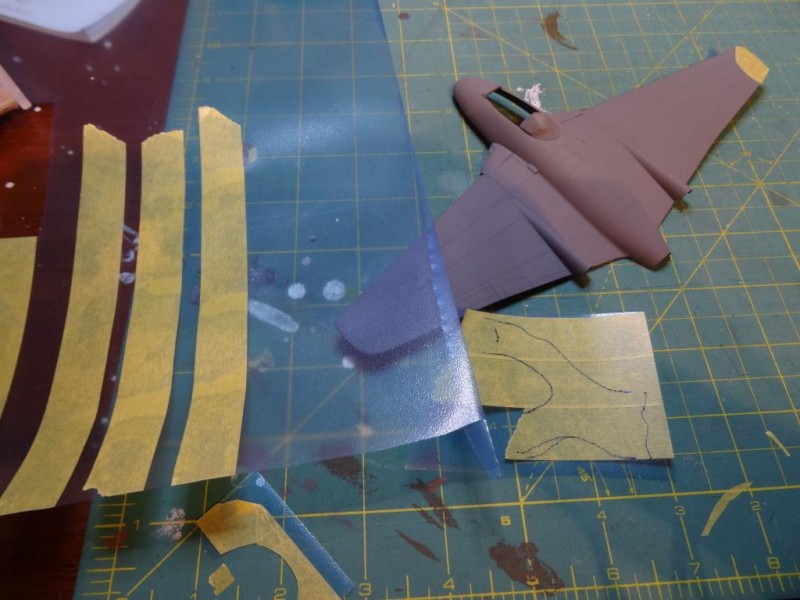
After a disastrous first camo scheme, trying out blutac to mask soft lines, I redid the whole paint job using my tried and tested Tamiya tape method to achieve a much cleaner finish. I like to stick the tape to vinyl pockets to help cut it more easily an enable tracing over the aircraft to get the right pattern. The kit came with (unusually i think) top/bottom halves of the fuselage, instead of the more usual side/side. This did help with the painting as i did the underside silver, and the camo top separately without any making required and then stuck them together - in hindsight i might have stuck the part together then masked - in this way I could have got a cleaner mating on the tail booms - but its a lesson learned.
Lesson 2 - "always listen to advice who have gone before you"
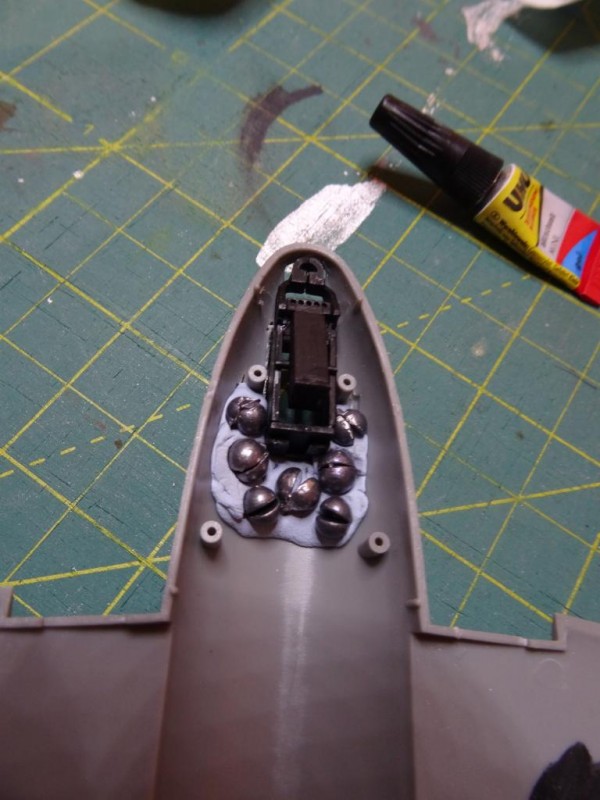
Thanks to a comment (from Mike Wilkes) on my first post, I made sure a stacked in fishing lead weights into the nose to prevent tail sitting. Even then I underestimated the amount required and ended up having to jam more through the cockpit later in the build.
Lesson 3 - "give something new a go"
I decided to try and enhance the panel lines on a model for the first time - I used Tamiya Black Panel Line Accent Color. It took a few goes, and I found i could only get the color defined enough if i really loaded the colour into the lines and left to dry overnight, and then removed all the splurges with white spirit. I think I got an acceptable result - and it even added a slight weathering effect. Will be persevering with this technique
Lesson 4 - "Calm down and relax"
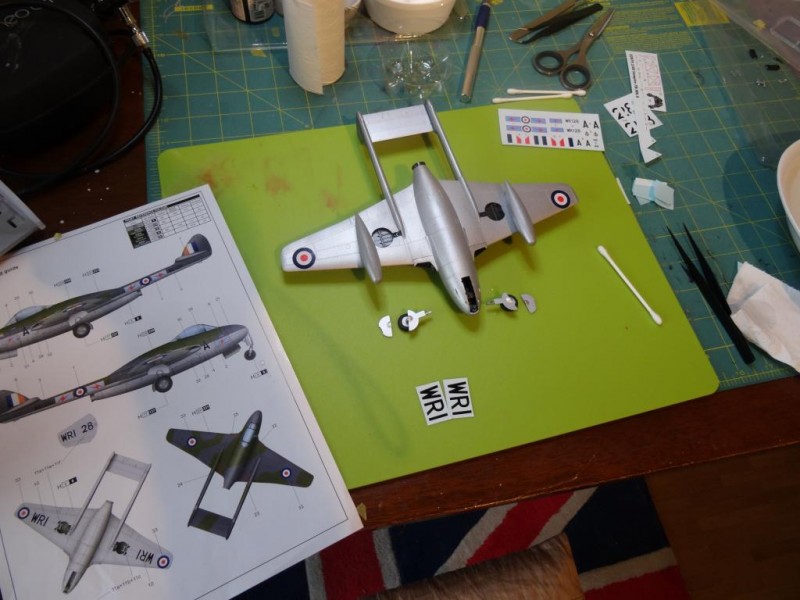
I normally enjoy the decalling activity, but I found this one a little stressful as some of the decals (those with clear gaps such as the underwing numbers) started to disintegrate and misbehave. So the numbers aren't perfectly aligned but the main colour markings went on well.
So all in all an enjoyable build of an iconic and unique aircraft. A Sea Vixen and Venom are already in the stash to complement the Vampire at a later date. There is also a DH115 Vampire Trainer scheduled to fly all four days at Air14 in Payerne in September - so more inspiration and photos!




Looks like your efforts paid off pretty well...came out nicely.
great looking model...great looking plane...be nice if they would come out with the two seater
Nice work!
Nice build Richard.
If you have decals on the sheet you won't be using you can do a test with them to see if you are going to have a problem with them coming apart. If they do there are products available that you can overcoat the other decals with to help prevent disintegration.
Yes. I've used Testors decal bonding spray a couple of times now. I was able to use all the major decals on an ancient Italeri C-130. (The sheet had even gotten damp at some point.)
Interesting subject very nicely rendered - thanks for sharing! Your anel line efforts look good to me-
Well done Richard, nice build and finish, looks great.
I'm glad my advice helped. I had to add extra weight to mine in the end as well.
Nice looking Vampire, Richard, glad to see you finished it and thanks for sharing it with us.
Who makes this kit? I had the old HobbyCraft kit and never finished it, but I want a Vampire in my collection! This looks like a much better alternative! I think a top bottom split on this plane is probably the best way to mold it because of the way the wings, fuselage and intakes all come together. Were the wing panels molded to the center body, so all you had to do is add the booms, or were they separate? (Like HobbyCraft's kit.) Next time I would suggest giving free handing the camo a try if you have an airbrush. Although those booms are pretty small, the pattern looks pretty simple in that area. (The trick is painting one without painting the other!) A very nice model of a neat little jet! Well done!
This is a Trumpeter 1:48 kit of the Mk9 Vampire. The wings panels were indeed moulded to the body already, you just need to add the intakes on the front and the booms ( which were split side:side) to the back.
BTW, how did you post the photos with captions like this?
The "help" section on the site had some instructions - all you need to do is type the command [picn] into the body of the text (where n is the picture tag when you upload the photos)
Nice clean build.
Richard,
Great looking model. Very nice