F-104G Starfighter
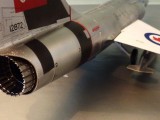
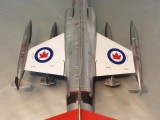
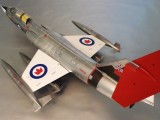
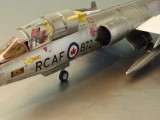
Here's Italeri's new-tool,1/32 F104 Starfighter. I've modelled it as the RCAF CF-104G, nuclear strike version, Cold Lake, Alberta AB,1962, which is one of ten kit livery choices but I think the only NMF version.
I used an Aires exhaust nozzle, as I plan to use the kit's own, complete GE J79 turbojet engine, detailed-up, and displayed on the stand that's also part of the Italeri set.
There's also a separate stand for the tail unit, should you wish to display the model with the tail disengaged from the main aircraft, with engine 'in situ'. As well as the two stands, there's a nice crew ladder, which I'll use in display, but it's not on view here as photographing the model on its own presented enough challenges (tip to tail, 57centimetres/22.5 inches).
The kit comes with a nice colour booklet - a walkaround - which is useful when read with the kit's instructions, the latter set out for both the 'G' and 'S' versions.
I ran a WIP thread on some of the build at http://imodeler.com/groups/work-in-progress-aircraft/forum/topic/italeri-f104gs-starfighter-132-new-tool/ which might be of interest.
An interesting project, and a model I highly recommend.
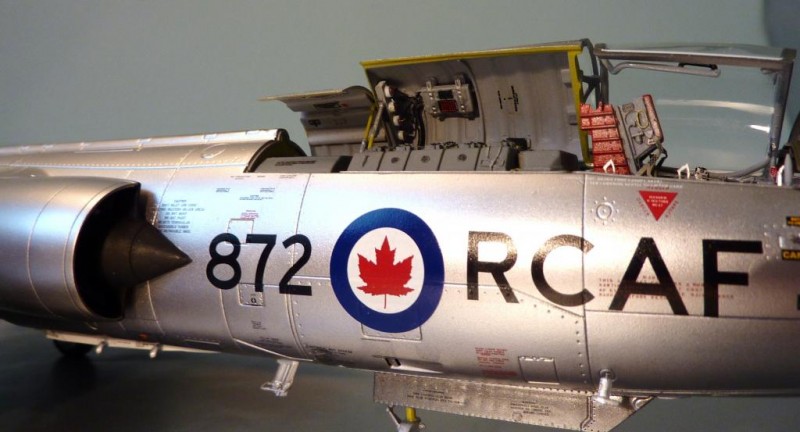
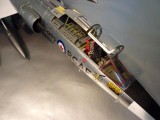
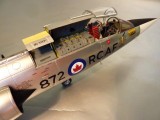
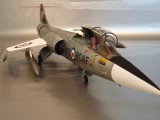
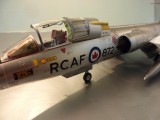
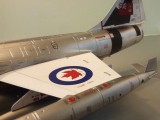
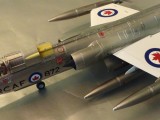
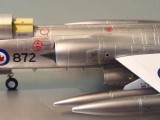
That is absolutely gorgeous! Great NMF, what did you use? I love silver Starfighters, esp. the Canadian versions. Well done!
Just read your build thread, Alclad it is! Thanks for such a detailed build log.
Wonderful! But I had read it was fatally flawed and looked nothing like a Starfigther when done...how can this be? Yes, I am totally in the "looks like a..." camp if you couldn't tell, and yours looks super
A real beauty, eye catching finish, excellent!
Shiny, your NMF looks superp ! A very nice looking Starfighter, well done !
Bernd
Sweet...looks like an F-104 to ME...(you musta used every stencil on the sheet, huh?)
Excellent. You have done the Starfighter proud.
Lovely job there Rob, great paint work and detailing..
Well done mate.
Beautiful job Rob. Very striking finish on a gorgeous bird.
Rob,
Always one of my favorites, Starfighters are so neat looking. Yours is exceptional! Looks like quite a kit. Many thanks.
Beautiful model. Can't see the "fatal flaw" all the ever-so-serious talk-but-never-build types were so upset about.
Very, very nice, Rob, what more is there to say?
Hi Rob. First of all, congratulations on turning out a stunning model. I am currently building this kit myself for Aeroscale http://aeroscale.co.uk/modules.php?op=modload&name=SquawkBox&file=index&req=viewtopic&topic_id=220258#1852503
On my example, I noticed that some of the engraving is very sharp but a lot is soft to the extent of sometimes almost disappearing all together. One fuselage half was totally different to the other even though they are on the same sprue. I had to put in a lot of work just to get the hatch detail on the spine to look consistent. Just wondered if you had the same issue.
Hi Mike,
Nice to see another modeller's take on the same subject.
The fuselage halves were OK on mine. There was a little rescribing to do along the top where the series of dorsal mini-panels meet, but nothing much. The wings had a lot of nice detail, I thought. The banding around the nose of the fuel pods was a little weak, but I just used a narrow, fine sanding stick and gave it a little more definition.
Overall, I thought it a good model. There are issues, but no more than would be found on any other kit, and certainly within the reach of most modeller's skills to correct or improve. I only spent a couple of weeks on the build, and that including detailing the cockpit, wells, and dorsal hatches, so it couldn't be that bad a kit.
I look forward to seeing your completed model in due course.
Looks good. The cockpit from the WIP thread appears appropriately busy, and it looks like they give you enough stuff to play with! (With a few toys brought to the party yourself!) I've built several Starfighters in 1/48 and currently have Hasegawa's F-104C in 1/48 and 1/32 (a scale I reserve for a select few planes). I'll have to give this one a look-see, mainly because it's made by Italeri of Italy which is appropriate as they were the last users. (Unless you count Rick Svetkoff's substatial fleet in Florida. I think he's in the double digits now and I would love to see a decal set for one of his planes!) Well done!
I think I missed this first time round, just seen it in the work in progress stages. Amazing Rob! The attention to detail is stunning!
If you don't mind me asking a question, I notice that during your builds you mask the cockpit and whilst painting and add the canopy afterwards. I normally glue the canopy first, mask then give a base coat whilst pre-shading for the interior colour. What are the benefits of your method?
Hi Richard. In this case there are several plastic/etch items that are installed in the inner canopy face and also along the top ledges of the cockpit, which are meant to be on view but which can't be installed beforehand (unless you were dispensing with these details and simply modelled the canopy closed) because they are small, delicate pieces.
I know many people use a little white glue to temporarily fix the canopy for general painting with the airframe, but I always treat canopies as separate, individual parts of a build. The cockpit ledges would still have to be tidied in any case.
If the canopy is a simple piece, low on detail, it probably wouldn't matter so much, but I always find that I add a little something extra, whether scratchbuilt or aftermarket, to add depth of detail and draw-in the viewer.
Yeah that makes more sense actually. I have a kit in the stash with a full Eduard PE set. That has all sorts of weird and wonderful things in the canopy to attach, I think I will be adopting your strategy there definitely. Cheers Rob, much appreciated.
Rob,
This absolutely stunning. I have always like this airplane and your model makes me like it all the more
Thanks, Frank. The kit was unfairly treated on certain forums when it was released. It's a really nice kit, and as you can see lends itself to more detailing as to preference.