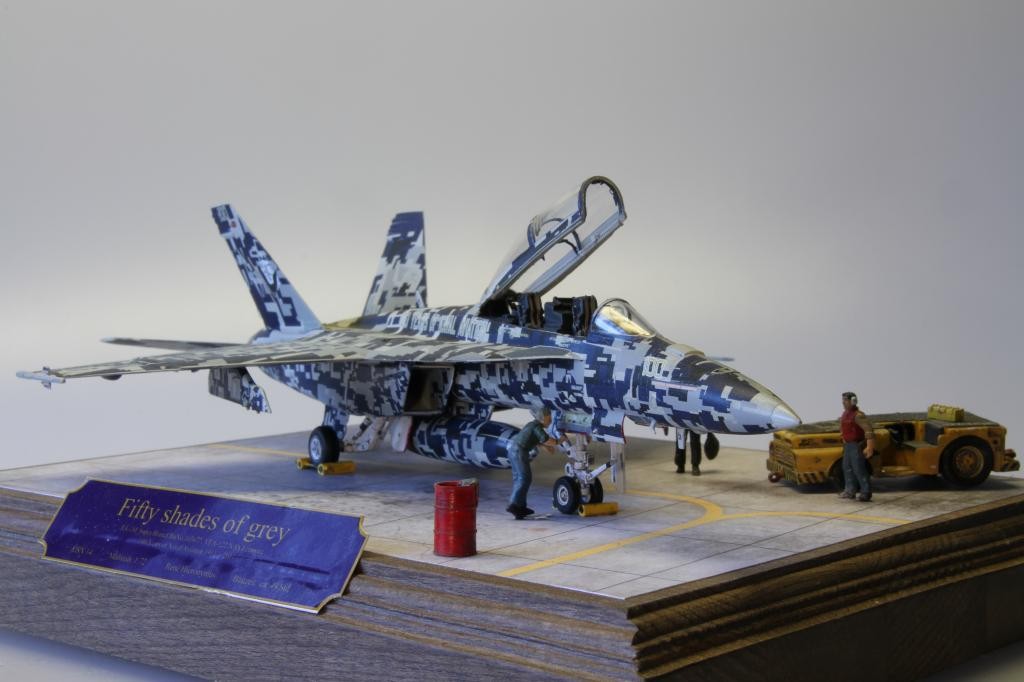
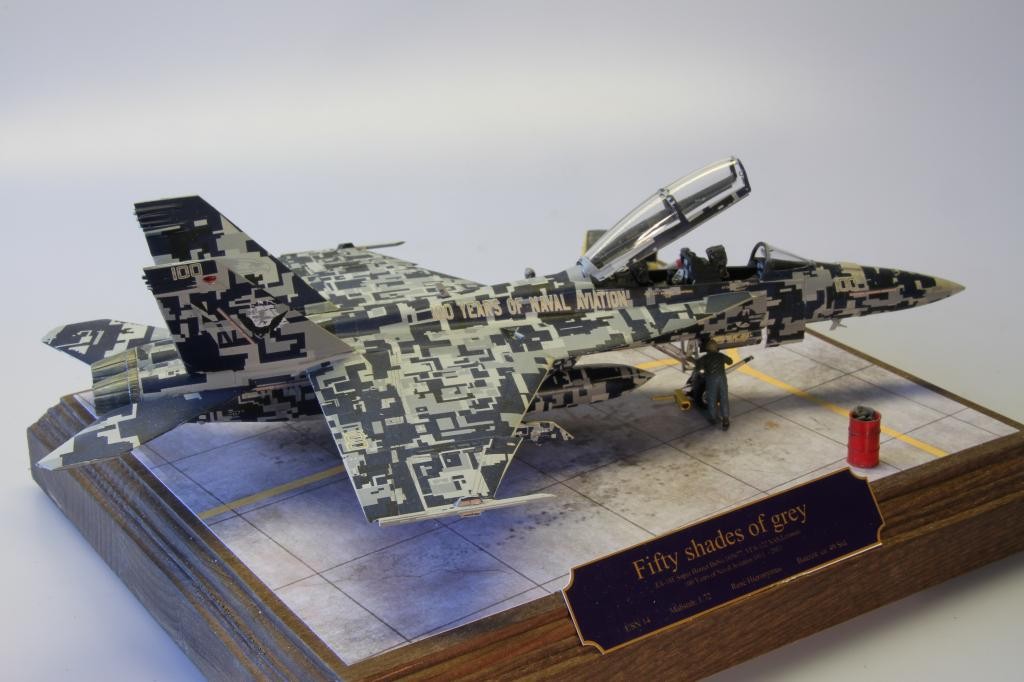
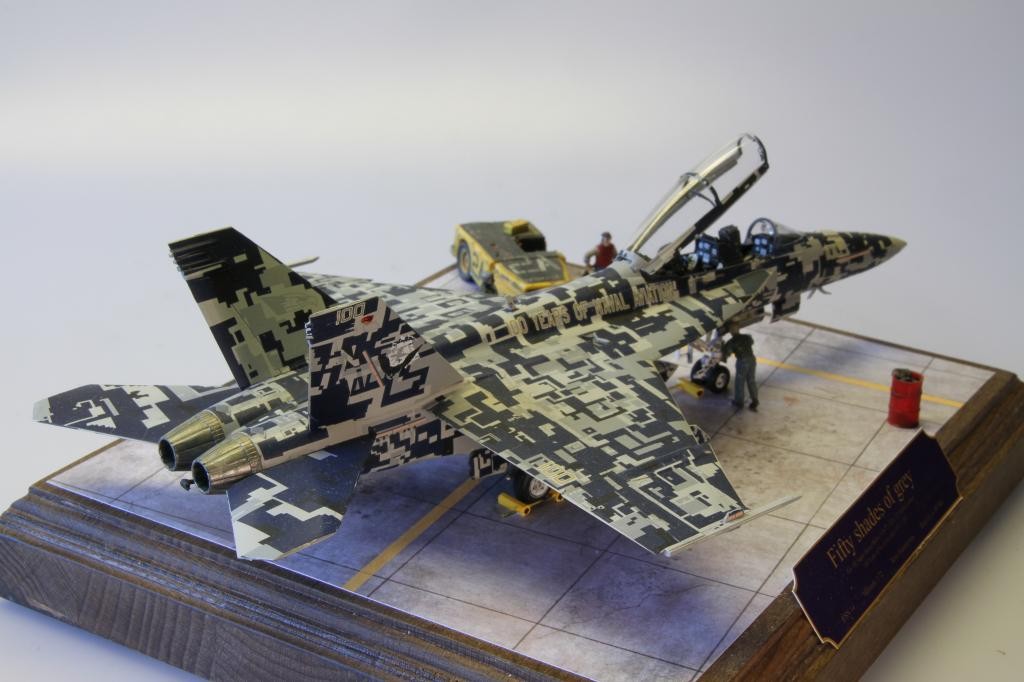
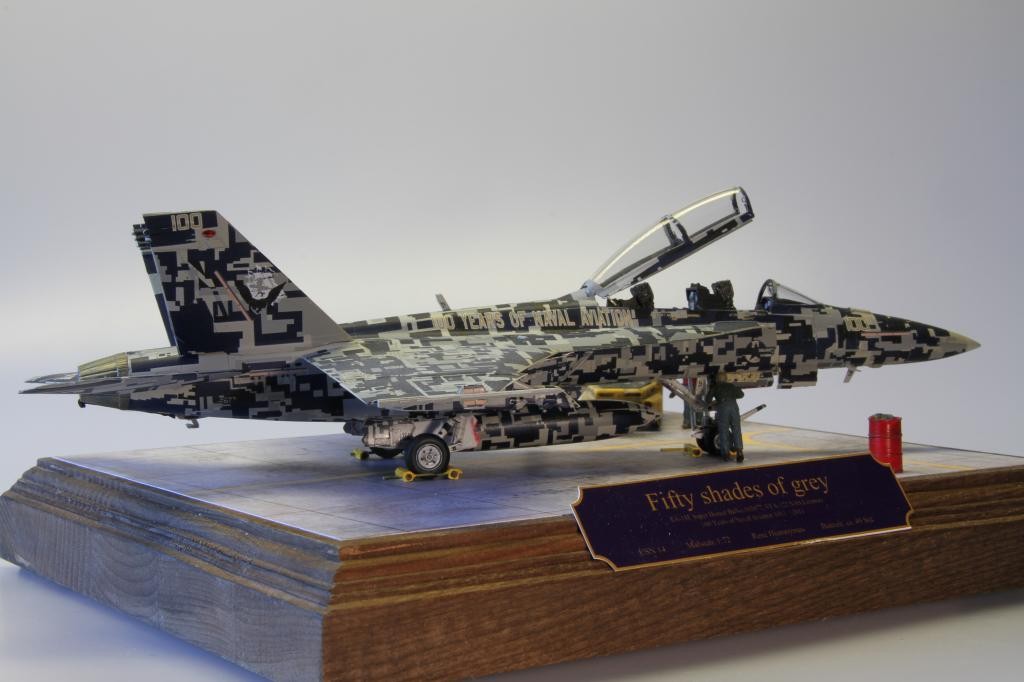
Fifty shades of grey

F-18F Super Hornet BuNo.165677
VFA-122 NAS Lemoore
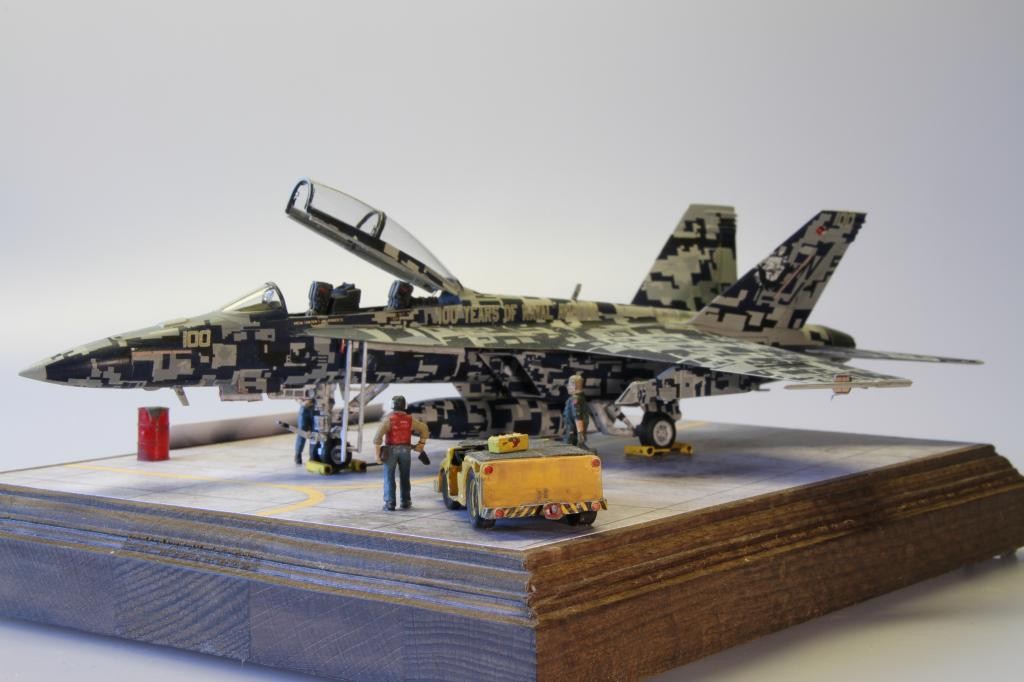
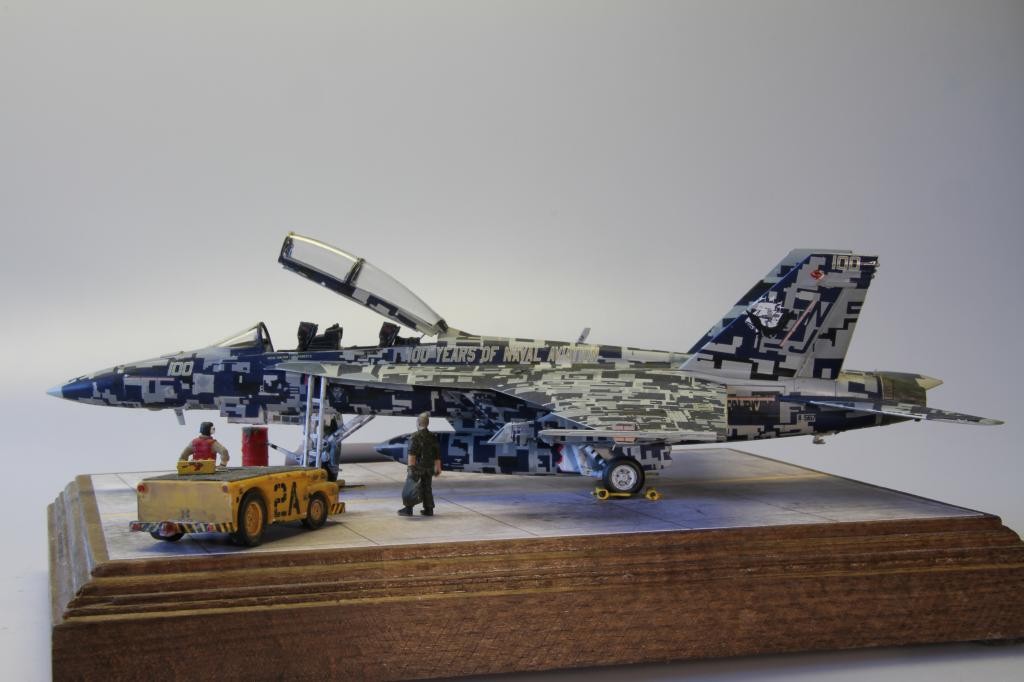
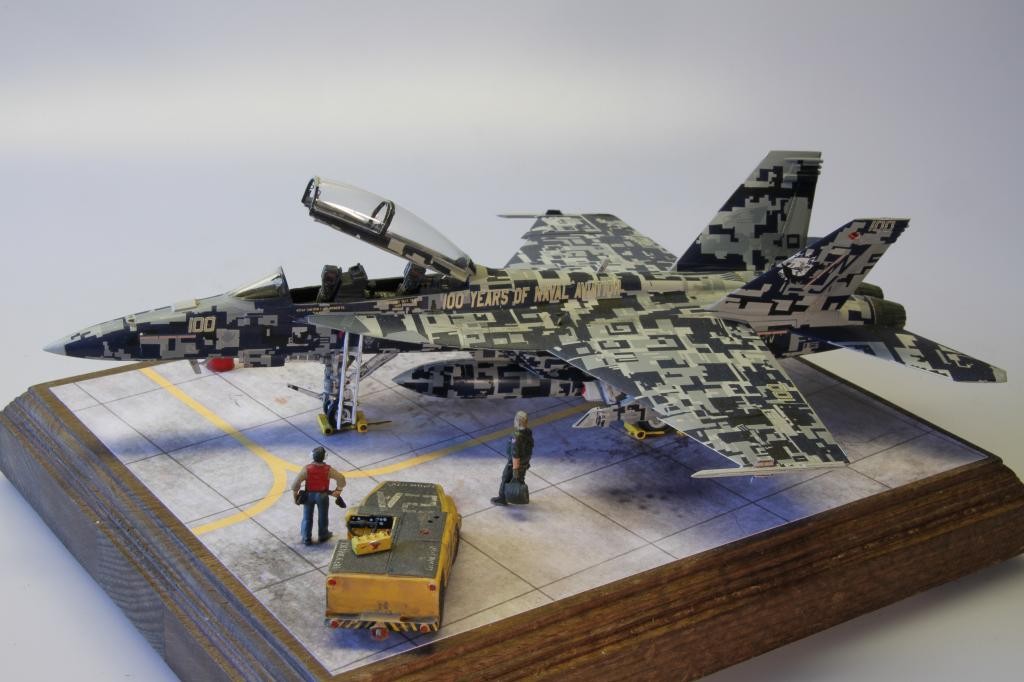
“100 Years of Naval Aviation”
1911-2011
Decals Galore!
Now if you like decals, read on, but if you dislike or even hate them, please STOP reading NOW!
I've warned you so don't you blame me if you got a headache after seeing what I've done.
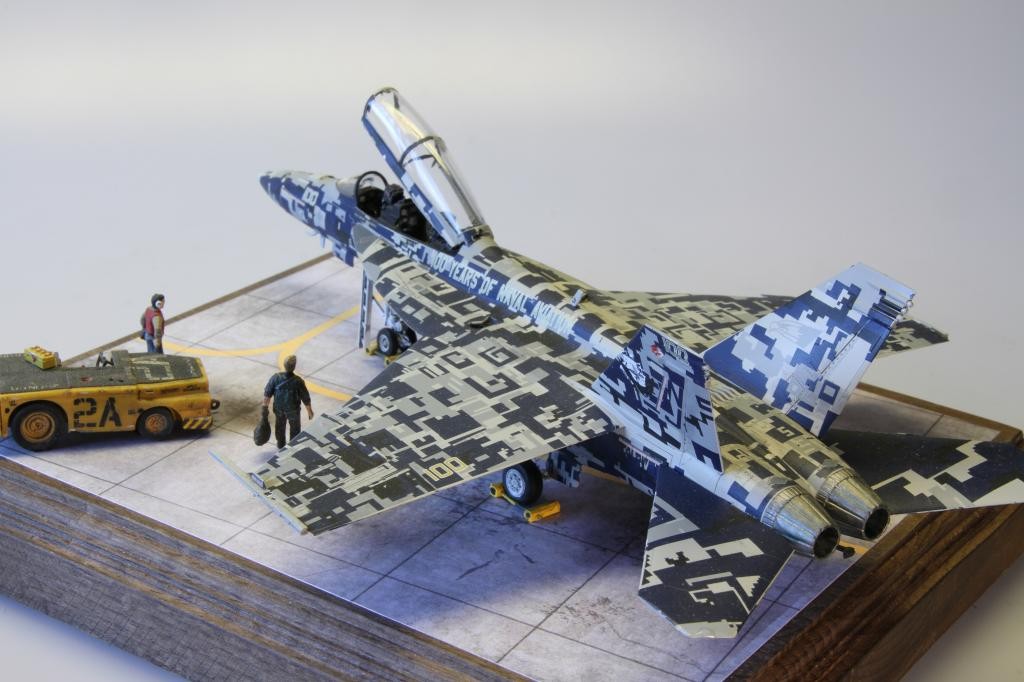
This is Revell's F-18F kit in 1:72, so nothing really exciting, the kit is fairly good to say the least; the fit is perfect perhaps the cockpit could use some extra details which I added in form of some aftermarket bang seats and some other small details. The overall details of the kit itself is pretty good, I have the Hasegawa kit too but if you ask me which one is better, I simply can't say. Sure enough the Revell is much cheaper so guess which one I would choose.
Now normally this Revell kit would have been just another model for me to build and since I'm not a real big fan of the Hornet I was not planning anything special for this model. But then during a small model show near Munich in Germany I found this VEEEERY special decal sheet made by Syhart.
From this very moment on, I knew I have to build this! Buying the decal sheet was the smallest problem but as soon as I opened the bag and the 12 pages thick instructions, I knew: I'm in trouble!
According to the instructions there are 389 decals for the 1:72 version – do I have to say more?
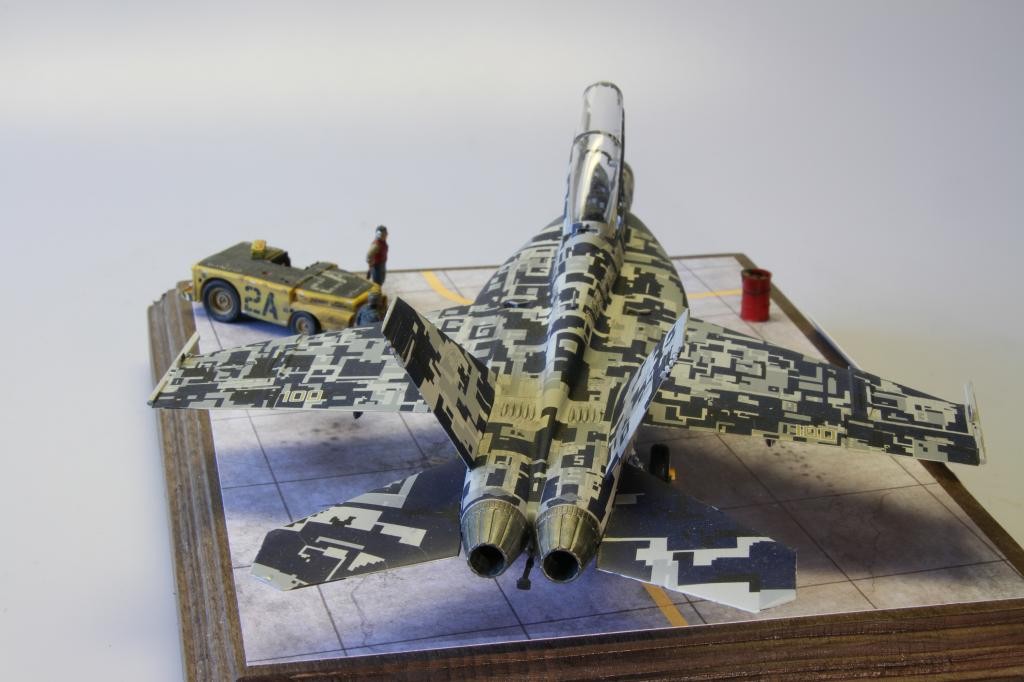
Now you start by building the kit; that is, the complete cockpit including the front windscreen, the entire fuselage with the wings attached but leave off the stabilizers and the rudders. The landing gear should be attached, this way the model can stay on its own legs during decaling, which is very important. Leave off the gear doors entirely as well as any sponsons, pylons and antennae's. I also left off the main canopy and of course the center fuel tank. The entire model was colored with glossy acrylics down to the smallest detail and then the fun started.
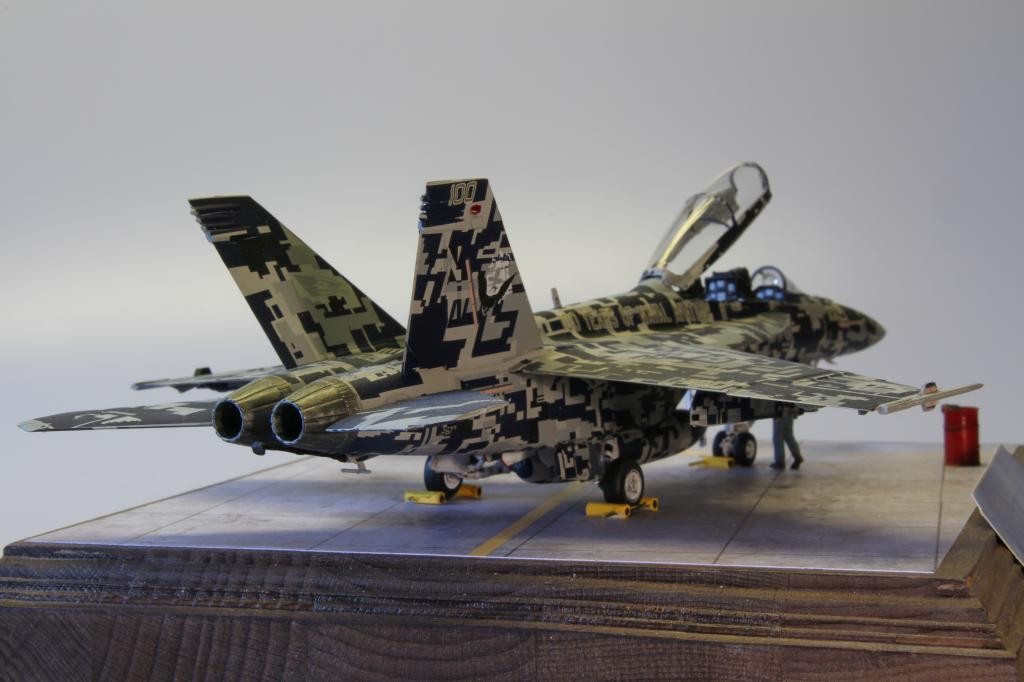
The decals are numerous, did I say that? They're thin and very soft, decal softener is not really necessary, perhaps a few drops in some complicated areas and with some delicate details underneath but normally they work just fine. Of course you have to be careful when you have to place them at certain places and you have to do that with every single piece! So make sure to check out which one goes where in advance, than you should not have any bigger problems. To keep track of which decal you have placed I recommend to mark those in the instructions after you have placed them. Every decal is numbered and in the instruction you can easily see which one goes where, it is actually a fairly easy job. You just should make sure to be careful about the alignment of every decal and to let them dry thoroughly! This is essential because at the end, virtually the entire model is covered with decals and you will have to handle the model several times to correctly place them all. When the decaling of the fuselage and the wings is done, the stabilizers and rudder can be added and of course all the small details as well. The final job is, yet to place another set of decals over the camouflage decals, which are the proper markings of the actual aircraft. Oh yes, make sure you have plenty of Q-tips handy, you'll need them, lots of ‘em, believe me!
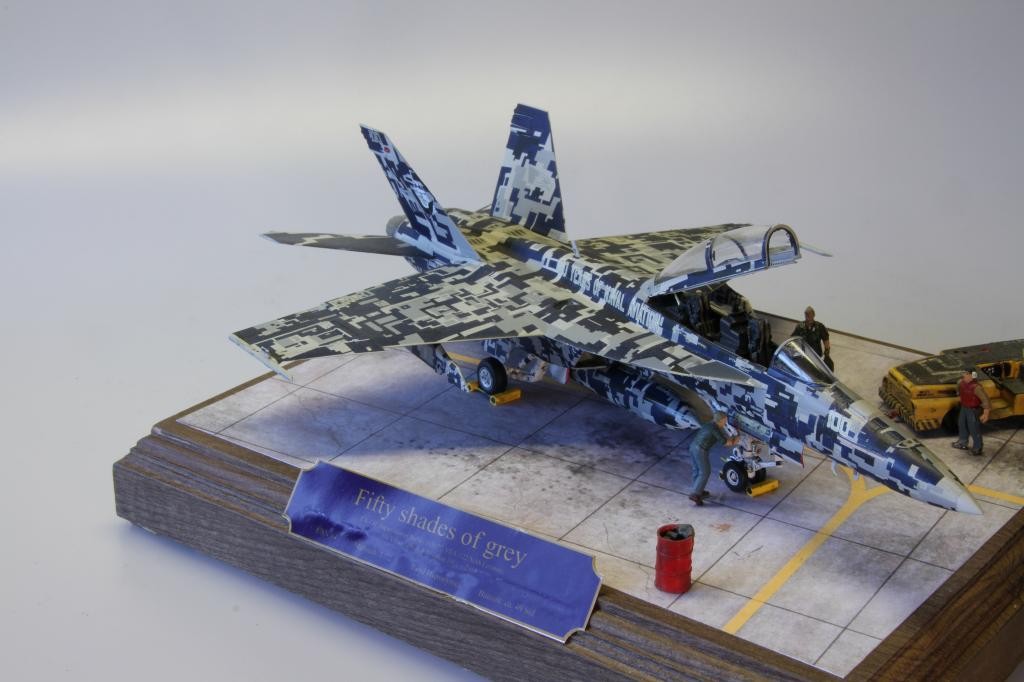
After the final decal is in place I glued the pylons, antennae's and so on in place. Weathering if you could call it that, was kept to an absolute minimum and finally I covered the entire model with another coat of Future/Pledge or whatever they call this brew nowadays, mixed 50/50 with Tamiya Flat Base just to make sure all those decals will stay where I put them!
The final result looks pretty spectacular but if I'm honest, I really hope the US Navy will never adopt this kind of camouflage for their aircraft in the future!
No more decals for me!
Cheers
René (still having sticky nightmares)

I freely admit that I actually enjoy the decaling process, but THIS...I dunno if I would have the patience for almost 400 decals - and on a 72nd kit to boot! I applaud your tenacity, sir...the completed model looks outstanding! The application procedure no doubt look a lot longer than the actual assembly - am I right? In any event, it turned out beautifully. You should feel very satisfied. I know I'D like to be able to do one like that.
Fantastic job. How are your eyes now?
AWESOME!
Fifty shades of great. I've seen a few kits now in this livery. The decal process as you say is exacting but this is a nicely presented model.
Really impressive!
Really cool build and I admire your patience! How many bottles of micro sol did you use?
Wow
Such a number of decals! It is a masterpiece! You're just a good sport!
🙂 ... Greetings ... 🙂 :
A very good show of patience at work, and as the result can be seen ... very well worth it. I LOVE the decal process ... this shows why. I have always said, that a good decal work ... sets a model apart ... again ... this shows why. Nice and good work Roberto.
Makes me dizzy...I love it, but it makes me dizzy. I can only imagine what it took to get it done. Beautiful !
Wow - really spruces up the normally bland F/A-18! I love the shape and form of the Hornet, but most livery options are limited to either "hide-in-the-sky" grey or blue angels. This make a really great option! Nicely executed - you ended up with a very nice looking Hornet, and displayed nicely as well!
I feel your pain about the decals! A couple of recent builds used stencil sets that numbered close to what you experienced. I'm also glad to hear the Syhart set went down well, as I have a similar Syhart set for a Czech MiG-21 that is similar (splinter, not digital, but same concept in coverage).
Rene, I'm speechless. My admiration and congratulations!
Credit to René, for the excellent finish.
No Belgium beer on the workbench during this project!