1/48 Accurate Miniatures TBF-1C with KMC wingfold
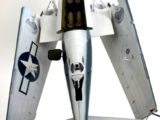
This kit had sat for about 5 years- possibly more, simply because I was intimidated by the KMC wingfold! The fuselage and wings were painted, and decalled, but I never took the kit to the completion phase of canopy, gear and weapons because I could not figure out how to get the angle of the wings right- the KMC set's most major challenge is lack of direction/diagrams to help the modeller set the angle of the wings or detail the exposed fold/hinge area.
The Accurate Minatures kit is, well, Accurate Miniatures- excellent detail and fine molding, beautiful fit. I used the Truk Lagoon boxing of the TBF-1C kit. If you have an original boxing of the AM kit, FOLLOW the instructions! I say it this way, because we modellers will miss important info along the way of the build if we don't read through each step.
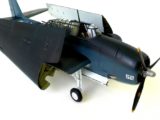
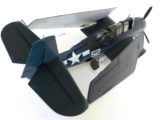
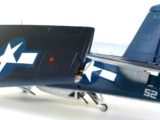
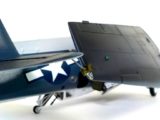
As for the KMC wingfold set- it is impressive but as said earlier, instruction is lacking. I am a bit preoccupied these days, but plan to set something up and post it online so that other modellers can make use of it. In the attempts to fit the wings, I ended up trimming too much material from the wing stubs- luckily, I did not go too far before I started really combing the internet for good pictures of Avengers with folded wings. Fortunately, the missing material is not too noticeable unless you are looking for it. I even found pictures of the hatches on the wing tips that held tie back cables that attach to eyelets on the tailplanes on the real aircraft. I know my "cables" are oversized, but I plan to replace them with string to simulate cable eventually. I had to use that wire to secure the angle of the fold. I now have a strategy for my future wing fold assemblies that will enable me to set the fold, and then ad the cable instead of relying on a piece of overly thick wire to secure the wing for gluing.
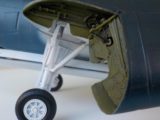
Additionally, the details in the actual hinge area need to be corrected/added- see my detail shots of the fold hinge I used fine wire and some wire the same diameter as the "tie backs" I made to simulate the bracing mechanism of the actual aircraft.
I wish I had taken some time for weathering- but was so overjoyed to have all the parts on the kit and be able to consider it finished, that I had to get it on the shelf first!
I hope to produce my instructions guide over Christmas break ( I am a teacher) and should have time to weather and adjust those tie backs.
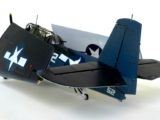
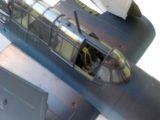
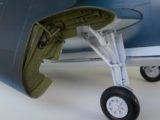
For now I hope the side views and overhead/rear/front views in this article can be of service to someone stalled on their KMC wingfold!
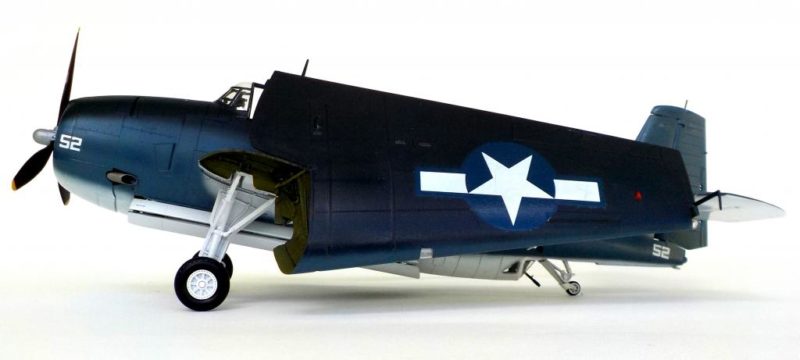
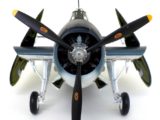
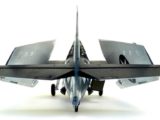


Great work on that Avenger, Dan!
Thanks Drew- that means a lot! I forgot to shoot the hinge areas today- will add that tomorrow I hope.
Nice build Dan and a nice factory fresh finish.
Thanks Jack
Nice build...nice photography...I like it a lot. And I wouldn't worry about getting back to the 'weathering' (after all, they had to be brand new SOMETIME, right)..?
Thanks Craig, I am still working on better pics- I think I almost have it working for me.
Yeah I am not sure I can get to the weathering- but I would like to at least airbrush the exhaust stains and chip it up and dirty it a little- like the wheels/main gear legs.
Beautiful work, It just came out of the Grumman plant.
one way to think about it- Thanks for the kind comment.
Very nice build, love the way you captured the tri-color (or actually 4 color) scheme!
Thanks- i worried about that almost as much as the wing fold work!
A very fine build Dan. Looks great just as is.
Thanks! I really appreciate the compliment.
Nice work, Dan. Finishes look great.
nice of you to say-means a lot. Thanks.
You don't have anything to worry about in this kit. The finished plane is quite a looker.
Thanks Paul- appreciated!
I built a "tunnel" inside the upper half of the outer wing and put piano wire inside. I drilled a hole in the resin wing center section for the wire to fit, then had it come out the tip as the "sway brace" to the horizontal stab, where it was anchored. I used to love freaking people out by picking it up by the wing tip and swinging it around. Photos of the model are on my blog here.
If you can find the Dangerboy wingfold set (they were bought by Lone Star Models who did some) which are now out of production from anywhere, that is the far better folded wing option for the AM Avenger.
Thanks very much for the suggestion to check your build Tom, I just did- good idea for a strong anchor and help to position the angle of the wing.
Much appreciated.
nice
Thanks P.k!
Very nice! I have one of these also that has been sitting around for awhile.
Thanks for the build details and also some good ideas on the comments.
Thanks Timothy!
Hi Dan,
Excellent job on this model. Especially the very difficult backwards wing fold. I am looking forward to your instructions, regarding the wing fold. Why, well I have the same sets and have not even started with it, but like mentioned, not enough instructions to go by.
Thanks Dirk, Here's hoping I have time to do the instructions before Christmas break! I appreciate your comment.
Nice looking Avenger!
Thanks Greg! i appreciate the note.