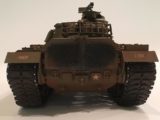
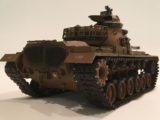
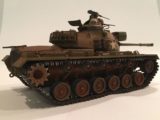
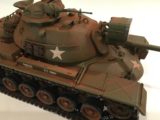
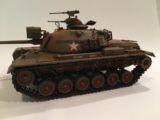
1/35 Tamiya M-48A-3 90MM from the 11th Cavalry in Vietnam
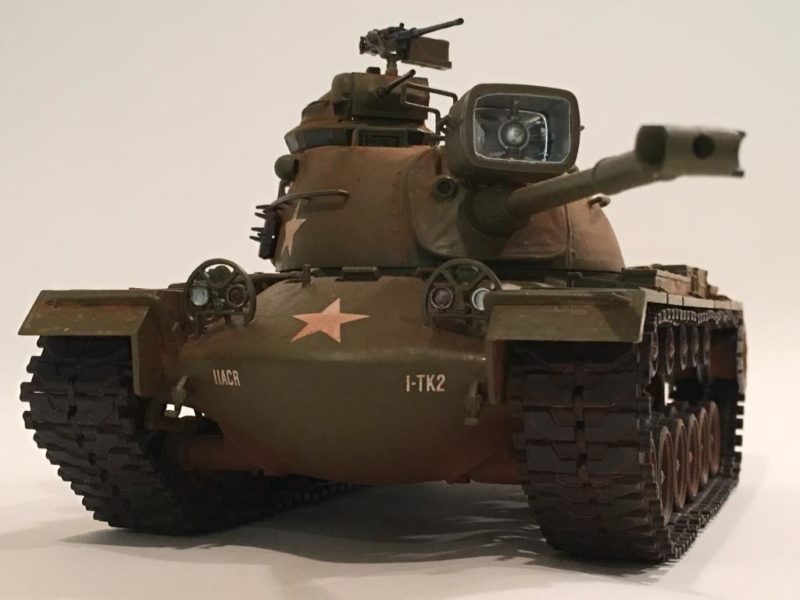
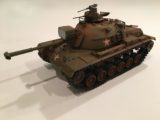
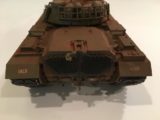
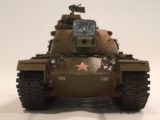
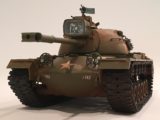
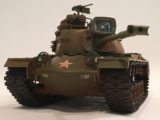
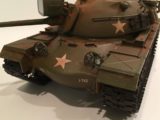
Tonight's article is about this model that I built about 3 years ago. This is Tamiya kit number 35120 and I built it with a few modifications. I used the kit decals that were provided for the 11th Armored Cavalry Regiment.
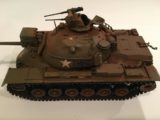
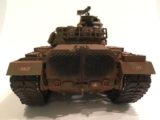
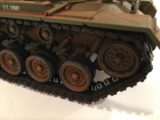
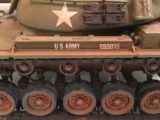
The first mod was the addition of AFV club T-97E-1 tracks. I really don't care too much about the single section tracks that are included in most kits. When it's possible I try to upgrade to an aftermarket set. This is a personal preference and not a fault of the kit. The track set from AFV club is set number AF3505. This replicates the look of the original tracks very nicely.
The only thing I might do in the future with this kit is to take a single link out of each side since they look slightly loose to me. The tracks on M-48's, M-60's and M-1's are "live" and normally don't have much slack in them at all.
In fact we used to try and keep the tracks tight on a regular basis. We used two old end connectors and a piece of string as a simple tool to check how tight or how loose the track was. We would take one end connector and place it ahead of the front return roller. The next step was to take the string that was tied to it, and drape it over the top edge of the outer end connectors on the tracks. Finally the second end connector that was tied off on the other end of the string was draped over another outer connector that was past the center return roller. The weight of the old end connectors pulled the string tight. The string allowed us to visually check the slack in the tracks. If memory serves me anything over 1/2 inch of slack required an adjustment on the track tension. We kept our tracks tight, and rarely had a problem with a thrown track.
As a former US Army tanker on the real ones, this kit was a trip down memory lane. We had an old M-48 and a M-8 (or M-20 Greyhound) sitting next to our Squadron HQ. One of the times when we repainted our tanks I helped to respray the old girl in MERDC desert scheme colors. Then whenever I made a trip over to the HQ I made it a point to stop by and look at her on numerous occasions.
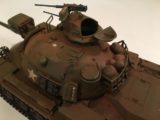
I think that Tamiya has captured the look of the tank pretty well. It would have been better though if a proper mantlet cover was included. I'm pretty sure that this kit is from the 1970's since there are holes in the bottom of the hull for motorization. Now we have the new Dragon M-48 series that I'm sure will be more accurate and detailed. (I picked up a new Dragon M-48A-1 a little more than a month ago and it's pretty high on my "to build" pile).
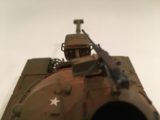
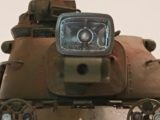
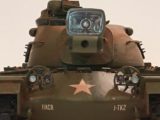
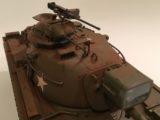
The next addition to the kit was how I reworked the search light. We had this older type of illumination light on some of our tanks. Most of the time ours were kept covered up with a canvas cover. On other tanks in our Troop we had the smaller newer Passive style search light. Then there were some tanks in our unit that didn't have a searchlight at all.
What I did to the searchlight in order to make it look more realistic was this:
I added ultra bright "Bare Metal Foil" in the rear inside portion of the search light to resemble the reflection mirror found on the real ones. Then I fabricated a new glass cover out of clear plastic sheet that I saved from a package. In the future I may add a power supply chord for the searchlight since it's currently not present. I may also add an antenna.
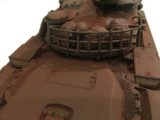
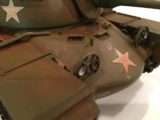
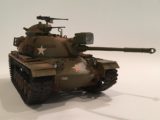
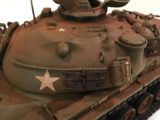
Once the model was built, I sprayed it in overall Olive Drab. Once the paint was dry I used chalks to give the tank a look as if red clay dust had settled on the vehicle. I made sure that this dust covered everything including the Commanders .050 caliber weapon and the crews personal gear and steel pot helmets in the bustle rack.
From personal experience I can tell you that tanks are not clean. Inside or out. They get filthy really quick. Dust has a tendency to cover everything and it's always worse towards the rear of the vehicle. I didn't apply mud since I wanted to show the tank in a dusty environment. Even in a real life dusty condition, it's possible that mud can be present on a tank. The heat from the engine and drive line ( and even the sun ) can bake the mud on a vehicle.
We used to joke about how Ft. Knox was the only place in the world where you could be standing in mud up to your back side and have dust blow in your face ! True story. I experienced this first hand, as have many other tankers and Cav Scouts.
On occasion we have had to take out our trusty tankers bar and knock off excess dried mud during maintenance halts on road marches. This was while the rest of the tank was covered in a fine silt desert dust.
I hope you enjoy the model.
As usual comments are encouraged.
Thanks.

Looks like they been runnin' through that red clay common to so many southern states hereabouts. My friends' Suburban is covered with it when he comes back from deer huntin' in 'Bama. 🙂
Nicely done Patton (I think), Louis.
Thanks Craig. It does look like some good old Georgia clay dust doesn't it ?
Looks a lot like the Alabama stuff too as Craig was saying, that is why the base here is called Redstone. LOL, Great model, I have it on my list.
Yes like Craig stated, this stuff is all over the Southern US. My sister lives in Mississippi and they have it too. Thanks for the compliments.
Believe me, it was in Viet Nam! Everyday, and got into everything. As Louis has it here, all over them armored vehicles, at least until the next monsoon downpour. Makes a picturesque mud, as well.
Awesome build, and great back round info.
Thanks Bob. I'm glad you liked it.
Louis, I'm an airplane guy, but I really like armor, and I really like good models, and this is both. Well done !
Thanks Terry. I appreciate the compliments. I too like airplanes as well. I have quite a few more planes than armor models.
Nice job Louis, now get that tank to the wash rack.
It does look like it needs a good cleaning doesn't it ? It would never pass inspection for sure...
It seems i am getting older, i was sure i left a comment this morning,
Anyway. Another fine build and a good read, love your armor builds, Louis !
Aircrafts as well 😉
Thank you my Friend. I like to read your build articles as well. You have some masterpieces in your collection.
Very nice build Louis, looks like taken from a 1968 Vietnam battle picture!
Thanks Michel ! If I had some jungle foliage it would be more realistic. Thanks for the compliment.
Very good looking tank love the detail
Ttom
Thanks Tom. I appreciate the compliments and I'm happy that you enjoyed it.
Bernard you're absolutely correct about the mud in Vietnam. My neighbor was over there and he showed me some pictures that he took when he was "in Country". Then I've seen some film footage of the land on TV and the color of the mud looks a lot like what I tried to depict on my model. Thanks again friend for posting about this. I was too young for the Vietnam War, but I did serve with quite a few who elected to stay in the Army. Some of these guys showed me pictures and shared stories from their days overseas. God bless them all.
Louis, thank you!
No Sir, I should be the one that thanks you. Thanks for your service to our Country buddy.
Great finish and detailing on this model, and I liked the write-up as well.
Thanks George. I appreciate the compliments and I am happy to hear that you enjoyed this article. I always try to add a personal touch when I can.
Very nice Louis! It looks ready to "bust jungle"! 🙂
Thanks my friend ! 🙂
Very nice, Louis. I wasn't riding the Black Horse until after Viet Nam, but it's nice to see this.