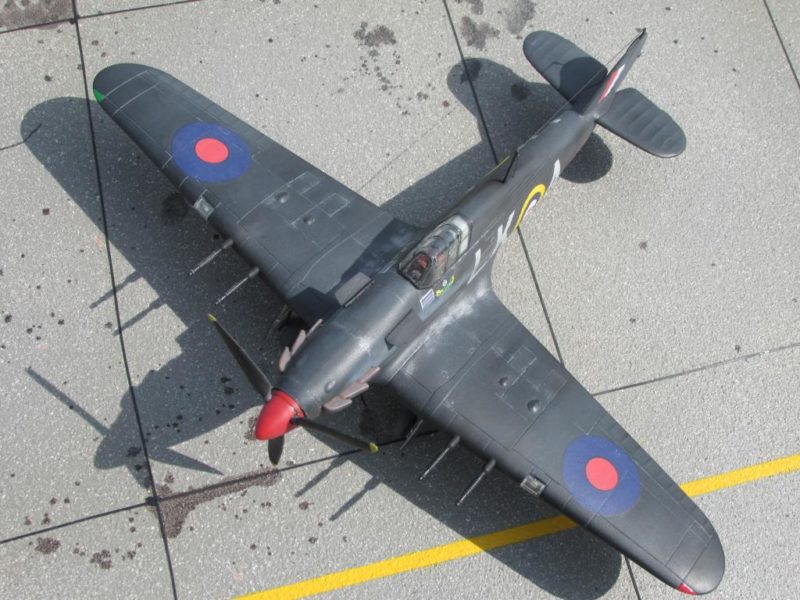
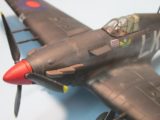
Hobbycraft 1/48 Hawker Hurricane IIC “Night Intruder”
Started more than three years ago, I resumed work on this old Hobbycraft kit a month or so ago. I finished her Saturday, and made my way out to the airport today for a photo session. I messed up the stretched sprue radio aerial loading the model up for the ride out there and just managed to get it back in some sort of shape, never as good as previously though. Go figure...:)
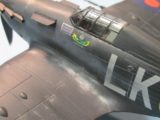
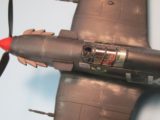
It's painted with Testors 1/4oz. square bottle flat black, and faded with Humbrol dark gray 32 mostly, as well as a few other grays. I tried out a bit of oil-paint dot filtering on the lower engine cowls but the 45 year-old oil-paint and my lack of experience didn't help. The exhaust staining is Model Master intermediate blue, dirtied with pastel chalks. As always, I used my Paasche Model H for the airbrushing. I drybrushed the paint damage with Humbrol MetalCote unpolished aluminum and used a silver pencil here and there. The cockpit barely shows so I made seatbelts/harnesses from tape with home-made lead-wire buckles. The exhaust flame shields were made from Evergreen sheet.
Let's see, gun barrels and exhausts were drilled, and tires sanded for a change, :). Lead wire brake lines were added with furnace tape clamps. I sanded down the wing light "lenses" and carved out a concave lens with my motor tool, filling that with silver. Overall, she turned out a pretty fair "four-footer" and looks good with her RAF mates and sister Hawker planes in the display. But please, no more Hobbycraft kits for a while...:)
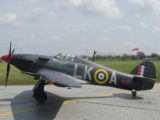
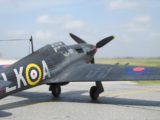
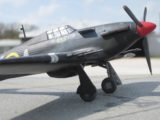
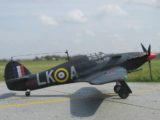
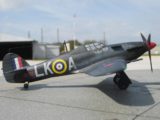
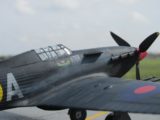
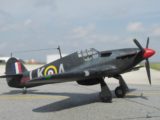
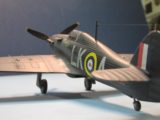
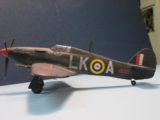
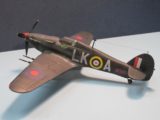
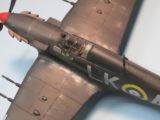

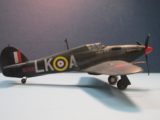
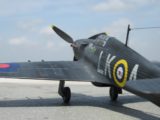


I love the background! That wind sock makes your great model look even better, Gary!
Gary, I have to say this is really nice. It seems that black painted night fighters, are very difficult to get a realistic look, but you've accomplished that here. That paint shade looks great. really like your worn area's. Nice work !
Love that scheme and those outdoor shots are killer...!
Very impressive work, Gary, beautiful finish, and those outdoor pictures are extremely effective.
Thanks for taking a look gentlemen! I appreciate those generous comments so much. I think she turned out okay; there are problems that are within my means to correct but I just can't afford to spend my time doing that. My stash is still growing and I'm growing older too. :). I'm at the point where I just want to finish more models; "damn the mistakes, full speed ahead!" Thanks again my friends!
Gary, it turned out really well. I have one, and I know what you had to work with. Once upon a time, this was it for a Hurricane II, other than the Monogram. Nice, restrained wear and weathering, plus black is hard to do, anyhow. Good to see the airport, again.
Thanks Bernard! I appreciate that a lot; yeah, it felt good getting back out there. I took three models, two were from the early to mid-1990s and had never been really photographed before. They surprised me by how they looked in the pics. Look for them before too much longer! Thanks again my friend! 🙂
I like it Gary - as others have mentioned, the black along with the weathering and staining looks very convincing. Great job.
Thank you Greg! That means a lot to me. 🙂
Excellent work. ditto on the black finish!
Thanks Robert! Much appreciated by this old timer 🙂
Really nice Gary, especially enjoy the outdoor pics. And like you I've seemed to have accelerated my rush to get thru the stash.
Thank you Tom! I'm glad you liked the airport pics. :). Yes sir, I gotta get my butt in gear...been thinking about my next victim. Don't have a Corsair in the collection and i have a Tamiya kit in the stash. I need something that builds easy and looks good, lol.
That's a cracker Gary. Got one in the stash. My favourite colour too.
Thanks a lot Anthony! Just like the early Ford cars, you could have any color you wanted, as long as it was black! 🙂
Great job on a Hobbycraft kit. I've built several and most seem to be more putty than plastic
Thanks George! I think it's my second Hobbycraft build but it went together fairly well. Surprisingly, I had a lot of trouble with the seams; the plastic was hard to melt with liquid cement. Yep, had to get out the filler a little more than I liked...
I appreciate the comments George. 🙂