Review: Thunder Model 1/35 Scammell Pioneer Tank Transporter – Build Review, Part 1
This article is part of a series:
Full Disclosure. No, nothing inappropriate.
Last weekend I visited Scale Modelworld at Telford for the first time ever. Together with Martin (@editor) we roamed the halls, took in all the wonderful work on display, and in between all the “ohs” and “ahs” I had time to chat with Libor from Mirror Models. We talked about new releases and future projects, and as he is pretty much involved with Thunder Model he handed me a big black plastic bag for review purposes.
After having spent some time looking at the bag and testing its properties, I am happy to inform you that it is a perfectly fine bag, very well balanced, and even its color looks to scale. Topic of this review, however, are the bag's contents.
When You Hear The Sound Of Thunder…
Thunder Model is a relatively new company that hit the market in the fall of 2016. Their very first release was a Case VAI tractor, a lovely little 1/35 scale kit of a relatively unknown subject. After that they ventured into German armor, bringing out the Bergepanzer Hetzer – a recovery tank based on the Hetzer tank hunter, and an arguably even more obscure subject.
When news came out that a whole series of British Scammell trucks was in the works, a lot of folks (or should I say chaps?) were very happy. Although allied softskins in general are pretty well served on the market today, British vehicles are still somewhat rare – especially the heavy ones. Being able to follow the development process on Thunder Model's Facebook site, it was obvious that this was going to be an interesting kit.
A Rather Unique Design.
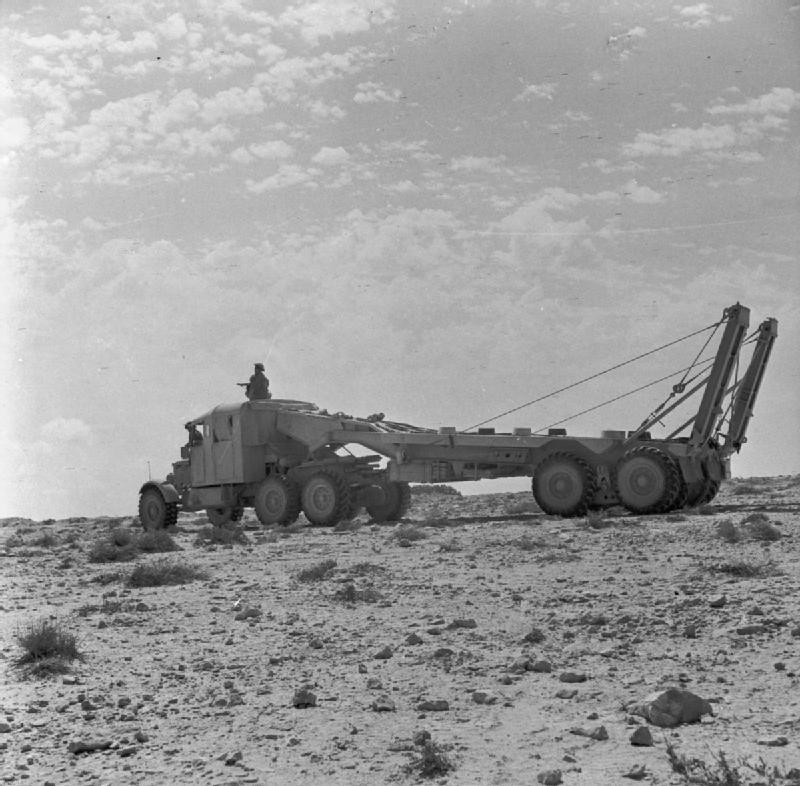
(Picture source: Wikipedia)
The Pioneer series of heavy trucks were produced by Scammell from the early 30ies on. Intended for use on rough terrain, they were slow but rugged, and were able to pull a heavy load. The Pioneer R100 heavy artillery tractor was used to tow medium and heavy artillery including the 155mm Long Tom. The Pioneer SV2S served as recovery vehicle and was fitted with a 3-ton crane and assorted equipment for recovery operations. Finally, the TRMU30 was designed as a tank transporter with a trailer that was fixed to the tractor, and a larger cab to accommodate the tank crew.
An interesting feature of the Pioneer series was the ability to mount tracks over the rear wheels for increased traction, essentially converting the truck into a half-track.
What's In The Box?
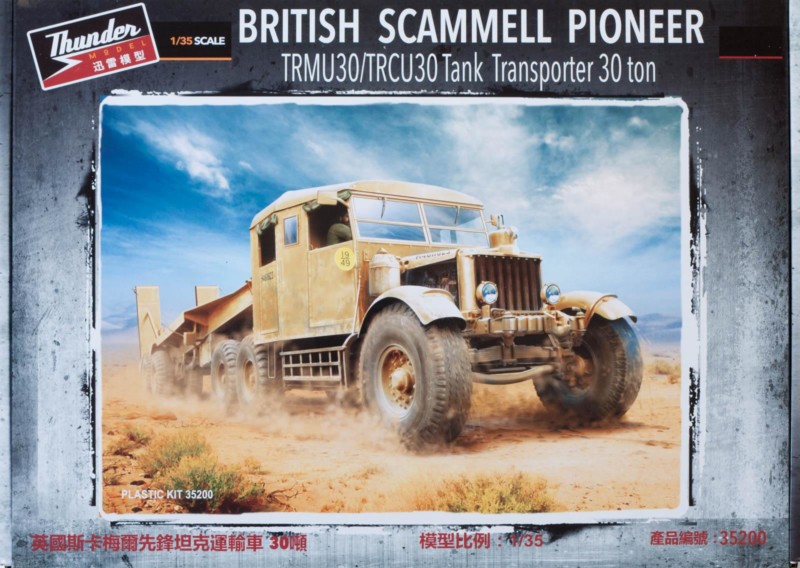
Thunder Model's kit comes in a rather deep box with a folding lid, sporting a dynamic rendition of the truck in a desert environment. The complete kit name is quite a handful: British Scammell Pioneer TRMU30/TRCU30 Tank Transporter 30 ton, the kit number is 35200. There you go.
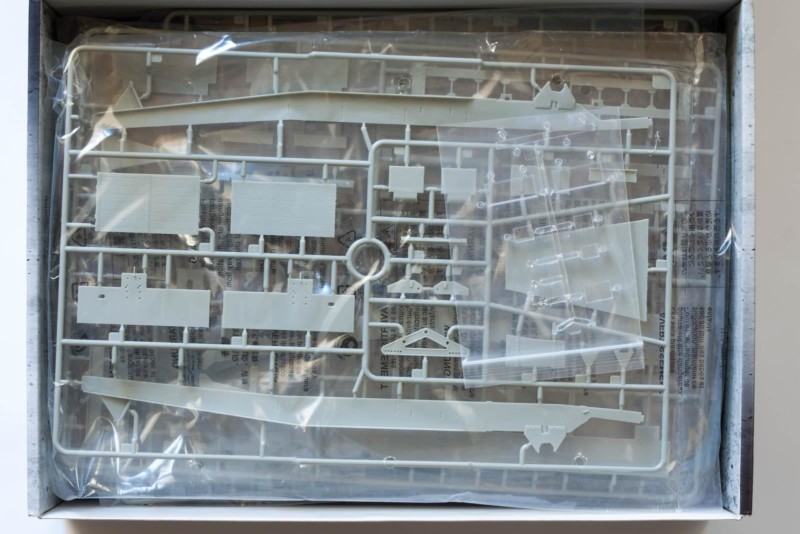
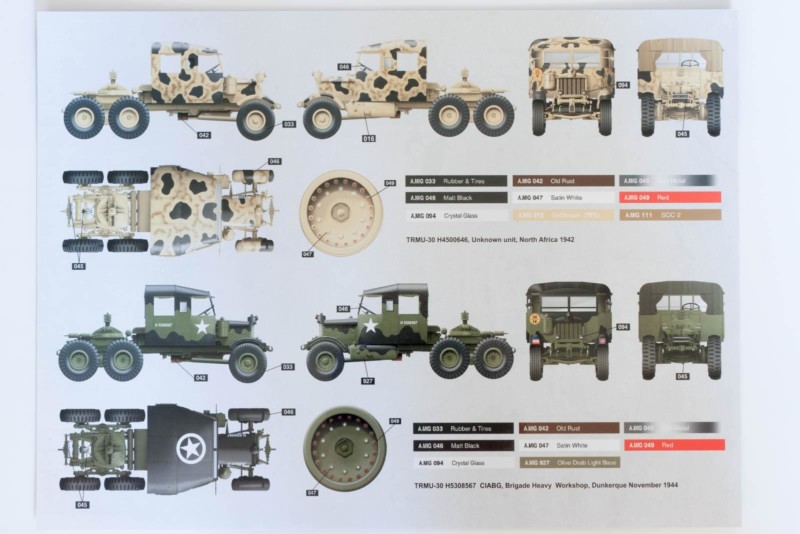
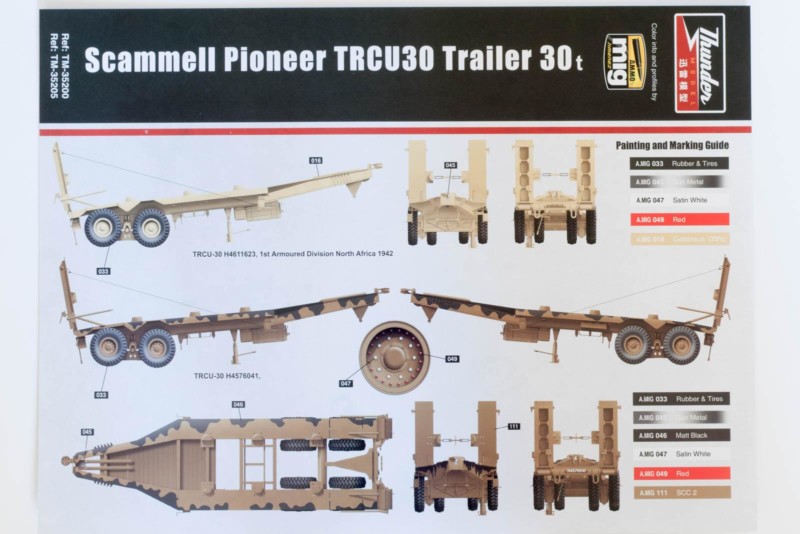
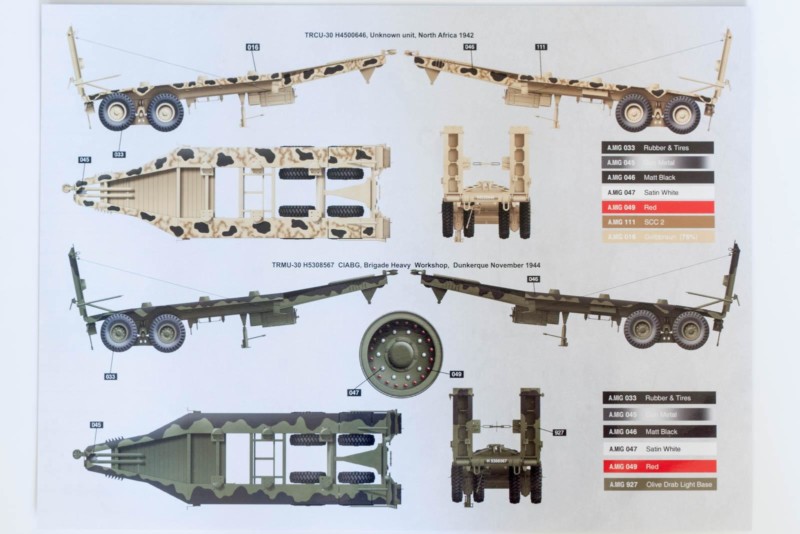
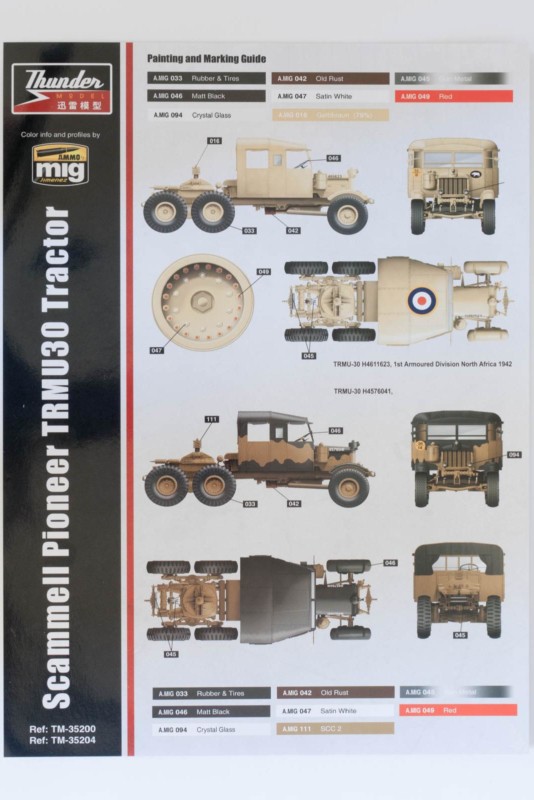
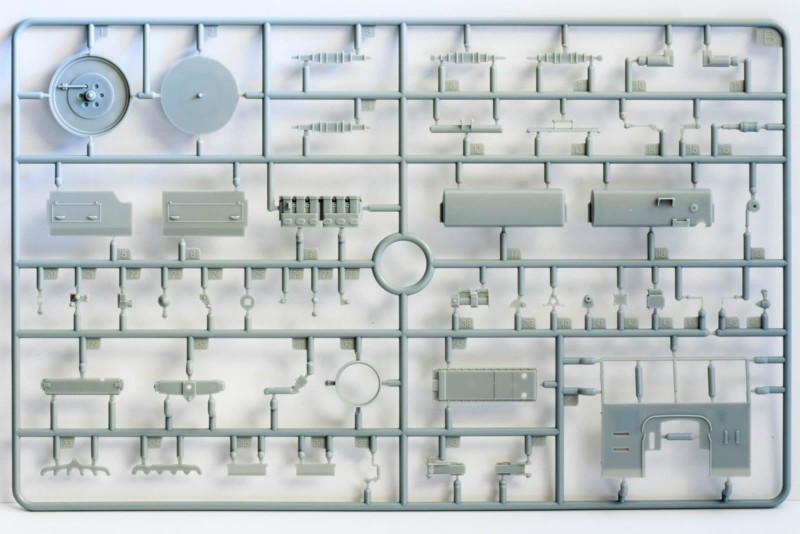
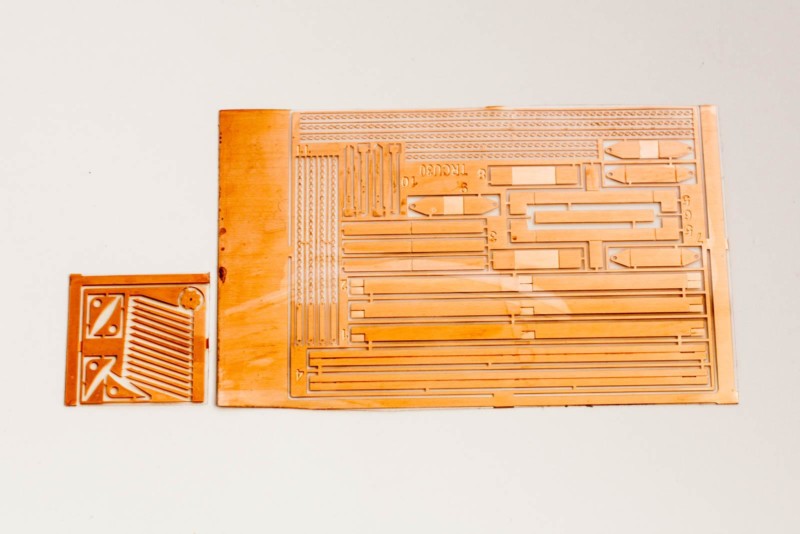
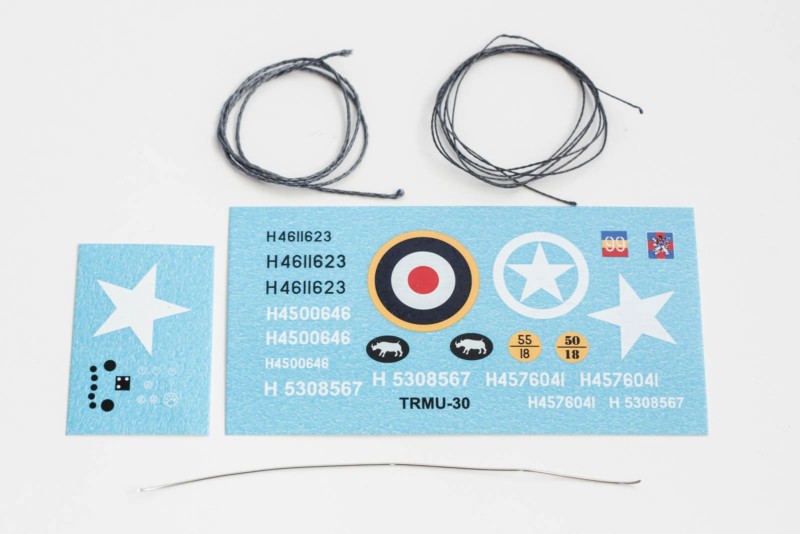
On opening the box you will find eleven bags containing a total of 14 plastic sprues, a separate bag with clear parts, a bag containing three PE frets, two decal sheets and an assortment of ropes and wire, two instruction booklets (one each for the tractor and the trailer) and two glossy color sheets showing four different paint schemes.
Instructions
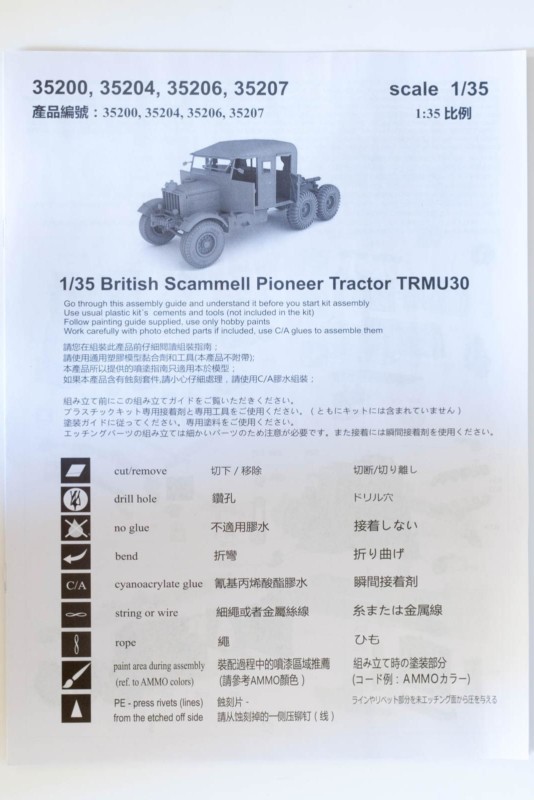
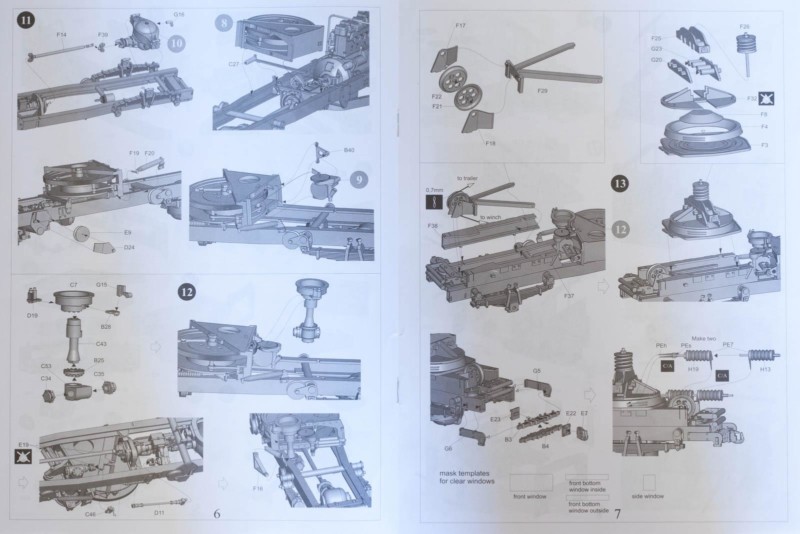
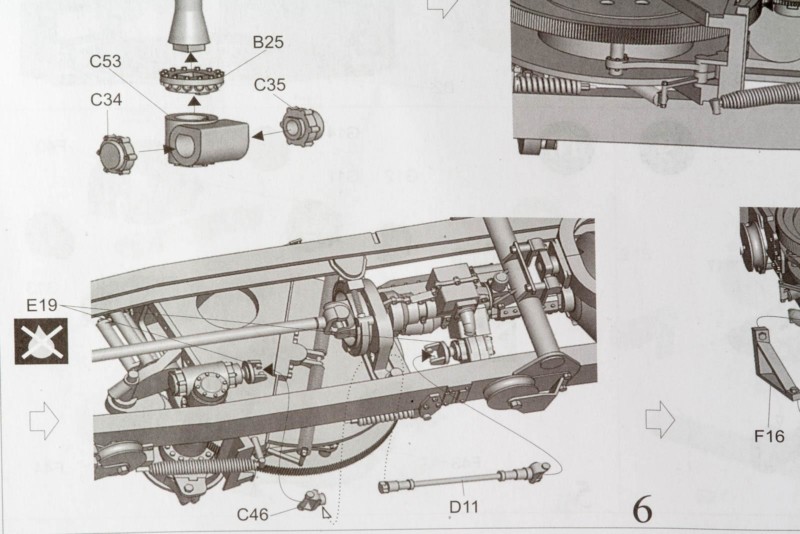
The booklets are A4-sized and stapled and contain b/w-drawings of the construction steps. Not the luxurious appearance we know from other manufacturers, but they get the job done. 23 steps lead you through the assembly of the tractor unit, the trailer gets away with 14 steps. The drawings are clear and easy to follow for the most part, and so far I have not found any issues with mislabeled parts.
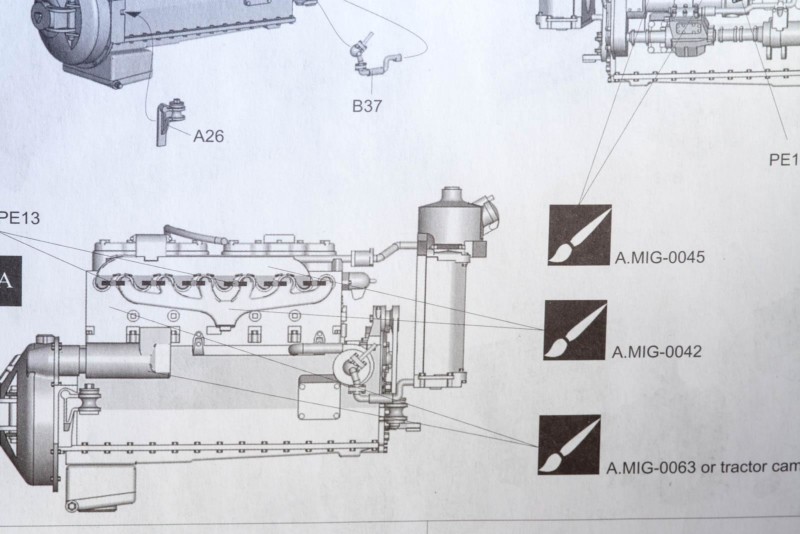
Color call-outs are few and far between, and where there are any, only Ammo by Mig numbers are referenced. As there is no table provided to give you at least a generic color name, you will pretty much have to either use Ammo colors – or consult the internet for a paint conversion chart. I may sound like a broken record here, but the latest trend of manufacturers teaming up with paint producers and not giving the modeler proper information is a questionable practice.
Anyway, the separate painting guides at least give you the names of colors to be used. The four marking variants let you depict one of the following vehicles:
- 1st Armoured Division, North Africa, 1942, Sand over all
- Unknown unit and location, Brown SCC2/Black
- Unknown unit, North Africa, 1942, Sand with Black splotches and Brown squiggles (yes, these are scientific terms)
- Czechoslovak Independent Armoured Brigade, Dunkerque, 1944, Olive Drab/Black
Fantastic Plastic.
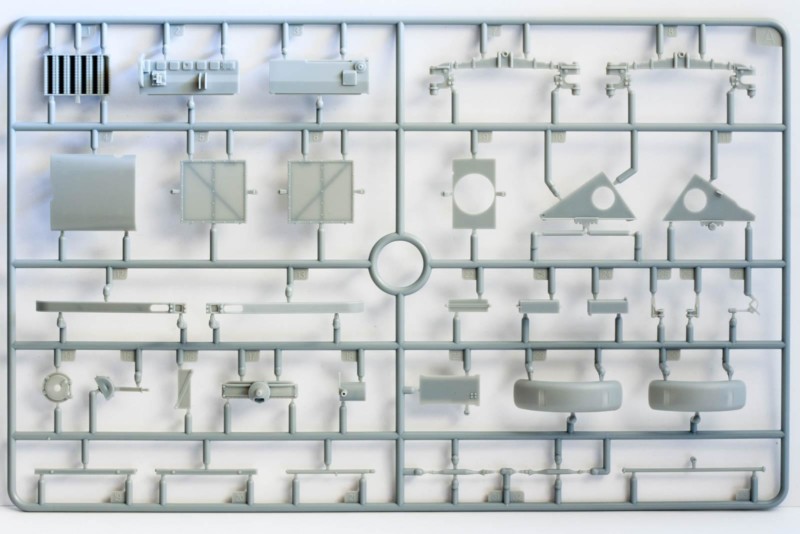
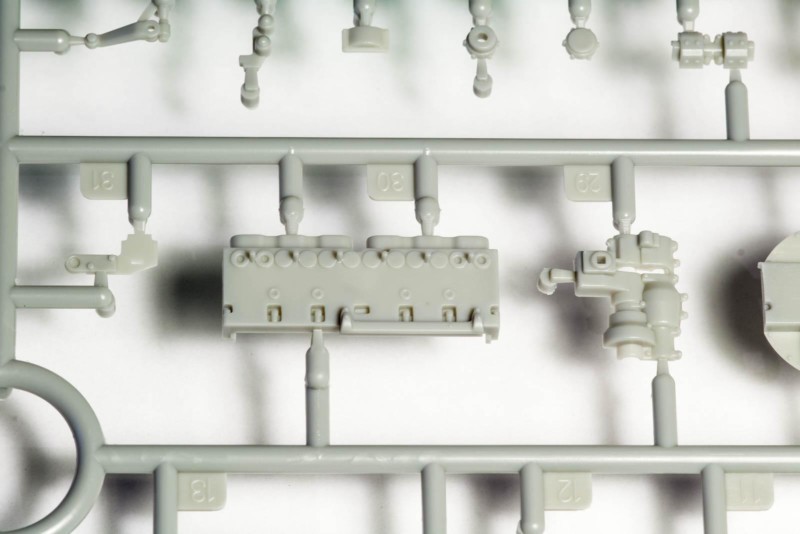
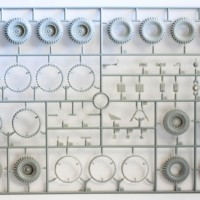
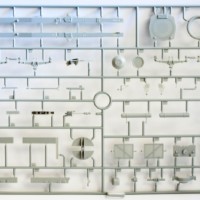
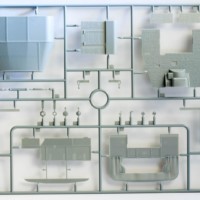
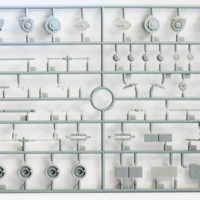
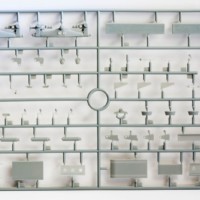
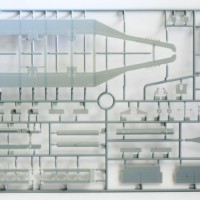
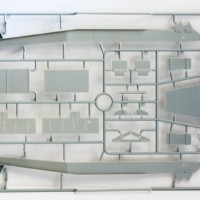
Now for the main course. I remember when I first opened Thunder Model's Case VAI box, I was stunned by the detail and general appearance of the sprues. Same here. Detail is very good all around, sprue gates are small and easy to reach, and the plastic has a nice solid feel to it. Fragile parts like linkage rods are connected to the sprue by just a minimum of gates, which makes cleaning them up pretty easy.
Some of the parts show ejector pin marks on their back sides, but these are very shallow and should be gone after some quick filling and sanding –I will be able to tell you more when I start building this kit.
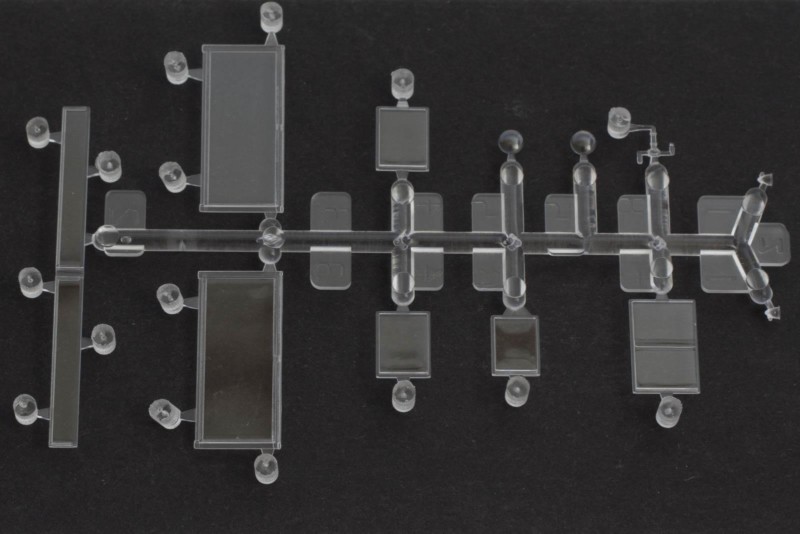
The clear parts in this kit are by the very nature of the prototype nothing to get excited about. Flat wind screens and side windows, two lenses – that's it. They are, however, free of blemishes and distortion.
Don't worry, it's only PE.
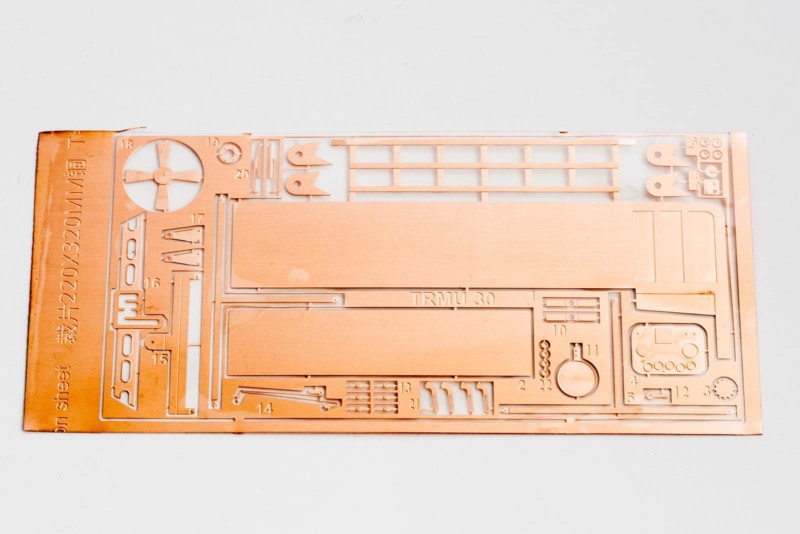
The two provided PE frets are thin and very sharply defined. They contain lots of small parts for the engine, cab, stowage bins, and even chains.
All The Small Things.
The decal sheets are typical of armor models – small, that is. Printed in register, they contain unit markings, registration numbers, and a decal for the dashboard. The supplied rope comes in two thicknesses and will be used for the winch and the trailer's ramp mechanism.
More Details.
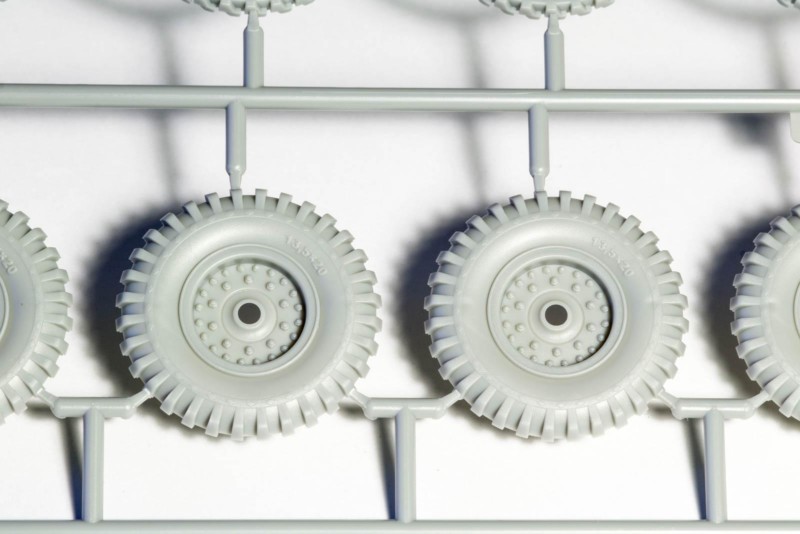
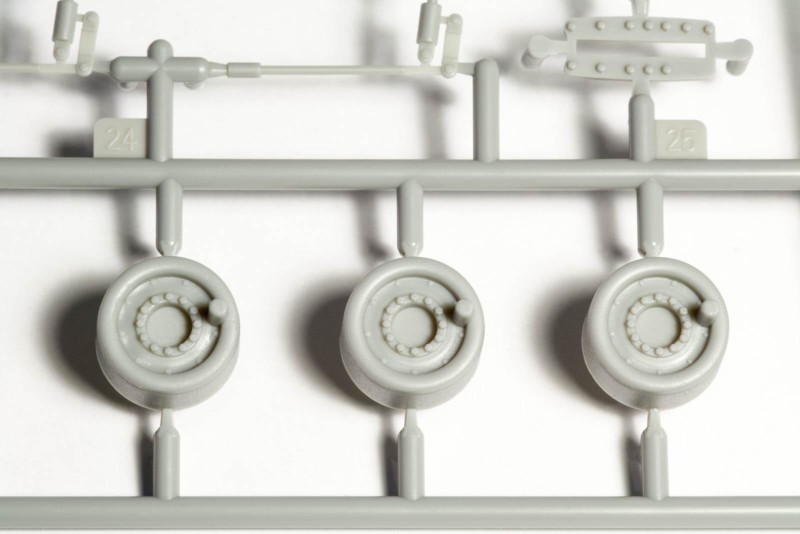
Let's have a closer look at some of the parts. The tires show a solid profile and some typography on the side walls. The whole tire construction is interesting, with a couple of rings sandwiched between the side walls.
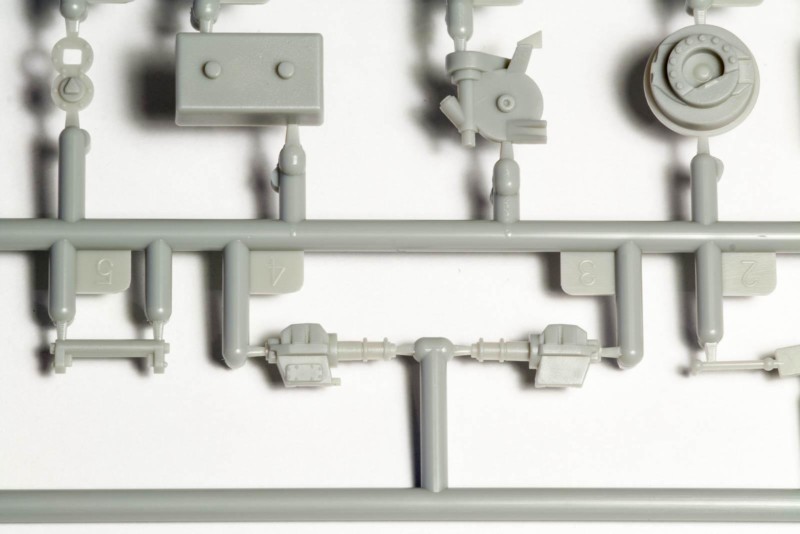
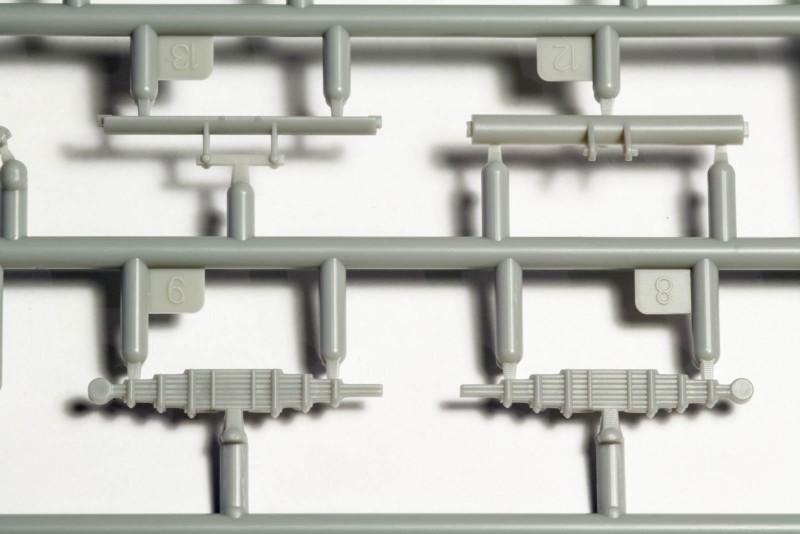
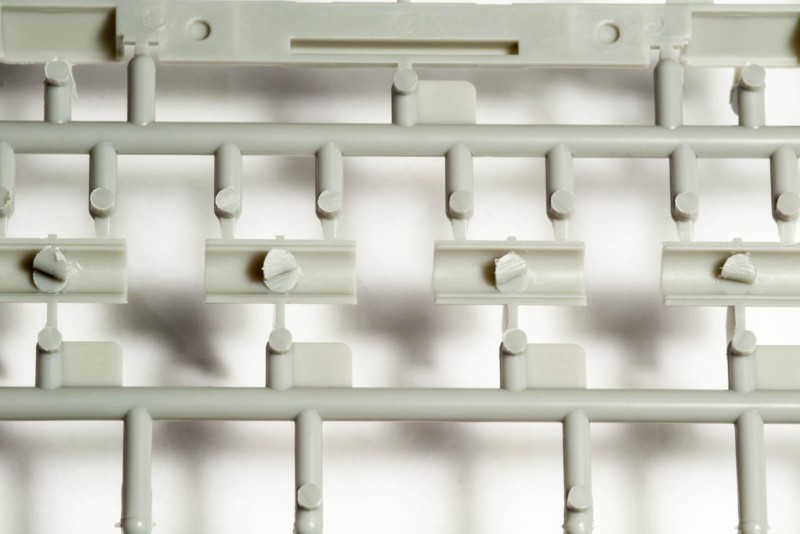
As stated before, detail is to be found everywhere. The parts for the engine, brake drums, tensioners, and leaf springs should give you an idea of what to expect:
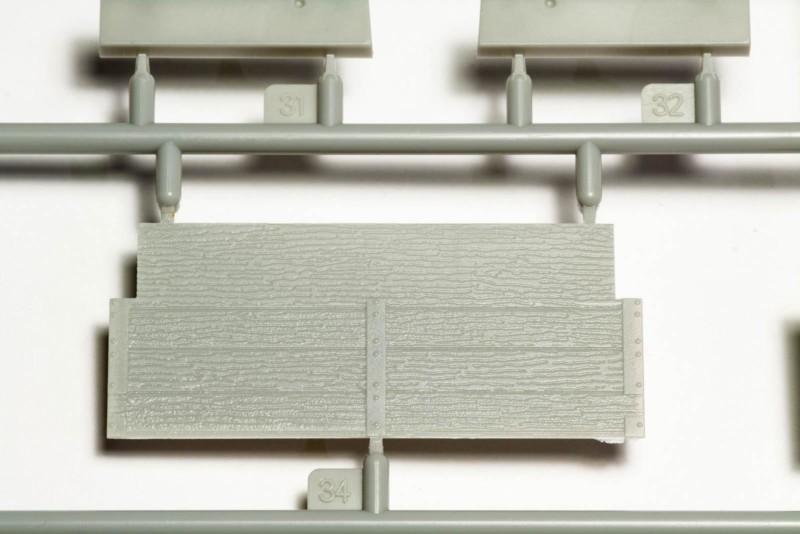
Wood textures are a bit of a mixed bag. For the most part, they look very convincing, like on the trailer's stowage box:
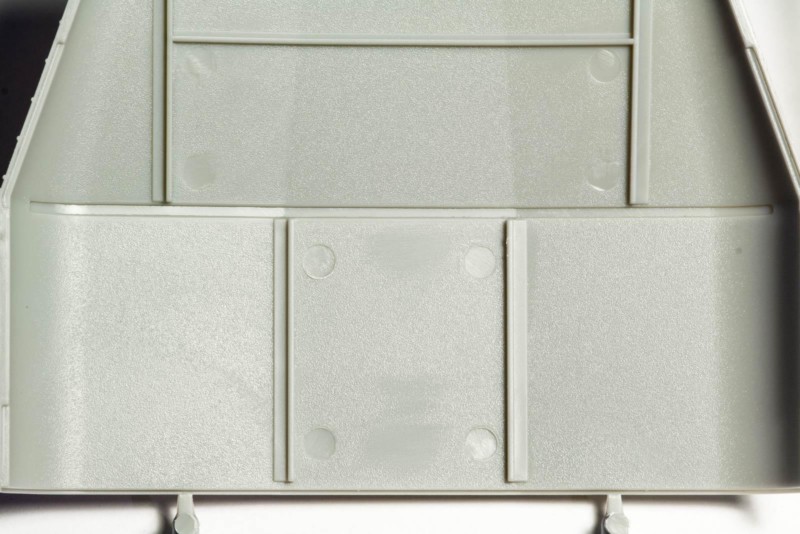
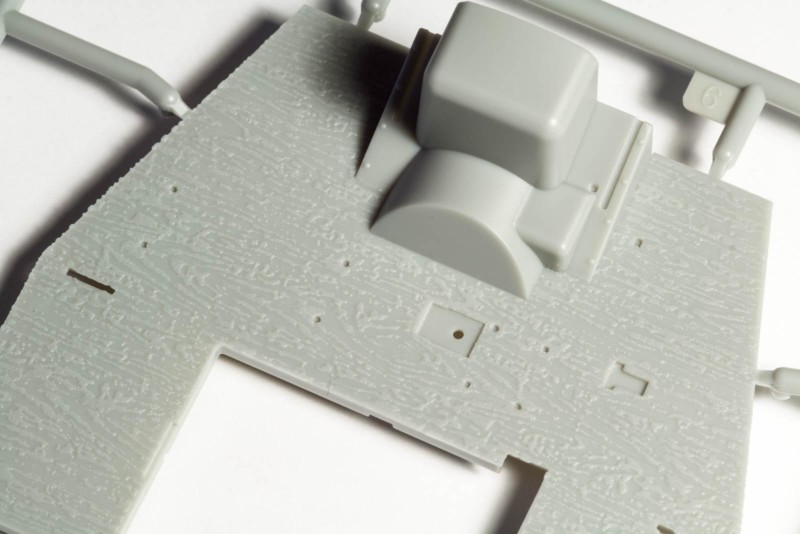
The cabin floor, however, shows an entirely different pattern:
Maybe this was done to show wood texture in a place that is not that easy to see, deliberately overstating the effect as it were. I am not sure if I like it that way and will most probably sand the whole thing down.
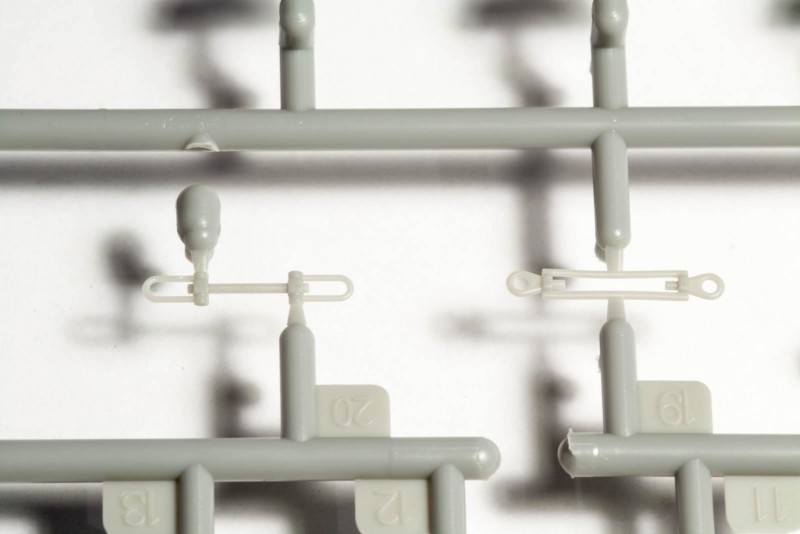
One last thing I noticed is the abundance of ejection pin “towers”. These things are remainders of the ejection process and must be removed, as they would interfere with proper fit of the parts.
Impressions?
Again I am very impressed by what Thunder Model has delivered. The subject choice is excellent, as is the execution – at least as far as I can tell now. If there is one flaw in the kit it has to be the painting guide, broken record and all.
Addendum
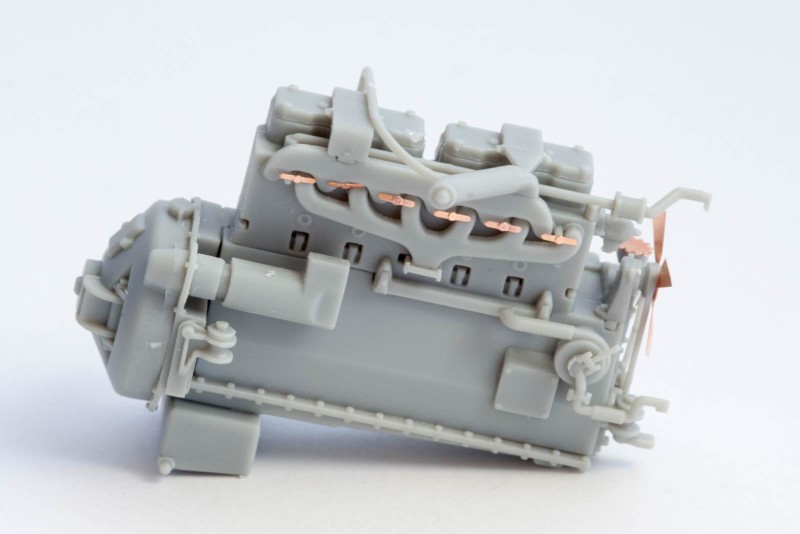
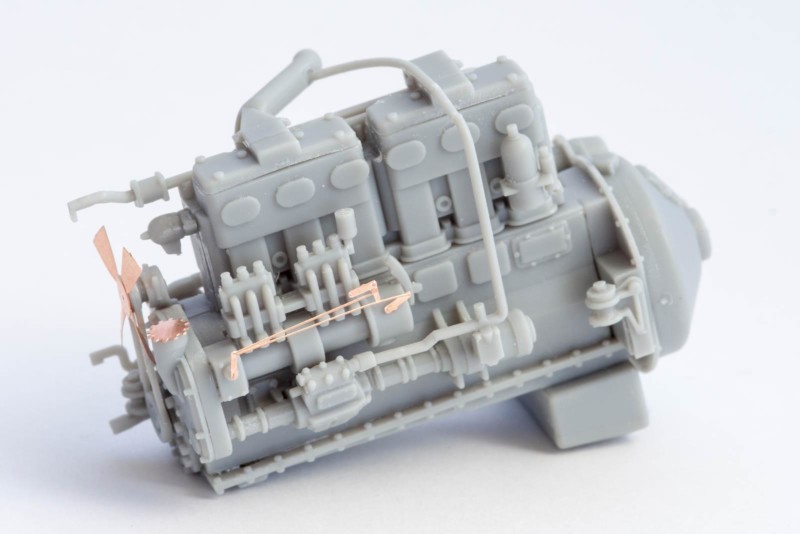
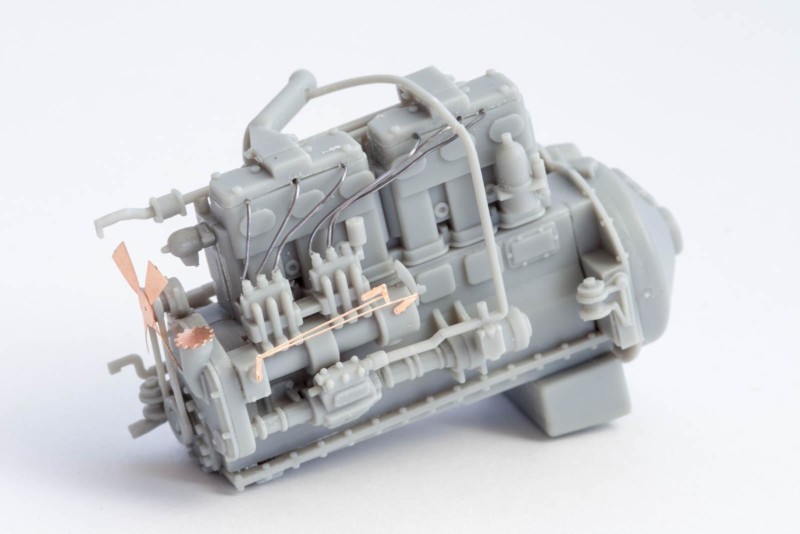
I couldn't help it, I had to start on the tractor as soon as I got home from Telford. Step 1 deals with the engine, an impressive piece of machinery in real life. The assembly went together within two hours, without any fit issues whatsoever. The only thing I added were some fuel lines from thin lead wire, apart from that the engine is as complete as it gets. If this subassembly is an indication of what is to follow, I am pretty much sold on this kit.

Great Big Cab and an Itty Bitty Bonnet...what a crazy looking machine! Looking forward to seeing this one built!
Yeah, the design is, uhm, special
That looks outstanding! Boris, did a price come up? About what will those retail for?
Jeffry, as far as I've seen the price will be around 50 euros ($60) here in Europe. As for the US I am not sure, I guess it will depend on the importer.
Although I'm unfamiliar with that particular manufacturer, it looks like a pretty nice kit, Boris. Thanks.
I believe that Thunder Models are rather new, having 3-5 kits in their line. I believe their first was the VAI tractor http://imodeler.com/tag/thunder-model/
Magnificent subject. I had the opportunity to see a build testmodel at the Scale Model Challenge in Eindhoven last month and it is high on my wishlist. Like you mention,
the parts are made to a high quality and it will certainly make a great model.
Looking forward to your progress which I will follow for sure.
Looks like it will be a bit of a monster when it's finished, looking forward to seeing how your build progresses. Thanks for a great review of the kit's contents.
A classic that up til now was only available in resin and white metal and etch you would have had to pay over two hundred pounds to get your hands on one . This is a bargain and I will be geting one for sure.
Hello Boris,
Interesting subject. Scammel is widely available in the model world, but the prices of the resin models are extremely high. A-Model makes the model reachable for a much wider interested public.
Thanks for sharing your build with us. I will keep following your progress.
Regards, Dirk / The Netherlands.
Looking good so far , i will look forward to updates !
Thanks Norman! The build is already finished, you can find the links to the other two parts in the top section of this article.