Review: Thunder Model Scammell Pioneer Tank Transporter – Build Review, Part 3
This article is part of a series:

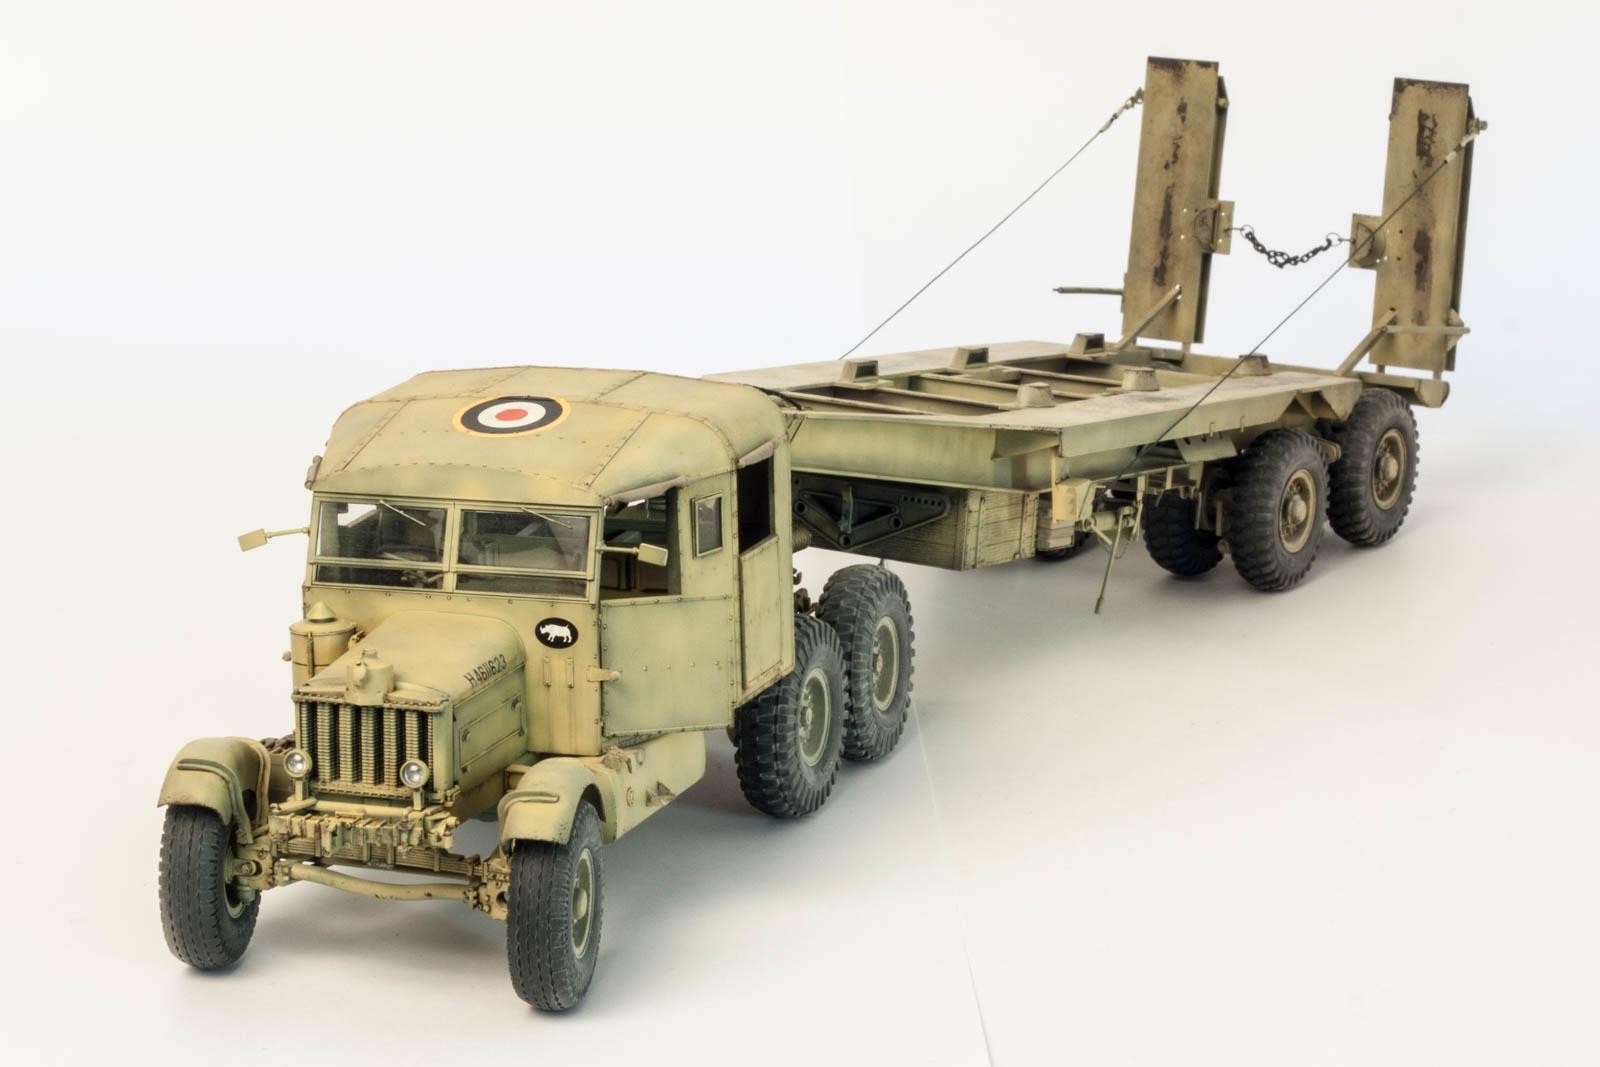
The Trailer Unit
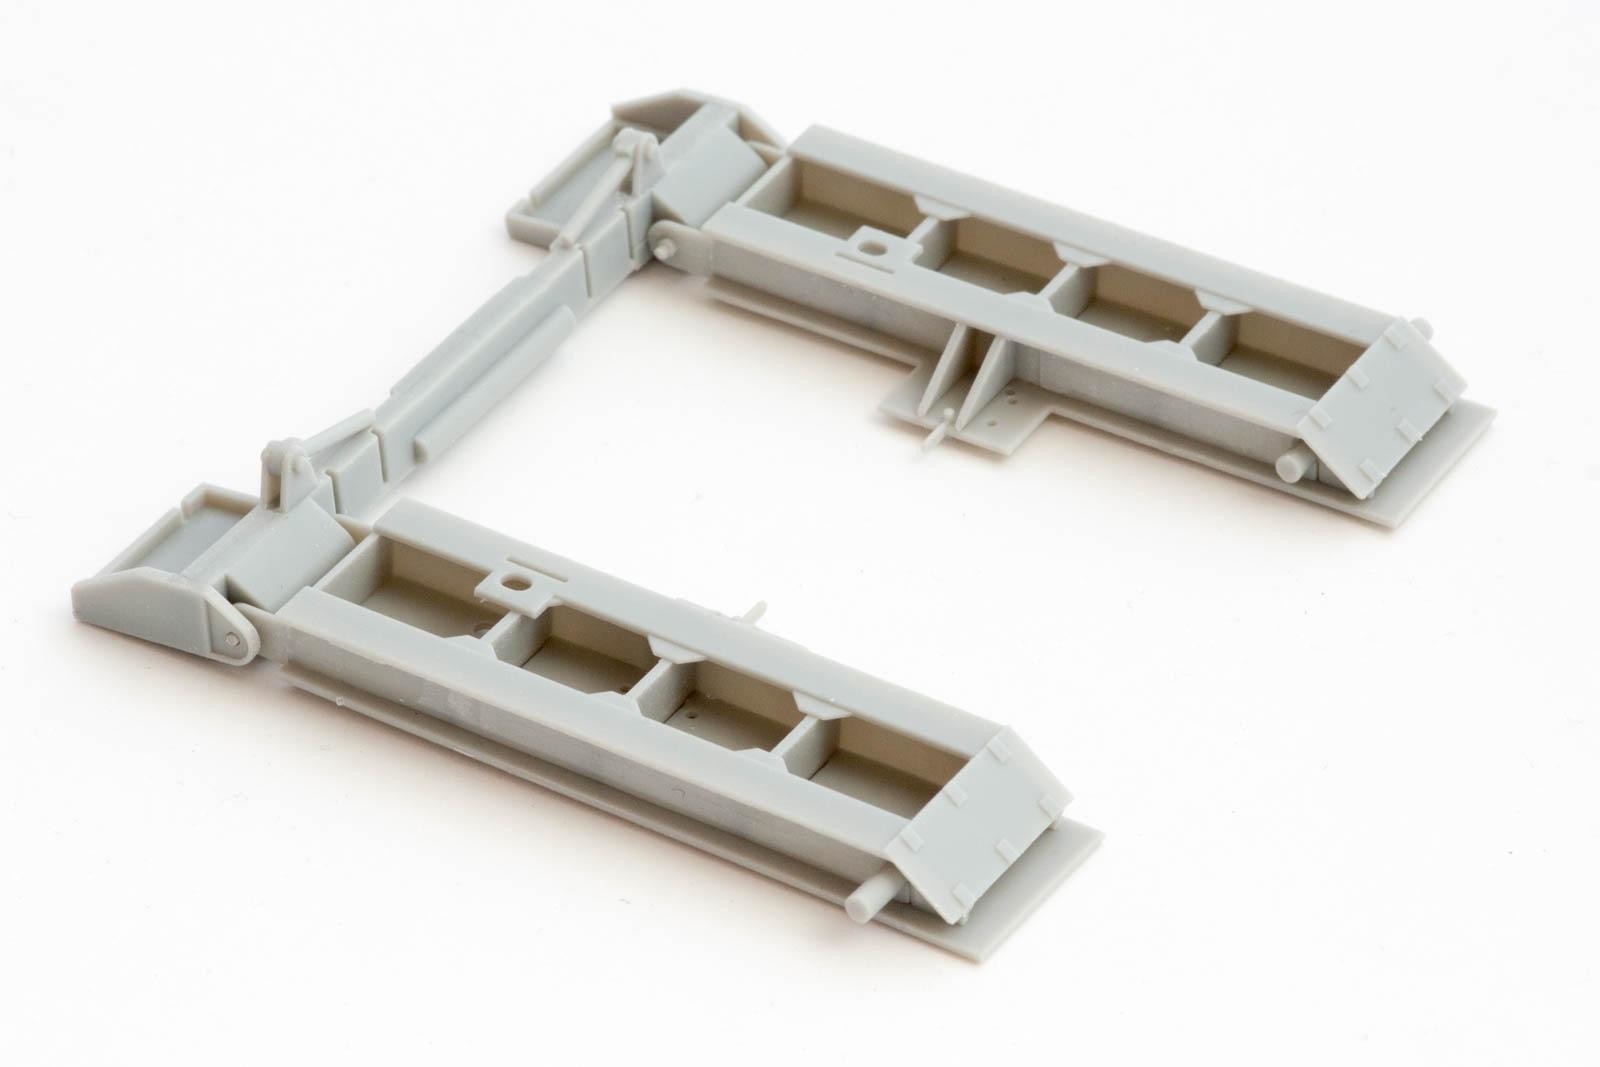
As usually, I started by gluing all the multi-part assemblies to speed up the process of seam filling and not have to wait for filler to dry later on. There are quite some seams to deal with, but as fit is very good all filling could be done with tiny amounts of thin CA glue.
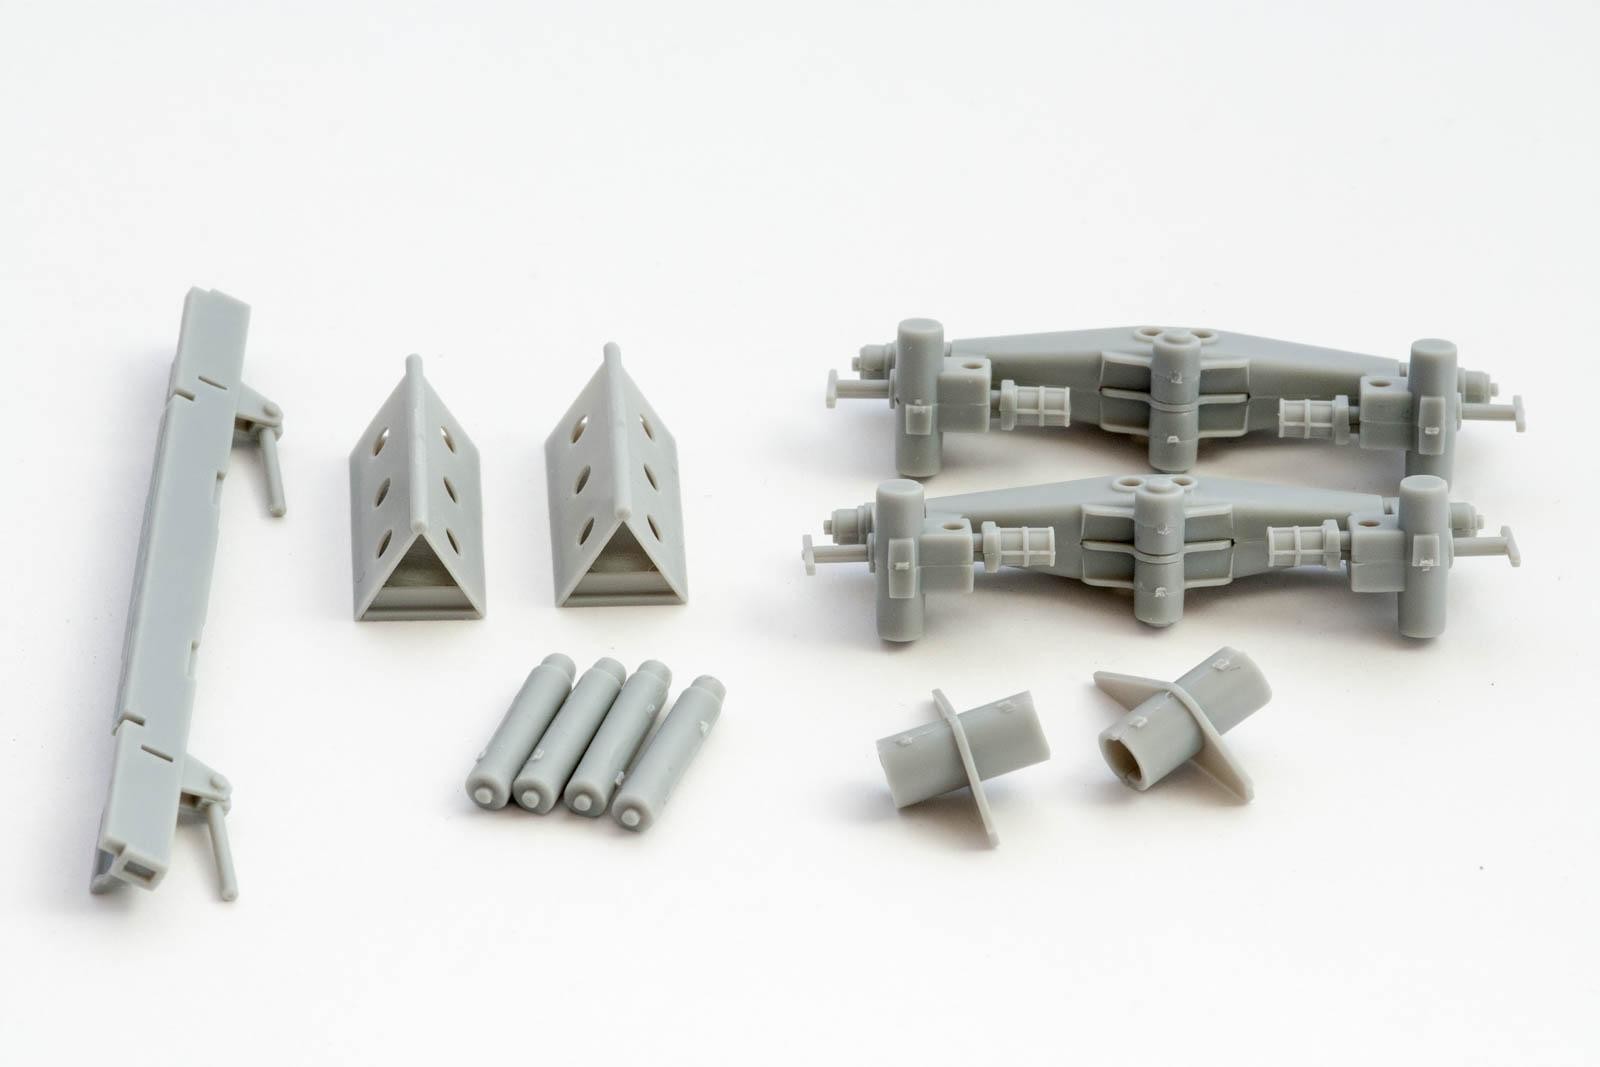
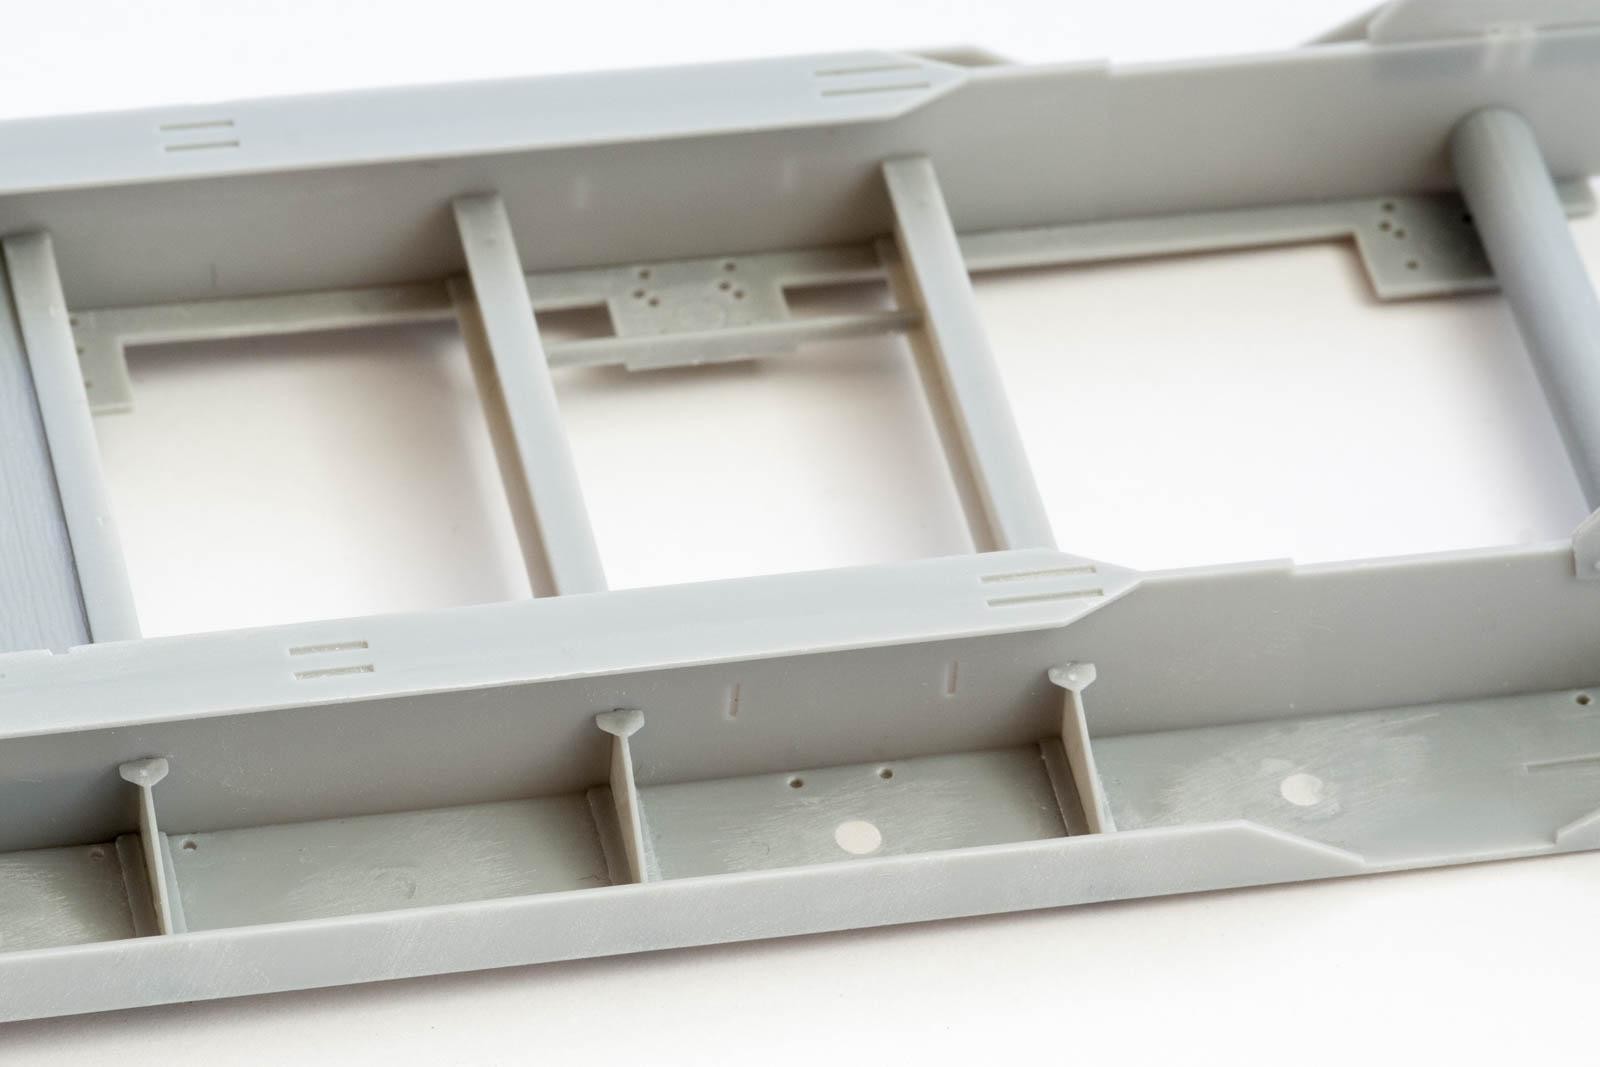
The trailer basically consists of a huge frame made from I-beams, to which the axles, the decking, and various fittings are attached. Starting with the frame construction, you will have to be careful to align everything properly, as the initial assembly is somewhat flimsy. Adding the triangular bracings helps, but I suggest working on a flat hard surface and check your angles frequently. The parts' undersides show some ejection pin marks – as I was not sure which ones would remain visible after construction, I decided to fill them.
When attaching the front plate I ran into some fit issues, most probably caused by sloppy clean-up of the I-beams to the rear of the front plate.
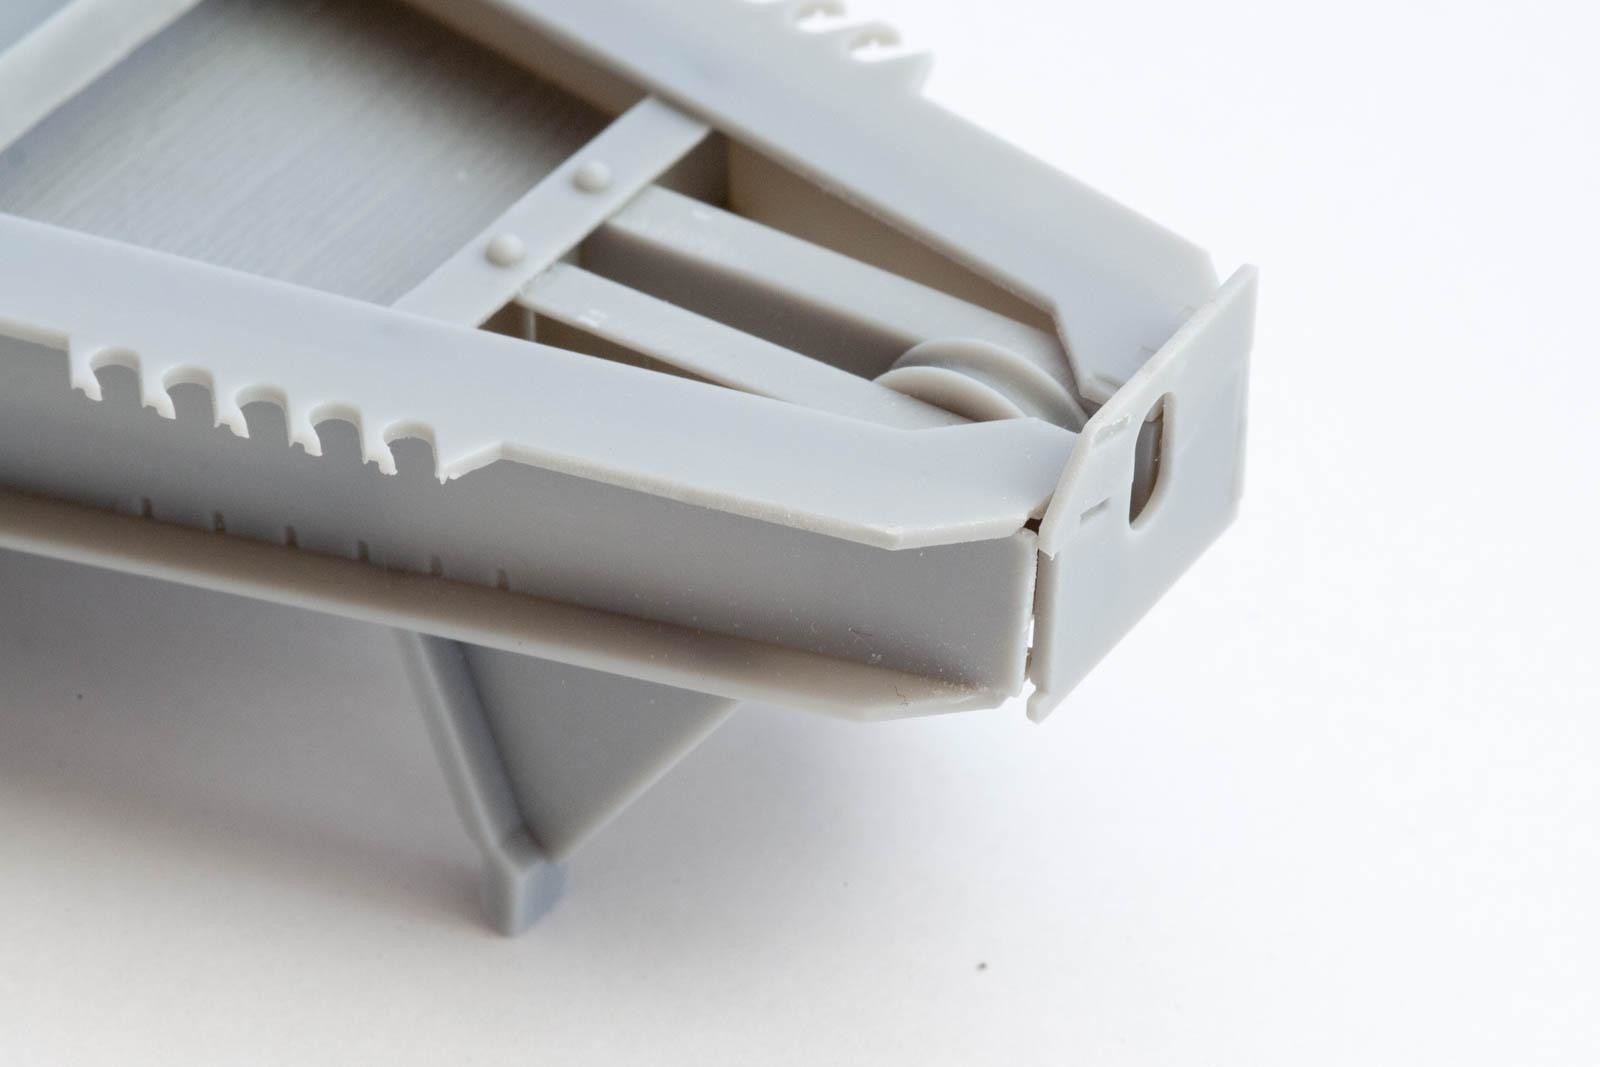
Applying a bit of force (and some filler afterwards), I was still able to get everything together.
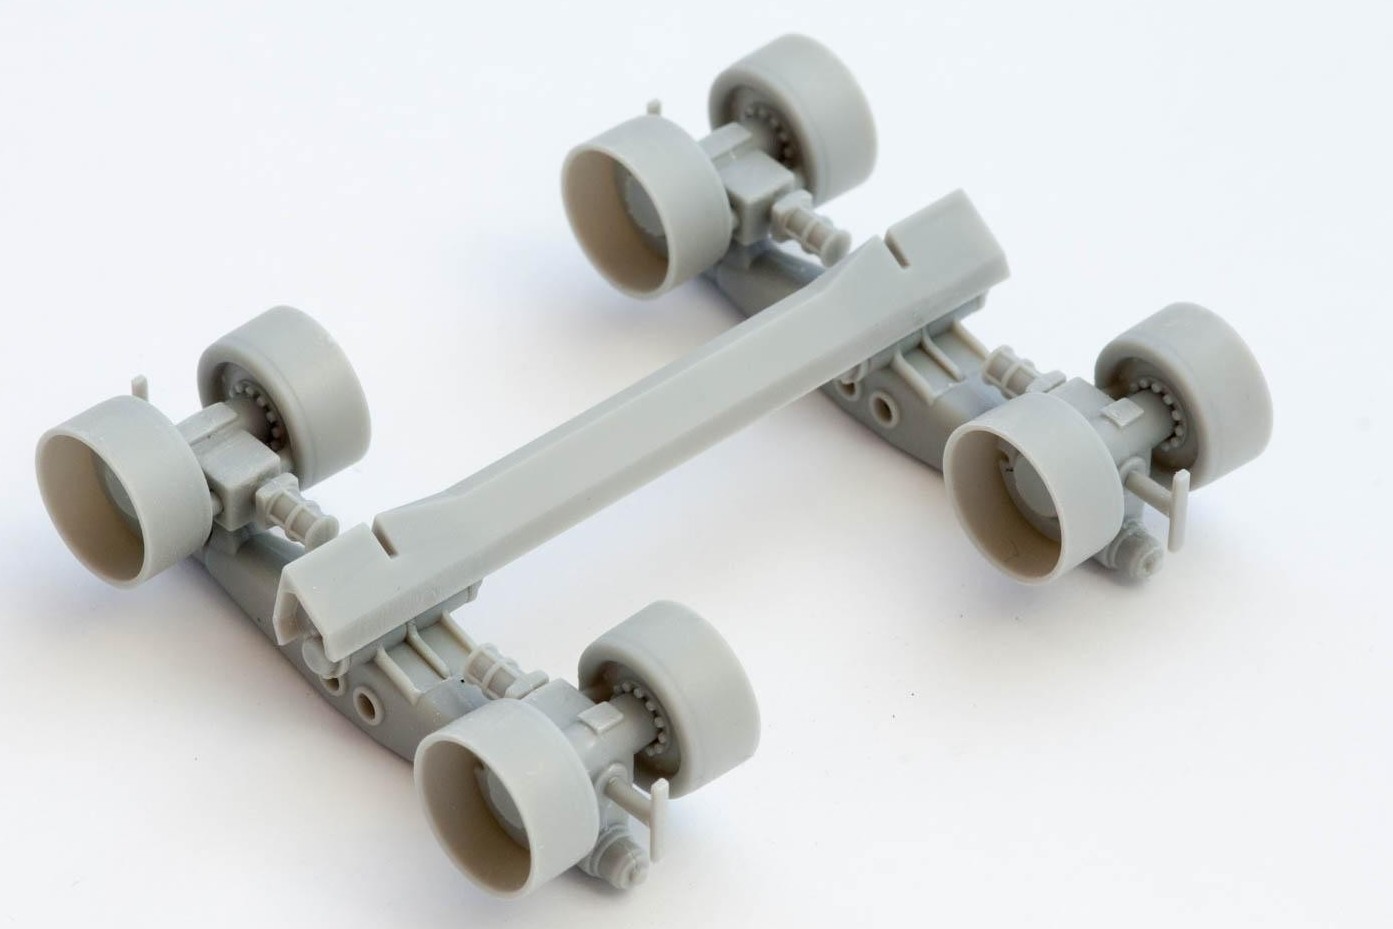
The trailer's suspension goes together easily. I suggest leaving the components workable, as this will help you with all the tires actually making contact with the ground later on.
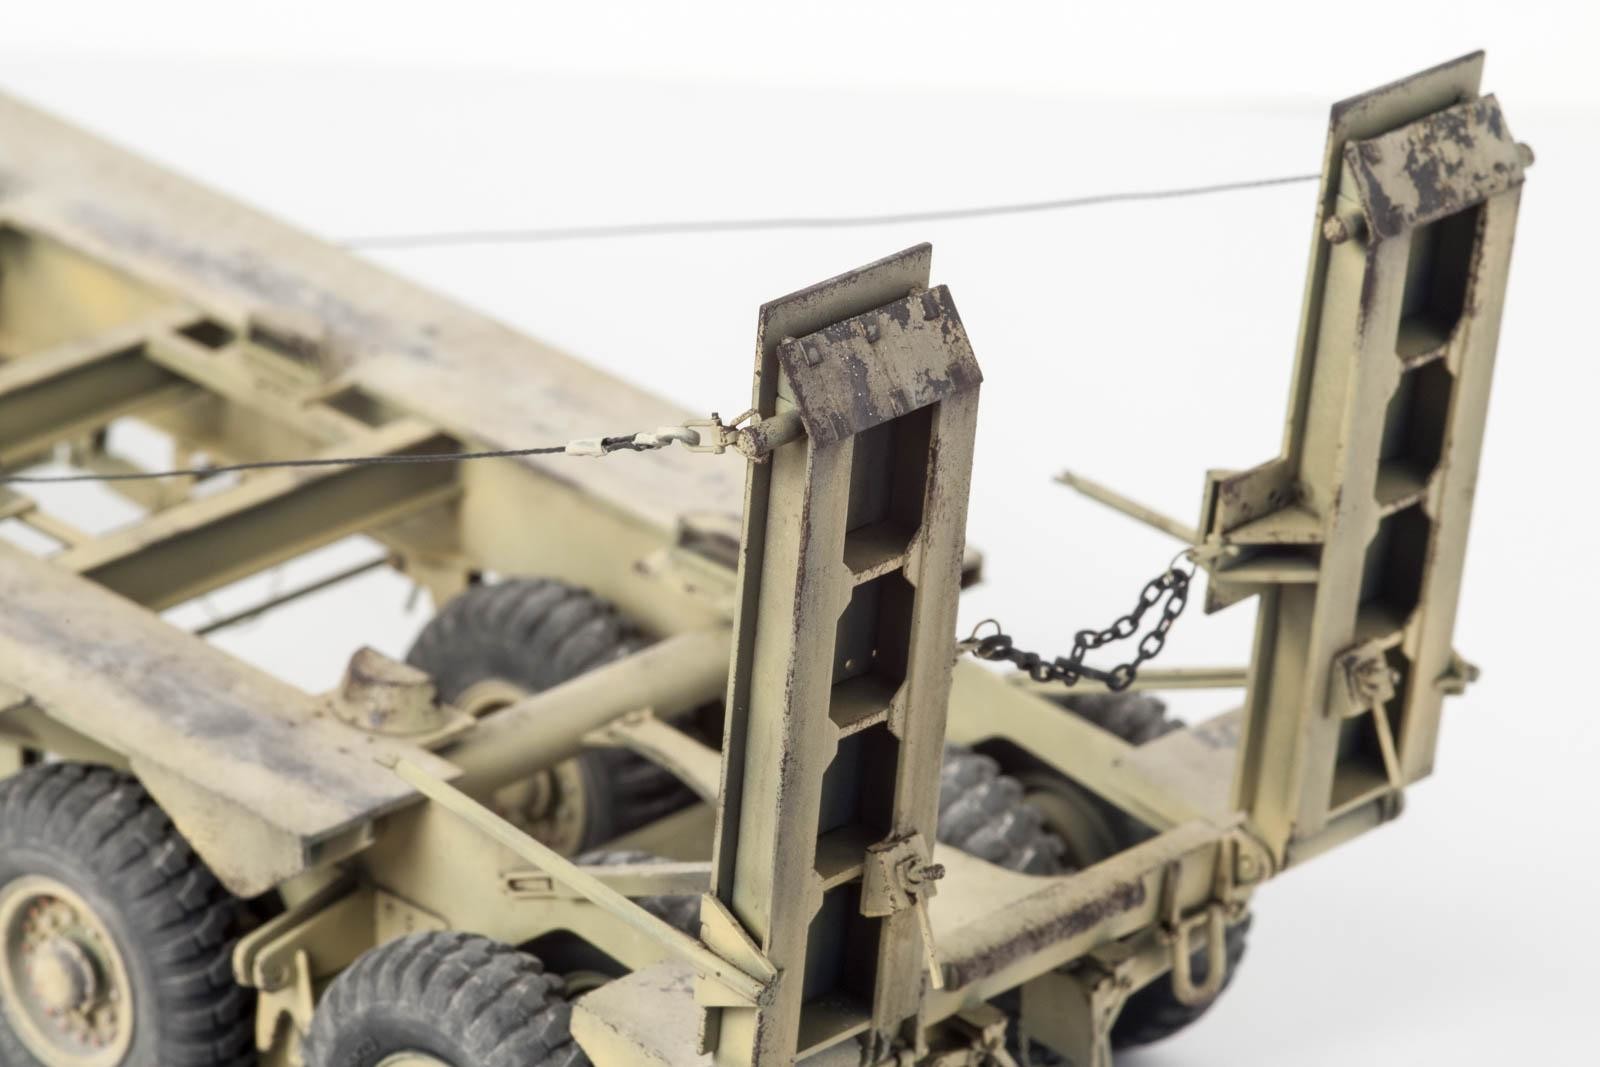
The rear ramp section again is a workable assembly. Even though I knew I would display it in the raised position, the ramps were left moveable, as their exact angle will be determined by support braces which will be added later on.
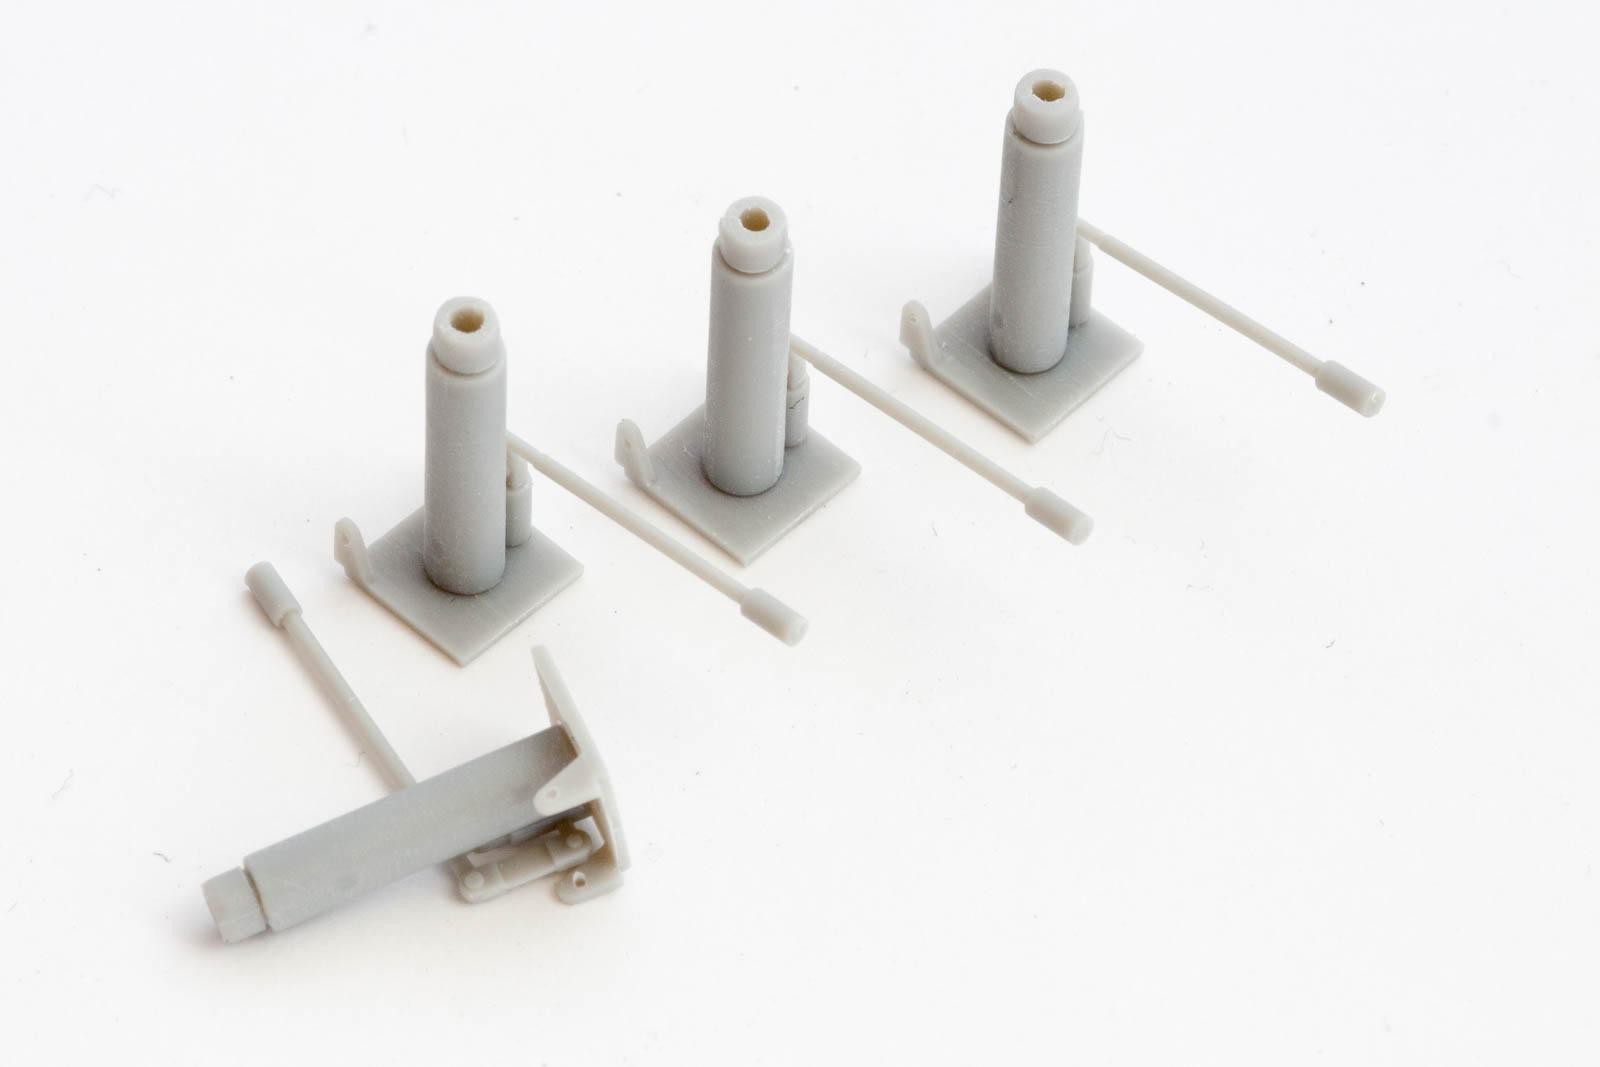
Throughout the construction, the instructions show 0.5mm holes to be drilled, but there are no corresponding marks on the parts. This leaves you with a bit of guesswork as to the holes' exact positions. Being precise is especially important when dealing with the hydraulic stamps, which need two holes drilled in each base plate to accept the rods upon which they hinge.
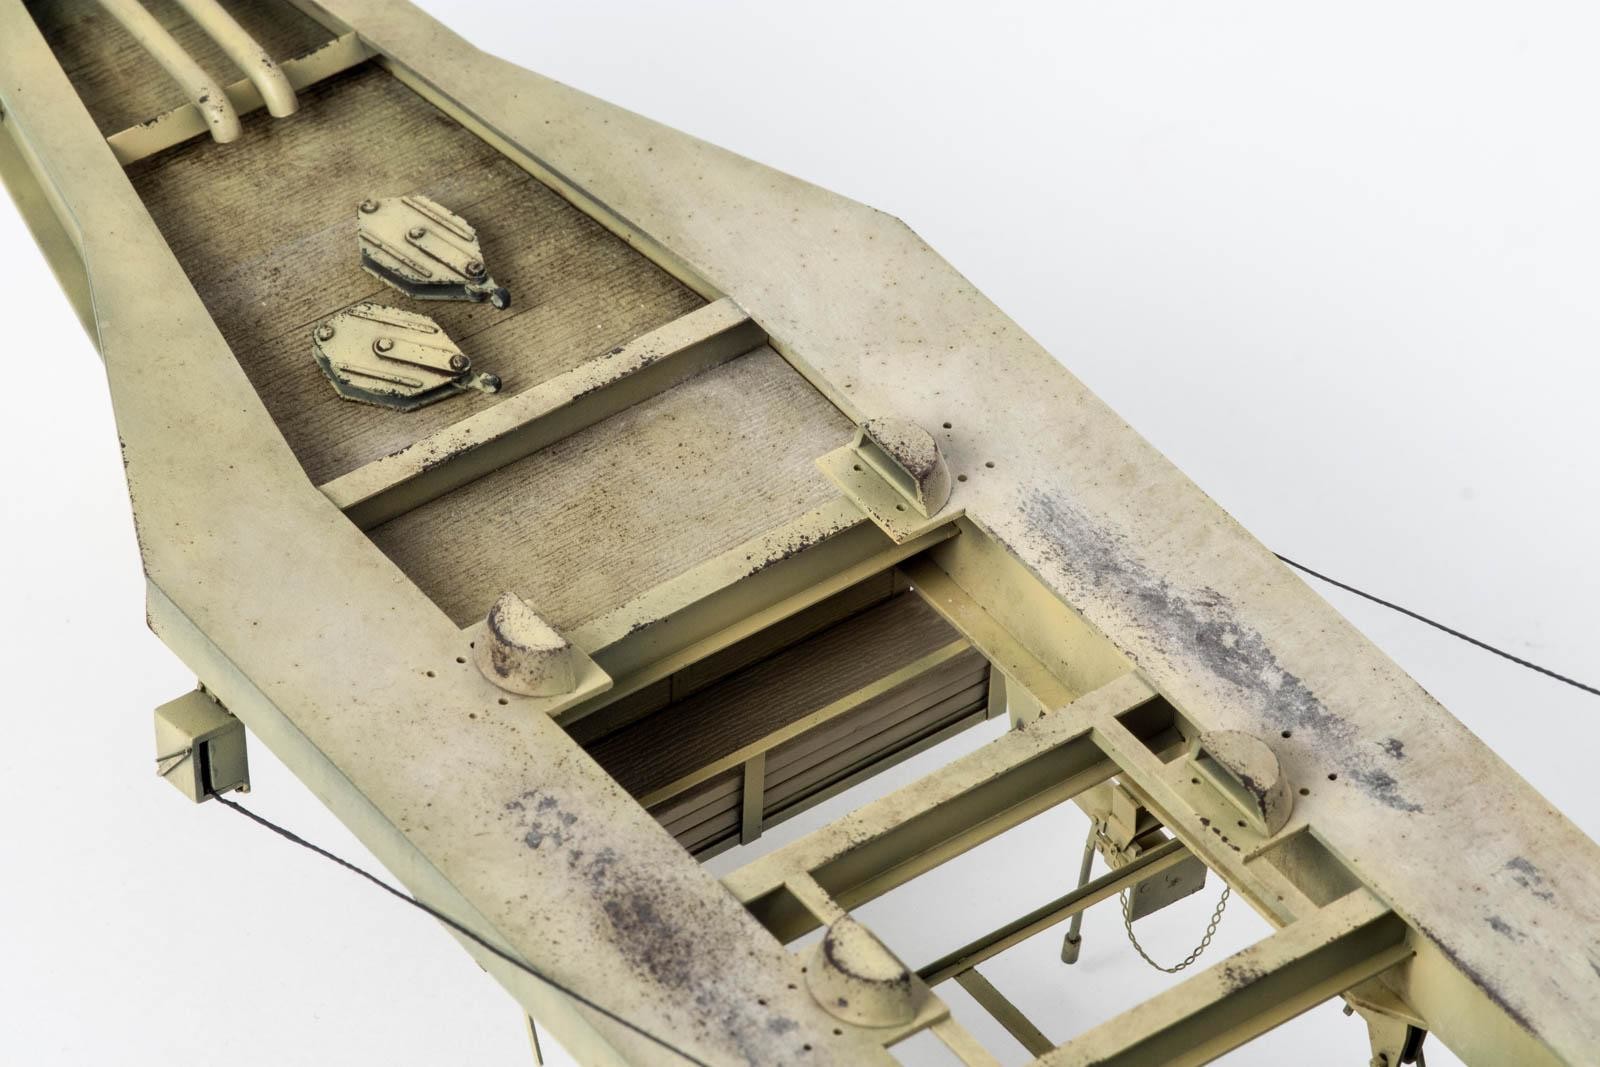
The kit's optional parts J28 (the semi-circular thingies in the pic below) can be installed in different position. I guess these parts were used to prevent tanks from steering off the trailer and keeping them on a straight course.
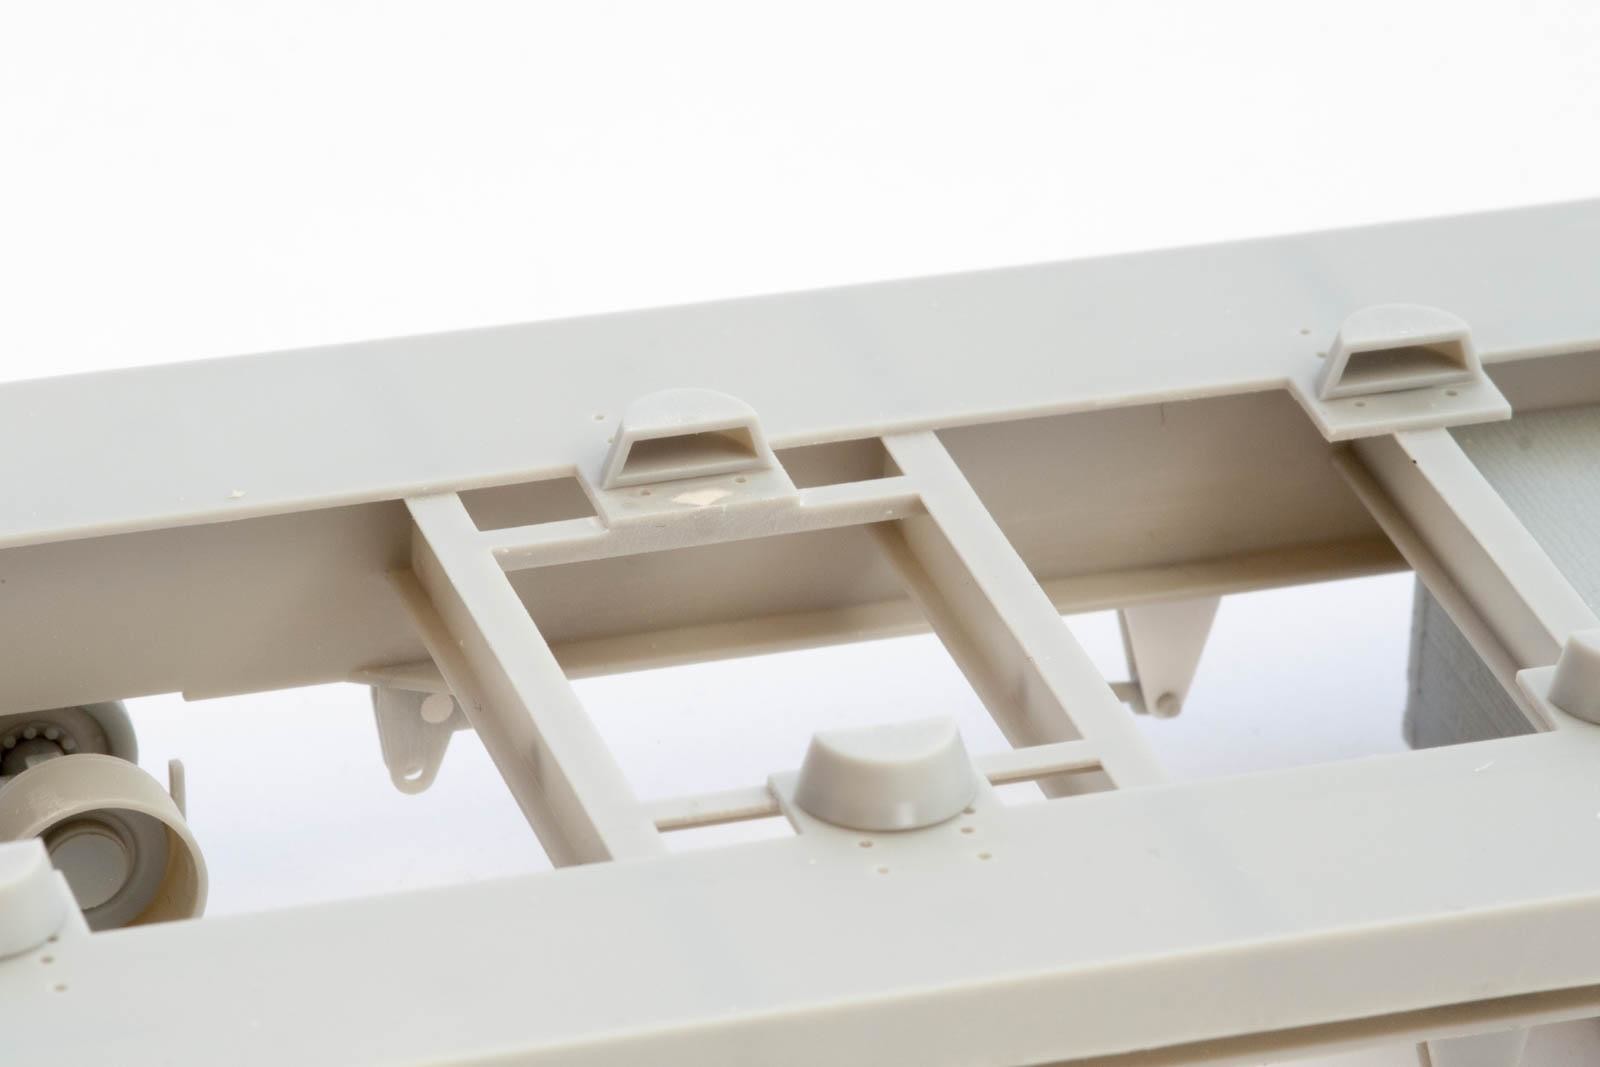
If you plan on placing a tank on the trailer, you will have to check for the correct position, otherwise these parts might interfere with your tank's tracks. I positioned them in a way to clear a Valentine's tracks.

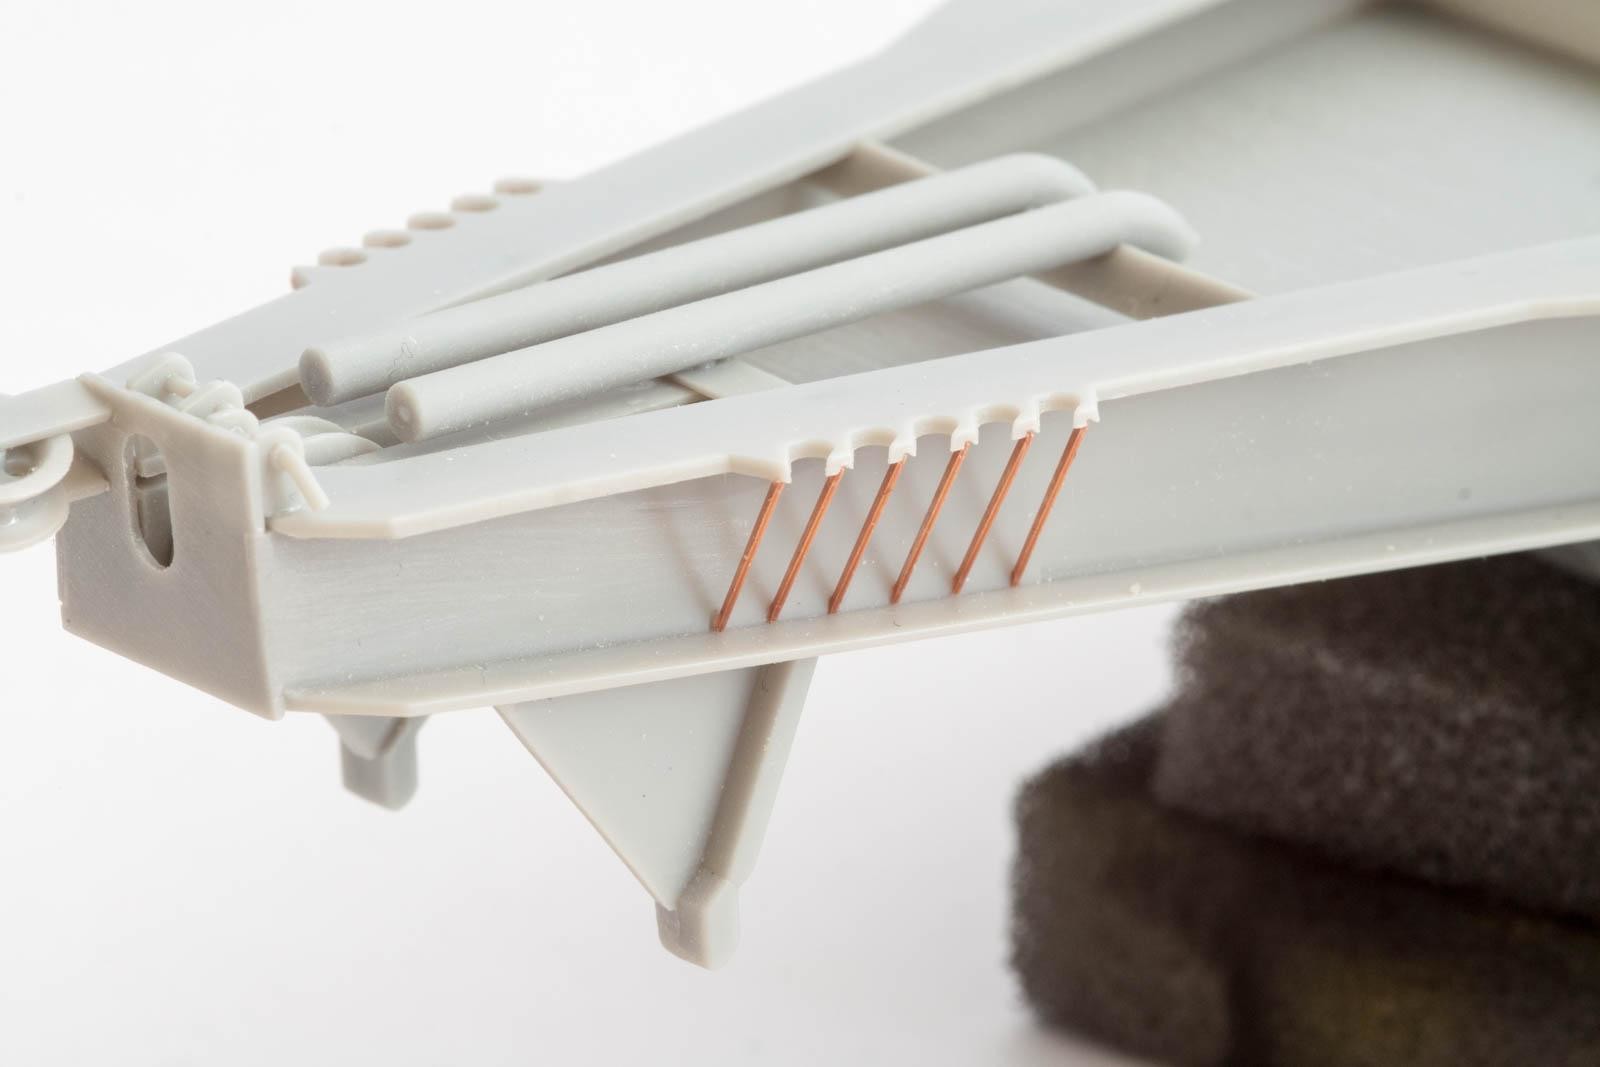
The fiddliest part of the whole construction is attaching the PE parts for the hydraulic stamps and the frames on the underside of the trailer. Patience is key, as is a tool for bending the long and narrow parts for the frames.


Thunder Model provides a selection of hooks and fasteners which can be used to secure the load of your choice to the trailer, as well as a diagram that shows how a tank would be secured using the tank's front (or rear) towing hooks. As this diagram is somewhat generic, you might want to find reference pictures to see how it was done in the field.
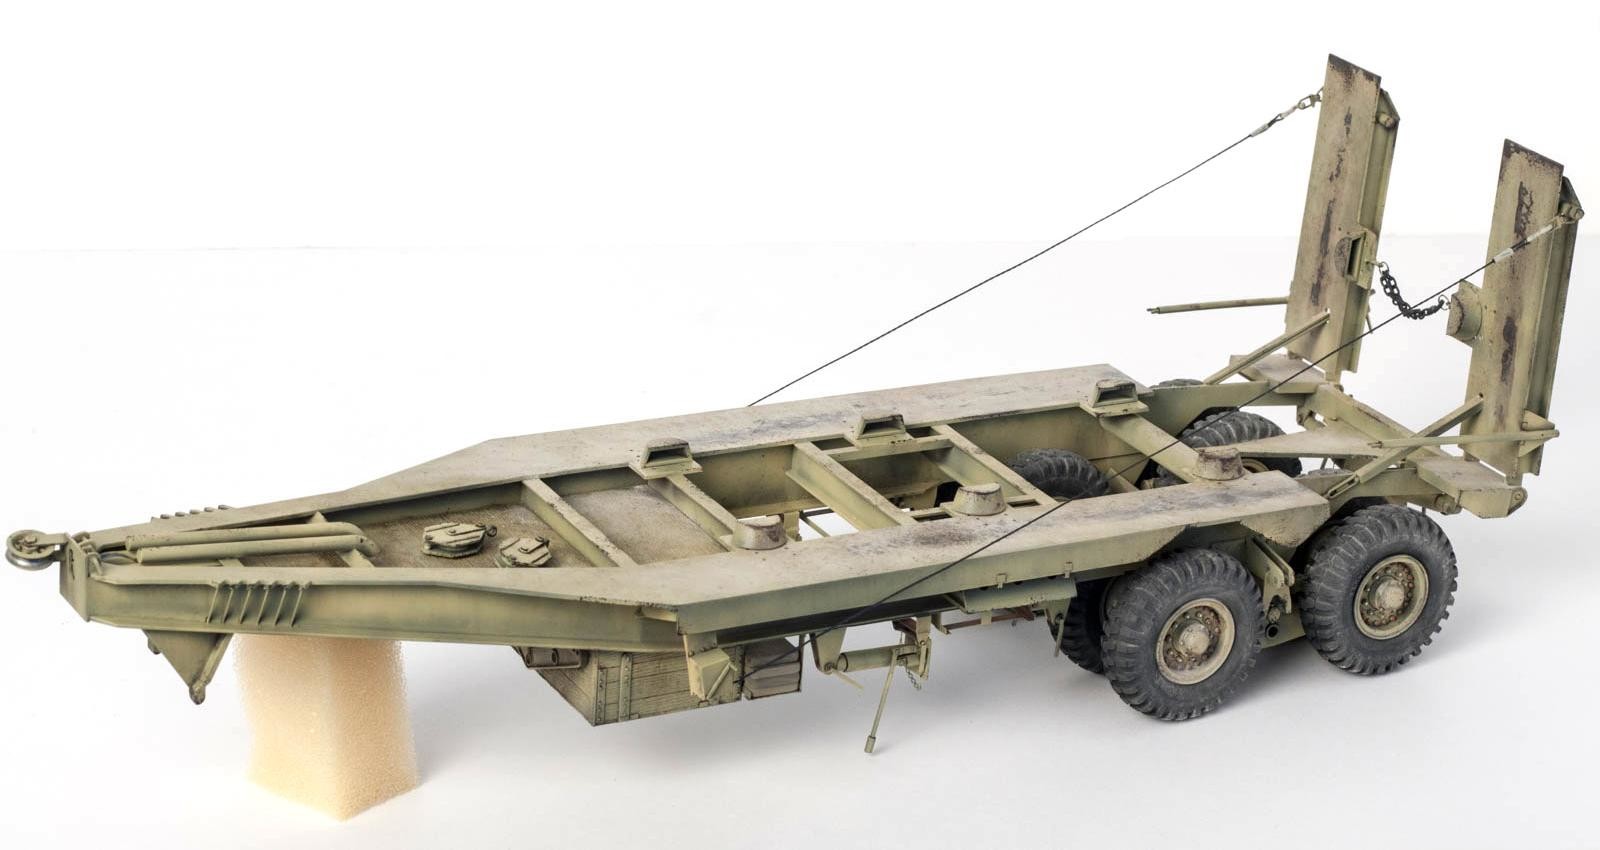
Painting and Weathering
Contrary to my usual routine, I decided to build the trailer as a whole before painting it. This resulted in some rather acrobatic body positions while trying to reach all the hidden corners with the airbrush. In hindsight, I would leave off the axle assembly and the PE baskets until after painting.
The whole trailer was given a primer coat of a very dark brown (a mix of Tamiya Flat Black and Flat Brown), in preparation for the hairspray chipping I wanted to do later on.

After said hairspray, the trailer received a coat of AK Real Colors “Light Stone”, which was then removed in select spots by brushing on tap water and chipping the paint away with various brushes and a toothpick. The effect was intensified by some heavy sponge chipping, oils, and finally dusting with Mig Pigments “Light Dust”.

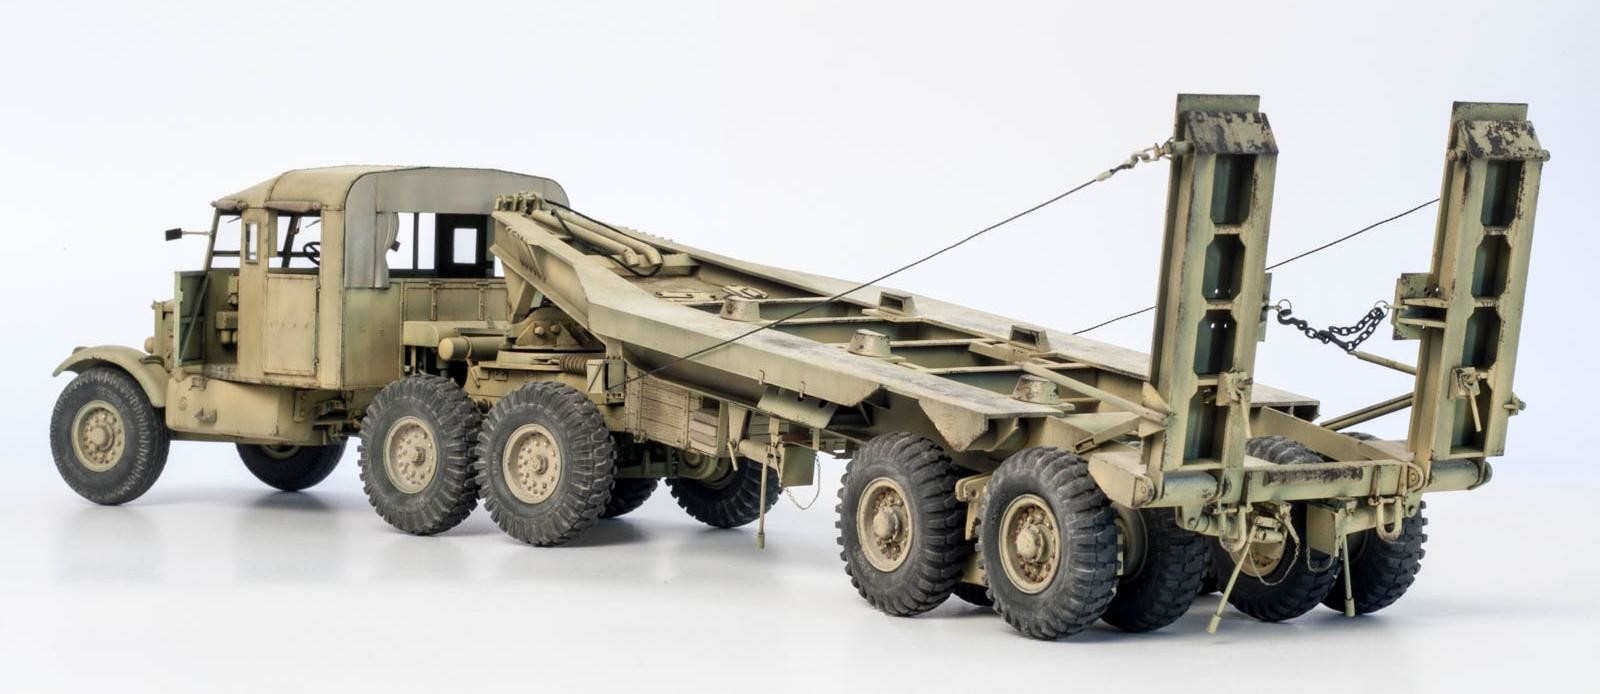
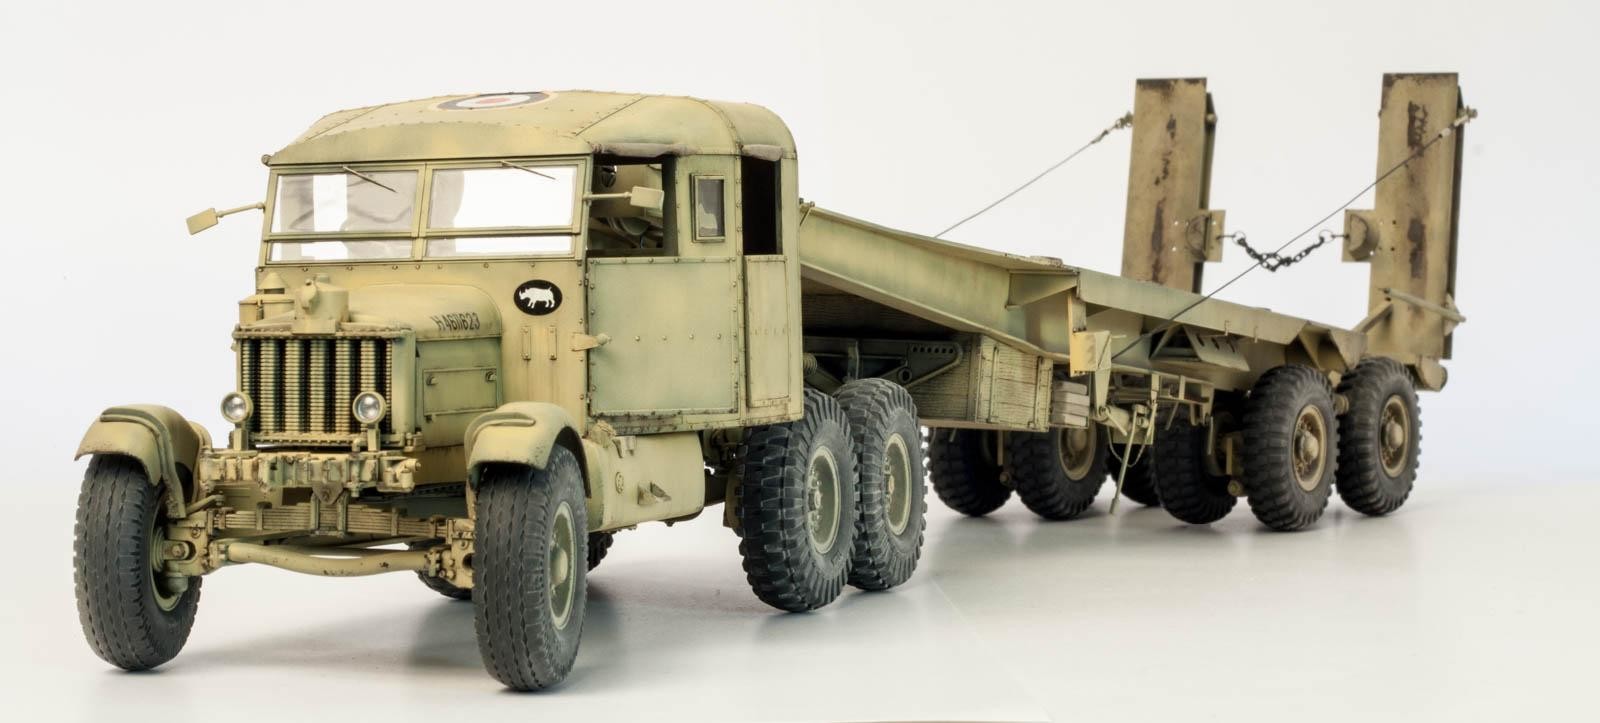
It's Done.
The final step of the build is attaching the trailer to the tractor unit and laying the cable from the tractor's winch to the trailer's pulleys. As it will be difficult to move the model once this is completed, I will wait with this step until the vignette base is finished and the whole transporter can be attached to it.
So, what is the verdict? I have to admit I was a fan of the way Thunder Model do things from the second they released their first kit. Ok, their first kit was a tiny tractor with a very moderate parts count, but even then the choice of subject and the amount of detail were very promising.
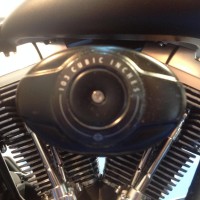
The Scammell Tank Transporter follows the path set out by Thunder Model's initial release, with an interesting subject choice, a wealth of detail, and a highly rewarding build experience. The flaws I found with this kit are really minor, such as the lack of detail on the air filter, and the tires not being weighted – with 14 wheels it will be tricky to sand them all down to the same level 🙂 The biggest issue with the initial boxing was the wrong radiator, but this issue has already been addressed by Thunder Model.
One point that cannot go unmentioned is the price of this kit. With a retail price of around 50 Euro here in Europe, it is around half the price of comparable vehicles from other manufacturers – without taking any shortcuts in regards to quality.

So obviously British, pig ugly but practical! A beatifully made, painted and weathered model, it is screaming for a tank and maybe even a diorama. Congratulations!
Thanks Derek! During the build I kept thinking "Gosh, this thing is ugly..." - but then it grew on me and now I cannot wait to build the next weird British design 😀
I was so inspired by your review and build I now have my own in the stash with a TANK! What is the world comming too!
That's the biggest compliment I could have hoped for - thanks Derek! Enjoy the build and the change of pace. btw, what tank did you get?
Outstanding presentation and build, Boris...very nice work indeed. I like it a lot.
Thanks Craig!
You've done Thunder Models, and yourself PROUD! Beautiful build, Boris and a VERY interesting build review. ReviewS!
I agree that this vehicle looks very British - strong and purposeful. Outstanding, Sir!
Thanks Jeff - and you are right, this vehicle is as British as Marmite. You either love it or hate it!
From the dozens of things I love about this project, the one that I love most is the contrast of this pig ugly thing (couldn't say it better than @derekaustin) and the clinically clean environment of the photo set-up.
I guess we'll have to kick you out of the jury this month.
😀 Thanks Johannes. I'll have to come up with a solution for a bigger photo booth, this kit already stretched its limits.
Great looking Scammell. I dont see ugly I see character. Unlike the ugly euro trucks that all look alike today.
Thanks Anthony!
Purposeful is the word I'd choose to describe its looks. Whatever, you've done a super job with this kit, Boris, and I've really enjoyed your write-ups.
Amazing is the first word that comes to mind... Astonishing is another... Then we have outstanding next... Two thumbs up my friend. It really looks fantastic Sir.
Very nice build!
WOW...I like your weathering, very nice job indeed.
TM have wider range now, I think, and this is certainly one of the better offerings. Not to everyone’s taste perhaps because of the size but it’s a great looking model nonetheless, and as others have said, it’s just the ticket for a combat load and a fitting vignette.
Very nice, Boris.
Hi Boris,
Very impressed with the finish of this Scammel and trailer.
The chairman of my hobbyclub (Modelbouw Eeklo Belgium) has bought the model, and is using your WIP as a guideline into constructing the model.
Again, you did a marvelous job. Regards, Dirk / The Netherlands.
Thanks Dirk! I hope he finds the articles useful - if there are any questions please let me know.
Fantastic work Boris. I found it very usefull to read your 3 part WIP. This Thundermodel Scammell will be one of my builds for sure.
Absolutely stunning! In the right backdrop, it will be hard to tell that's a model!
Great series of articles and a very fine build. I got this kit for Christmas and will certainly be using your articles for reference and help.
Have just started the trailer while I wait to see if I can get a replacement radiator from TM (3rd party ones are all extortionate postage). This build (and parts 1 & 2) will be my go to
Fantastique travail merci beaucoup pour les explications claires et nettes
Bien à vous
Tontondjo
Just found this article while looking to start my version! Thanks for the hints and tips! Great article and awesome build!
Cheers,
Alastair