Every airport diorama needs a rotating beacon.
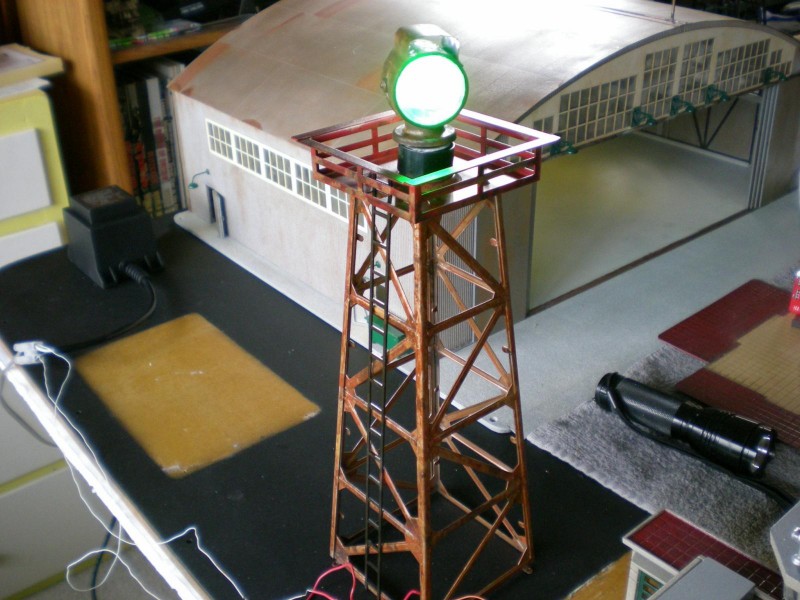
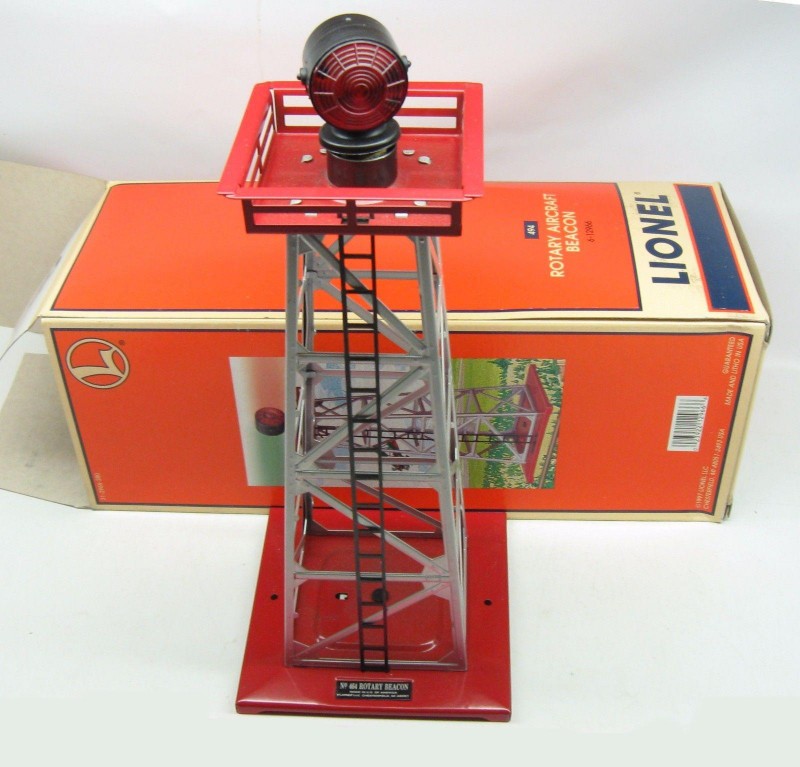
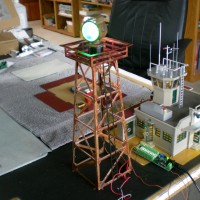
To fill that function, I purchased a Lionel rotating beacon, model 494.
However there are many problems with accuracy, as this unit is intended for "O" scale electric train layouts not noted for detailed accuracy.
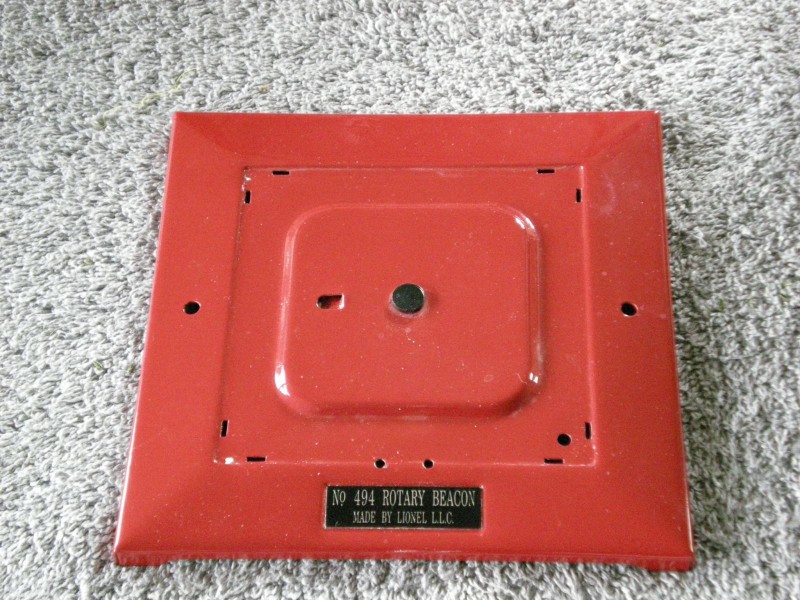
The first problem is the massive, bright red, metal base.
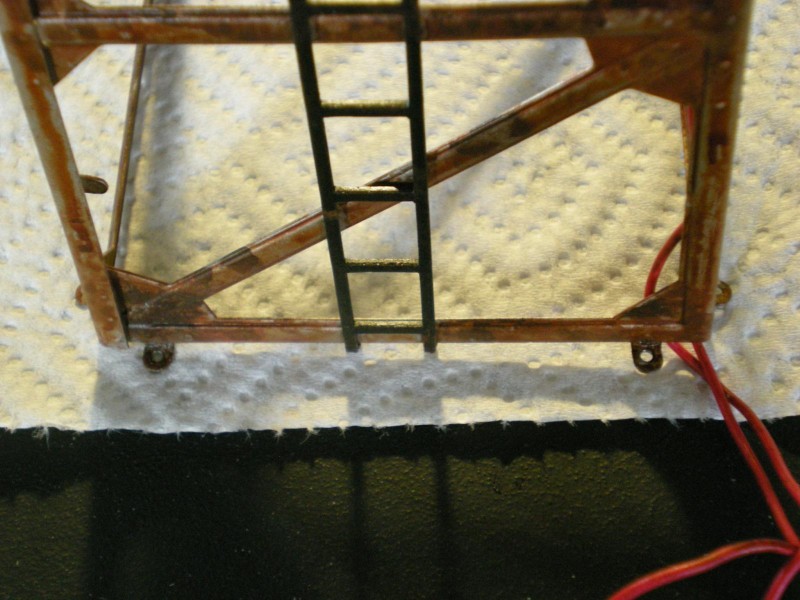
I removed the base and bent the attachment tabs outward before drilling tiny holes in the tabs to accept equally tiny wood screws purchased eBay.
In fact everything was purchased on eBay. This project would not have been possible using local sources.
The next problem is the beacon housing.
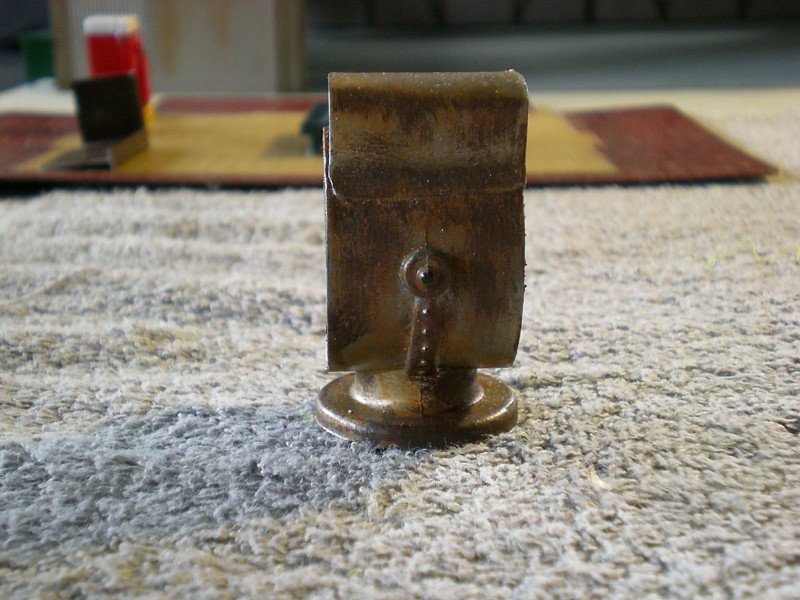
As the lamp and coil combine to create a serious amount of heat, to prevent melt down I drilled ventilating holes in the top of the housing and added an aluminum heat cap.
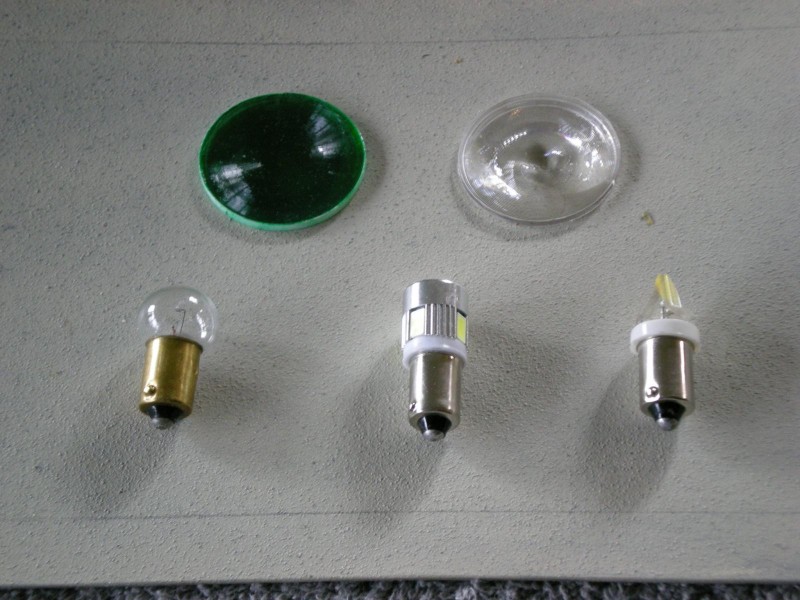
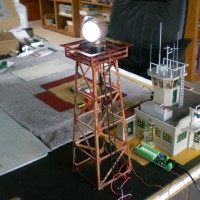
The next issue was the anemic incandescent bulb that comes with the beacon. The lamp consumes most of its energy generating heat instead of lumens. Once an ensuing search, produced a couple of exceptionally bright 12v LEDs
that turned the unit into a real beacon that actually shines a real beacon's familiar pattern on the walls as it rotates. The middle bulb was actually too bright, but as these lamps were so reasonably priced, I bought a set of each.
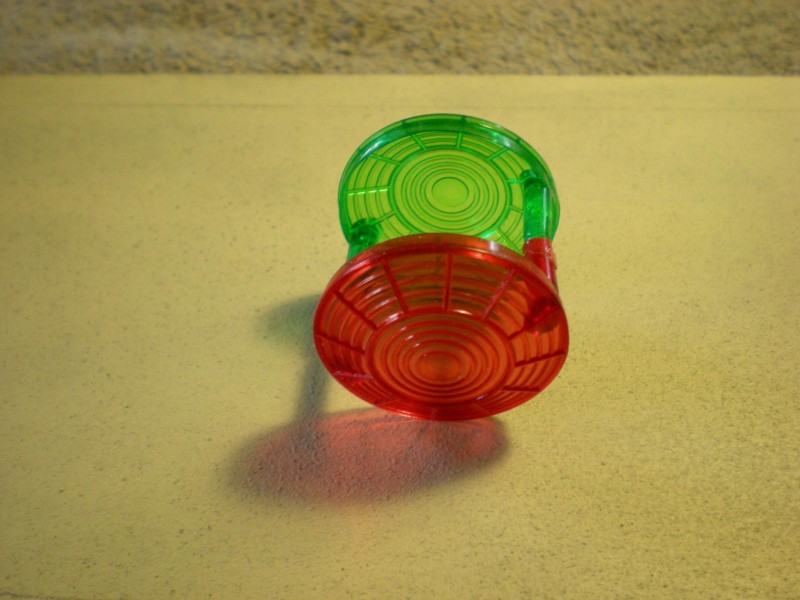
The lenses presented another problem. For reasons that now escape me, I ruined the lenses when I spray painted a clear coat over them, so I purchased another set
. These arrived glued together, therefore I had to break them apart and carefully drill them out to accept metal wire. As I sat back admiring my save, it suddenly dawned on me I had purchased yet another disaster - airport beacons are not red and green!
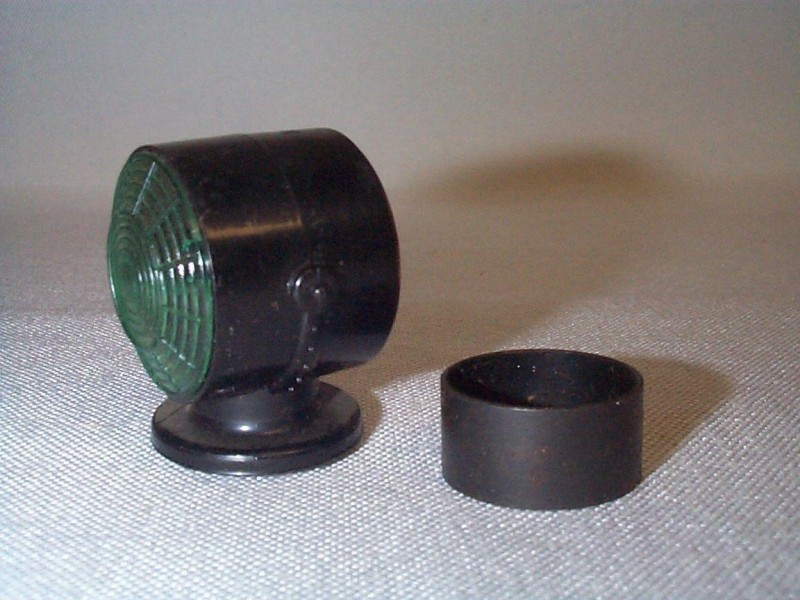
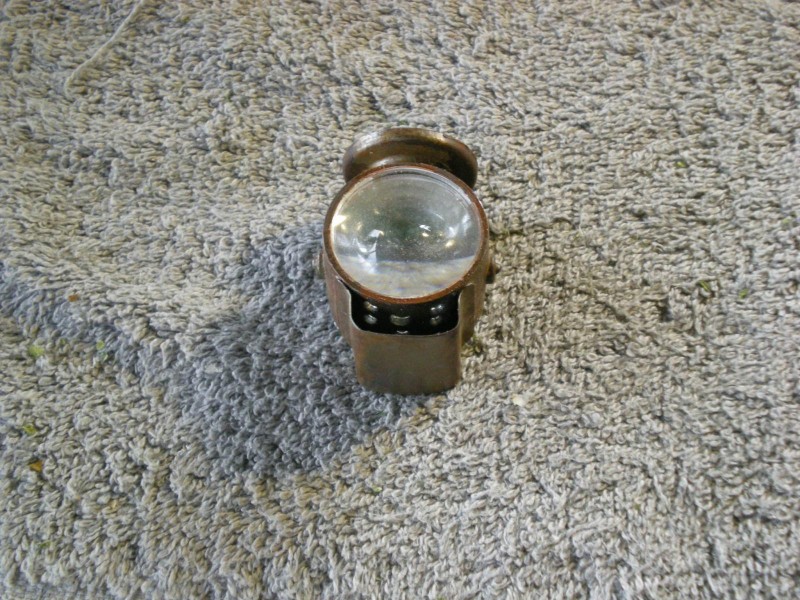
Once again I went on an eBay search to find Fresnel lenses that would fit into the beacon housing
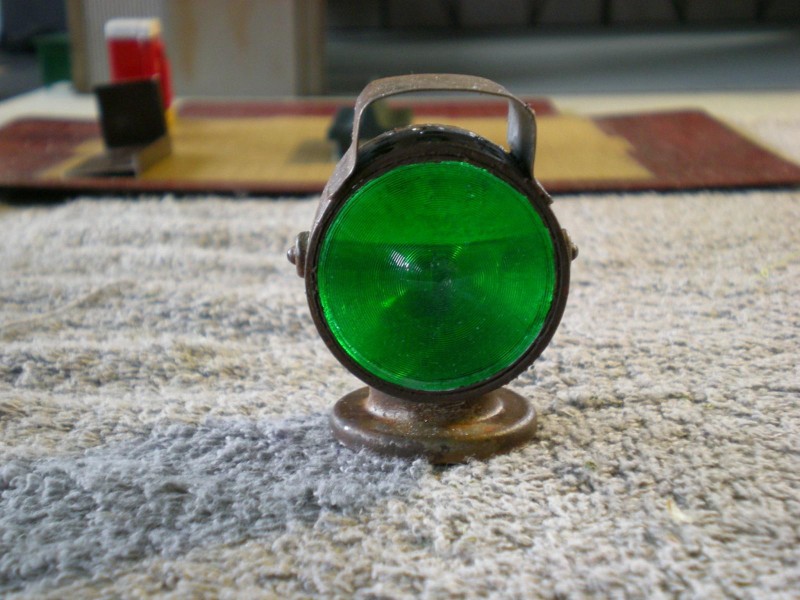
. Incredibly, I found a set of two 30mm lens that fit the housing perfectly. I applied a ring of very thin ring of Evergreen plastic around the rim of the lenses to create a tight fit that would not require glue and used Tamiya clear green to paint the inside of one of the lenses.
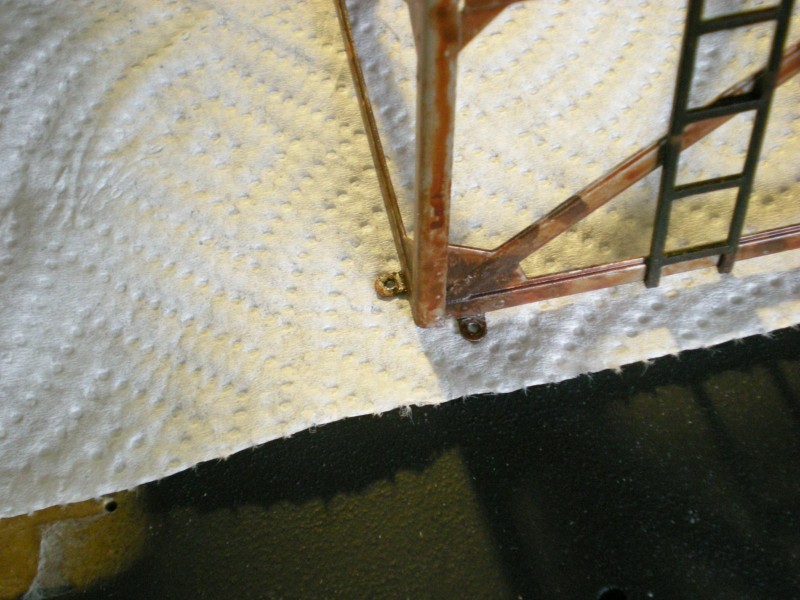
Of course the clean, bright, tower framework had to be rusted to represent the look of most everything ferrous in that part of the world.
The most difficult problem with the Lionel is the rotational speed. Airport beacons rotate at 6RPM. The Lionel beacon has three modes of operation - no rotation, Intermittent rotation, and Warner bros. Tasmanian Devil. After many trials - and errors, I eventually got the beacon working in a reasonably correct manner. While it is still too fast on startup, after about 30 seconds it slows to an acceptable speed and without the annoying vibrating hum.
I cut a ring of medium thick evergreen plastic to insert between the rubber washer and the coil, applying graphite on the ring to make a smooth rotation.
I also applied a drop of a very thin lubricant grease on the top of the metal washer. This makes the housing stick to the washer putting the beacon in Tasmanian Devil mode, so it must be carefully wiped off so only a small amount remains. It's not perfect, but with a little adjusting it works reasonably well.
Working the Lionel beacon into a usable airport beacon for the diorama about doubled the original cost paid for the unit. However, knowing what I now know would have saved a considerable amount of time, money and effort on experimental trials. But then isn't that always the way with what begins as a great idea?
3 additional images. Click to enlarge.



Brilliantly done, sir - and no pun intended. 🙂
But it's a GOOD pun!
So creative!
Now, that is a cool thing to have at an airfield. Is it possible to upload films on iModel so we can see it in full operating mode?
Good stuff. Thanks for posting.
Outstanding! True "Scratchbuilding!" Overcome & adapt. It'll look great when all of your airport is complete.
Well done !
A movie of this would be great to see, very inventive modelling techniques shown. You started with something which is basically a toy and turned it into a convincing working model. Some of my best friends are "0 Gauge" (1/43 scale) railway modellers, not toy train enthusiasts t th and turn out quality work of museum standard that only looks good but works as well.
Nicely done! Very cool addition for a diorama, but it could make a very nice model by itself.
I like what you have done. I have a few questions.
After switching to LED were the vent holes still necessary?
What powers the beacon to rotate?Is the light AC or DC current and what is the power source?
If the rotation of the beacon is not motor powered, do you see any way to use a small motor to turn the beacon?
I thought a heat cap best, as some of the LED bulbs do heat up. I made drilled the lens housing and then made the vent cap out of thin aluminum. The rotation is produced by a vibrating mechanism that works off a coil in the bulb housing base that vibrates a metal plate attached to the lens housing. Older Lionel used heat rising from the bulb to run a small fan on top of the lens housing. These units were so unreliable, Lionel replaced them with the vibrating mechanism.
Getting the beacon to rotate properly was a challenge, it was either way to fast or no rotation at all. The entire mechanism was run off a breakout board (see photo on right below) that provides both DC current to various LEDs and AC current to run the beacon's AC coil and bulb.
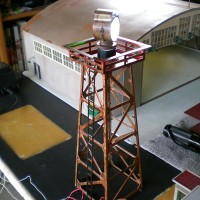
I would say that while a small motor could no doubt be installed, setting up a motor would be problematical at best due to the gearing required to achieve a realistic rotational speed. I sold this unit eBay (for a dollar no less from the sole bidder on my 99 cent auction) and replaced it with an MTH unit that works much better than the Lionel. (See photo. This was before I finished weathering the MTH unit. Note the seagull on top of the beacon.
The MTH unit rotates reliably with a speed very close to the 6 RPM of the real thing. I use an LED bulb in it as well. The bright LED provides a far more realistic illumination than the supplied incandescent bulb. One can actually see the beam reflecting off the surroundings as it rotates. I did not bother installing a heat cap on the MTH unit.
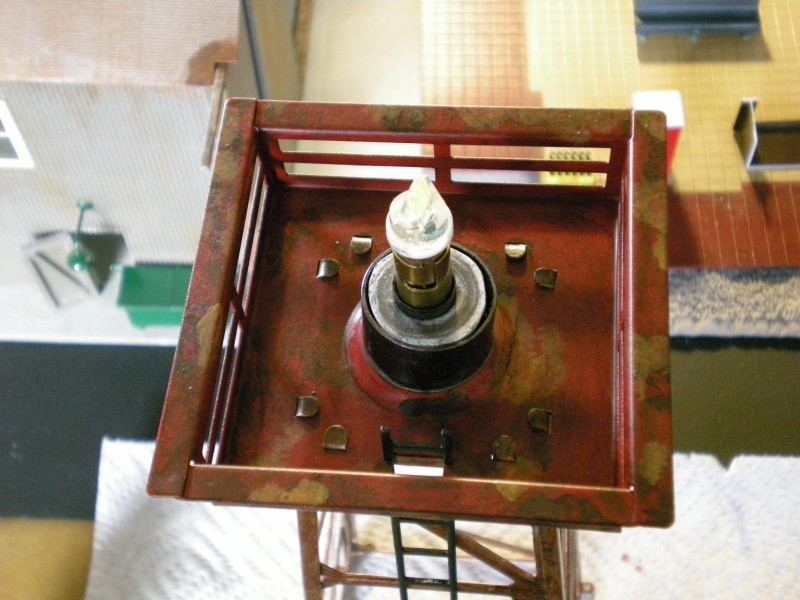
Be careful when buying bulbs. I bought two examples each of two different types of bulbs. The middle bulb in the photograph was the one I liked most, but both of these bulbs fell apart after a short time. The one pictured on the right has a silicone covering that is bullet proof. While I kept the bulbs that later fell apart, I put the good silicone bulb in when I sold the unit. I figure I lost around $70 to $80 dollars total on the sale, but at least I got $17 to cover shipping charges.
4 attached images. Click to enlarge.
The MTH looks like it is made of plastic vs metal, is that right? I have had a hard time finding model beacons. Where did you find the MTH? Thank you for the further information and pictures also. How is the MTH powered for the rotation of the beacon?
Believe me, I spent months perusing the web for a suitable beacon and the O scale train beacon is the closest thing I could find to an operating beacon. The base, lattice work and ladder are metal while the top is plastic. It is powered by 12-14v AC.
This is the one I purchased - https://www.ebay.com/itm/RMT-ARISTO-ROTATING-LIGHTED-BEACON-TOWER-o-gauge-train-illuminated-99532-76-NEW/391559826210?epid=1284573133&hash=item5b2ac8cb22:g:HTYAAOSw-kdX2CE2.
This is the same beacon produced by RMT ARISTO. Like all hobbies suppliers, model train equipment is continually changing hands and consolidating. While this is not at all a bad deal for this beacon, you might shop around to find a better deal.
The "Ready Kilowatt" plaques are tabbed metal plates, so I just removed them, but I liked the yellow and brown paint scheme so I weathered it down. (See photos below) I also like the smaller octagonal top and slightly taller aspect compared to the old Lionel square top version due to the fact the tower base could not be effectively removed as it was on the Lionel unit. MTH Rail King also produced the old style beacon for a time before switching designs.
Here is the real trick, the 30mm Fresnel lenses that are a perfect fit for the beacon light housing. https://www.ebay.com/itm/172629088132. These were originally $6 but have gone up almost 30%, no doubt thanks to Trump's trade sanctions with China.
Here are the bulbs - https://www.ebay.com/itm/172133405857
And the breakout board - https://www.ebay.com/itm/401222190571. Four of these boards power over seventy LED lights around the airport diorama. These now have a number of additional components added for the same price. All I got for this price was the board.
Next is that distinctive airport water tower seen on most ex-military airfields.
4 attached images. Click to enlarge.
Thank you for all of the information. You have been very helpful.