Review: Fw 190A-4 Eduard 1:48 rollout and build review
This article is part of a series:
Hello and welcome to my rollout and short build review of this fairly new kit from Eduard.
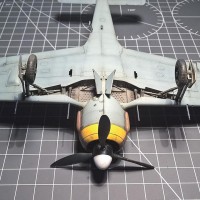
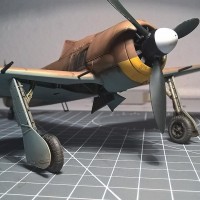
First of all, no aftermarket parts are used, so this is an “out of the box” model. The only exception is the thin wire (yellow) on the undercarriage and the thin needle on the right leg (this is the cable that moves the tailwheel in the fuselage on the real thing).
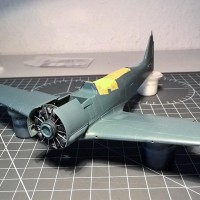
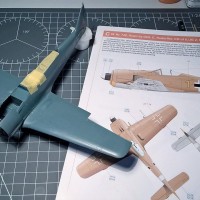
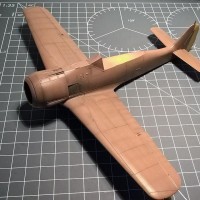
As you can read in my kit review, this model is a new tool kit and therefore there is no engine parts included, just a simple half relief plate. I liked this simplified version, because I did not want to show what is under the cowling. The construction itself was not difficult, but you must work very precisely. Clean up every part very carefully and test fit everything before gluing together. I recommend using Tamiya's extra thin cement. I have no major spots of putty used on this kit. Only a very little between the fuselage and the wings. There are many parts that are not to be used, depending on the version you are like to build. My advice is to read the instructions very carefully und mark the parts for your preferred version with a highlighter.
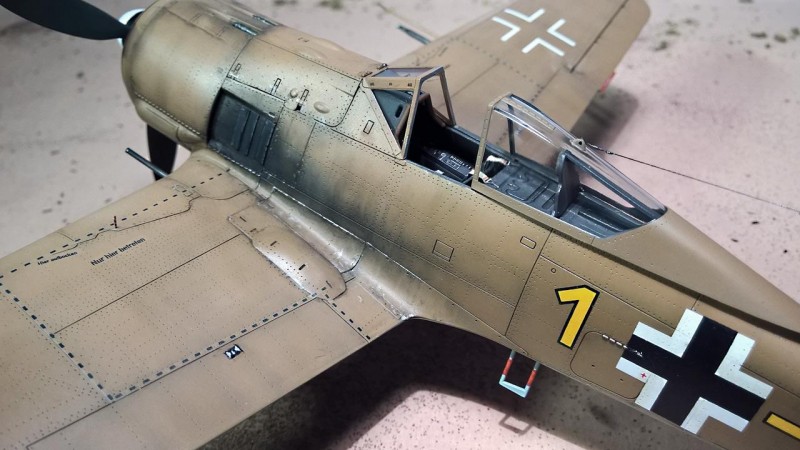
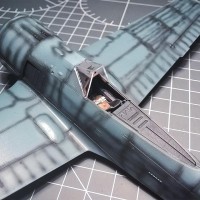
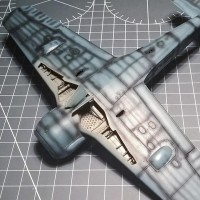
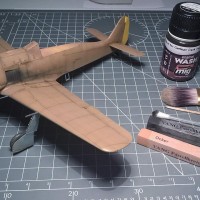
After cleaning the model finished with alcohol, I masked the cockpit and wheel wells, then preshading the hole plane with a dark grey color. The included masks fit exactly!
I used Mr Hobby colors in a mixing ratio ca. 60 : 40 color and alcohol. Alcohol dries very fast, but I like it to put multiple very fine layers of color on my model.
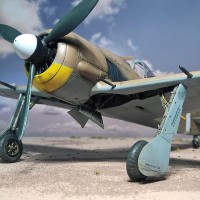
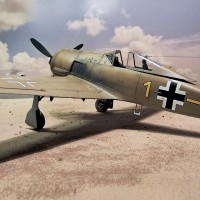
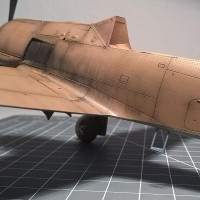
The part that I enjoy the most is the weathering. As you can see on the pictures I used very simple materials like pastels, ink box colors for kids and of course some pigments from “mig”.
Many people asked me ho to reach such an almost real looking weathering effect for the exhaust. The trick is to imitate the weathering in several layers und with different tools. One of my favorite “tools” are micro mesh and toothpicks. Spray a fine layer with flat black to simulate the exhaust and give that area also pastels in gray, black and some white spots. Carefully remove the weathering punctually with micromesh and toothpicks, to simulate irregular and natural wear, repeat the procedure until you are satisfied with the result. Some extra streaks with black ink can be applied if necessary
Decals: I don't like the Eduard decals that much, because the are not sharp enough and to thick. The lettering of the stencils are to bold and I softened them by over spraying them with a very fine cover of color.
Verdict: This is a very fine kit with nice extra features, I like the photo etched parts for the cockpit, the fine engravings and the possibility to build different versions of the plane.
I don't like the decals and would use aftermarket replacements next time.
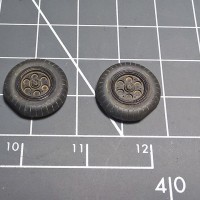
Flattened wheels would also be a nice feature for future kits, cause using the "unaltered" parts, the model is looking like standing on tiptoes.
Thanks for watching and happy modelling!
Yours Fletcher
See the kit review on this page:
http://imodeler.com/2017/12/eduard-fw-190-a4-1-48th-scale-profipack-review/
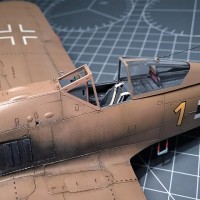
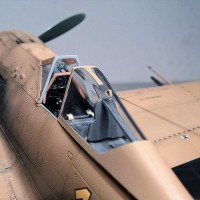
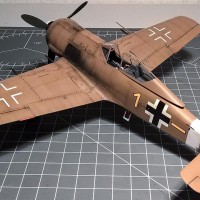
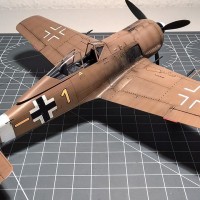
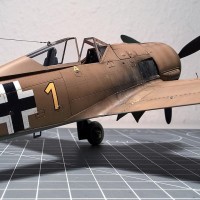
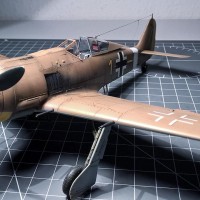
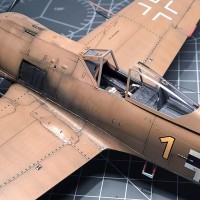
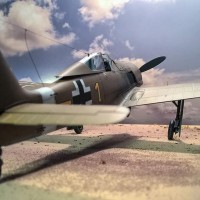
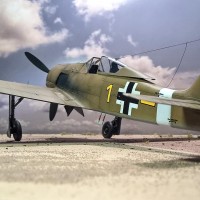
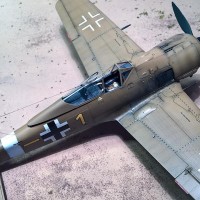
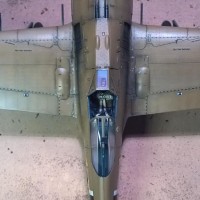
Love the 190. Really nice paint job with good detail. Really well done all around! Nice write up also.
Andreas, I like your review and the photos. Being transparent about the process and showing some build photos helps emphasize just that ...the process of making the kit. Weather it is easy or not and then showing you painting techniques is of help in supporting your comments about the Eduard 190.
Keep up the good work.
Really nice work on this, Andreas...the whole article is top-notch!
Echoing what Andreas has said about the kit. Careful assembly is crucial, and if you do so you will not use putty anywhere.
With the Fw-190A-4 kit, you can only do an A-4. However, with the Fw-190A-5 kit now out, you have the parts in the box to do the A-5, A-6, A-7, A-8, F-3, F-8. The only "problem" with this later kit is that the lower wing part has the round panel at the rear of the center section for the MW-50 carried in the A-8/F-8. To do the A-5 and A-6 properly, this should be filled in; the opening in the A-7 is slightly smaller in diameter. This is also something 99% of people won't worry about.
One other thing: the greatest downfall of most modelers with the Fw-190 is incorrect alignment of the main gear. With this kit, assembly is such that you cannot do anything else (unless you are determined to be wrong) to not get the alignment right.
I've done the A-4 (from overtrees - a great bargain) and the A-5, and will be looking forward to more. This kit is without a doubt the "definitive" Fw-190 series kit available. It is the easiest build of any of the new Eduard kits.
There will be a full review at Modeling Madness this coming week, which I will republish here next weekend.
Oh, and - Great Work, Andreas!
Nice job, Andreas! The 190 is a favorite of mine and I’m looking forward to building a couple of these Eduard kits. Great weathering job and Your photography is top notch.
Andreas, as you know I’ve followed your build in the Kasserine campaign with keen interest and find your A-4 a gem. Nice painting and great weathering, a very eye pleasing model.
Appreciate your explanation regarding the exhaust stains, it seems you used similar techniques to the one I’ve used to achieve that streaking effect, just your hands do it far better than mine, cause your results are so realistic. Thanks for sharing it. Oh, I see no hakenkreuz used, assume personal option
Beautiful addition to the Kasserine Pass Group Build. Many thanks for your contribution, Andreas!
Outstanding, Andreas! This is one of the finest models I've ever seen. Great build, review, and photos as well.
Thank you guys, always a pleasure for me!
The swastika is a forbidden sign in Germany and I respect that in every sense. This is why it is missing on the model.
Beautiful model!
Beautiful build and review and I understand about the swastika.
Great job on the weathering