1/72 Tracker with Major Modifications and add-ons.
I grew up near a large Naval Air Station, Quonset Point NAS in Kingstown, RI. Prior to its shut-down in late 1975 I would get to enjoy the many Naval aircraft, which where stationed their, fly over my house. Some of you may have read my article on the Quonset Diorama I posted here last month. It was the home to many types of aircraft over the years but one aircraft type called Quonset it's home for many years, and the sky was abundant with them. It was the venerable Grumman SF2 Tracker and it's many variants. This was because Quonset was the home to many sub-chaser squadrons, as well as, home port to the now extinct anti-sub carriers with a primary role of submarine hunter. It was also a major re-work facility for several types of aircraft including the Tracker. As a young model builder I always wanted to make a nice model of this aircraft type, and it was one of my favorites. Despite this motivation it was not until a few years ago that I had a real go at it. I completed this particular model several years ago when the only mold available was the vintage 1/72 Hasegawa mold also re-boxed and released by Hobbycraft. There were no main-stream 1/72 and/or 1/48 kits available at all.
This Hasegawa/Hobbycraft mold was fairly obsolete but I had no other choice and/or options available. Because this kit has been around for many years I did have a multitude of aftermarket accessories available to enhance this old kit. The kit had decent fit and engineering but was very basic and typical of that era as it relates to 1/72 aircraft. It had limited cockpit detail, only engine faces, raised panel-lines, no wheel well interiors, and just overall basic, dull details. So I had a lot of work ahead of me to bring this kit into par with more modern molds. I actually used 3-kits by the time I was finished with this product. This is because I needed to cut it up pretty good to add-details, open hatches/doors, and lower flaps. I started with 2-kits but ended up using 3 due to multiple errors with my cutting and scribing skills.
Items I added included an entirely new resin cockpit and cabin. Scratch built cockpit/cabin instruments and details. Fully molded resin engines. PE wheel well interiors with scratch built plumbing and details. Lowered flaps and raised spoilers. Upgraded landing gear. Open cabin door with open escape hatches over the cockpit and cabin. The decals included with the models were old and not very good so I ordered new decals. I also needed to re-scribe all the panel lines, something that I had never done before.
Along the way I was met with challenges that really tried my patience. I had spent so long with this particular model that I actually not only needed to take a break with this model, but I took a long year or longer break from model making. About 1/2 the way through the build she was put away to storage along with my entire work-bench. I switched hobbies for a few years and started up in the RC airplane flying hobby for a total change. I dont think I started up on this kit again for about 3 to 4 years since the break, starting with some simple builds prior to pulling this out of the basement. Eventually I felt the need to finish her up. It was during this time that I believe Kinetic released a beautiful, modern 1/48 version of the Tracker. That was frustrating to me but I needed to finish. It was like an itch needing to be scratched; I just could not ignore it. So to make a longer story not as long I pulled it out, collected all the pieces, and boxes, and put her together. I am glad I finished it, but it was far from one of my better projects. I pushed my skills and patience a little to far to guarantee a perfect outcome but overall I was happy I finally had my Tracker.
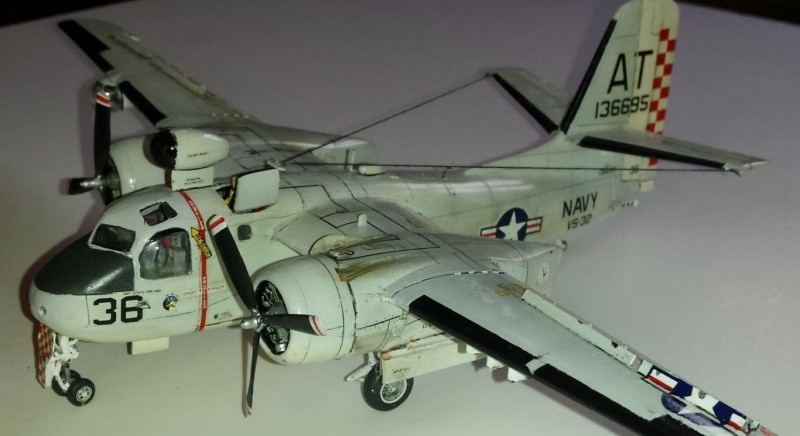
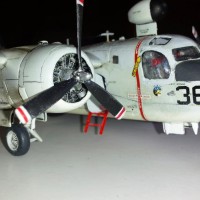
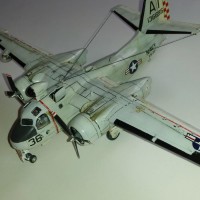
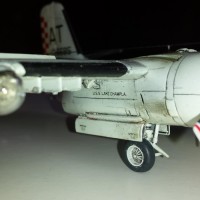
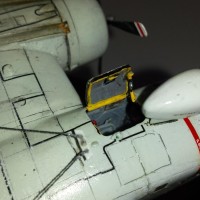
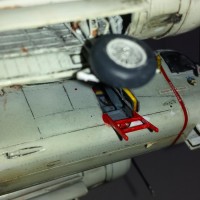
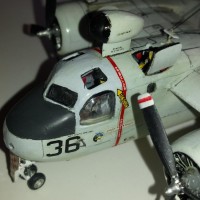
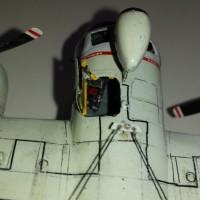
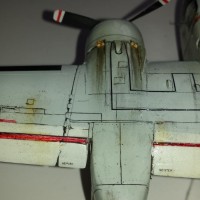
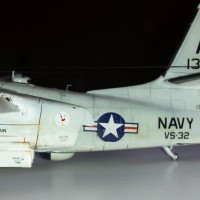
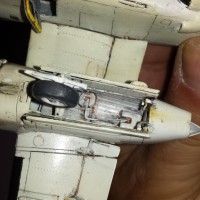
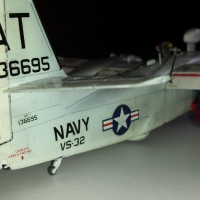
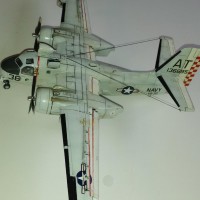
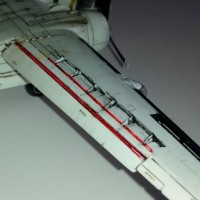
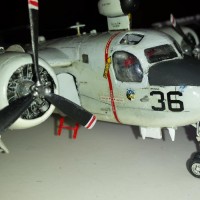
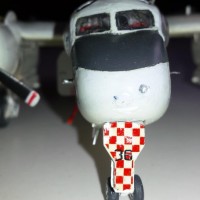
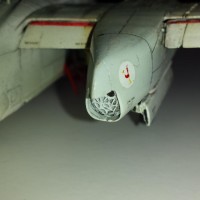
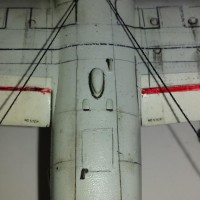
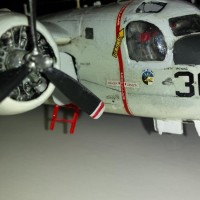
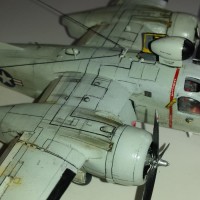

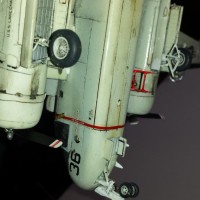
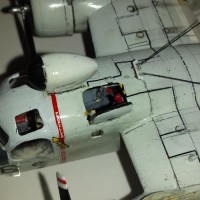
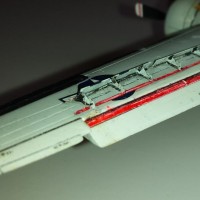
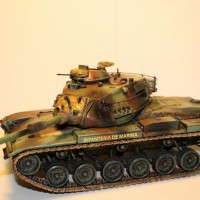
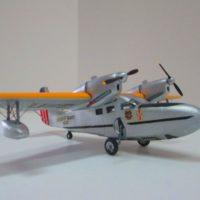
One nice Stuf!
Looks like it worth the effort (and the wait) - nice little build, Paul. All the work you've done really looks nice.
Well done on winning that particular battle, Paul! - I checked out your iModeler blog again and the hobby and forum is definitely better for having you in/on them! I was talking to a friend last night who has a bit of a 'block' going on. I guess we will all go through that at some point or another! I really enjoyed the fact that you built something with strong memories for you (and something I'd never seen before) and I think that your excellent narrative really complements a great build!
The work really shows off! I've got the same kit in the stash, and after reading your post, I'm think OOB sounds really good!
Paul, that is a really first rate Stoof! You really elevated the molds they give you. An outfit called Comet actually had 1/50th-ish Stoof back when. Aurora (!) rereleased it in their box. No landing gear or any interior, but the radome and MAD boom went up and down. And there was a stand. The markings were incised into the plastic. Kinetics recent one is a lot better!
Really well done, Paul. I'm finishing a project that I started in the late 1970s, so i know what you mean.
Well done.
Hello Paul,
The Hasegawa model is very basic. You turned this model around to what it should be.
Regards, Dirk / The Netherlands.