Wing Nut Wings (WNW): 1/32 Bristol F.2B Fighter
Despite being in awe of the WW1 fighters I had stayed away from building them for many years due to the lack of decent kits in my preferred scale of 1/32, as well as, the inherent challenges of the breed. Then I heard of this fantastic, at the time new, model company that specialized only in WW1 aircraft. Not only did they specialize in this fantastic era in the history of flight, but they knocked it out of the park. That is they fabricated masterpiece molds with fantastic full color references and instructions. They engineered from the mind of the model maker considering even the finest aspects and details. They could only be purchased direct from the manufacture in New Zealand and they were considered by some to be pricey. At the time all their models were priced the same at $75.00 USD. This was all true and the company was Wingnut Wings (WNW) of NZ. So I had to give it a try and I purchased my 1st WNW bi-plane; the Bristol F.2B 2-seat fighter.
Since then I have built a few more WNW fighters but this was my 1st. It was still a complicated kit with its challenges but everything I heard about the company stated above was true and then some. It was challenging b/c of it's overall complexity but this challenge was minimized by the fantastic overall quality of the moldings, 1st class engineering, and abundance of quality references, tips, and instructions. I no longer feel they are pricey when you compare the quality of the kit to all other modern day kits which are all in a certain price range. Actually when you consider what the $75.00 gets you it is soon apparent that it is a great value. One aspect of this is the fact that these models are complete in a manner that will satisfy the most demanding detail freaks. You don't need to lay down another $20 to $30 in after-market parts and decals. You also dont need to spend hour after hour researching more references b/c the instruction manual and WNW on-line reference sections give you the info you need to be historically accurate with the build. There are a lot of parts to these kits inside and out but if you take your time, plan it out well, study the references and the manual, and have some basic modeling skills you will produce a high quality model. You may even develop more skills then you started with b/c there are great build tips provided on the web-site helping to produce advanced results. I have actually used some of the skills 1st applied on this kit to many other kits across all subject matter.
Well to summarize I would like to share a little information and history regarding this particular aircraft. The Bristol F.2 Fighter was a British two-seat biplane fighter and reconnaissance aircraft of the First World War developed by Frank Barnwell at the Bristol Aeroplane Company. It is often simply called the Bristol Fighter, other popular names include the "Brisfit" or "Biff".
Maximum speed: 123 mph (197.95 km/h)
Maiden flight: Sep 09, 1916
Length: 25' 10" (7.87 m)
Wingspan: 39' 3" (11.96 m)
Retired: 1930
Passengers: 2
Although the type was intended initially as a replacement for the pre-war Royal Aircraft Factory B.E.2c reconnaissance aircraft, the newly-available Rolls-Royce Falcon V-12 engine gave it the performance of a two seat fighter. Despite a disastrous start to its career, the definitive F.2B version proved to be an agile aircraft that was able to hold its own against opposing single-seat fighters; its robust design ensured that it remained in military service into the 1930s. Many surplus aircraft were registered for civilian use, and dedicated civilian versions proved popular.
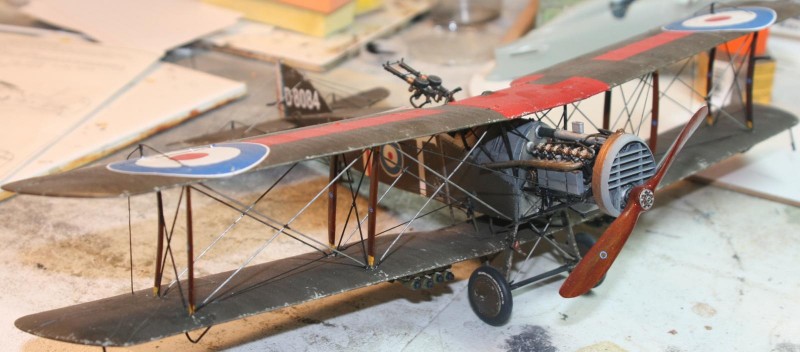
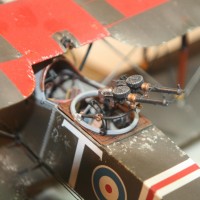
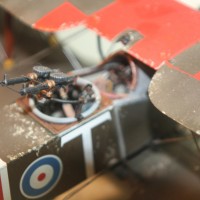
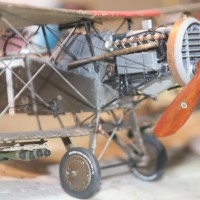
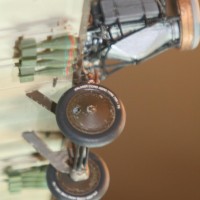
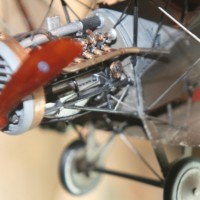
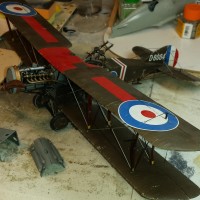
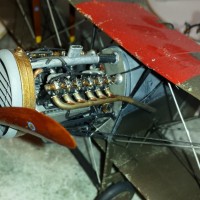
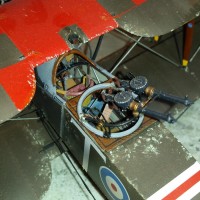
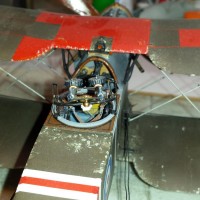
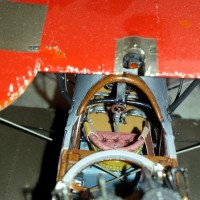
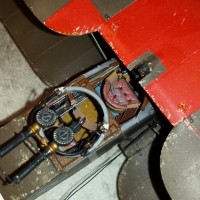
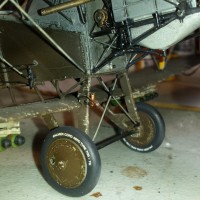
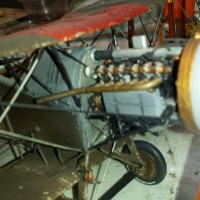
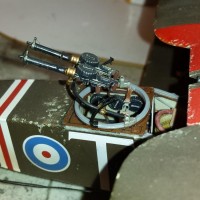
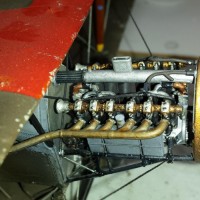
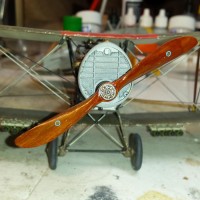
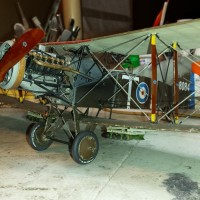
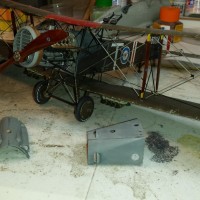
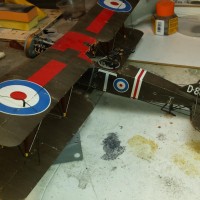
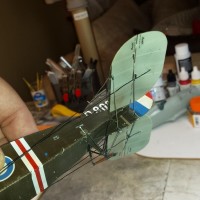
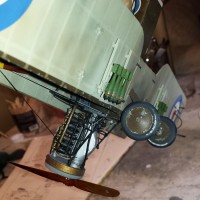
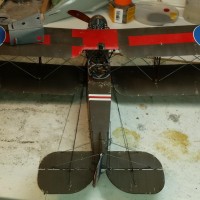
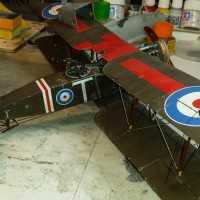
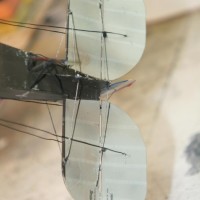
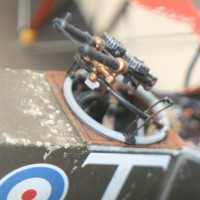
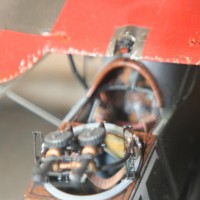
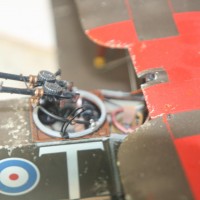
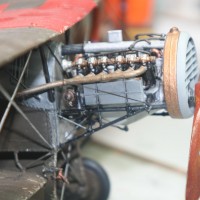
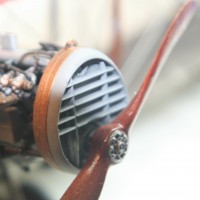
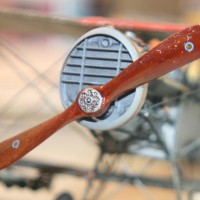
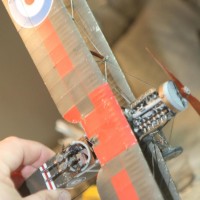
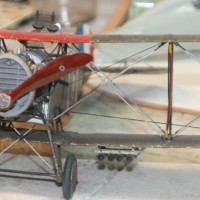
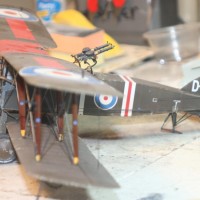
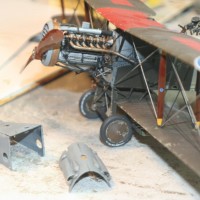


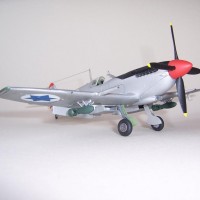
An excellent build!
One of those OMG builds or a Goldielocks build. Seeing the turnbuckles and the grime and scuffing shows a lot of thought went into making this kit. The judges for "Model of the Month" will be pulling out their hair and under duress with this article and photos Paul.
Spectacular work...those WNW are great kits and this build is certainly no exception.
Impressive work, Paul !
that looks pretty cool - nice work!
Great kit, great build Paul.
Those WNW are the dogs back wheels.
Paul, I've heard a lot about how nice these kits are, and you've backed that up with an excellent looking build. Well done !
Nice build of a WNW kit. Wingnut has set the standard for WWI kits. I have more WNW kits than I have lifespan to build them. But then probably many of the folks on this web site have the same kit problem. If you look at my webpage, you will see an unbuilt, framed example of my first kit, a 1956 Aurora Albatros. The WNW Albatros has more engine parts than the entire Aurora kit. How far the kits have come from those early days.
Paul, you knocked it out of the park on this one. I really appreciate your write up as I prefer 1/32 planes too. Thanks for the great info. Keep building.
Gorgeous build. Wow.
This was a large aircraft for its time, and the model certainly reflects the size.
You chose arguablely one of the most difficult types with the Brisfit, because of the “dropped” lower wing with its under-struts and the double bays. I built the Roden version a few years ago and can personally vouch for the modelling complexity.
I like the fabric-wear effects generally. You didn’t mention your rigging/turnbuckle material. To my eye, the rigging diameter is just at the permitted maximum, but it’s clean and confidently executed.
Many of the early WnW releases are now OOP, and we’ve seen modellers hoard kits anticipating selling them on later at very high prices (£200+). Your purchase price of $75 would now be considered a bargain.
Well done on a great looking build and an excellent Headlines presentation.
To be honest I do not know what I used on the rigging or the turnbuckles. I built this some time ago and my overall process of building, materials used, and techniques have changed a lot since then. One thing I hated to do with this kit being no exception was rigging of any kind. Since then my attitude has changed since my discovery of different materials and products now available. For example I now use EZ-Line as my main product for any rigging. This is fine as long as I stay with mostly 1/32, and some 1/48. Their most thin line is maybe slightly to large for 1/48 IMHO but I get away with it by stretching to make it thinner but this depends on the structure supporting it. I now really enjoy rigging. Sorry I could not fill in these details.
OK I went back and looked at the pictures closely. I used just generic craft thread in black of various diameters, maybe 2-different diameters. I left the control rigging black, and painted the support rigging silver. You can see that over-time the thread does not hold the tension very well as it is somewhat slack in areas. That is what I hate about using generic thread. I did not use any turnbuckles. It is all just paint, sometimes a dab of CA glue painted, but mostly just paint meant to mimic turnbuckles. Thanx for your questions and comments. Paul
Well done! nice job on the weathering/war weariness.
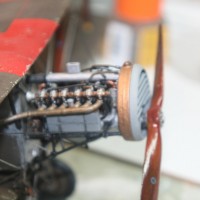
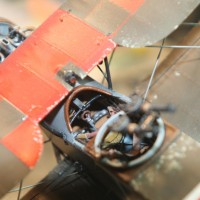
Very nice Paul, I've been seeing lots more WNW kits at model shows. The first thing you notice with them is the amount of nice cockpit and engine detail. Really sharp stuff and your's is no exception. Well done.
Well done, Paul, WELL Done! A beautiful model to be sure. Congrats!
A lovely write up, Paul and an exemplary build. I really enjoyed reading through and looking at the photos. Thanks.
Excellent work Paul! These WNW kits are fantastic and you really did a fantastic job building this Bristol. It's true what you wrote about these kits, they may cost more but the tooling and details are worth every penny.
Great build, and an equally great write-up, Paul! I've wanted to make a WNW kit since the first time I saw one, but I kinda doubt my own ability to do justice to one of these great kits.
Yours looks great!
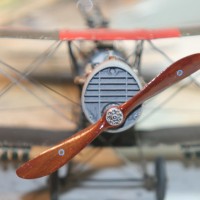
This really stand out, Paul - as has been said weathering is clearly one of many strengths in your builds. I'd like to add a comment on the prop - it looks pretty much as if you have carved it from wood! Fantastic!
A beautiful build. I love a build that shows the wear and tear of aircraft in action. Nice detail all the way around - well done!
Paul, beautiful work! Is the red fabric repairs or markings?
markings, thanx for compliment