Italeri 1/9 scale 1942 Harley-Davidson WLA
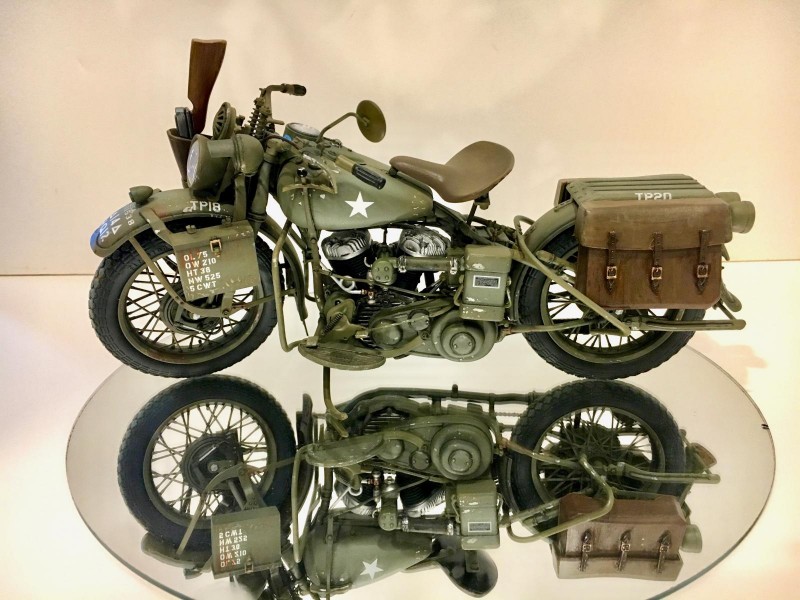
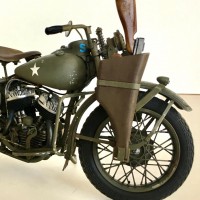
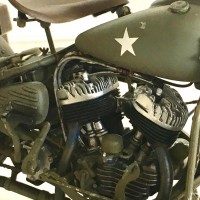
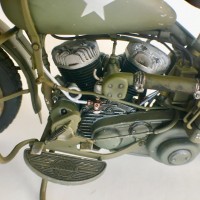
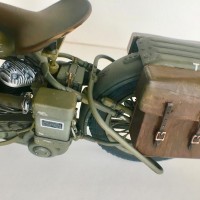
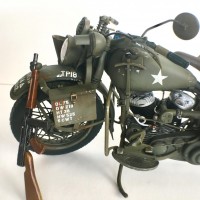
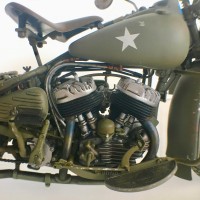
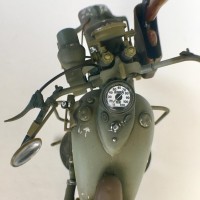
Here is my recent build of Italeri's 1/9 scale 1942 Harley-Davidson WLA motorcycle. My oldest son gave me the kit for Christmas two years ago but I waited a while before attempting the build. After doing my P-26 and Fw 190 D-9, I felt I needed a break from airplanes and used it as a chance to “clean my palette” if you will.
First off, I want to give a special thanks to Matt Minnichsoffer. I studied his beautiful build of this kit which is posted here on iModeler and it was a great help in both filling in the “voids” left by the instructions and as a painting guide. I also did quite a bit of research on the Internet and even found the original Army field manual in pdf format that I downloaded for free. This manual was really nice augmenting the instructions since most of the kit parts actually mimicked the real motorcycle parts. When done, you can almost say you are a motorcycle mechanic. OBTW, the blue "S" on the instrument binnacle means that this bike had a "noise reduction circuit" incorporated in the ignition system so that a field radio could be installed if needed. A little bit of useless trivia gleaned from the Army field manual.
This kit is a redo of the old ESCI kit and as such there was quite a bit of flash that needed cleaning up if you wanted to have the parts look nice. I just mention this as a heads up if you are looking for a “Shake and Bake” kit, which this really isn't. The parts, however, are delicately molded and look really nice if you have a bit of patience to clean them up properly. Quite a few of the parts are very fragile because of this delicate molding, so be careful not to break them. Other than that, the build was fairly straightforward. Just be sure to follow the somewhat sketchy instructions and dry fit the parts before committing to glue. One thing I did out of sequence though was clean and paint the wheel halves before gluing them together around the rubber tires. Unlike my airplanes, I painted the various components (frame, wheels, fenders, etc. separately and then assembled the bike. It seemed like the simplest way to do the job.
Since this was my first non-airplane/vehicle build since I was a kid (a long, LONG time ago) so I decided to be daring and try some new techniques like doing rust and oil stains along with paint chipping. I primarily used Vallejo Air acrylics overall with Tamiya acrylics for some of the detail work. Chipping was done with the help of Mig chipping fluid over a hodge-podge base of aluminum and rust colors followed by the OD main coat. Decals were from the kit except for the “8” for the Eight Ball gearshift knob. I thought that would be the kind of “attitude” touch an express rider would add to personalize his bike in a war zone. Further weathering and washes were done with a very dilute black oil wash. I then used Tamiya weathering colors for the road dust and dirt on the tires (thanks again, Matt). Once complete, the whole thing got a coat of Vallejo matte varnish.
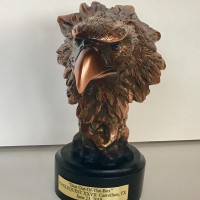
To close, I entered this bike in Squadron's Eagle Quest XXVII last weekend in Grapevine, Texas (just north of the DFW airport). I had never entered any contests or shows before but I decided I would give it a try since I live in the local area. I thought it would be fun to meet and talk with other modelers and pick their brains about tips and techniques. I decided to enter it in the “Out of the Box” category because: 1) it was out of the box, and 2) I didn't want to compete against all the armor experts since I have no experience in the genre. This build won a High Gold medal and a Small Eagle award for “Best Out of the Box” and competed with eight other builds/dioramas for the Big Eagle/Best in show (out of over 300 entries). I don't want to sound like I'm bragging, but I was stoked. I learned a lot and my wife and I had a great time.
Congrats on a beautifully done build, Tom...very nice work!
Thanks, it was fun and also a challenge.
Wow, just wow. Impressive render on this.
Artwork, period.
Tom. Fantastic looking build. Very nice finish on this. Knocked it out the park. Well done.
Very nice !
Nice looking thing and also a bit different. Congratulations on the prizes.
Tom, an absolute sparkling build!
Beautiful. Perfect amount of weathering done wonderfully.
That's a beauty of a build, Tom! Some very nice detailing - especially for someone who doesn't build armor! I almost drove down to Eagle Quest from Tulsa, as I haven't been to that show in many years. I think I'll push to do it next year. I invite you up to our show in Tulsa next March (the 30th), where our theme will be "Normandy Remembered," in recognition of the 75th anniversary of D-Day. Details will soon be posted here: https://www.tulsaipms.org/
I'd love to meet you in person!
Thanks Greg. I will look into your show. Being around all the other modelers at Eagle Quest was really a great experience for me since I'd never entered a show before. The people were very welcoming and fun to be around. What I really liked was that there didn't seem to be any real "rivet counters" and nobody had an agenda or ax to grind. Since the show was "peer judged" it was pretty much impossible for anyone to "schmooze" and politic all 300+ judges, haha.
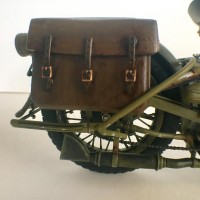
Well, looking at it, there's no surprise at all that it would win that prize. The darn thing looks real! Fantastic weathering and detailing. Those saddlebags look like they really are leather. Just a superb result.
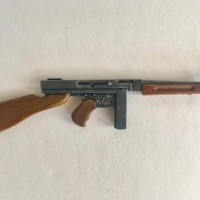
Thanks, Tom. Using Matt’s build here as a guide helped and like I said before, the original Army field manual was a real mother lode of info. It was fun using the model as a “canvas” to experiment with new concepts and techniques. The leather and wood were prime examples. I used a base coat of leather brown and then added various washes to highlight and streak till it looked like leather to me. More or less, trial and error—not skill, haha.
Very nicely done! Photo realistic!
Tom, Very nice, I'd love to have the real thing parked in my garage. You also now know why I enjoy going to shows and contest. You get to meet and hang out with a bunch of other model geeks who "get it" !, Keep up the nice work, I really like this one.
Thanks, Terry. I started modeling again about two years ago after about a 35 year layoff. The Hobby has come so far since then. There is so much to learn. I’m just glad that there so many folks willing to share their secrets and give tips.
Exceptional work Tom, the detailing and weathering are first rate. And as you noted, shows can be fun and quite a few modelers are very willing to share techniques with so called newbies. I'd say you're a fast learner.
This is outstanding ! I have a friend who owns one of these "real 1 to 1 scale" Harleys. It was on display at a local HD shop for many years, and your model looks exactly as his does. You went the extra mile and it shows...
Well done my friend. I like it... a LOT.
Thanks, Louis. My gave me this kit because he couldn’t find one to do like my Fat Boy Lo. It was a fun build and l learned a lot. Took about three months and over 100 hours. Well worth it
absolutely stunning build...and i've built one of these bears
Tom,
Can’t believe I missed this post. Must have been during vacation last summer. Great job. Even though this is an old tooling the kit is great fun. Splendid detailing my friend.
Thanks, Matt. Like I said, before, you gave me the inspiration to “attack” it.
Wow Tom, that is simply beautiful! The weathering looks superb.
Thanks for the comments. I was trying out some new weathering/chipping techniques on this build for the very first time. I got lucky and they seemed to work out.
What a fantastic build! I am enjoying building this kit now.
It really is fun. Because the parts are so realistic, you can almost call yourself a "motorcycle mechanic" when you are finished with it.