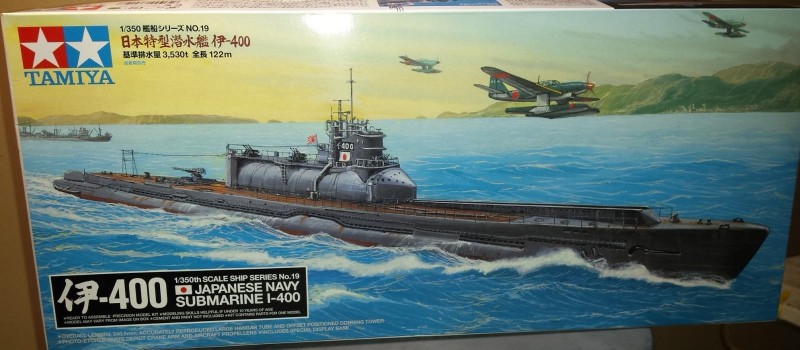
New Project: 1/350 Tamiya I-400 JPN Submarine
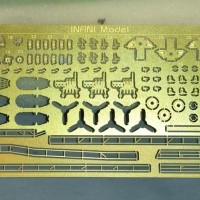
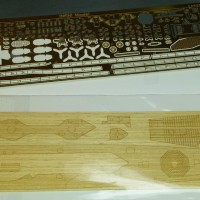
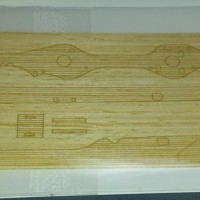
After a member reviewed my recent posting of my Revell 1/144 German U-Boat model he asked if I could apply same modeling techniques to build the Tamiya 1/350 I-400 Submarine for him. Of coarse always wanting to accept a build request I replied with a strong "Yes". He wanted a super detailed version so he also included the Infini Detail-Up set which includes a very comprehensive PE sheet, Brass Turned barrels /parts, and a complete wooden deck. This would double the challenge of this build due to the many extra, complex, tiny PE and Brass parts. In 1/350th some of these detailed parts are very tiny and require complex folds and assembly processes. He wanted the Sub to be well worn accurately depicting some of the available archival footage, and photos of the I-400, and sister ship, I-401. I have found there is very limited, high-quality images available of this infamous sub, mostly due to it's top-secret nature, and the US destroying all examples shortly after-capture to prevent the Russian's getting their hands on the cutting-edge technology found in this sub. This has really made the choice are accurate colors selection difficult especially as it relates to what is hidden beneath the water-line. The Tamiya box-art depicts the sub with a hull-red hull below the water-line. Many modelers have used this theme with their builds of this sub. The customer who commissioned the build has requested an all grey-sub. He feels this is more accurate based on the fact that the hull was paneled with a state-of-the-art sound-absorbing tile. The pictures definitely support an all dark to medium grey top hull and tower, but nothing to substantiate the color below the water-line. It is evident in all the pictures that the sub took a beating, was well worn, discolored, chipped, and weary above the water-line. So I have proceeded with the build planning to paint the sub hull, with a slight discolored tone indicating the lower hull below the water-line.
Regarding construction the base kit, without the extras, is very simple and straight-forward. I could probably assemble the whole model, w/o extras, in under 2-hours. This does not include assembly of the included aircraft. Maybe another hour to complete them w/o painting. The base model does supply some PE pieces but they are basic and do not require anything to fancy regarding construction. The base model does not include any type of railings. I feel this is a short-fall of this kit considering the high-price for the kit. Come on Tamiya, gives us some basic railings. This model is so small in 1/350th and has a small parts count, and nothing fancy regarding advanced moldings, so it should not cost $60 plus US Dollars.
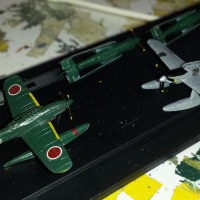
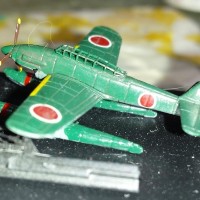
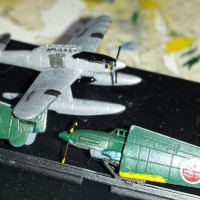
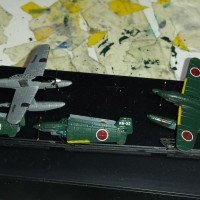
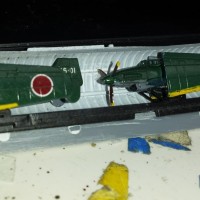
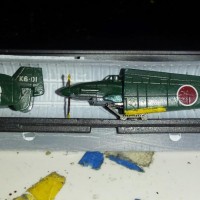
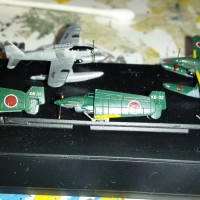
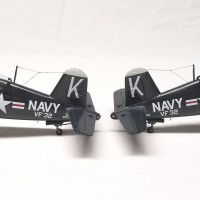
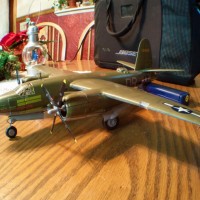
I currently have the basic hull and tower assembled. I have assembled the aircraft and installed 2 of them on their PE cradles along a track inside the enclosed hanger. The Hanger door does not need to be closed and can swing open. I have the other 2-aircraft assembled in ready-for-TO configuration. My customer requested one aircraft be disguised in US markings, as were some of the real aircraft in preparation for a sneak attack on the Panama Canal. In assembling the 4-aircraft I used the Infini turned brass prop spinners, and PE props. I also needed to scrape off the plastic canopies so I could install the Infini PE canopies frames. The kit included a full compliment of Japanese decals for all the planes. I have already completely painted and utilized the decals on these little aircraft.
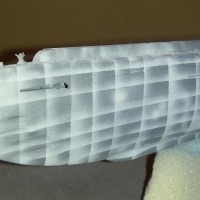
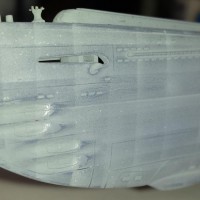
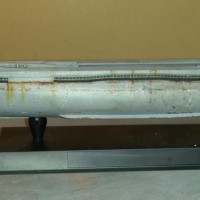
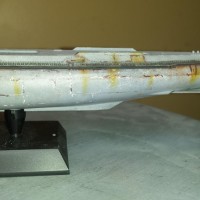
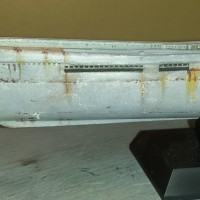
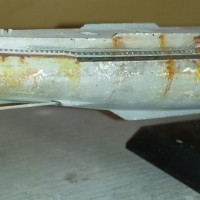
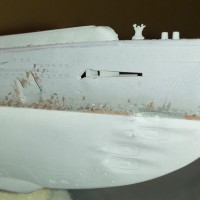
Painting Hull: I have had such a difficult time painting this hull due to the lack of good reference material. There are several good photos of decently built kits but in the Grey over Hull-Red theme. As noted earlier I cannot use this scheme. There are not any other all grey sub pictures, and/or, models, that provide enough detail as to help me with my objective. I did not realize how much I rely on these types of references to finish my models until I was left with little to none. Sort of left me lost. The elements effect the finish of the Grey over Red paint scheme very differently, then sub with no color separation between top and bottom hull. The few model pictures available have not met my needs regarding look and quality of finish. I use references not only for painting basic finishes, but for all the pre-shading and pre-painting work that results in a given finish. I also rely heavily on accurate references to help me replicate the weathering and wear patterns, colors, effects. On this build I have changed things so often b/c I cannot replicate to my liking's w/o these references. Also, the hull on this model has minimal to no surface details. It had some faint raised plank lines but due to all the sanding work needed to eliminate seems between hull separation the raised detail was mostly removed. This leaves me little, to no, landmarks to enhance, shade, darken, etc. Again, it leaves me at more of a lost then I am usually left at.
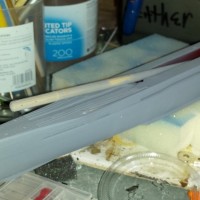
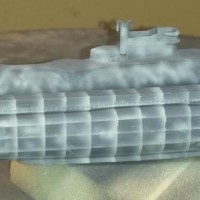
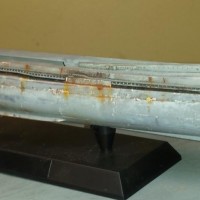
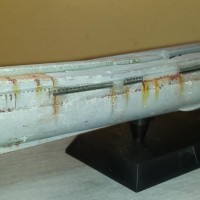
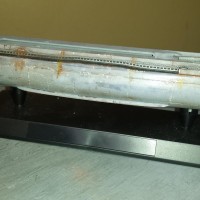
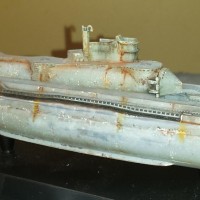
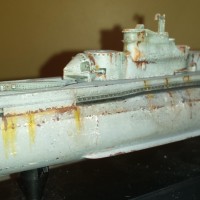
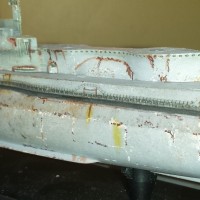
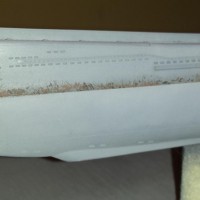
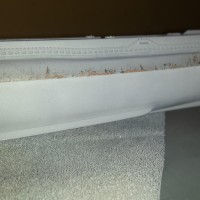
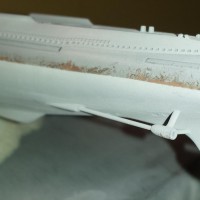
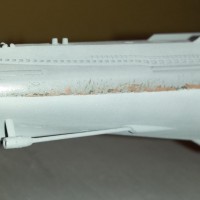
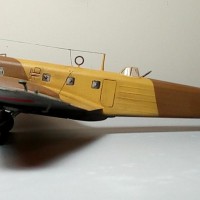
The following pictures show various stages of assembly and painting with the last few indicating my current stage. I even tried to paint using the paint to replicate the "oil-canning" effect of large warships, and subs. It did not turn out the way I wanted, and just did not sit well with me so I kept on blending the effect until it basically disappeared. I then sanded, and repainted, the hull several times trying to find a look I was satisfied with. I did some final weathering on the hull using an assortment of products to simulate wear, tear, staining, and rust patterns.
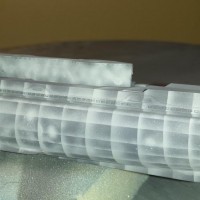
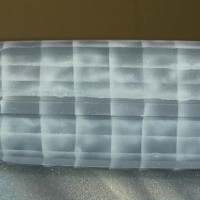

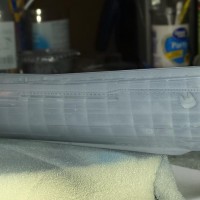
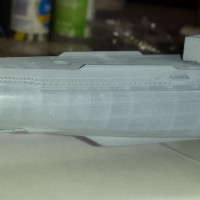

Sounds (and looks) like a daunting task, but one that is obviously coming along very well. I'm sure we all look forward to seeing the end result of this project. Good luck.
Hi Paul, I just checked out the youtube footage of boat 5231 (5232 depending who you believe) and I think you are on absolutely the right track.
Here is the film to put your post in context for those who haven't seen it (I'm sure you have Paul, judging by the comments in your post). Great stuff - some of your trademark brilliant weathering!
I needed to watch it again to help me stay on track. I was again amazed at the amount of weathering present in this video. If u watch a few times u really can pick it out. The discolored sections, and patches of this rust and erosion of the paint, or whatever they used. I thought these were fairly new subs compared to rest of the fleet. I wonder if the material they used for reduce sonar signature was the cause of such wear and tear. Maybe not as resistant to elements as a good rust resistant naval paint. Sort of like when the space shuttles comes through the heat all the tiles burnt, missing, discolored. They used a sort of tile like material but rubberish I believe.
Those are really interesting thoughts, Paul. You will know more than me, but I remember reading about the cyclic nature of 'weathering' in subs, especially decks, when I built the little u-boat a while back. Long periods at sea with reduced maintenance leads to greater build up of rust and even algae etc. So I guess it would depend relatively upon how long the sub had been under, and how often it had visited ports and undergone decent maintenance before its hand-over. What were the circumstances of the surrender? Would it have been a matter of honour to have the boat in the best condition? Or would there be no time or inclination to fix it up?
The surrender for one of them was very drawn out b/c they did not want to turn the boat over, did not want to surrender their prize ship. The captain was a die hard! They were making a run for it when discovered by the US. The US followed them for some time waiting for them to surrender. When they finally did the captain shot himself. They were out for a long time chasing one assignment after the next b/c orders kept on changing until bombs dropped.
Good luck on this one Paul, nice pattern on the hull, you get the idea there are indeed individual rib lines!
Yea, I did so much after the pre-shade that I really lost most of it. i had a rough time getting a look I wanted and ended up sanding down a lot of my previous efforts over and over. So really lost some of the base work, making it harder to do the after-shading b/c lost my reference points.
Coming on nicely, Paul.
I read that the I-400 was one of only three of these monsters actually built, and that it was to take part in an intricate, long planned attack on the Panama Canal, but Okinawa fell and the attack was called off. The special tile/coating was something the Germans researched and promoted, apparently.
Yes that is exactly the history I discovered. They kept on making secret missions for these ships but war moved so fast they needed to keep on changing it to more and more desperate missions to change the tide. The Panama canal attack was a one way trip but then like u said they needed to withdraw to save the homeland from invasion. Then bombs dropped. They were headed to the staging point were the US Navy was prepping for the invasion. They were tasked with sinking the aircraft carriers along accompanied by a few other conventional subs. Most of the subs were intercepted and caused little damage then war ended. They sunk all the airplanes before being captured b/c the aircraft were painted silver with american markings. Did not want to get caught with this b/c it is a war crime.