iModeler Review: AFV Club 1/35 M54A2 5-ton Truck (35300) – Part 1
AFV Club seems to have a knack for the “unsung heroes” of military hardware. The very first full kit they released back in the 90s was the M730 Chaparral, an anti-air missile system based on the M548 tracked cargo carrier. Talk about esoteric.
After their excellent M35A2 2.5-ton truck from 1995 it became quiet as far as support vehicles were concerned. The Vietnam crowd was happy with this kit's possibilities to convert it to a gun truck, but there was still a large gap when it came to trucks in general.
In the meantime, many of the important vehicles have been covered in one way or another, starting with Italeri's dreadful M923 and HEMTT, but also the nice Trumpeter and Hobby Boss LMTVs and MTVRs. Still, there was nothing to cover the span from basically WWII to the early 90s. Enter AFV Club again…
The Real Thing.
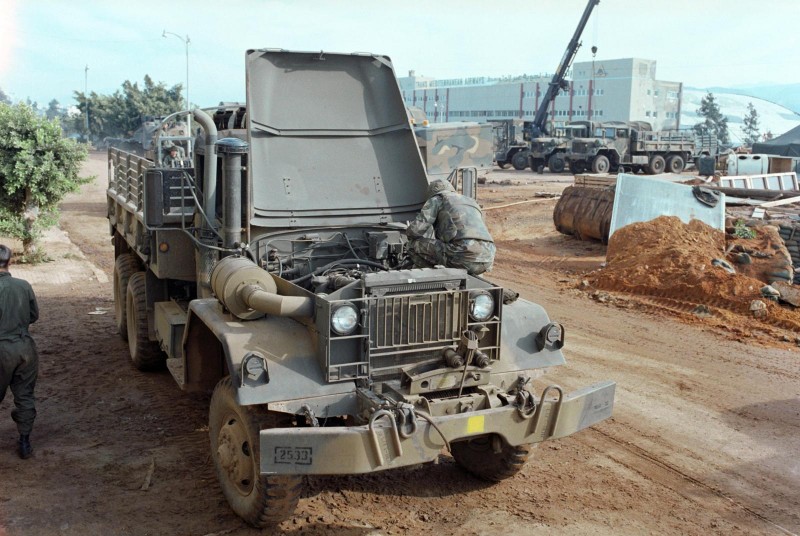
The M54 truck – officially the Truck, Cargo, 5 Ton 6x6 M54 – is the base variant of the M39 series of 5-ton trucks. Production started in the early 50s to replace the range of 4- to 6-ton vehicles then in use. The series consists of different variants, including long-wheelbase trucks, dump trucks, tractors, wreckers etc.
The design's evolution brought changes to the engine – the initial M54 was powered by a gasoline engine, whereas the A1 variant was Diesel-fuelled and the A2 featured a multifuel engine.
By the 1970s a replacement design began to be fielded, the M809 series. Fitted with a larger engine, it is not that easy to spot the difference between one and the other. Biggest give-away is the placement of the drum-shaped air filter – right fender on the M54, left fender on the M809.
It does not go “Boom”, so why should I care?
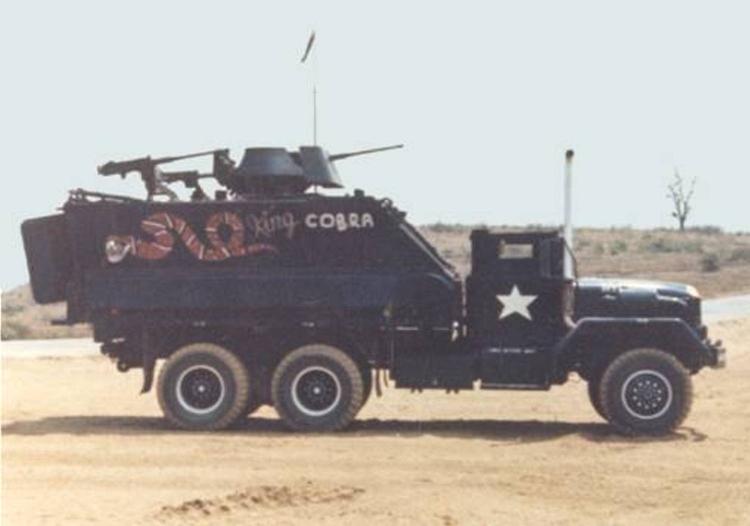
Well, first off a kit like this gives you options. Lots of them. After all, the M54 was in US service for more than 40 years, and is still being used today in some far-flung places. That means you can go wild on paint schemes – Olive Drab, MASSTER, MERDC, NATO, Sand… Then there's the modifications. If you always wanted to give scratch building a try, you might want to take a look at the wooden shelters built on the M54's cargo beds, especially in Europe. And finally, gun trucks. These Vietnam-era modifications run the gamut from splinter shields and sand bags to a complete M113 hull placed on the truck's cargo bed.
(Image source: http://www.warwheels.net)
In The Box.
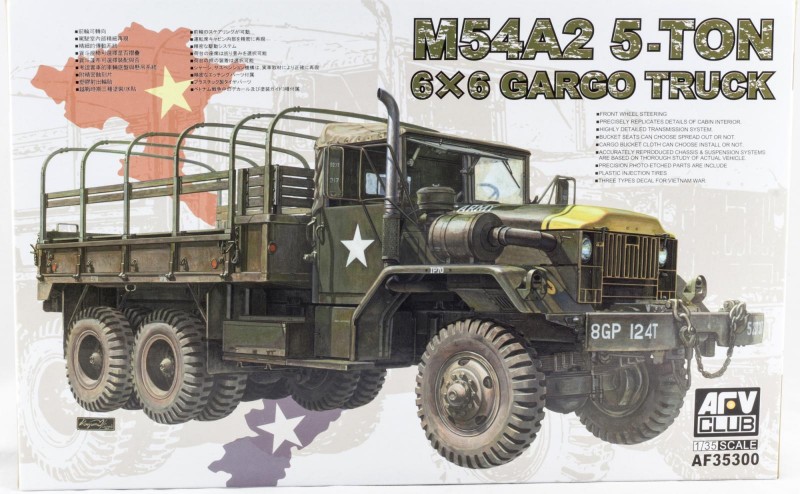
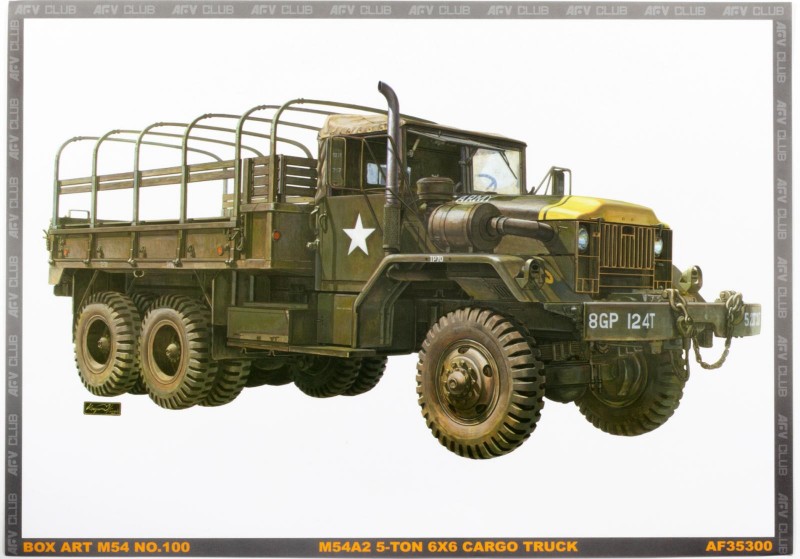
The box shouts “Vietnam”, I'll give you that. Apart from that, the box art shows a truck with drop sides – the sides of the cargo bed could be folded down to facilitate load handling. Strictly speaking this makes the kit a M54A2C. How's that for rivet counting?
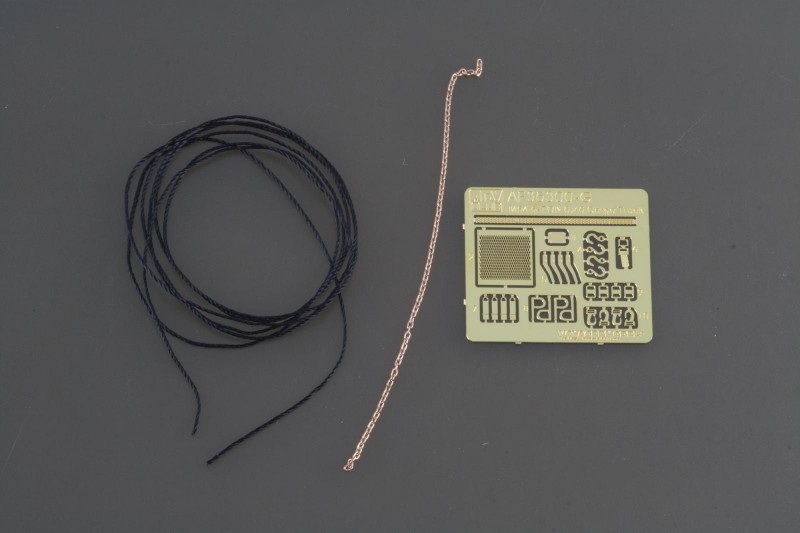
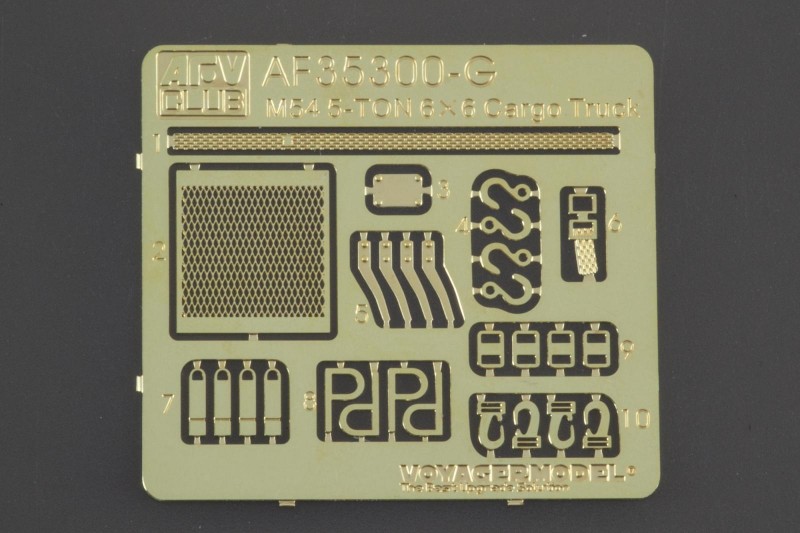
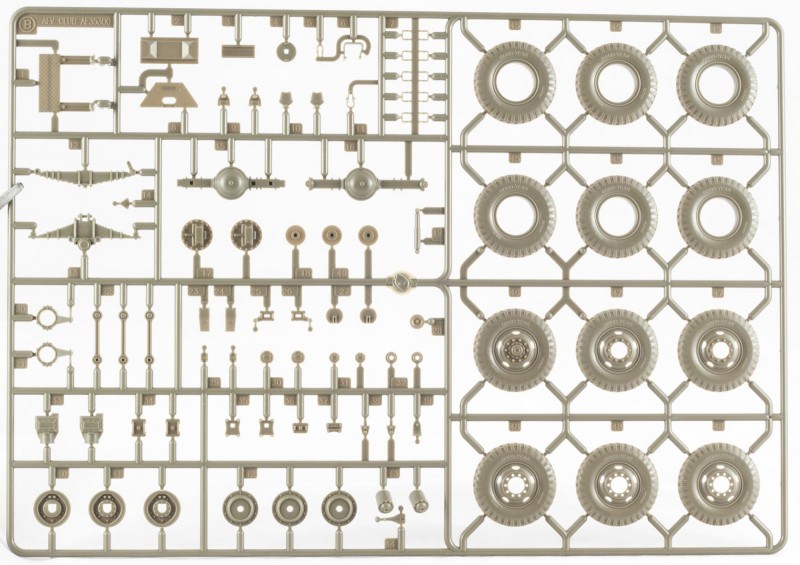
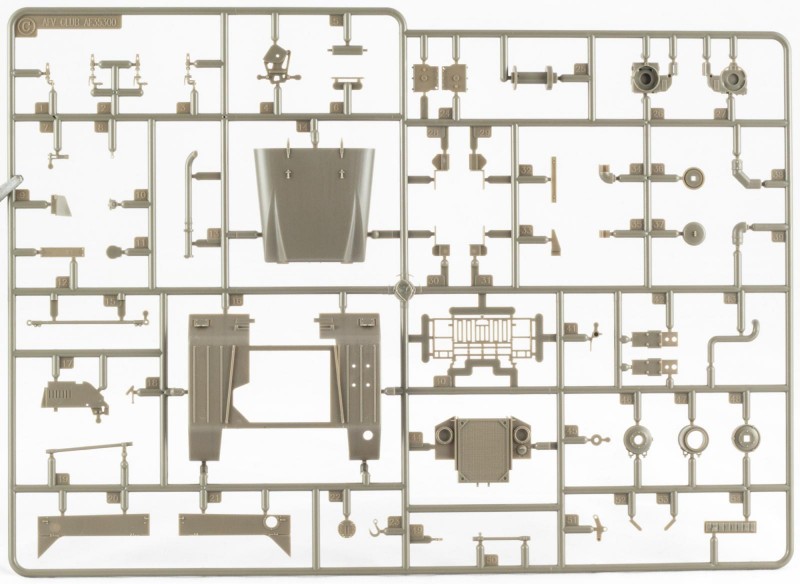
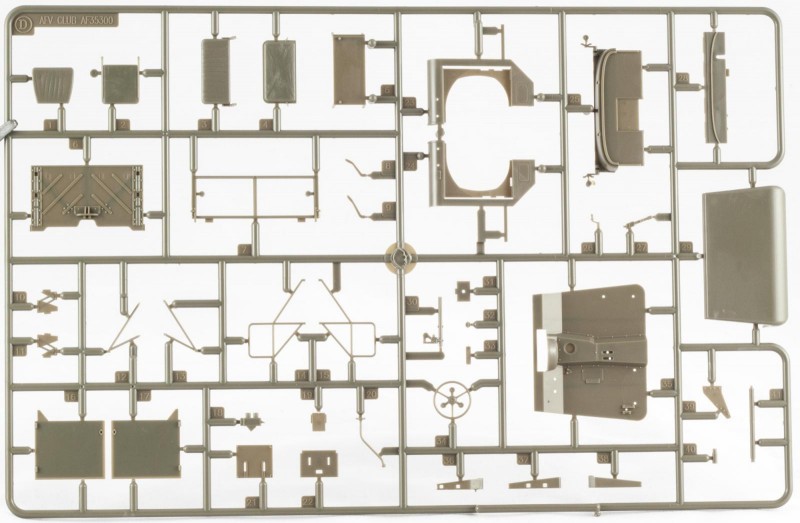
Inside the box you will find 13 sprues (some of them quite small, so don' worry), two separate parts for the canvas covers, a clear sprue, a small bag containing chain, thread and a tiny PE fret, some poly caps, and of course the decals and instruction booklet. AFV started to include a print of the box art in recent years, so there's something to stick to your wall.
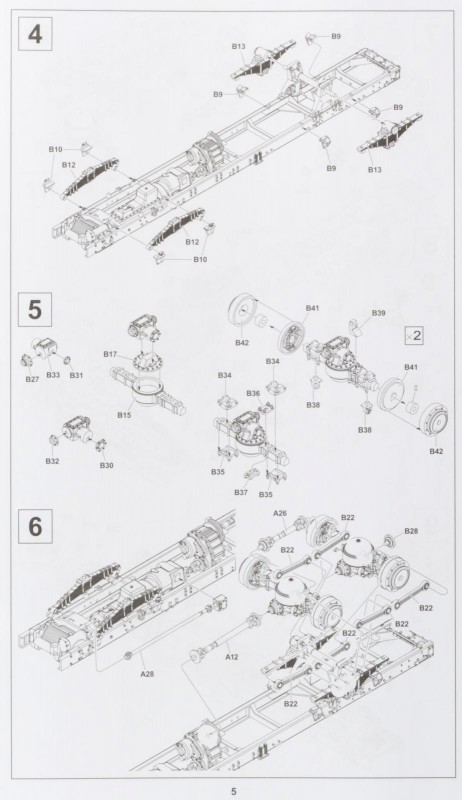
The instructions lead you through the build in 30 steps and consist of the usual b/w drawings. Some of the steps might seem a bit cluttered, so take care to understand them before committing to glue. Color call-outs are a rarity and refer to generic color names. A color conversion chart is included for Gunze, Humbrol, Revell and Life Color paints.
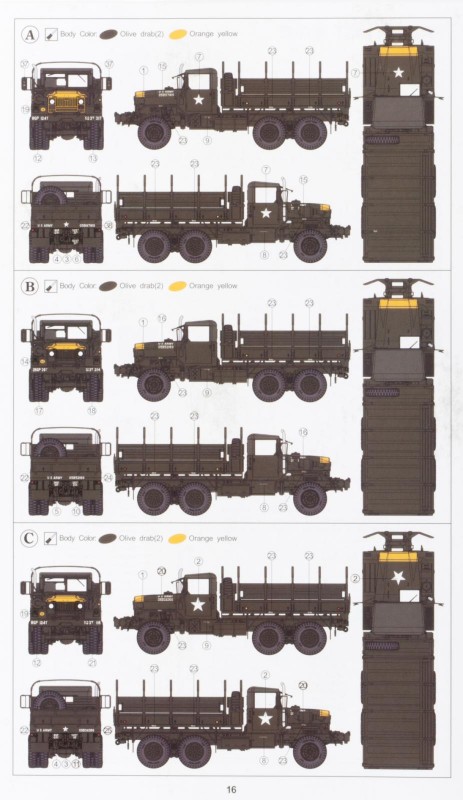
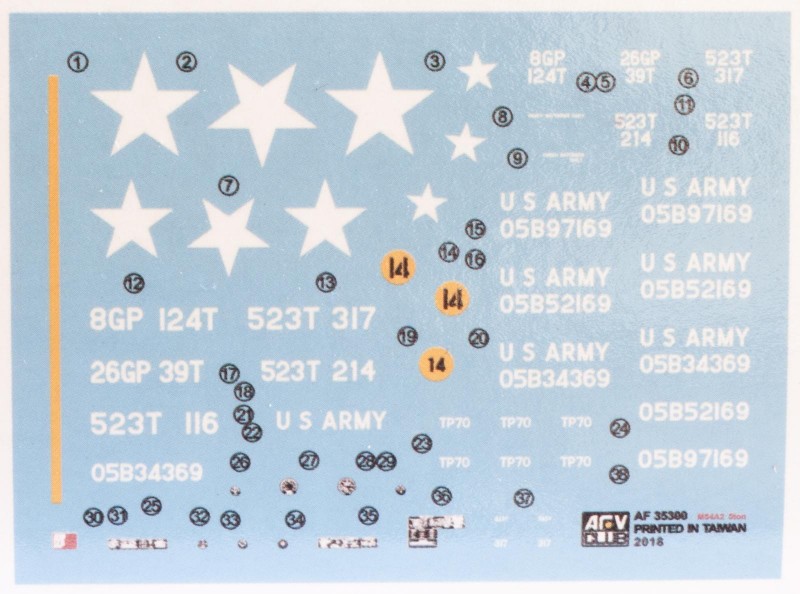
The kit provides three marking options, but little to no variety. You can choose between three trucks from 523rd Transportation Company, all of them with a nifty yellow stripe on the hood and of course all in Olive Drab. What this basically means is you end up with one scheme with three different bumper numbers.
The Plastic.
Before we take a look at some of the detail, a couple of things can be noted just by glancing over the sprues:
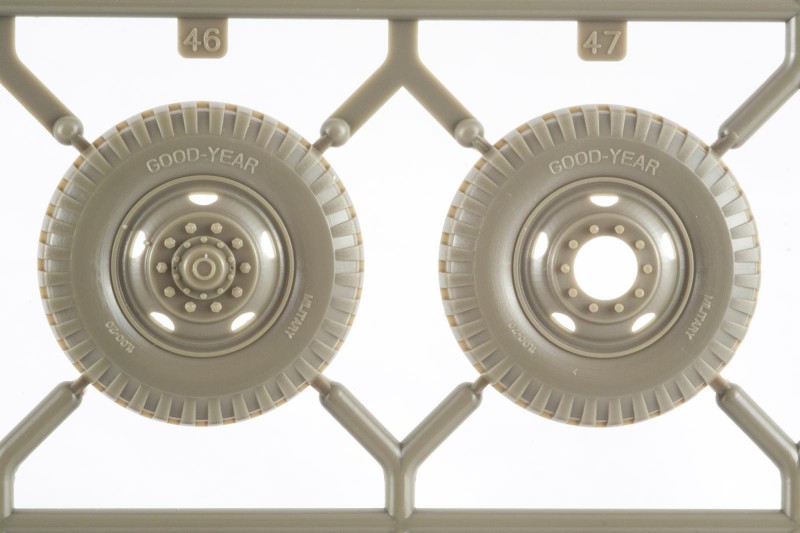
- AFV Club decided to skip the vinyl tires and went the classic two-part styrene wheel route instead. Although painting these will require slightly more effort, it is much easier to sand flat spots to reproduce sag, and you won't have to worry about the vinyl degrading over time or reacting to paint in a funny way.
- The kit includes a hard top for the driver's cabin, which is not mentioned in the instructions and was hardly ever used on the M54. Maybe this hints at future releases of other variants?
- The cargo bed can be fitted with a full canvas cover or left with just the frames, as depicted on the box art.
Working our way from the bottom up, the wheel look quite good, but are missing the valve stems. The Goodyear logo on the walls looks rather bland, maybe copyright considerations going on here.
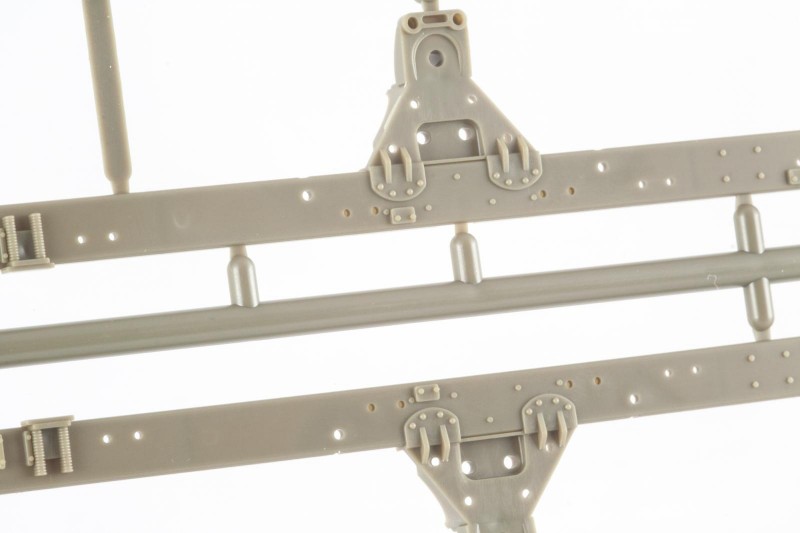
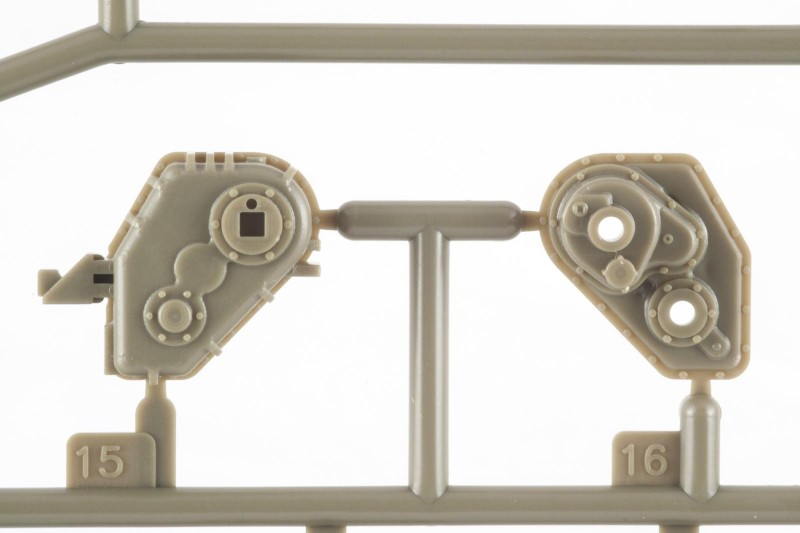
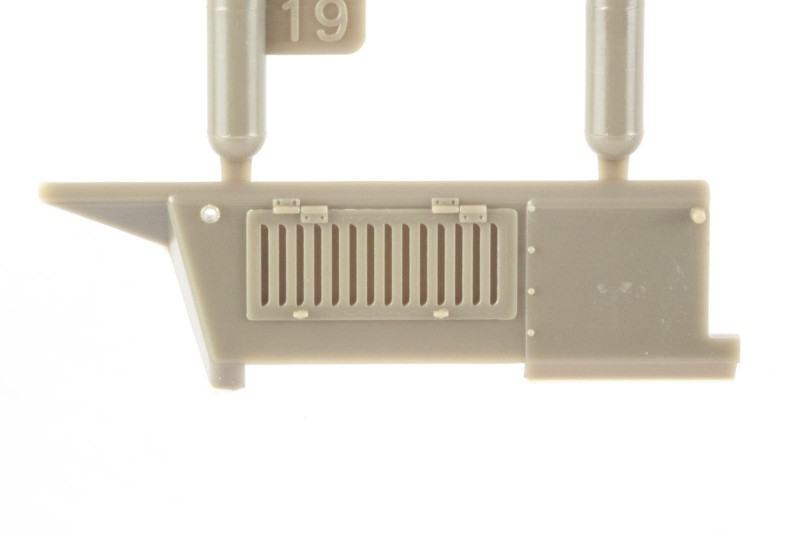
The C-beams making up the cassis are nicely done, without sink marks or ejector pin marks to be found. As usual with such an assembly you will want to take care so that everything lines up squarely.
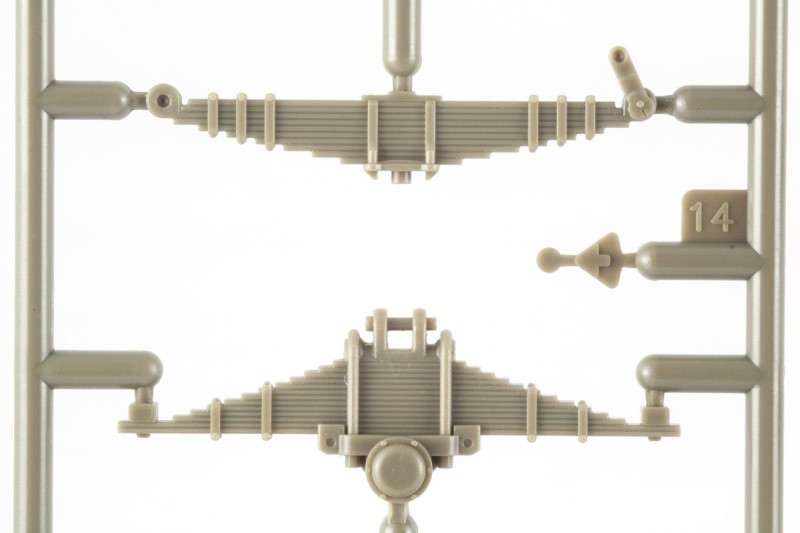
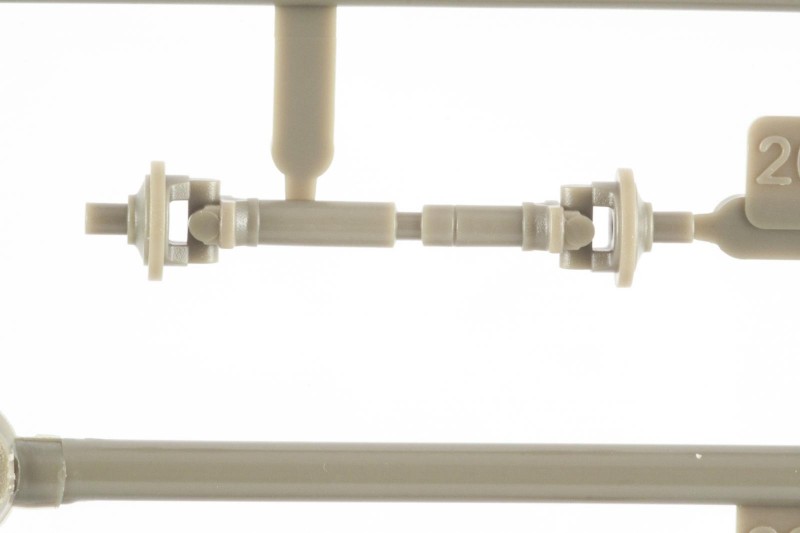
The leaf springs and everything else attached to the frame is crisply molded and flash-free. Although it is not mentioned in the instructions, the front wheels can actually be built in any position, you just need to set the desired angle before gluing the parts into place.
The driver's cabin receives a lot of detail in the way of the driver's seat assembly and various control elements. The seats show a convincing canvas texture.
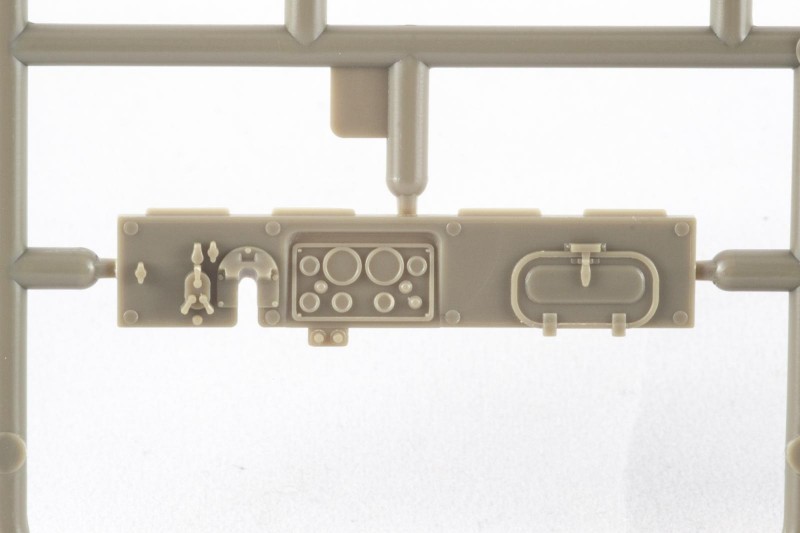
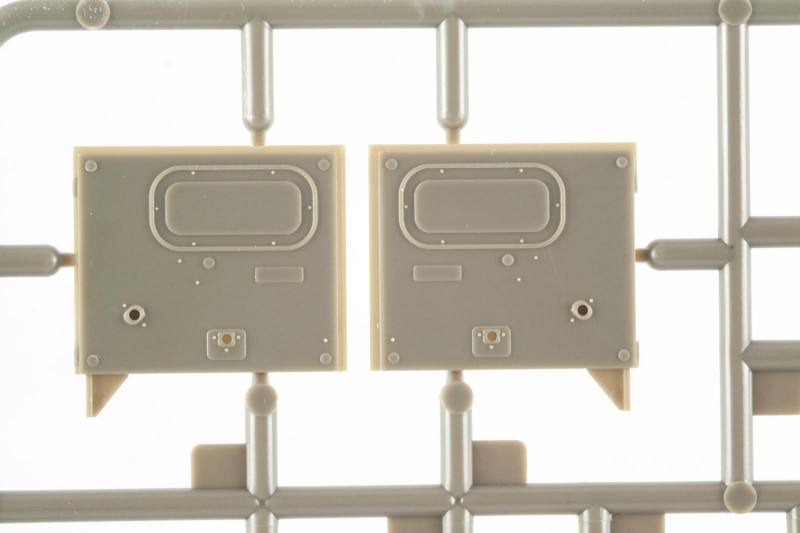
The instrument panel is nicely molded, but shows a number of small ejection pin marks. At least they are raised, so removing them should not be an issue.
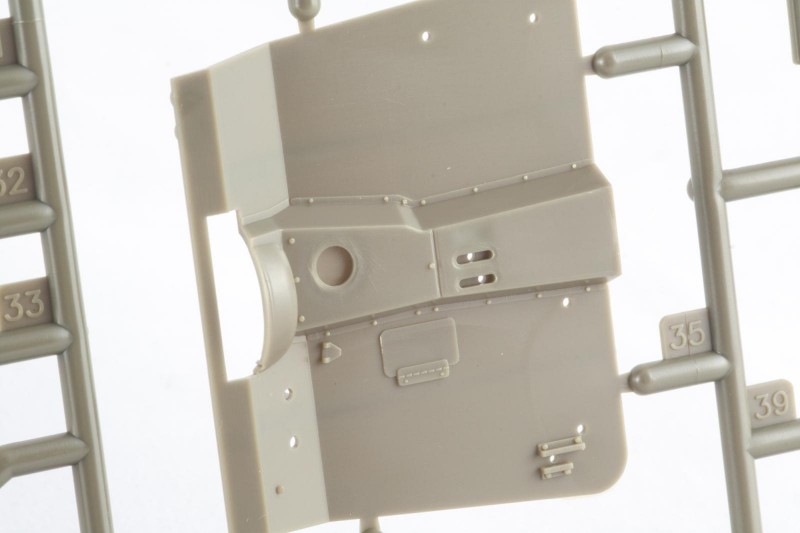
The same can be said for the doors, and removing the pin marks here will be trickier due to the fine detail surrounding them.
The kit gives you the option to depict the windshield folded down, or each of the two windows folded up. The canvas cover can be left off as well, but there is no framing provided.
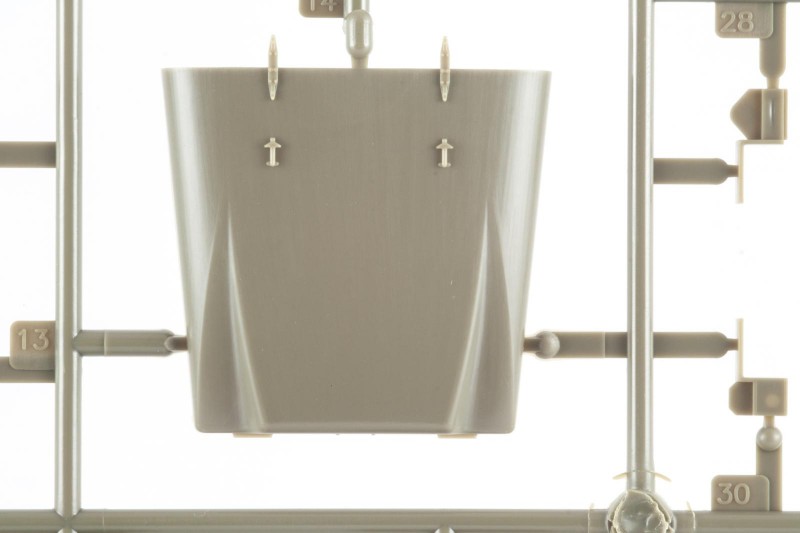
The hood is a one-piece casting, including hinges and the retaining clips for the windshield. Its shape looks spot on, not unimportant for this most defining characteristic of the M54.
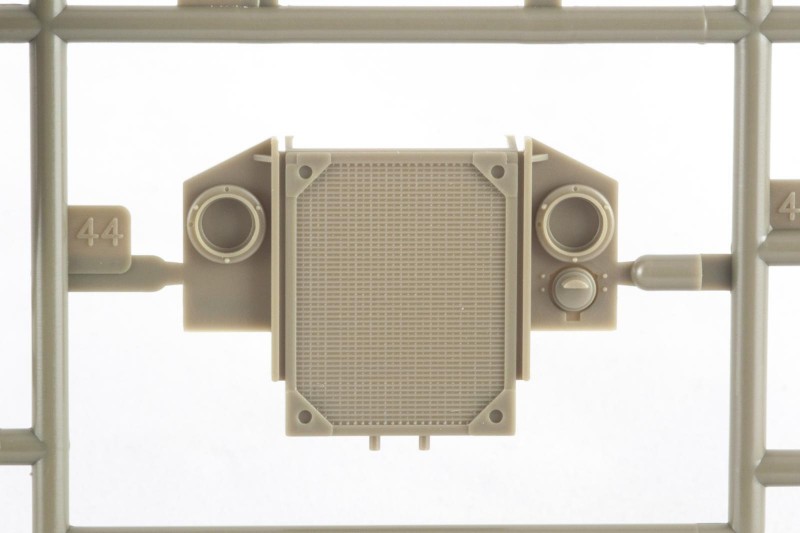
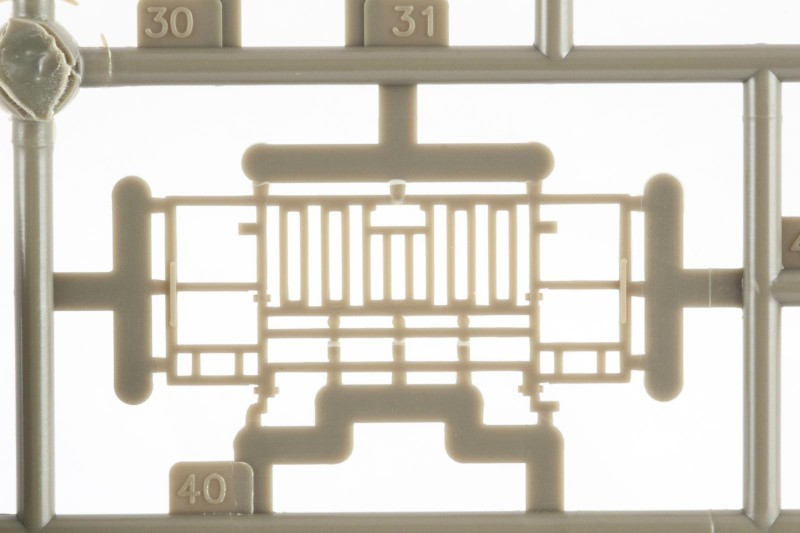
The radiator and brush guard again are nicely done, but will require some careful cleaning up.
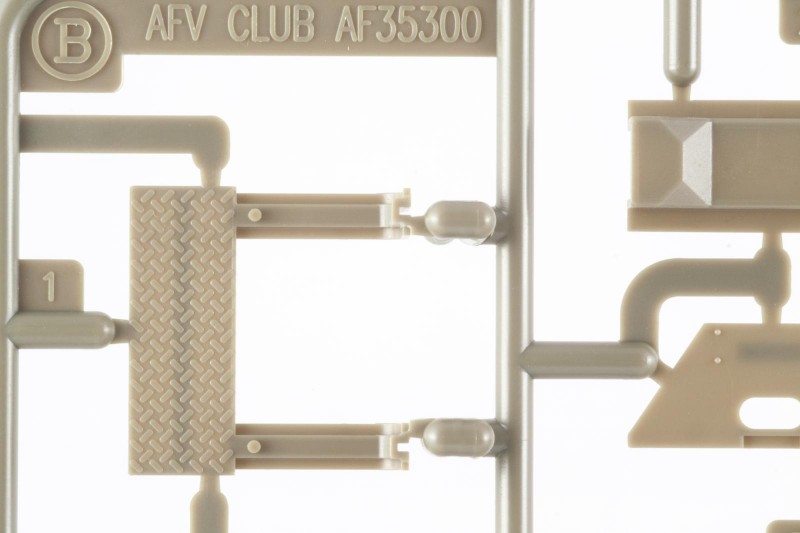
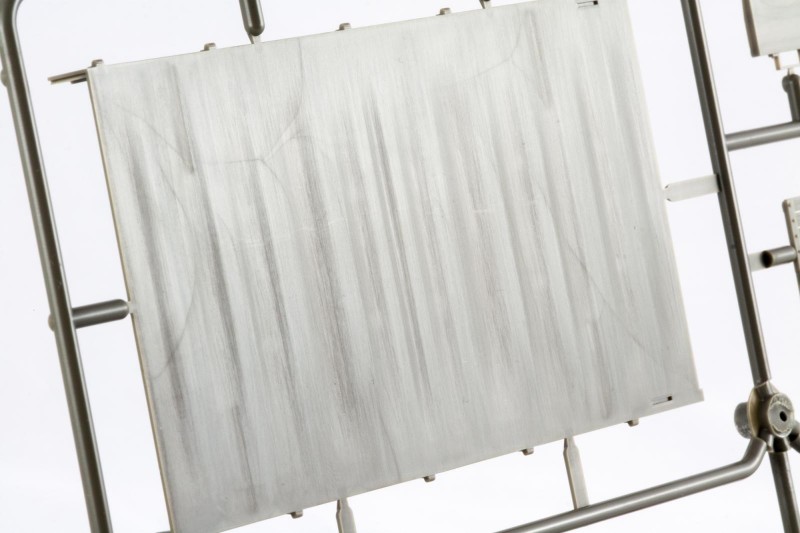
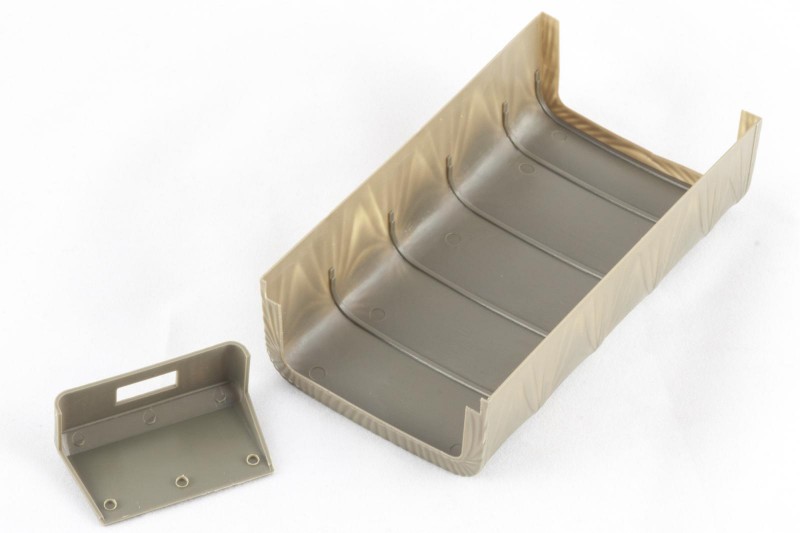
The cargo area consists of a steel bed with stress marks already molded in. I am not sure how I feel about that, but at least it hides any sink marks you would probably encounter with such a part.
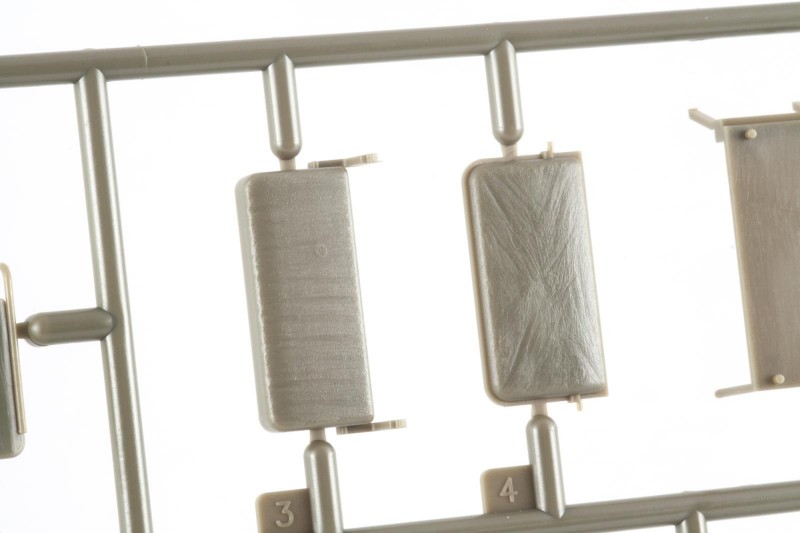
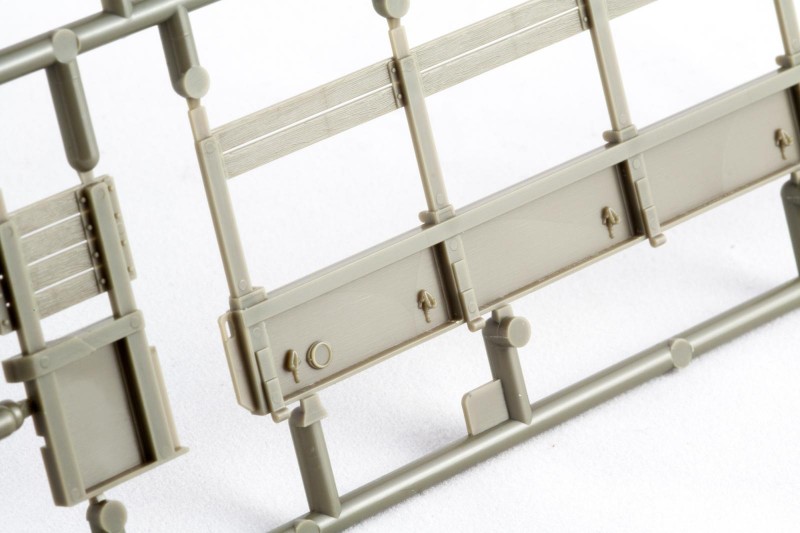
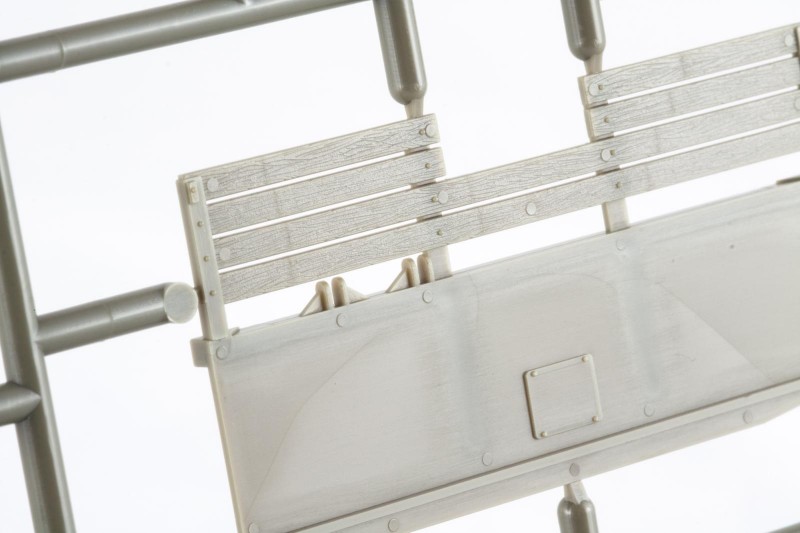
The side panels show a nice wood texture, but also lots of pin marks. Removing those and restoring the wood texture will take some time, unless you decide to cover everything with the provided canvas.
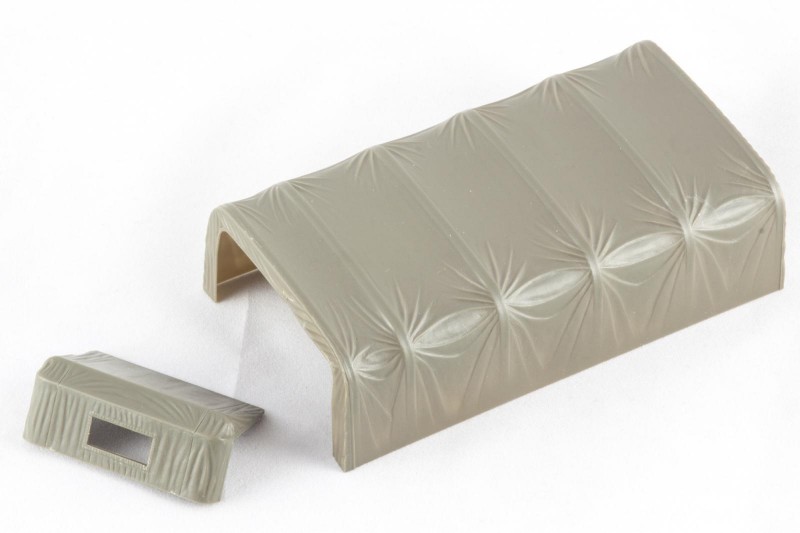
As usual, the provided canvas parts are a matter of taste. I like the one for the cab, but the creases on the cargo bed cover look too uniform for my liking. In any case, both are perfectly useable, but you will have to add tie-downs and ropes for a more realistic look, and remove all the pin marks on the insides.
Paraphernalia.
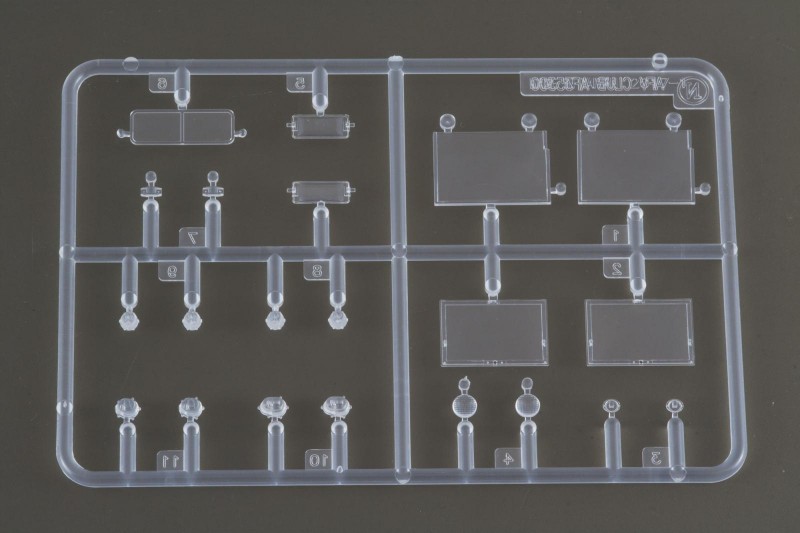
The clear sprue not only contains windows, but also headlights, rear lamps, and even the rear-view mirrors. As the rear lamps are also provided on the standard sprues you can decide which way you want to go when painting them. Nice touch!
A length of string is provided for the front winch, together with some chain. This is intended to reproduce the chains holding the cargo bed's drop sides, but is somewhat oversized - I would suggest using PE chains instead.
Finally, the decals. As they come on a white backing sheet and mainly consist of white markings, here's a picture of the decals as shown on the box. My past experiences with AFV Club's decals have not been stellar, with them not wanting to stick and silvering quite badly. Let's see…
First Impressions.
I am a simple man. I see a support vehicle, I rejoice. So I was really happy to see AFV Club announce this kit more than half a year ago, at the same time being curious as to what quality they would deliver. So far I am more than pleased with what I am seeing, maybe minus the lacklustre marking options. Apart from that, I can only recommend this kit to everyone interested in trucks or 1/35 cold war stuff in general.
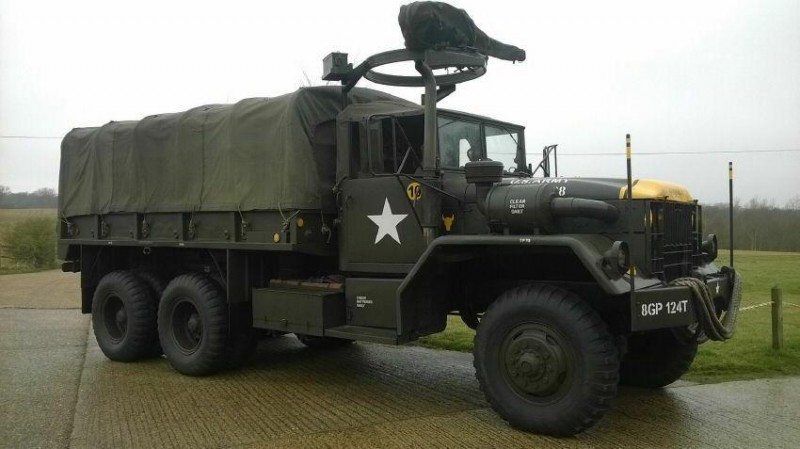
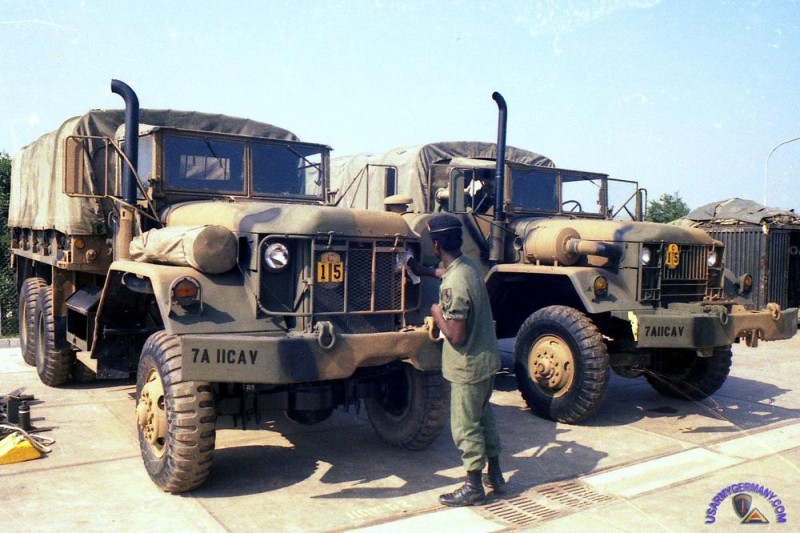
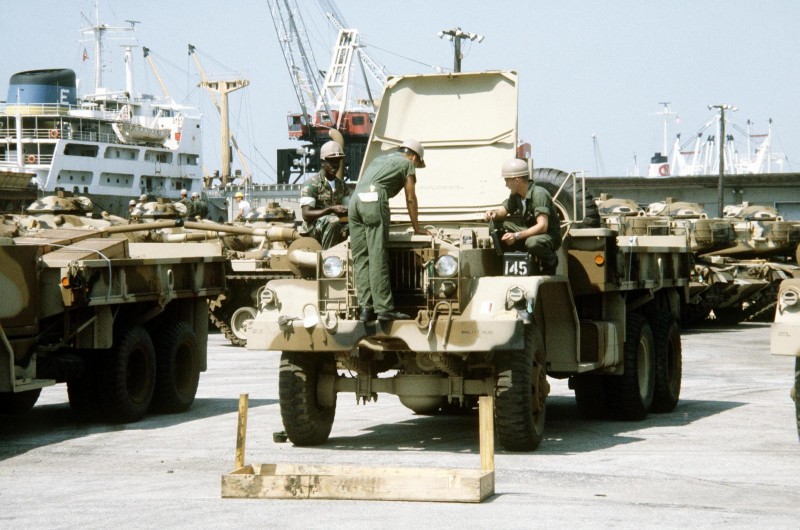
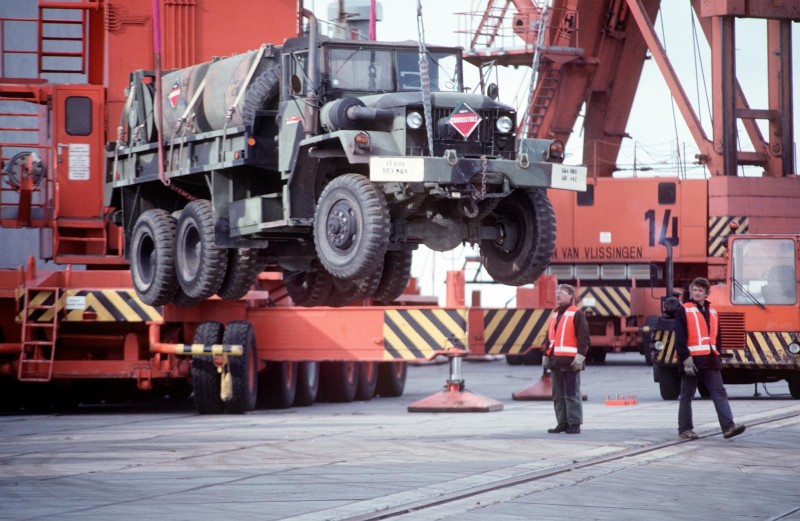
And to give you an idea of what can be done with this kit, I attached some images showing the various color schemes found during the M54's time in service.

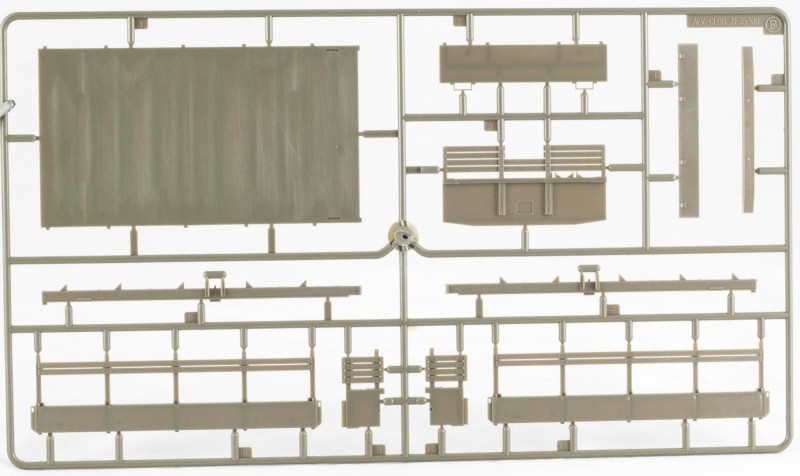
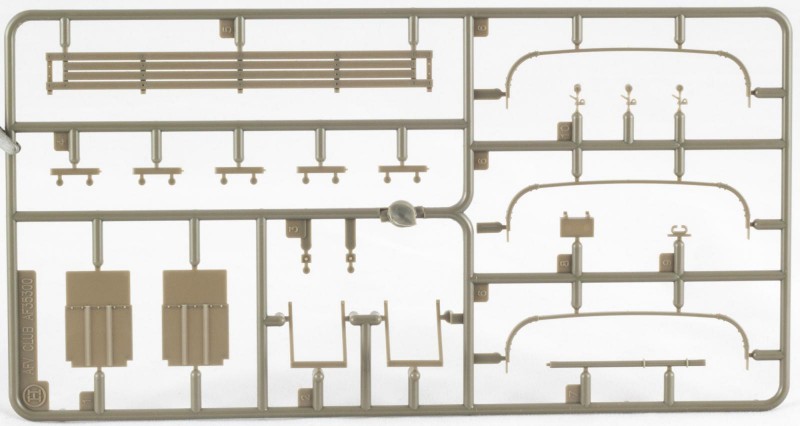
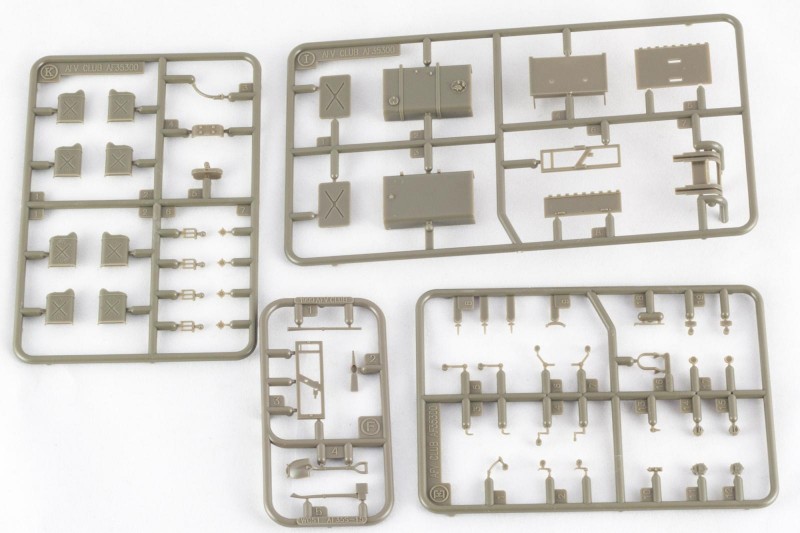
The usual excellent standard from AFV Club. A great-looking kit. Thanks for posting this, Boris.
It really looks good so far. Hopefully I'll be able to start building in two weeks.
Boris,
Outstanding box review, mein Freund! I had to chuckle when I saw the photo of the 2 trucks marked "7A 11 CAV" The 7 means they were the Supply Sergeant's trucks from A (Alpha) Troop, 1st Squadron, 11th Armored Cavalry Regiment. (The black triangle signifies Armored Regiment on the truck on the Right - someone must have forgotten to paint the triangle on the Left truck!) The units I was in were C (Charlie) Troop and D (Delta) Company, also part of 1/11 ACR in Fulda, (formerly) West Germany.
The AFV Club model looks very detailed. I'm sure it will make into a GREAT model of a common 5-ton truck we saw and used daily for decades.
Great review, Boris. Thanks!
I knew you would like that picture! It has everything - 11th ACR markings, the MERDC camo you like so much, and some poor sod doing what his Platoon Sgt told him to do
Yes, it hit home! The camo used in that picture has more tan / earth than the standard yukky green MERDC - the 11th was famous for doing things "differently" and having a custom paint scheme would be perfectly logical. We were famous for the Army "truism:" ... there's a right way and a wrong way ... and then there's the Cav way. We marched to the tune of a different sax player. Or something like that ... (drummers don't often beat a "tune," anyway.)
By the way, the "worn" look of the flooring you mentioned looks pretty realistic to me. They always sagged between the supports. However, I agree with you about the canvas cover ... the rib folds look too uniform.
Very comprehensive presentation, Boris...thanks.
Thanks Craig!
Thanks for this review, AFV club is a great brand offering high detail at decent prices (lower than DM). Thanks!
Hello Boris,
Thanks for this lengthy info bulletin regarding this US truck. I know for sure that your article will get Imodeler truck members more familiar with the AFV models.
Regards, Dirk / The Netherlands.