Kit Review: Tamiya 35346, 1/35 M4A3E8 “Easy Eight” European Theater
As promised a while ago, here it is. This review would have been done a while ago, but "Life" tends to throw us curve balls every once in a while... When it does, try to make the best of it.
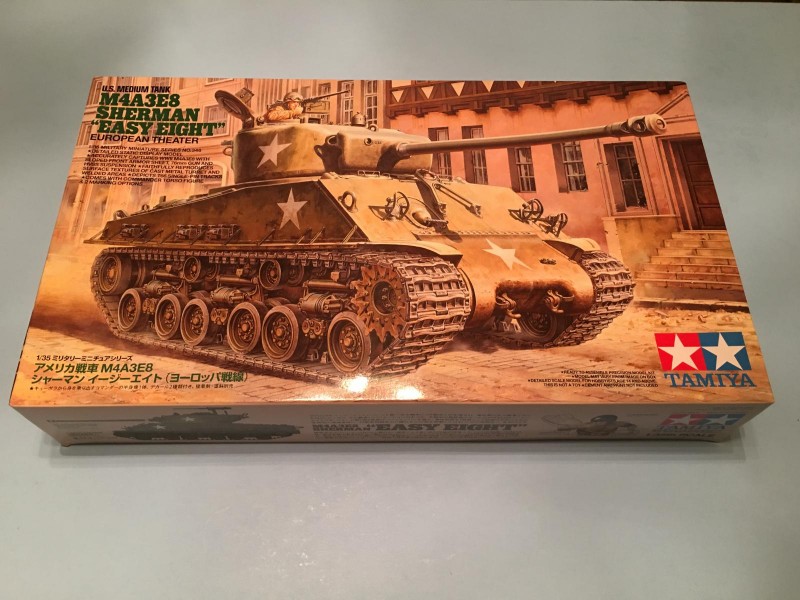
Here's the box art. It shows a HVSS Sherman moving down a cobble stone street, somewhere in Europe. The tank also has the early style T-66 tracks depicted in the illustration.
When Tamiya announced they would be releasing a Sherman "Easy 8" back in 2015, I knew that I would purchase one. The timing was perfect, as the movie "Fury" was released around the same time. Many people don't know that "Fury" was not an Easy 8...
Instead "Fury" was a M4A2 / wet 76 MM (with a T-23 turret), and HVSS suspension... Only a true die hard "Shermaholic" would know this. The areas that allow a person to distinguish the tank I just described above from a later "Easy 8", were very well hidden by crew storage of personal gear / equipment in the movie... just a little FYI for you.
Up until Tamiya's release of this model, I had several of the older Dragon / DML "Easy 8's" in the stash. Man time flies... it's now 2019 ! I also mentioned a while ago to Martin and several members of his staff that I would be writing up some more kit reviews, so here goes... They probably didn't think this would ever happen. But here it is...finally.
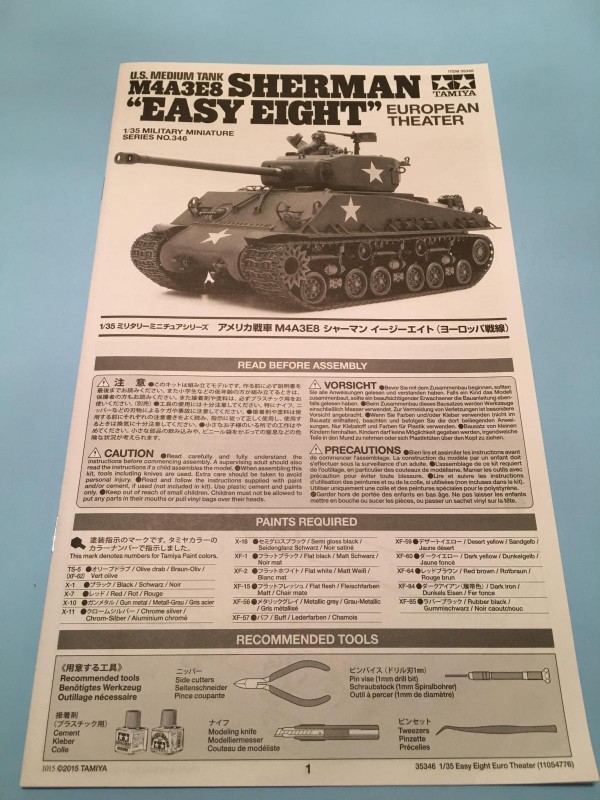
This kit has a very well written and easy to follow set of instructions. If you have built anything that was recently released by Tamiya then you know what to expect. The instructions give you a short history on how the tank was painted ( Olive Drab no less), and a list of color call outs using Tamiya colors. There are 32 assembly steps on the instruction sheet.
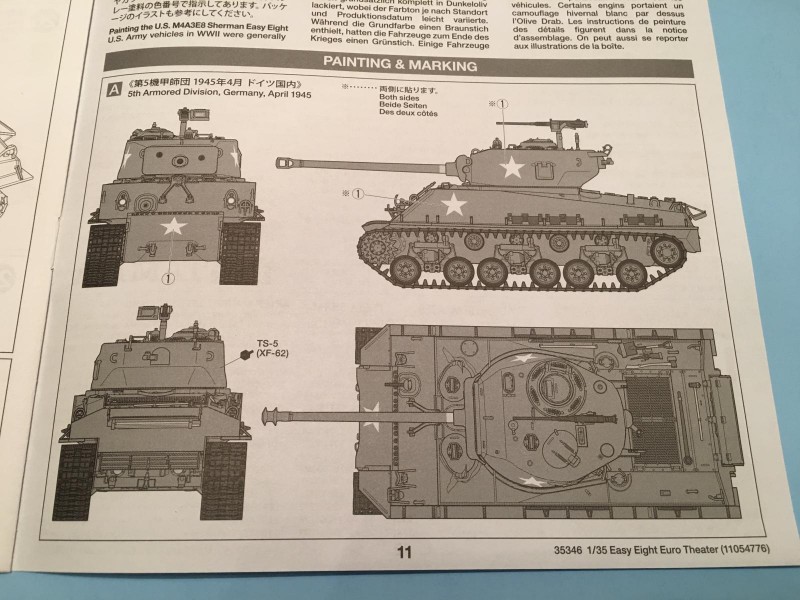
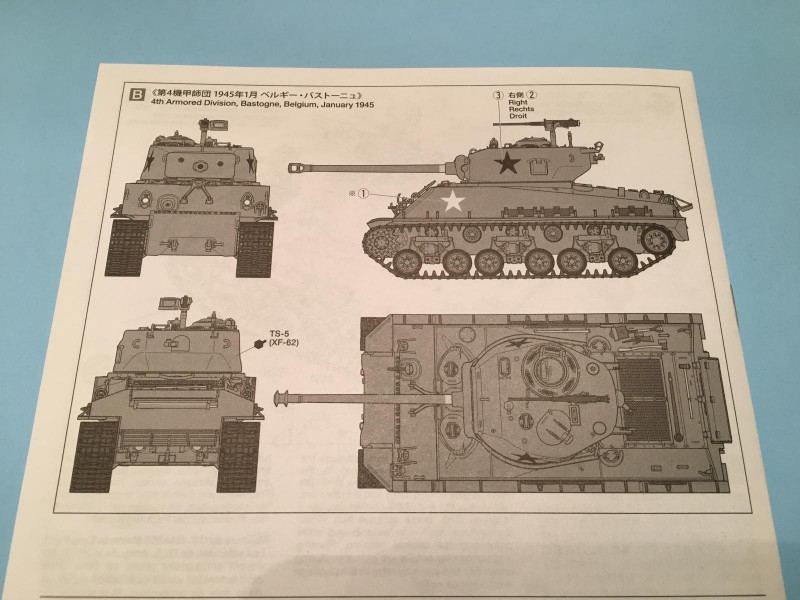
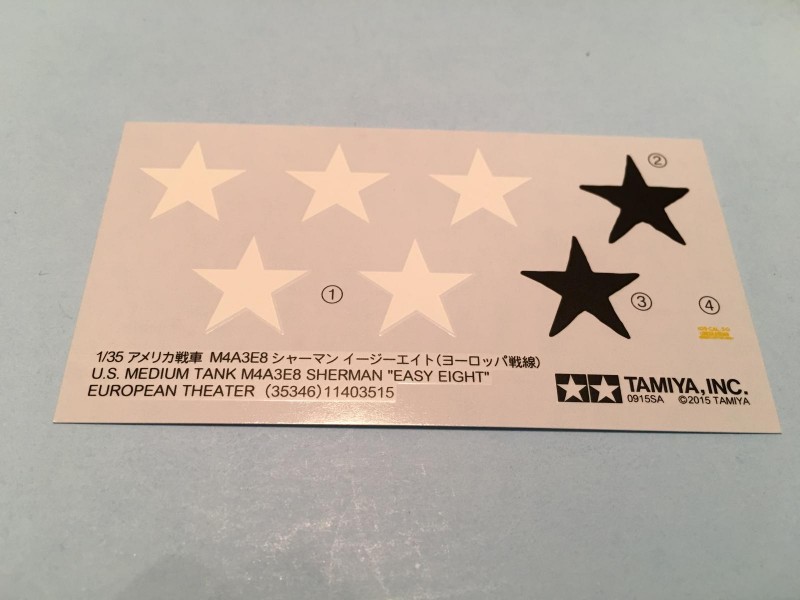
There are two different versions that can be built using the kit supplied decals.
First up is a tank from the 5th Armored Division , Germany, April 1945
News flash here ! This one is painted in overall Olive Drab with white stars...
The other option is a tank that has the turret "Star" blacked out. This was often done to help conceal the tank and not give the German gunners a good place to aim... which was done.
This second tank marking option is for a tank from the 4th Armored Division during the "Battle of the Bulge", located in Bastogne, Belgium, January 1945. Not much of a color choice, but these Sherman tanks were not often seen wearing other colors. Olive Drab was the norm, and Tamiya got it right...
The decals are shown in this next picture. My example was well printed and in register.
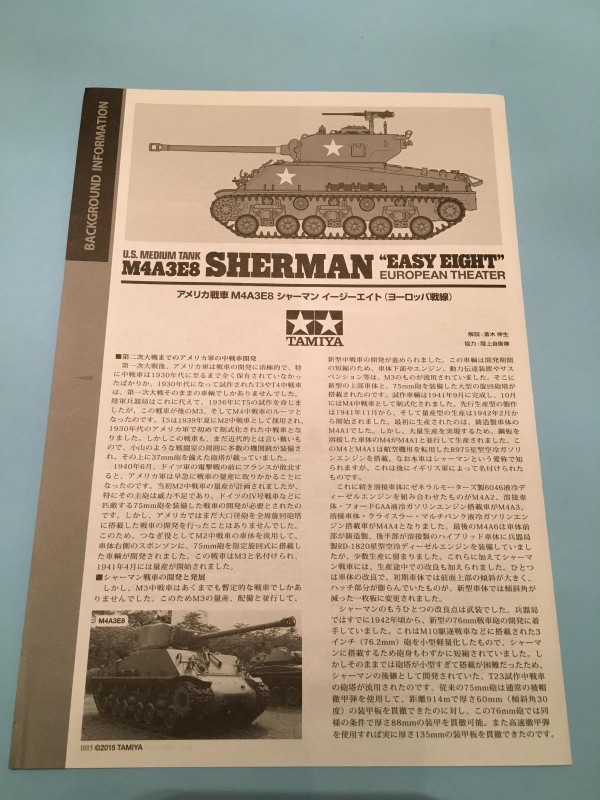
There is also a supplemental instruction sheet that gives more history details on the type. This is printed in different languages.
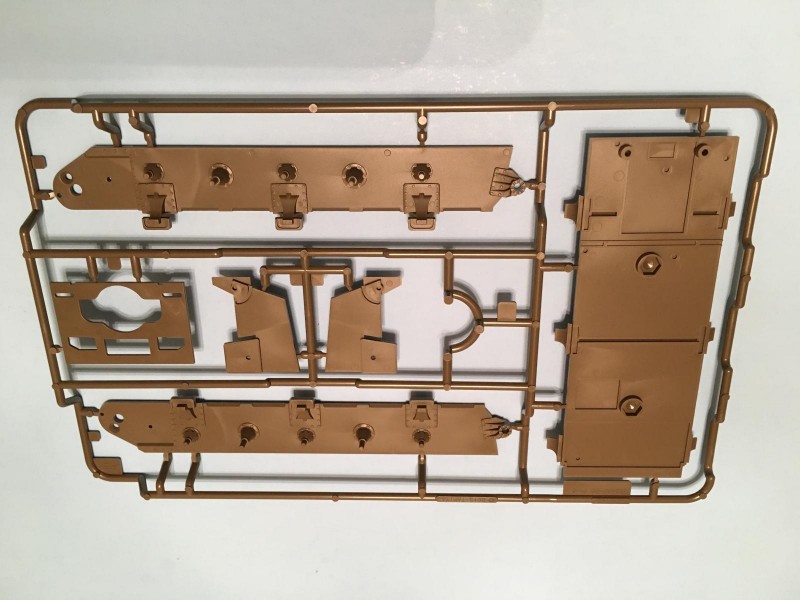
Now on to the plastic bits...which are molded in Olive Drab. Tamiya was going to release a later Korean War version of the "Easy 8". Because of this, there are some common parts. These next parts are the "common parts" that are shared with the "Korean War" version.
These parts when assembled will make up the lower portion of the hull.
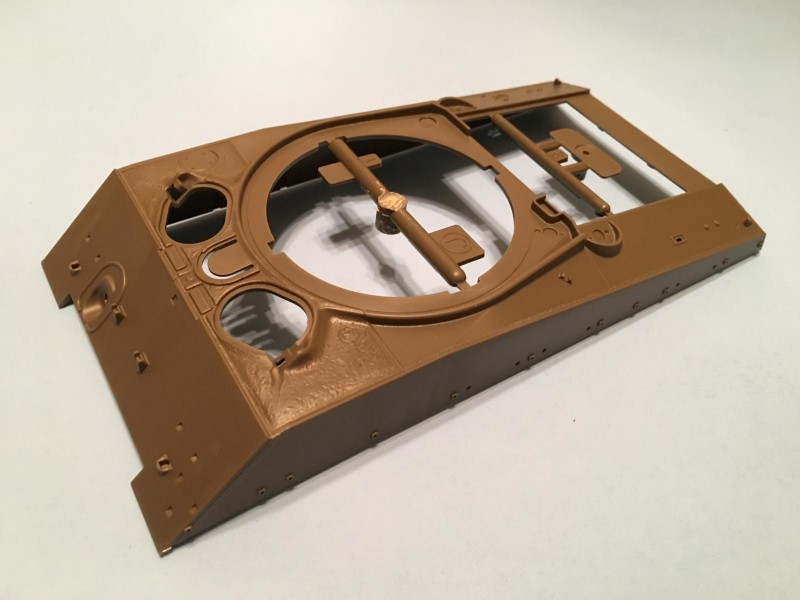
The upper hull is cast in one piece. This will make it almost fool proof to mess things up. This also looks as if the side sponsons will be sealed against the upper hull, and no large open void space will be present above the tracks once everything is assembled. On the previous Tamiya Sherman kits, this was a place that left much to be desired.
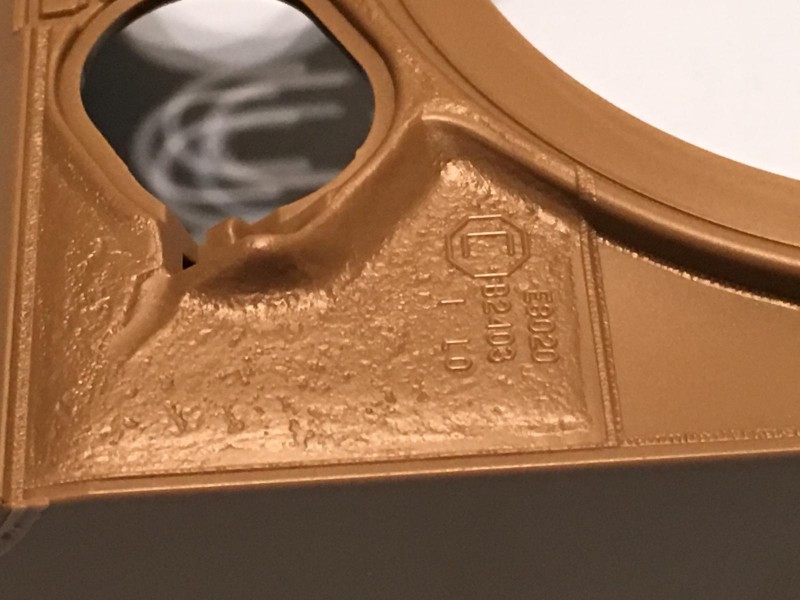
The casting details are superb. Here's a close up picture to let you see how the hull casting letters / numbers and texture looks. They even captured the look of the weld beads nicely !
Please look at the photo and judge for yourself. This should look great once completed and painted.
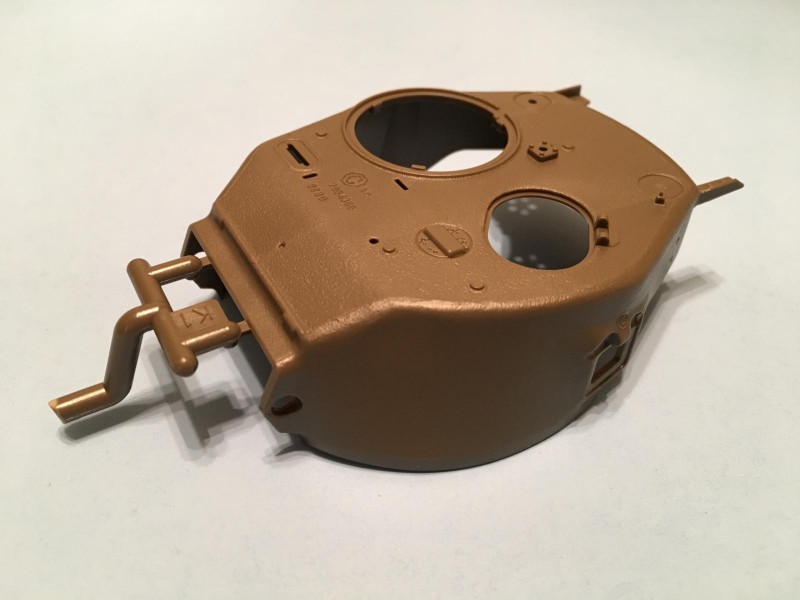
Next up is the upper turret section. It is just as nice as the hull.
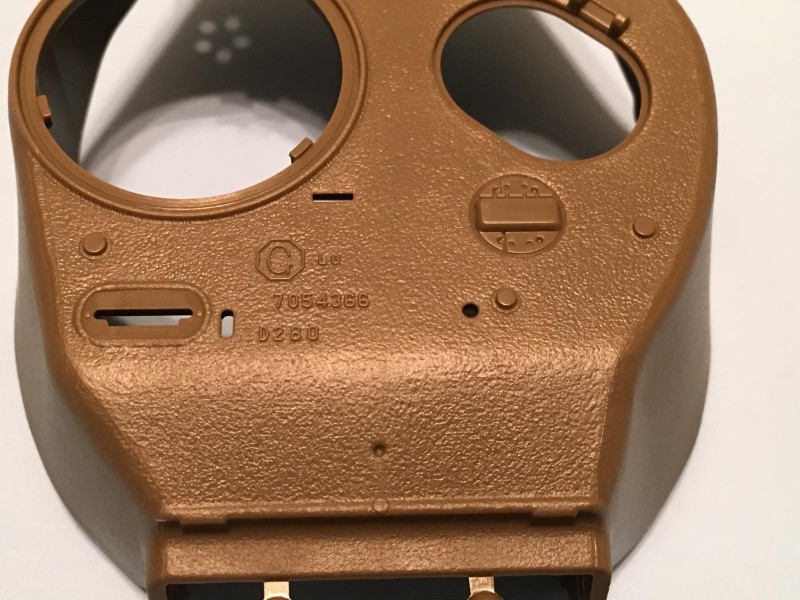
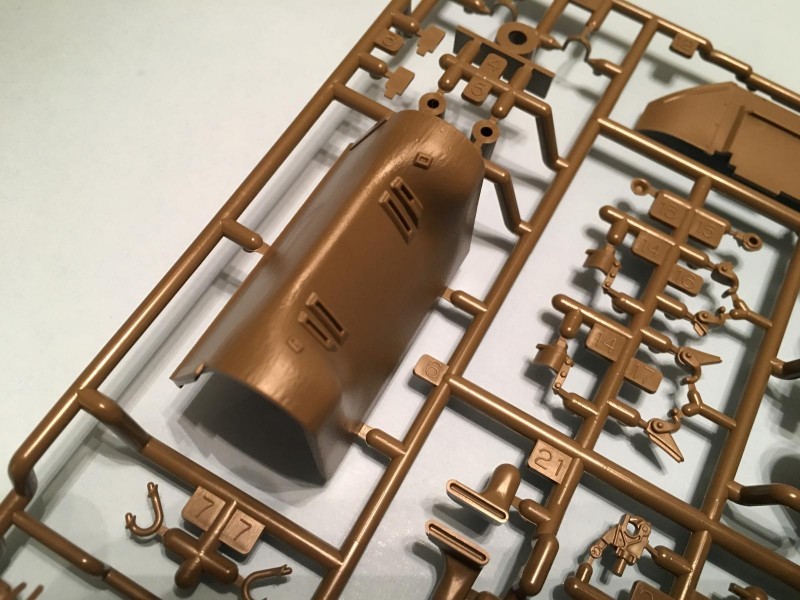
Here's a close up picture of the turret casting and the vision block for the loader.
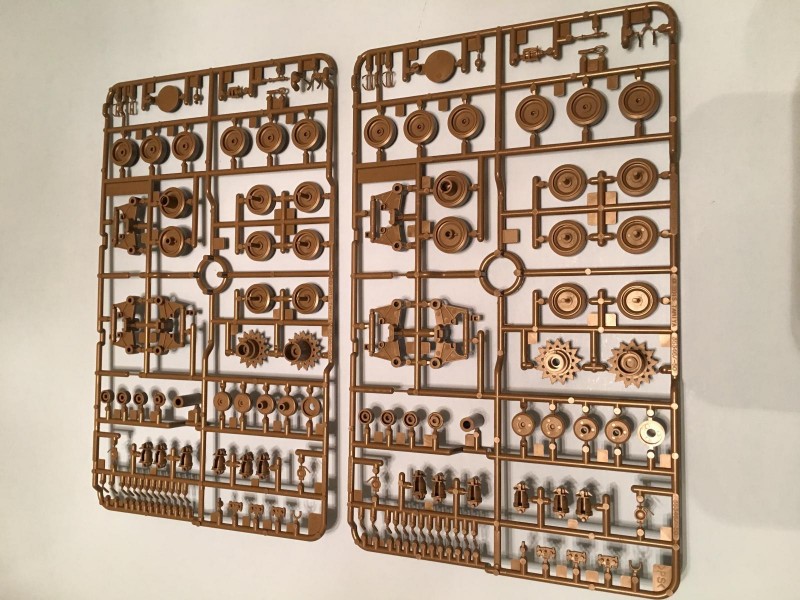
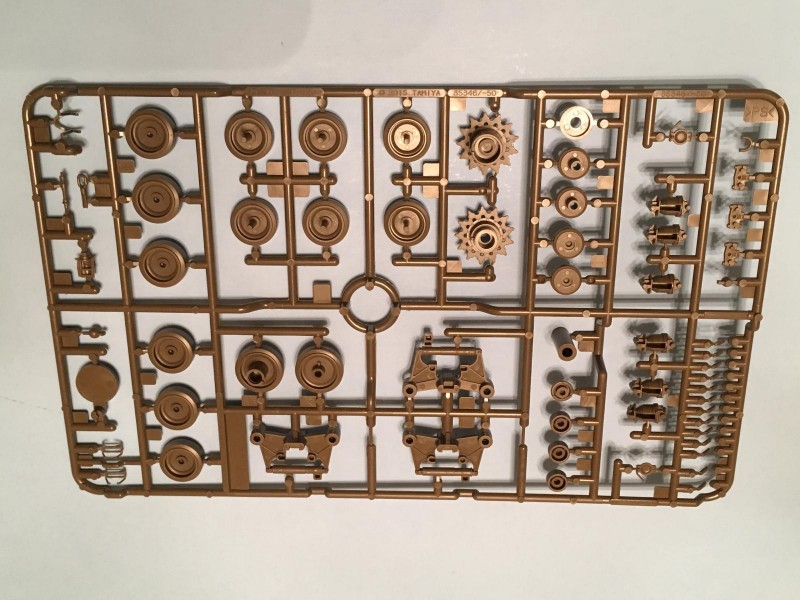
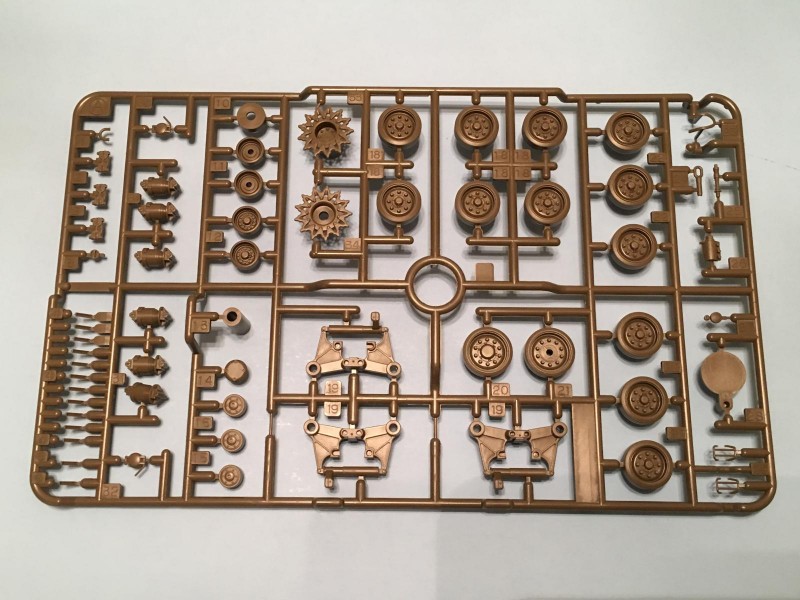
This next picture shows two identical parts trees. These parts will make up the majority of the suspension. Road wheels, sprockets and the HVSS trucks are included on these trees.
In case you're wondering what HVSS means, it's referring to the type of suspension used on the "Easy 8". It stands for Horizontal Volute Suspension System. The "Volute" wording is in reference to the main spring. It's coiled like a snail... henceforth the word Volute.
These next two pictures show both sides of the suspension parts tree.
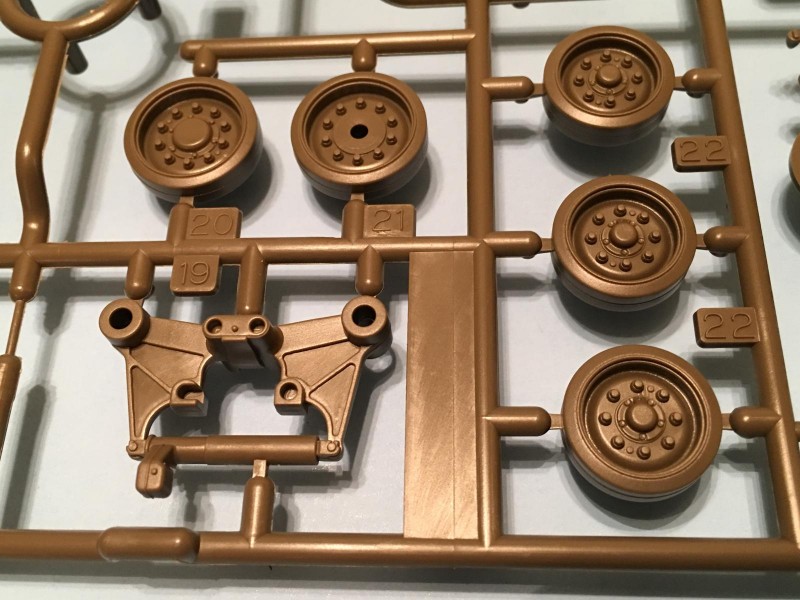
The details look to be nicely cast on the road wheels. The HVSS trucks are cast as a much simpler part than that found in the Dragon / DML kits. It should look OK once assembled.
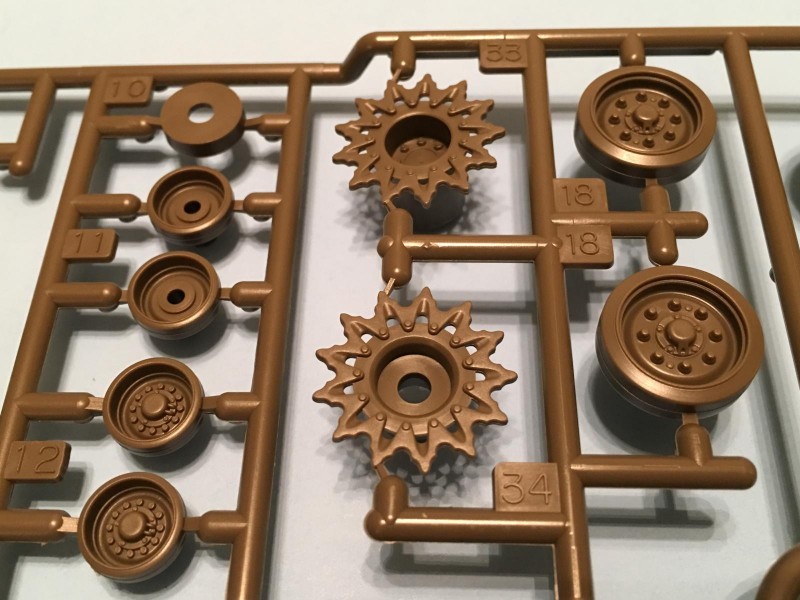
and the sprockets...and support rollers. The sprockets provided in the kit are the later War "light weight" versions... believe me, there is nothing light weight in a tank... ever... period. end of sentence. This one just took less metal to produce...
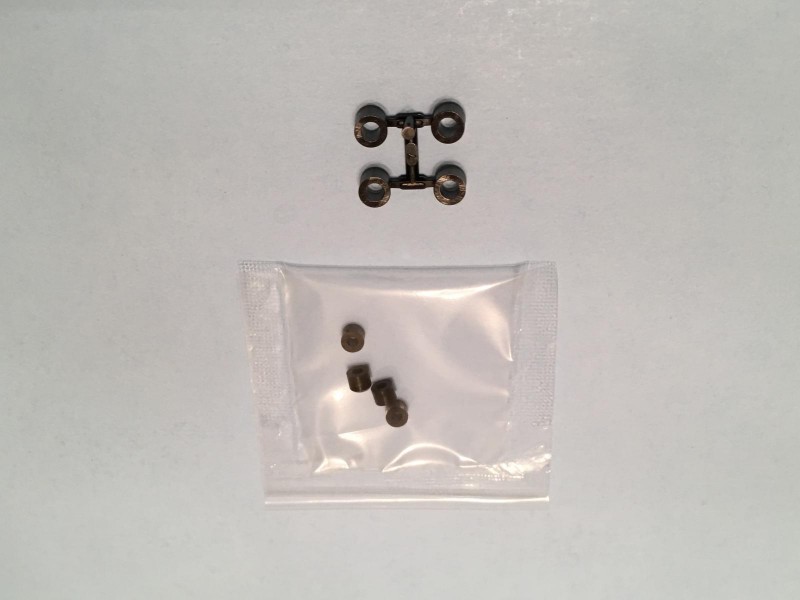
In typical Tamiya fashion, poly caps are used in the assembly. Here they are...
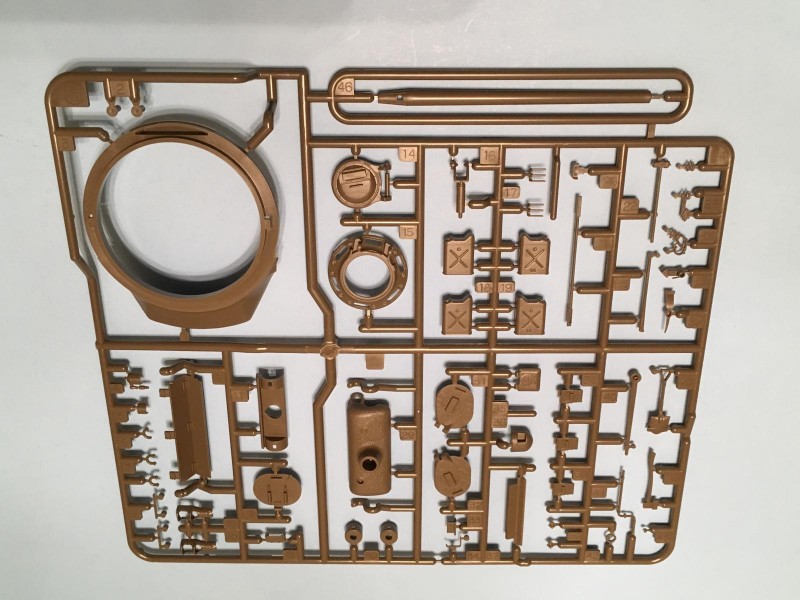
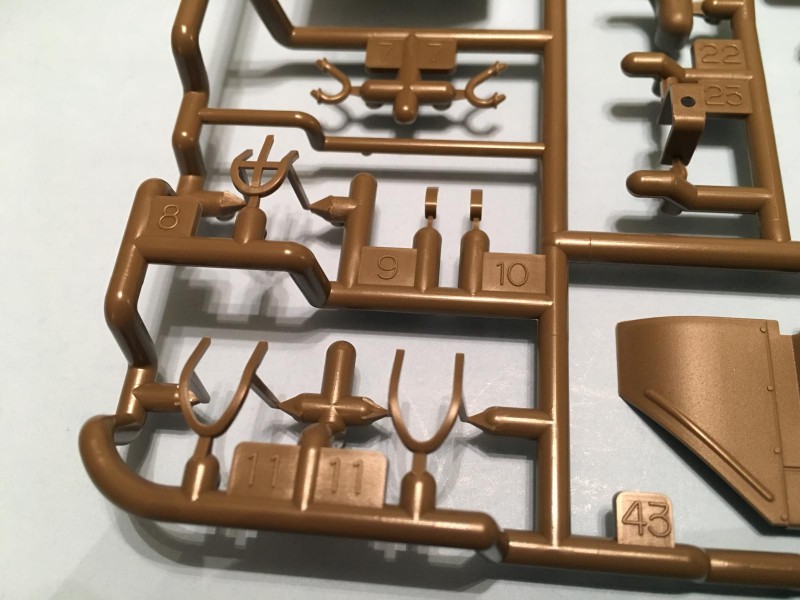
This next photo shows the OVM tools, the one piece main gun barrel, and lower section of the turret. Water jugs, the muzzle break, hatches and various other "little bits" are included on this sprue.
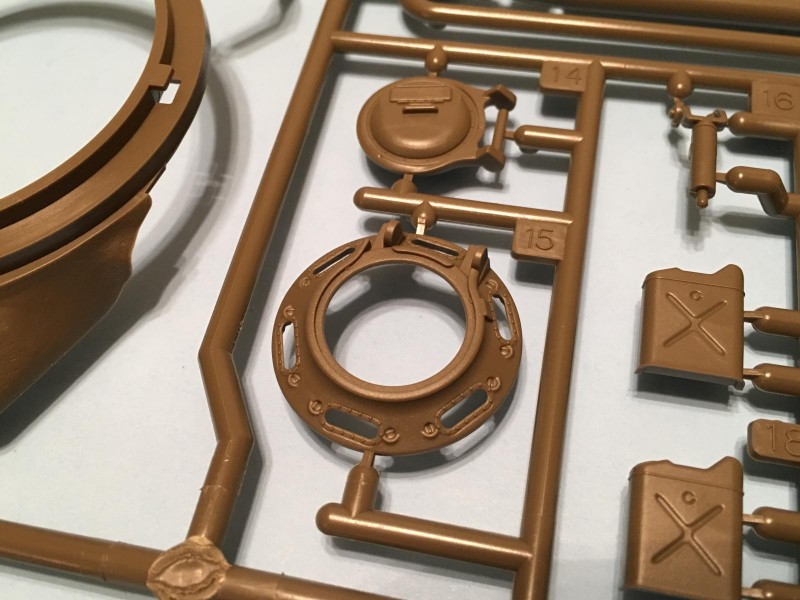
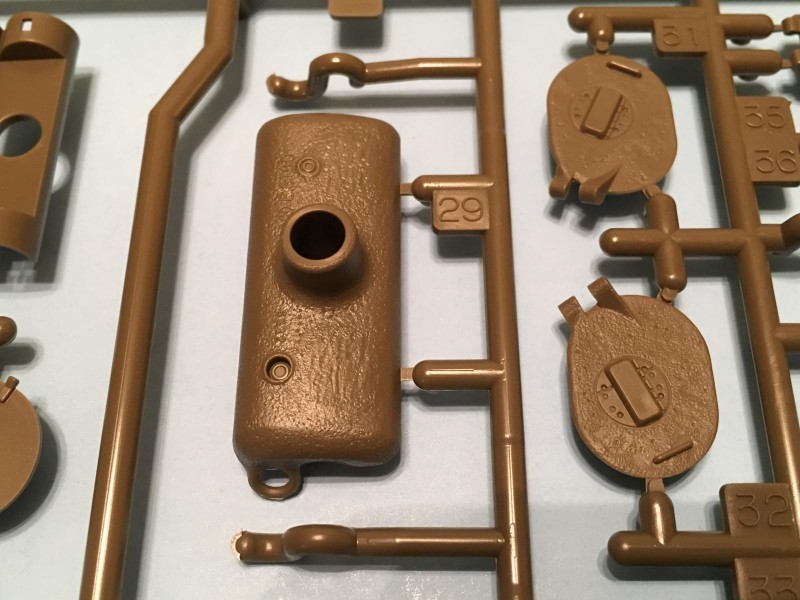
Here's a close up picture showing the details cast into the Commander's cupola, the cupola hatch and the 5 gallon cans.
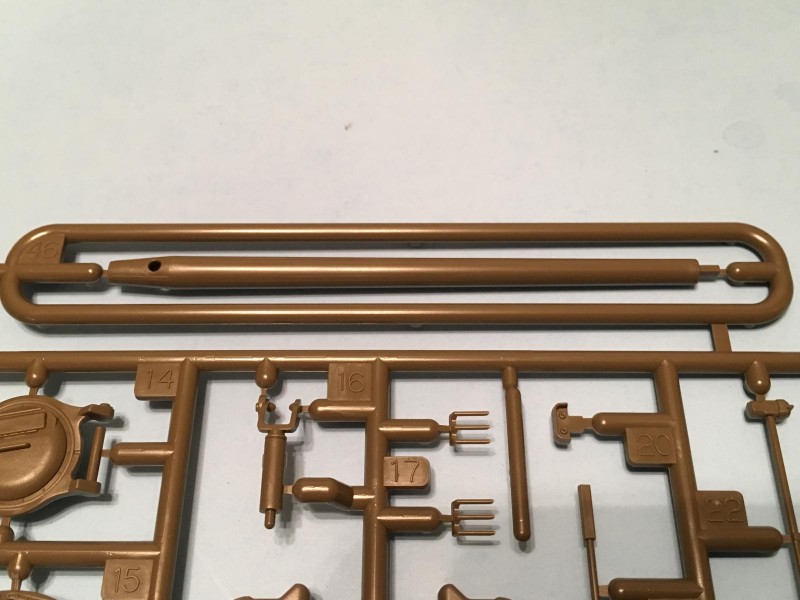
Thankfully the main gun barrel is molded as one piece. This should help tremendously with the ever present problem of seams present when this part is molded in two halves. Thank You Tamiya !
Here's the main gun mantlet. On the WW2 versions, most often they didn't have a canvas cover like they did on the later versions. You can see the driver and assistant driver hatches here ... The details are spectacular.
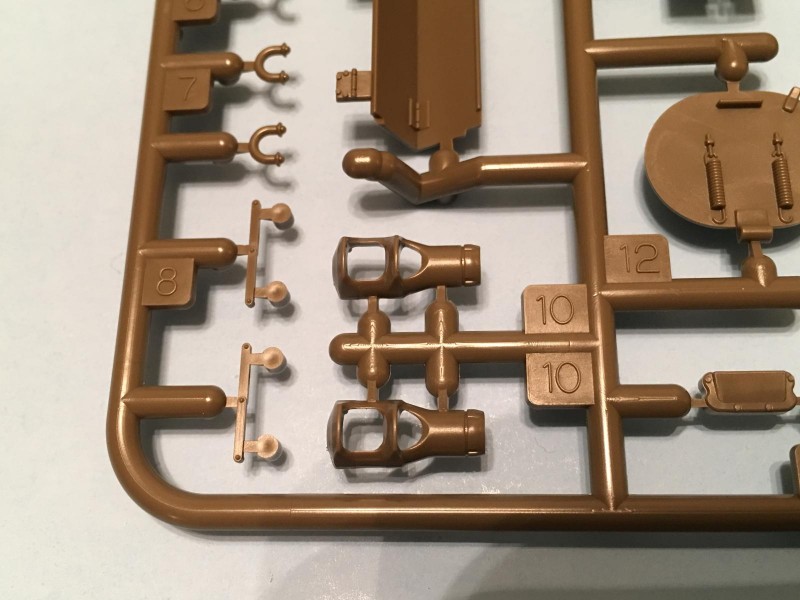
The muzzle break is a two piece affair... and also nicely molded. Notice how well the springs are molded on the inside of the loaders hatch next to the muzzle break.
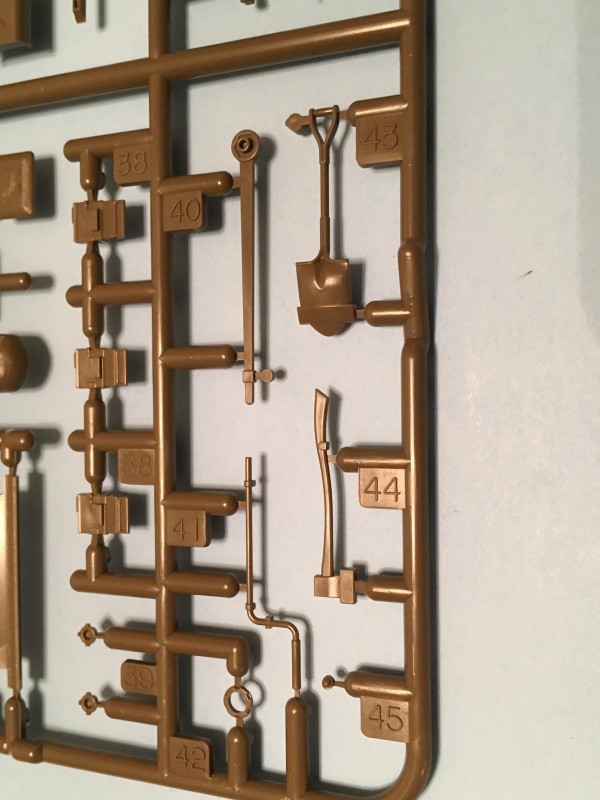
This is a close up of the OVM tools. Sometimes they are called "Pioneer tools", but when I was serving in the Army as a tanker, we (and the Army) called them OVM which stands for "On Vehicle Maintenance"... These tools are also nicely molded. I'm seeing a pattern emerge here. You can also see the vision blocks in this picture... They don't look like they changed too much over the years and look very similar to the ones we had in our more modern tanks.
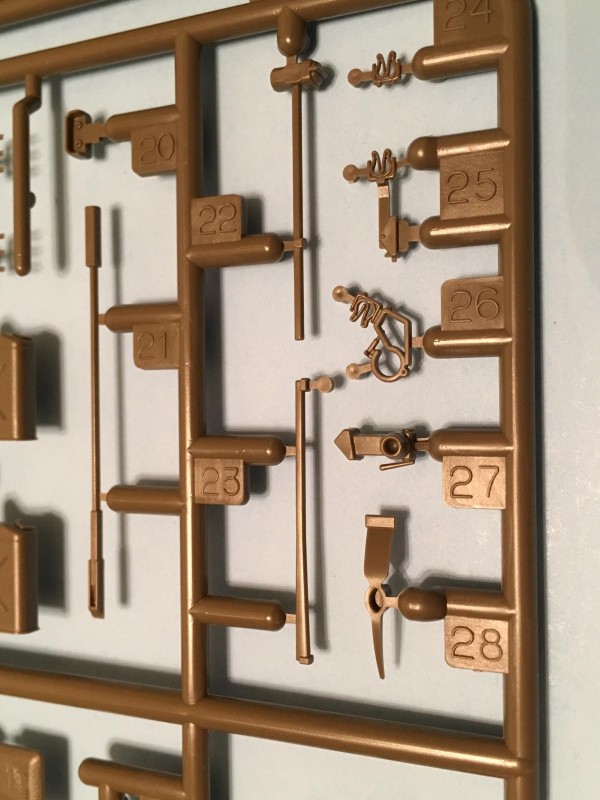
More OVM tools and the travel lock. No there is not a key for the travel lock ! But I did send a recruit out to find one once... He came back several hours later after being sent around to various other units looking for one by the other Motor Pool Sergeant's... It was a right of passage back then. Now it's called hazing. Back then it was OK...but so was smoking in a restaurant. Thank God we don't do that anymore ! Seriously, smoking in a restaurant is nasty... good riddance. ( and I smoked for 4 years)... I'm glad I quit many, many years ago. If you smoke, do yourself and your friends a big favor and stop. You can do it... I did.
But hey times have changed. Now we are a kinder more gentle Army and a person's feelings count.
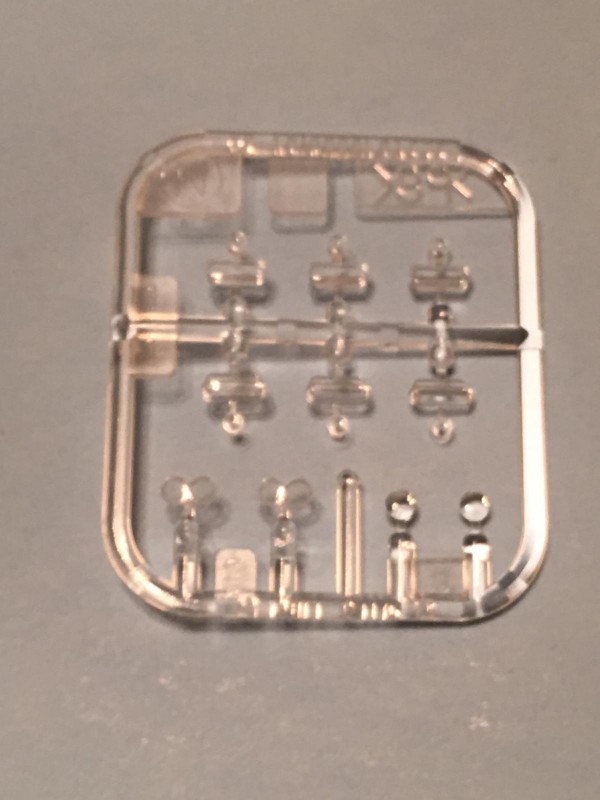
The clear parts. Sorry this one is a little blurry... 6 vision blocks, 2 headlights and a pair of goggles for the crew are provided.
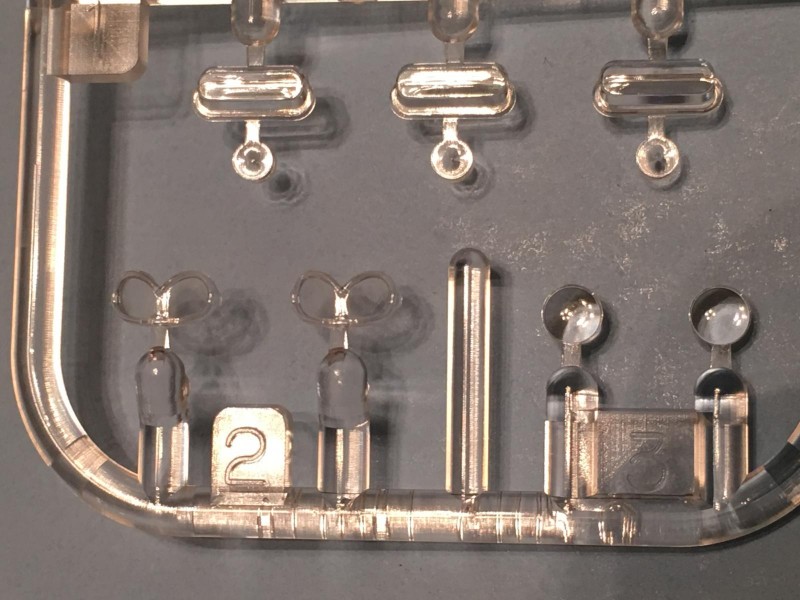
This close up picture is much better... look at how clear these parts are ! I'd be happy to use them on an airplane model...
Now let's get to the parts that are specific to this WW2 / ETO tank version.
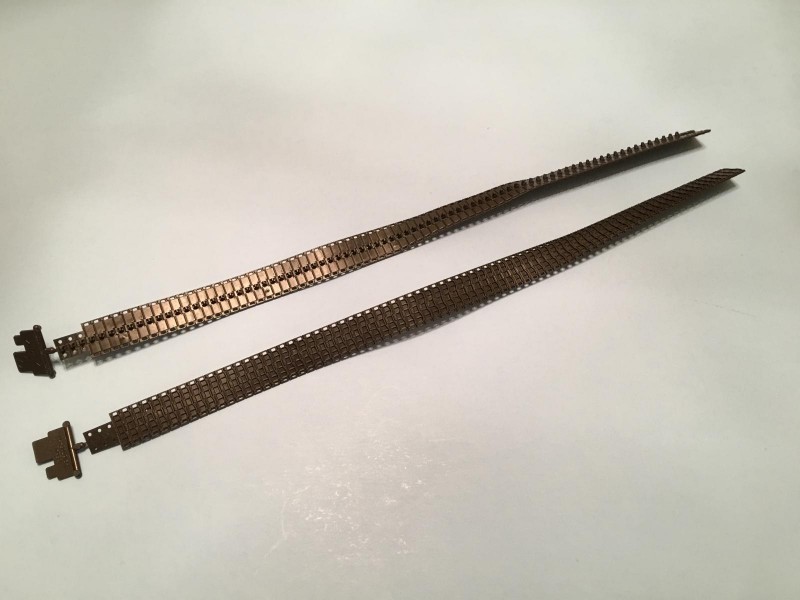
Starting with the tracks. The early "Easy 8" Sherman's had T-66 tracks. These are flexible "rubber band" style one piece units that are designed to be glued together. The set provided in my kit were slightly warped. This should not pose a problem though if I decide to use them.
Personally I like individual track links, and might opt to use an after market set on mine when that time comes. But many other armor builders like the simplicity provided with these one piece tracks. To each his own. It really would be nice if "both" styles were provided (individual AND rubber band style) and let the builder decide what they want to use.
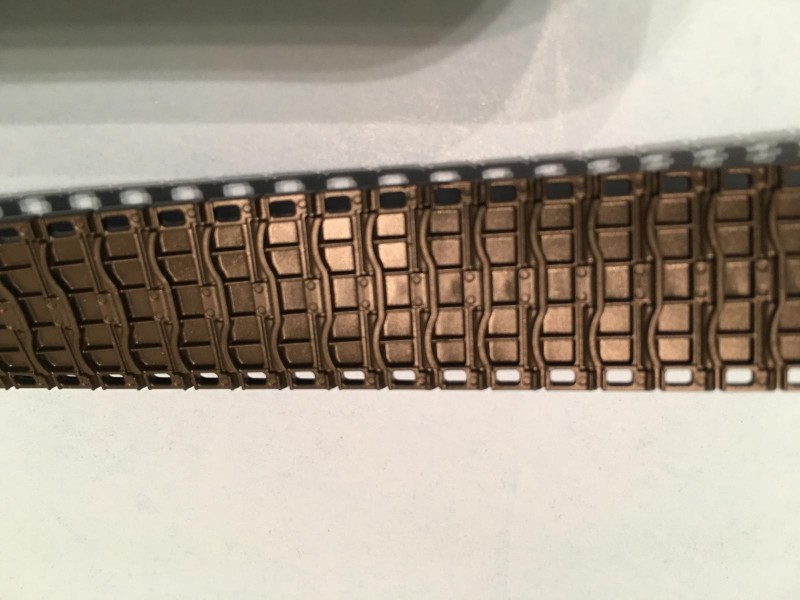
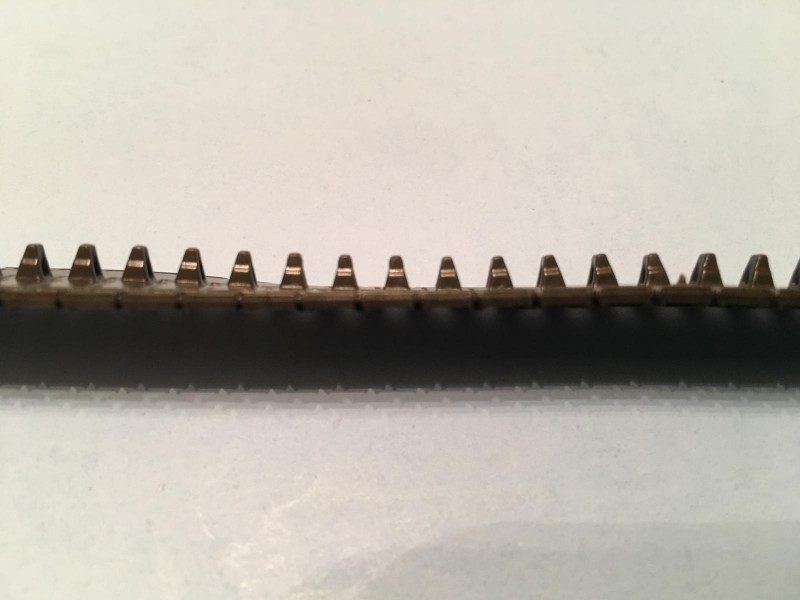
Here's a close up showing the details molded into the "traction side" of the tracks.
The center guides are molded solid. On the 'real' HVSS tracks, these center guides were more square looking, and were also hollow. This is something that would be pretty hard to replicate.
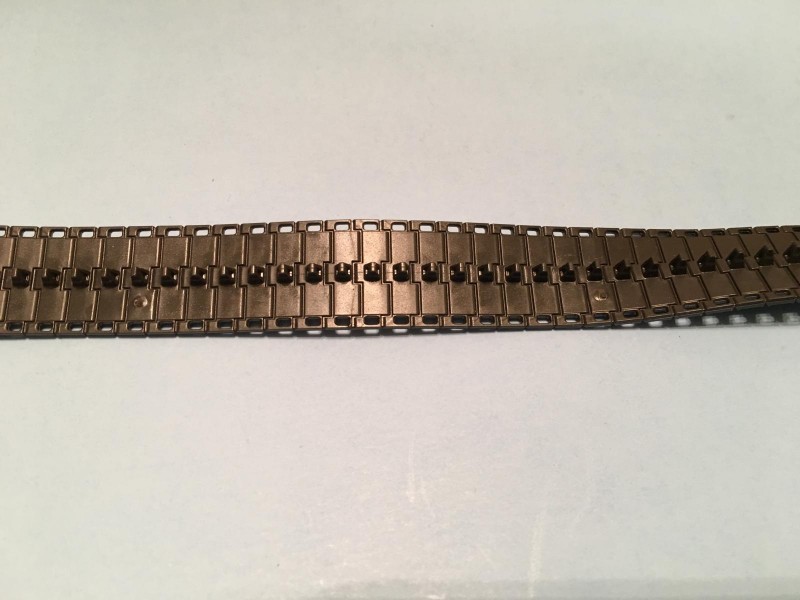
The road wheel side of the tracks has a small ejector pin mark that is visible at every 15th track block, and this pattern repeats throughout the track. I'm thinking this is not too big of a deal if you "dirty" your tank up since it will most likely be hidden by the sprockets, road wheels and support rollers anyway. You can barely see this as a small circular spot visible in the area where the road wheels would normally roll on.
Interestingly enough, this ejector pin mark is only located on one side of the track where the road wheels ride. The other side is nice and clean. T-66 tracks were directional. This would place the pin mark side to the inside against the hull on one side of the vehicle to make them even less obvious. Unfortunately, the other side will have these pin marks to the outside, where they could end up being a little more visible.
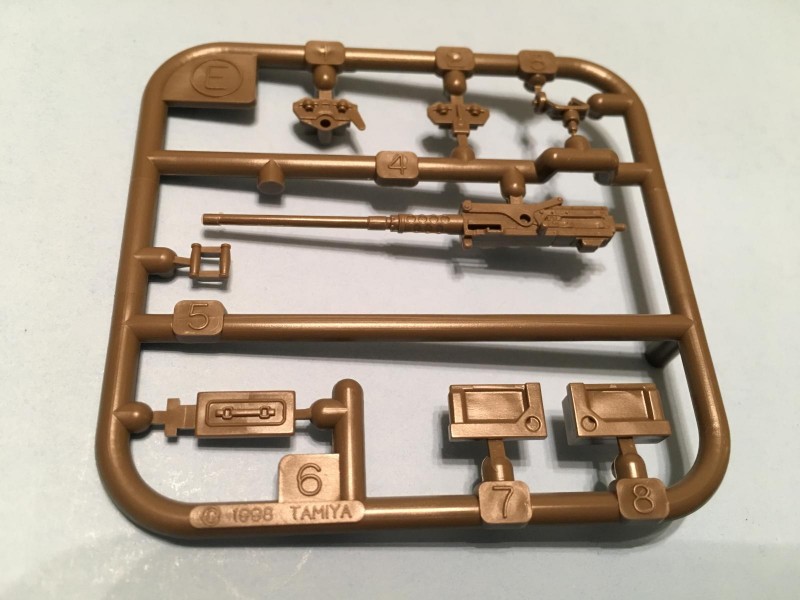
Next up is a very nicely detailed M2 .050 caliber MG. Tamiya has done an excellent job replicating this. This plastic sprue is marked from the year 1998 and is a carry over from other kits.
I have personally fired "Ma Deuce" in real life, and from personal experience I can tell you the one provided in the kit looks pretty accurate to me. I can tell you all about head space and timing, and what a "Go- No Go" gauge is used for ... When Ma deuce talks, people listen. Some not for too long though... it all depends on which end you are at. In this case it is better to "give" than "receive".
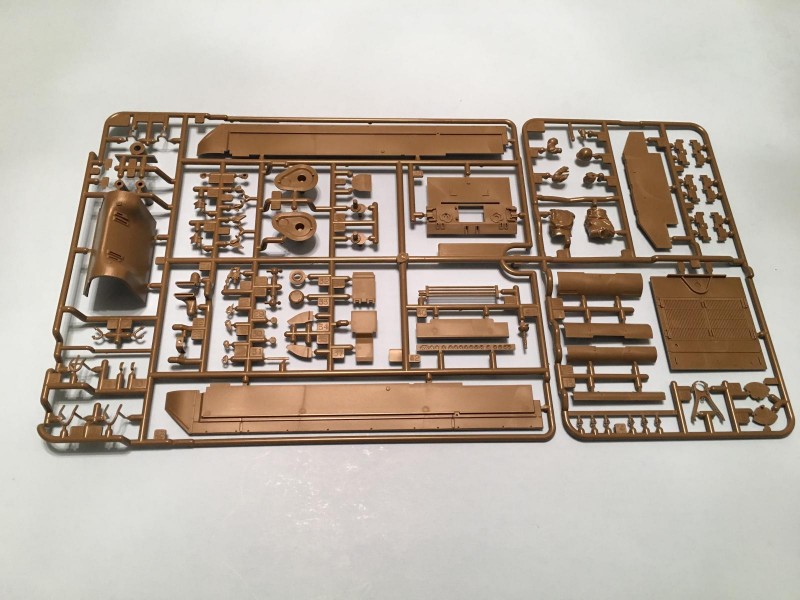
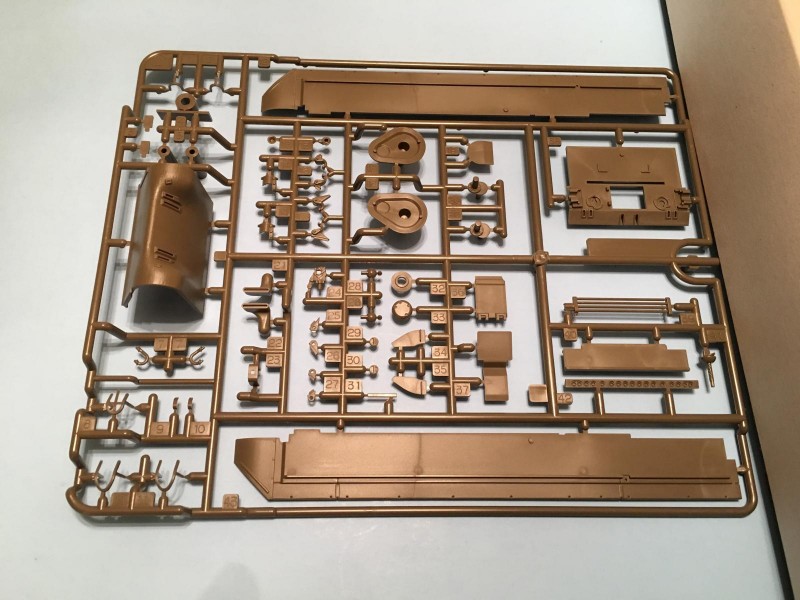
This next picture shows another common sprue.
These parts are partially shared with the newer Korean War version. I'll explain:
See the area on the right hand side of the sprue gates where the outer perimeter has a "C" shaped attachment point ? On the Korean War version, the plastic tree is cut apart at this junction. The larger left side of the plastic tree is used for both kits, the WW2 / ETO and the Korean War tank.
Only the smaller section on the right side is used on the WW2 version of the model. This section of the tree contains the rear upper deck, the spare track blocks, travel lock, rear armor plate and crew figures.
It is not included with the Korean War model, just FYI.
Here in this picture I have blocked off the part not included on the Korean War Sherman with the cardboard box bottom from the kit. What is remaining visible in this picture is the section that is shared, and common to both versions of the model.
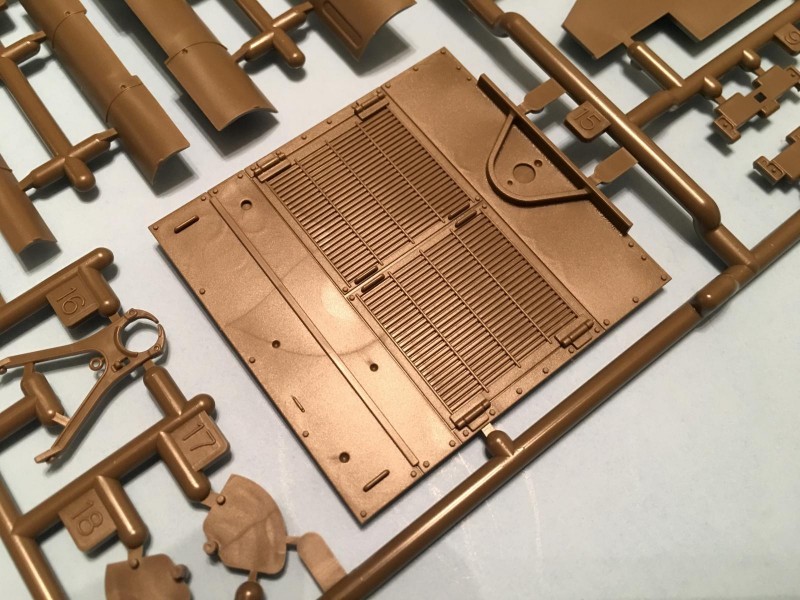
Here's a close up of the rear deck. It has some nice details...
The same goes for the lower front slope / transmission cover. On the "Easy 8's" this piece was a heavier armored piece and was stronger than the three part "bolt together" style seen on earlier Sherman's.
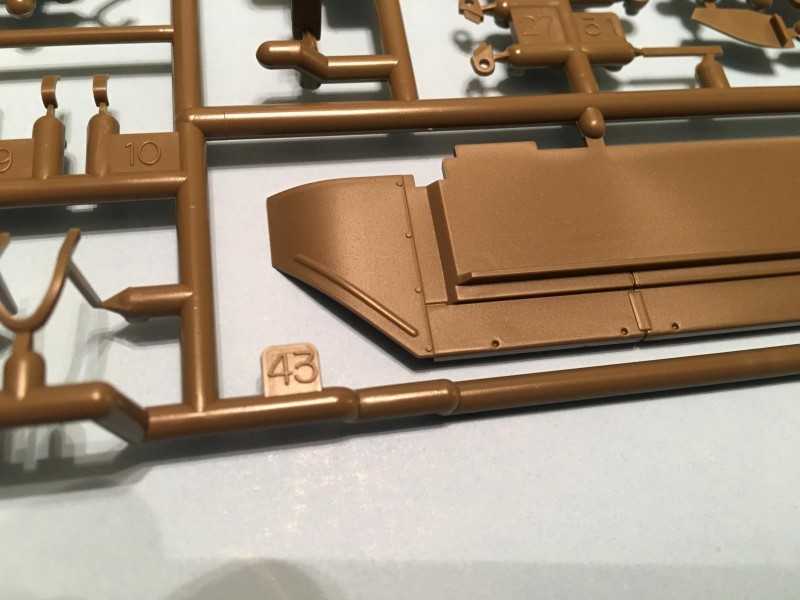
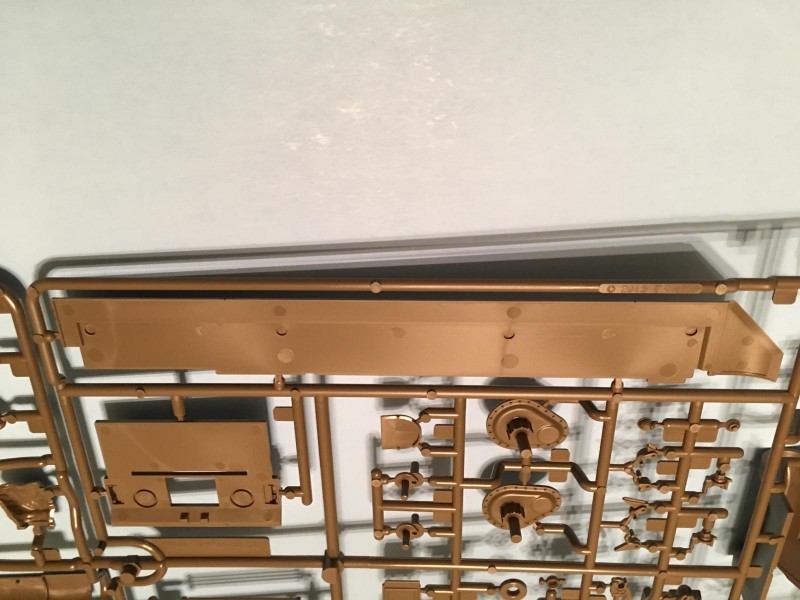
The fenders are molded well and look very good from the top side. This is a close up showing the front fender.
This next picture shows the head light guards. I have heard some grumbling on other web sights about this part. But other than using PE to replace these guards, it would be very hard to replicate in plastic. I'm using these as supplied when I build mine... If not, I might try to scratch build a new set using plastic angle strips to simulate the real thing.
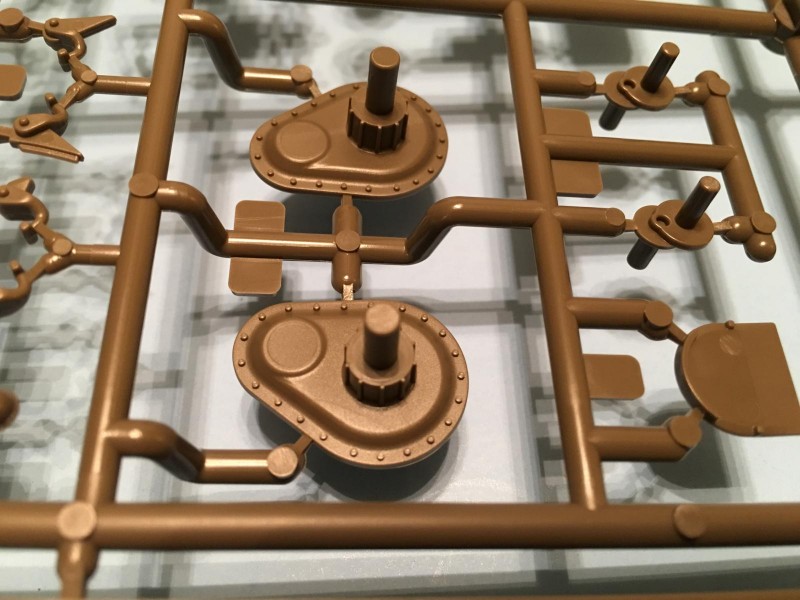
The final drives are well represented too. Most of this detail will be hidden by the track and sprockets. Too bad... but you could see the detail if you decided to build one up in a maintenance scene diorama type setting. You could remove the sprocket and have the track broken... Hey, you have options here...
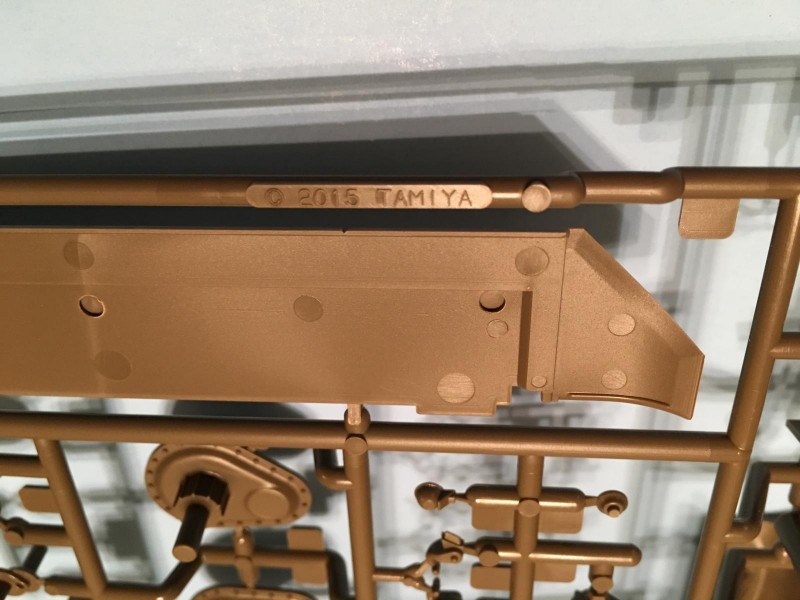
The under side of the fenders have some very shallow (and 4 deep) ejector pins visible on each side. If you think this is going to be a problem for you, and you can't sleep at night because of this, I highly recommend filling them in before you glue these parts in place... Otherwise, you could live with it as molded, since the tracks will "probably" hide the majority of the offending marks... here again we have choices.
Here's a close up showing the pin marks I just mentioned above...
For some this will cause heartache and grief. For others it will not be a problem. I wanted you to know these pin marks are there, what they looked like and let you decide for yourself what you would do.
I'll probably take a thin sheet of plastic card and make a liner to cover this area on mine. However, it just might be possible these areas are mostly covered by the side sponsons once the hull is assembled with the upper and lower hull parts glued together. I'll know more about how this section and what all is hidden once I get to this area of assembly.
I try to make my reviews a little humorous, and include the facts, good and bad. This way you can make an informed decision before you lay down your hard earned money...
Personally,
I'll be building this one very soon... check it out if you can.
as always, "Comments are encouraged"...
Thanks for looking !
and please stay tuned for the follow up article on the Korean War "Easy 8"...

Wonderful kit review, Louis!
Thanks Jeff...
Really nice review Louis, well detailed along with your excellent pics which should make a any tanker want to build this kit. I remember using " head space and timing" as a comment to explain how a newbie really screwed something up. And I've heard the Navy often sent a new sailor down to supply to obtain some relative bearing grease. Times have changed.
Thanks Tom for the kind words about this review. I knew right away that I had to get one of these as soon as I saw it in the LHS...
Haha... we used a very similar saying in the Army as you guys did ... ours went something like this: "It looks like you are suffering from operating error / head space and timing malfunction ! No time in grade, no time in life ... now get your head out of rectum defilade !".
Leave it up to the Navy ! That's a good one too...
Yes... times have changed.
Seems like a great kit Louis, I have the 35-016 Akusa model British Sherman V on the bench in 1/35 but this new Tamiya release looks great too! Maybe my next Sherman baby.
Hello Michel,
I still don't have any of the Asuka kits. It's a shame, since they are superb model kits and very detailed, but I don't. If you decide to go ahead with getting one of these Tamiya cousins, I think you will be pleased with it. From what I have read elsewhere about how it builds, it seems to be an easy one to knock together. I'll be finding out here very soon...
and I'll keep you posted on the progress. I'd love to see some pictures of your Sherman build. If it's anything like your Tiger I ... then it's going to be a real treat.
Thanks again.
Very nice review Louis, almost tempting me to maybe build some Armor...
Maybe I can encourage you to come over to the "Dark side" of armor building... please stay tuned for another upcoming article about the Korean War version of this kit.
Thanks my friend. It's great to hear from you.
LOL! With retirement coming soon yep it's possible. I do like Tigers btw...
How about this one ?
I hope to be building up this one soon ... Hopefully it will look something like this one. From the movie "Fury".
Thanks again buddy. Here's wishing you a great retirement.
Thanks! Wifey has great plans for me...
BTW, I've always wanted to do a dio of the Sherman and Tiger from Kelly's Hero's
Great to see the kit itself Louis - great review.
Thanks David ! I'm glad you enjoyed this article. The pictures you sent me are going to be very helpful during my "Fury" build. I sincerely appreciate them...
Tanks for the review, looks like a great kit.
Good one Robert ! I am very happy with how this kit looks in the box. Please follow along during the construction phase over in the Imodeler at the Movies GB.
Excellent review. Great photos, Louis. Look forward to seeing her build up.
‘Liked’
Thank you David ! I'm happy to hear that this review was "Liked".
Sadly, the lighting made the Olive Drab colored plastic in the photos look a little more brown than it actually is.
Please stay tuned for updates with the newest addition to your fabulous "Imodeler at the Movies" GB... my rendition of the Sherman tank "Fury" using this kit from the review.
Take care...