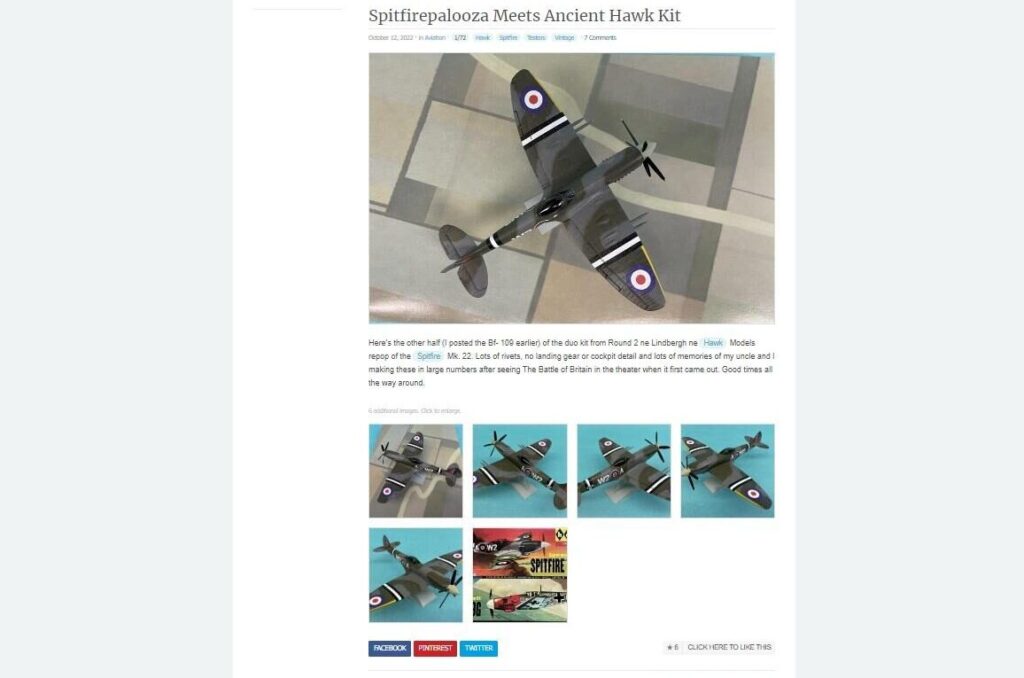
iModeler tutorial – Arranging images within text
This article is part of a series:
If you have already tried to do your first article posting, you will be familiar with the article editor and the image lightbox (a widget that helps you with uploading your images).
You have undoubtedly also noticed how iModeler lays out your images and text - the first image in the lightbox goes at the top of the article, with all the others arranged as a clickable gallery at the bottom. This is the default article layout which is entirely automatic - you don't need to do anything except uploading pictures and adding some article text.
Although the default layout is useful for many things, occasionally you may want to arrange your pictures differently. Fortunately, this is easy to do - here is how.
Preparations
Make sure that you are logged in.
Get along adding a new article, or open an existing one for editing. Make sure that you have uploaded some images into the lightbox.
What to do
Whenever an image is uploaded into the lightbox, it receives a picture reference, looking something like [pic1], [pic2] etc. These are displayed alongside each image in the lightbox. Have a look at the lightbox to locate these tags.
To place an image within the text of your article. just write its reference at the place where you want it to appear. Note that you must use the surrounding square brackets [ and ]and tag name exactly as it appears:
[pic1]
Use additional image references to place other pictures within the text.
All images thus referenced within the body of the article will appear in their designated spots. The remainder will still be grouped as a gallery at the bottom.
That's all there is to it. Now you can easily compose a pictorial, step-by-step photo guide or anything else you can imagine. Happy posting!
Additonal points of note
As soon as you start using specific picture tags within your text, iModeler will stop automatically displaying the first image at the top of the article. Should you still want it there, just type:
[pic1]
...at the top of your article text. You can also choose to change the leading image by selecting a picture with another number.
Should you specify a tag of a picture that does not exist in the lightbox, iModeler will output a gentle reminder similar to this:
--- pic12 not found ---


Leave a Reply
You must be logged in to post a comment.