Review: Tamiya 1/48 P-38F/G Lightning in Review Pt 1
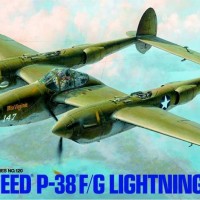
2019 has continued to be a year of incredible new mold kits and pleasant surprises and most have become available in the last quarter of the year. Just in time for the Christmas holiday season. The P-38 Lightning is one of them. And coming from Tamiya has everyone clamoring to picking up a few as most of the online shops in the U.S. have announced there availability on their shelves this week. I got my first one today in the pre-production white box. Have 2 more on the way with one of those going to a nice home in some cozy little town in Florida. Those kits will be the production models in the commercial box.
So part 1 will be a review of the new Tamiya P-38F/G just coming in the mail today. Part 2 will be a review of the Hasegawa kit of which will be P-38J and a summary of the Academy P-38E. Now just limiting the review to those kits for now. Not saying the Hobby Boss or the Monogram/Revell kits are not worthy they are but just limiting to the kits I have available. This will not be a bashing of any kind, just a straight forward bias review of the three and pointing the issues that most have encountered building the Academy and Hasegawa kits. I myself have built 2 Academy P-38's the M and the E, as a kid I built the Monogram 1967 edition of the Lightning and brushed painted it with Testors Chrome Silver. Yep I still remember that, Of course at 10 years old seams what seams? accuracy?, raised panel lines, who cared about that at the time when it was fun building a cool plane and play with it. I have yet to build the Hasegawa, so I went and ordered one along with the Tam kit. I have read both pros and cons on the Hase kit, is the Academy as good less fiddly. I don't know as I only have built the Academy Lightning to date. So I will soon find out, but for now lets see what is in the box on this new Tamiya P-38 everyone has been teased with no pics just a box top which we can see anywhere on line anytime, who cares, I for one want to see the plastic, what makes this better than the rest. Show me the Lightning. Not everyone access the other websites. We need to grow Imodeler, the point is to show the members on here what the new stuff is all about not tell them go elsewhere! Go look over at so and so website for better images of a particular kit, what kind of review is that? And how does that serve the members here who come to visit Imodeler to see whats new. Doesn't make sense to do that. Do a review show some pics on here or don't do it all. Talk or rave about a new product show some images, and tell them why this is the bomb. What are we sloppy seconds? Enough of that.
The pre production P-38 is molded in the light grey plastic that is typical Tamiya. The production kit will most likely be molded in the darker grey plastic. The quality is the same, though for some reason I like the darker grey myself. The Corsairs, Spits and the Fw-190's except for the one are in this darker grey. The Betty, Dinah's and the Skyraider is in this Lt Grey plastic. As examples.
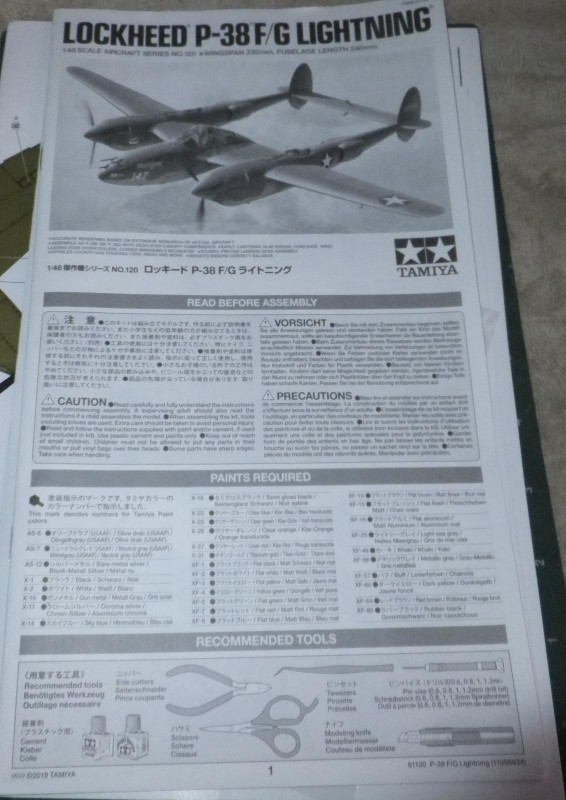
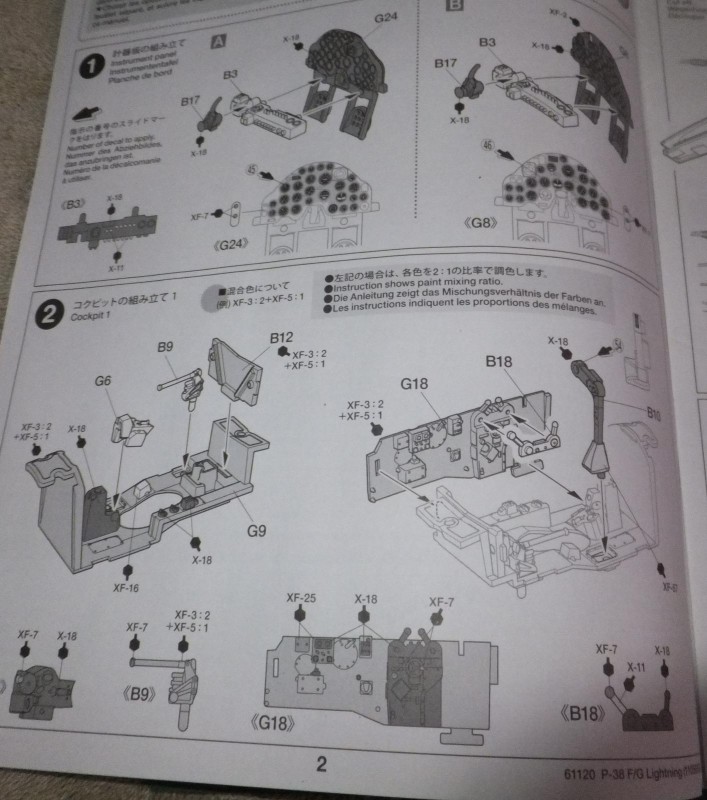
The instruction sheet is still the standard issue by Tamiya, in Japanese, German and English text. Assembly starting with the cockpit and easy to follow format.
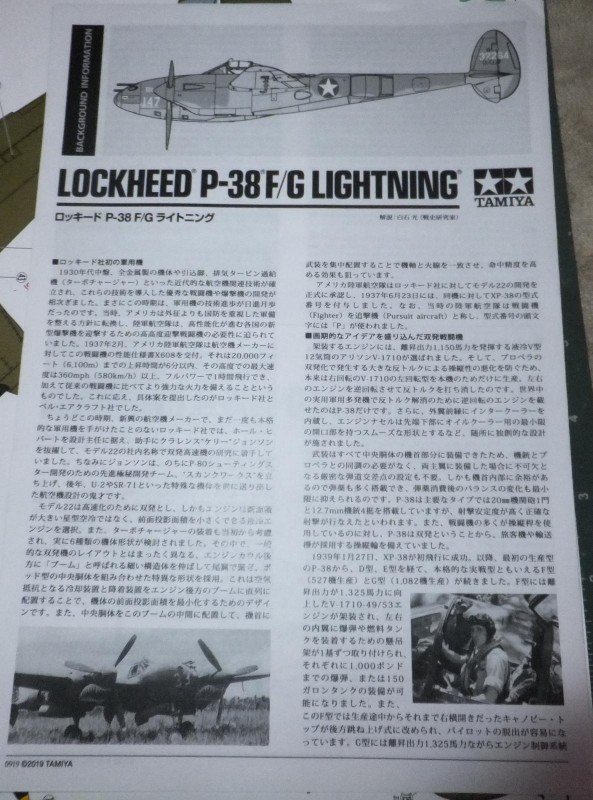
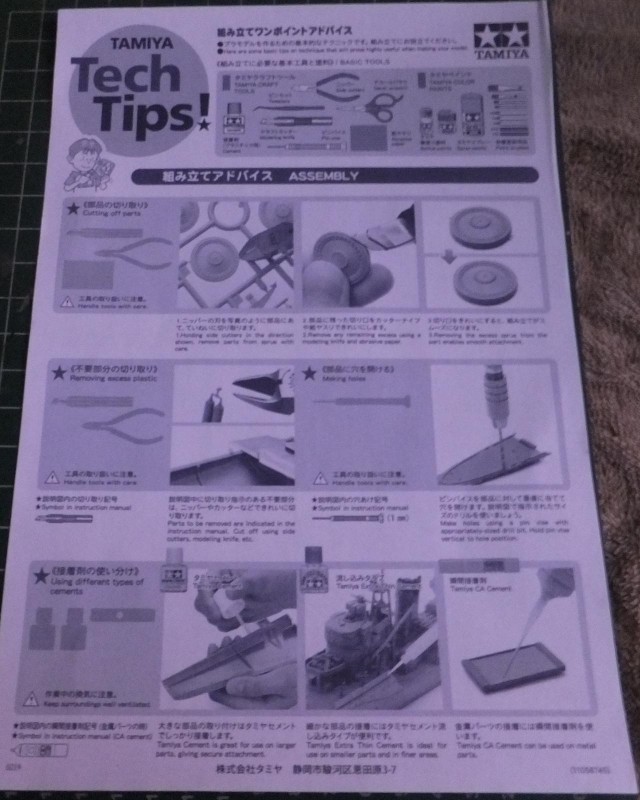
A supplemental sheet has a bit more history of the P-38. Also a tech tips insert is also provided.
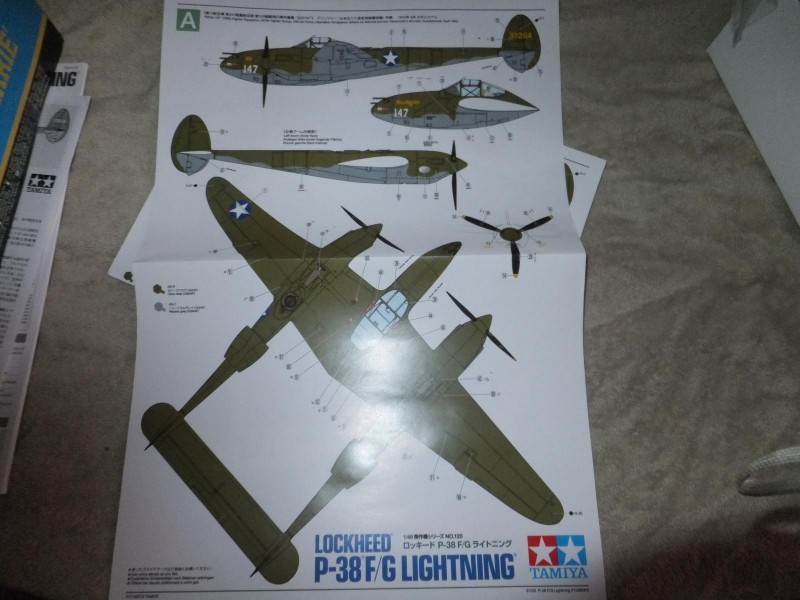
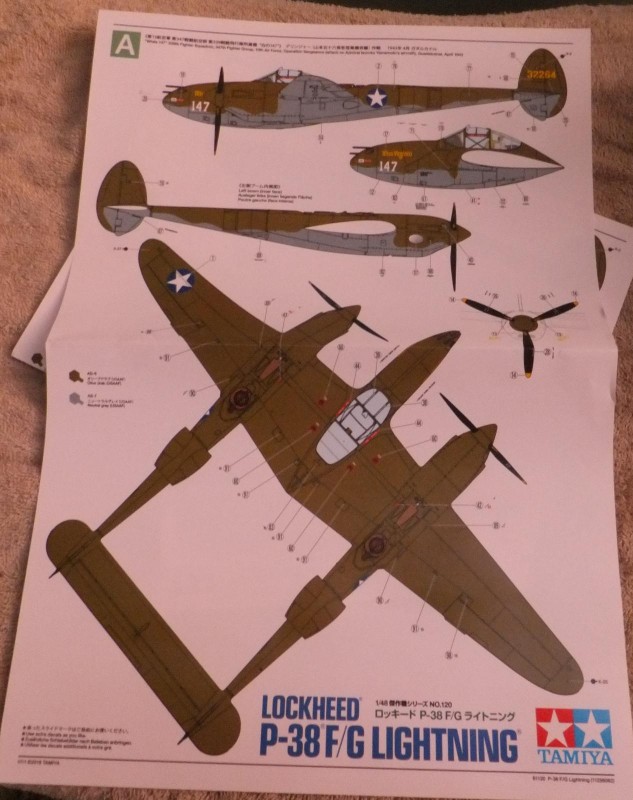
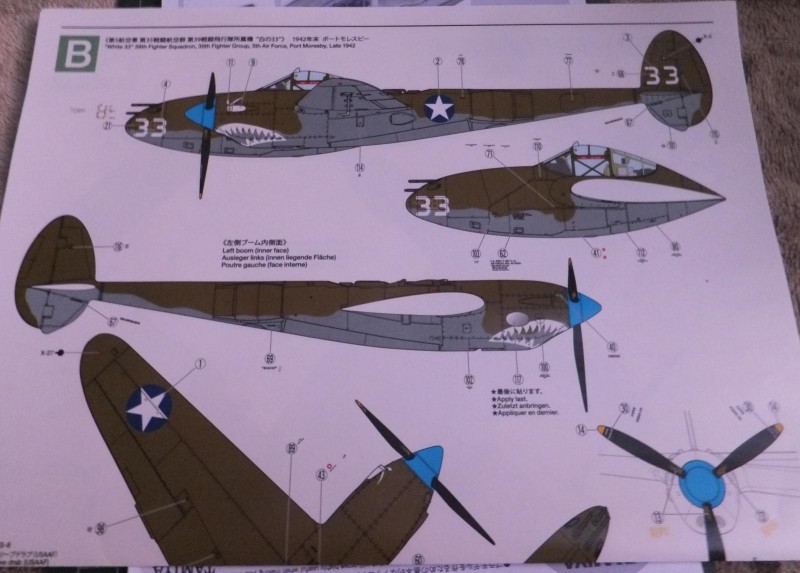
Nice touch are 2 full color foldouts for the 2 air frame schemes that you can build within the kit.
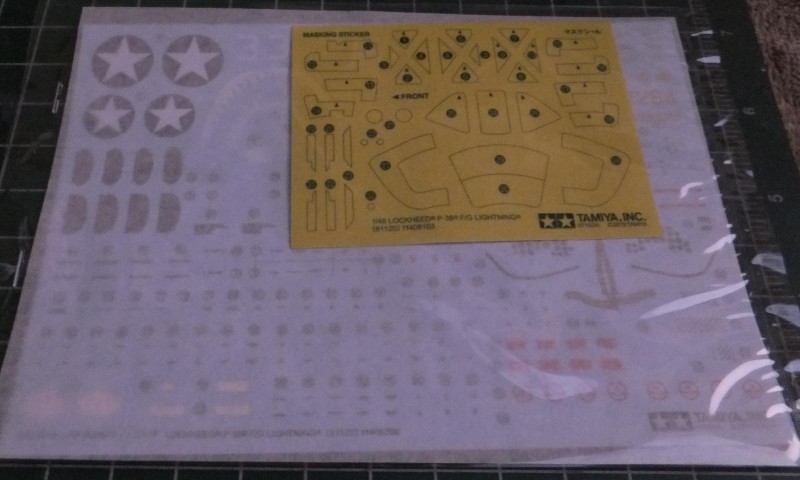
The decal sheet also contains markings for 2 OD/Neutral Grey Lightnings, a P-38F White 33, 35th FG, 5th AF, Port Moresby 1942 the other scheme is for White 147, 339 FS, 347th FG, 13th AF, this is one of the planes that participated in the downing of Admiral Yamamoto's Betty in Operation Vengeance April 1943. Also a set of canopy maskings are provided as well. Chrome oval decals are provided for the mirrors on the inboard side of the nacelles. Nice touch but not unique, will talk about that later.
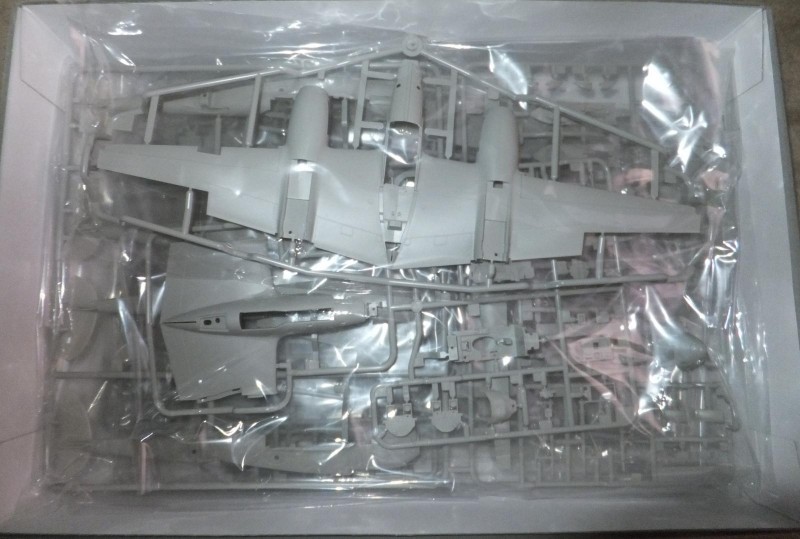
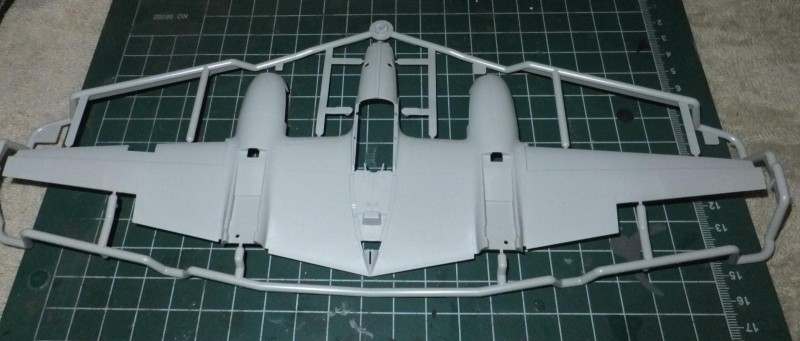
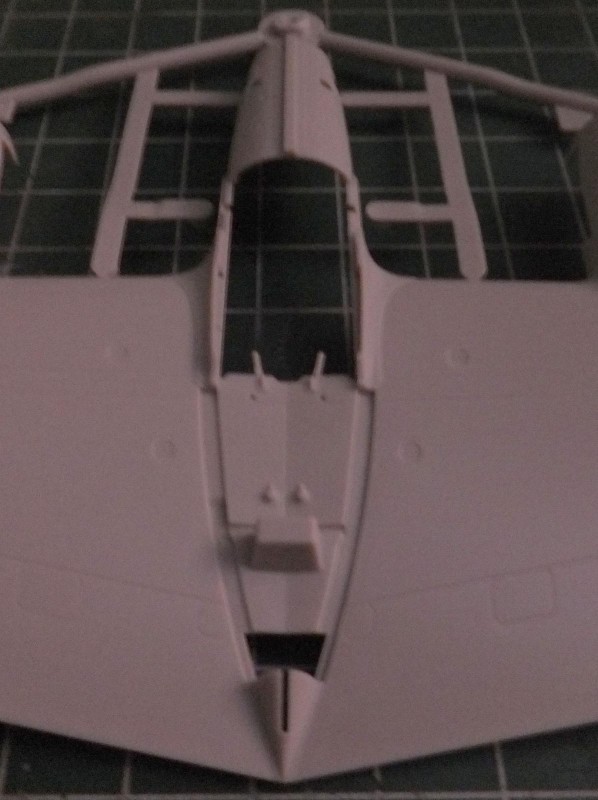
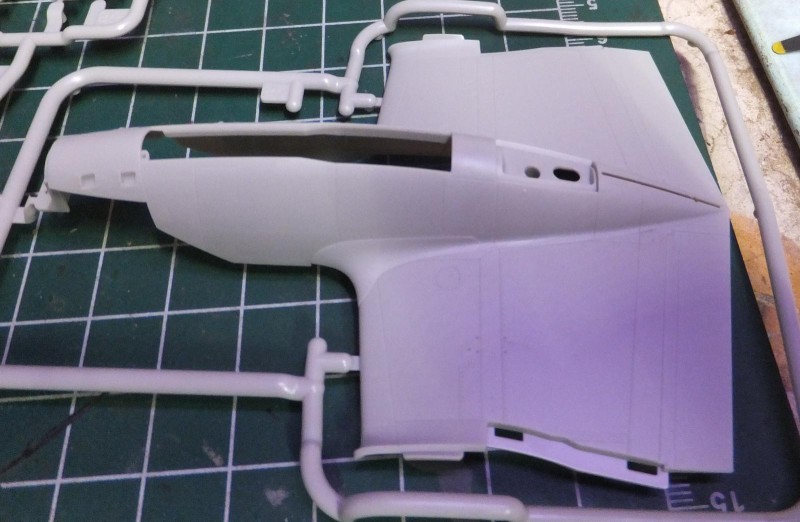
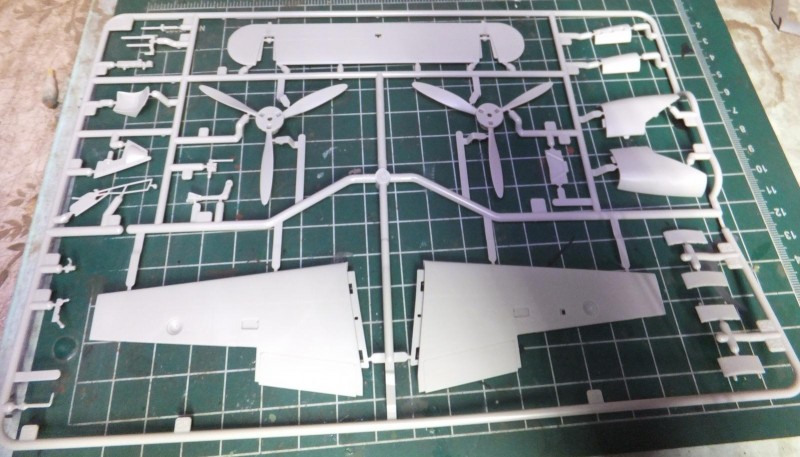
The first sprue is the upper wing/fuselage as one piece. The moulding is crisp and well detailed, just looking at this makes me just want to remove it from the sprue and start building it. A quick once over shows excellent detail, and the engineering that Tamiya has put into this kit make it builder friendly.
The instrument panel cover is not moulded in like on the Hasegawa and Academy kit. Also the radio gear can be attached later in the construction, which again the engineers have really put their thinking caps on.
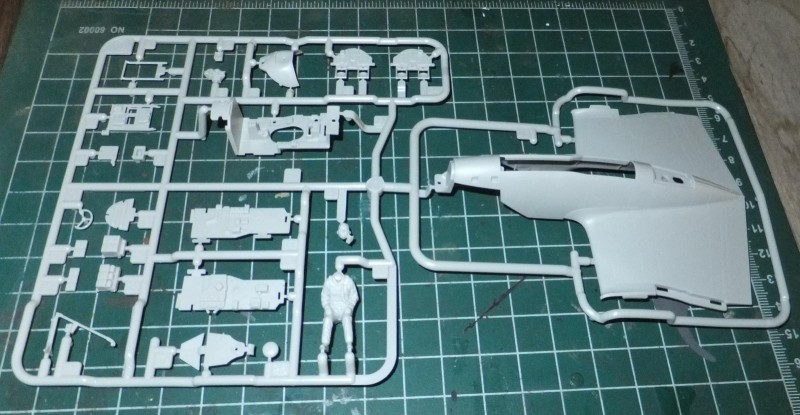
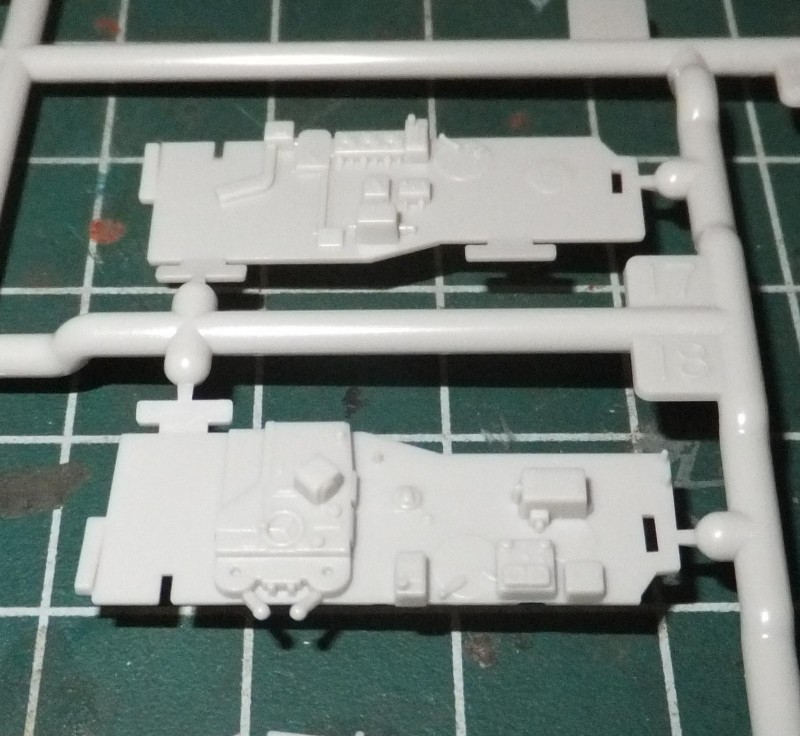
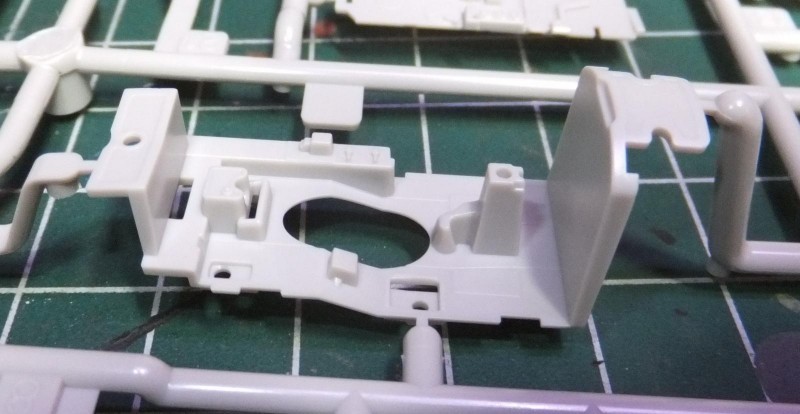
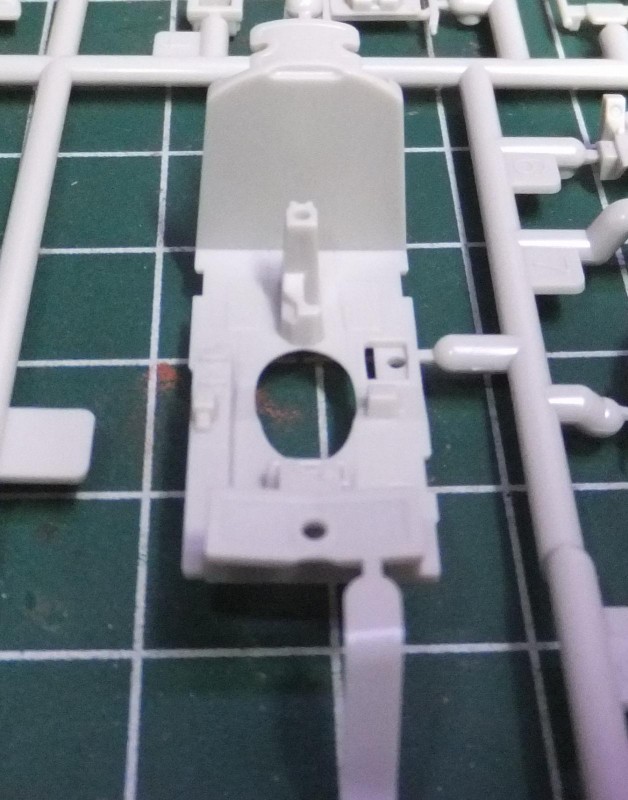
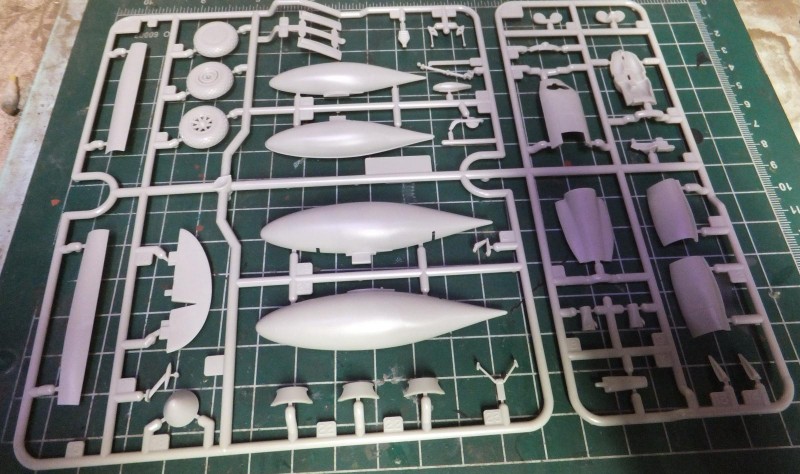
The next sprue contains the lower center wing section, which houses the nose gear bay. Cockpit interior side panels, well defined detail electrical boxes, gauges and levers. The cockpit floor with an opening in the center in which a part of nose gear bay extends into.
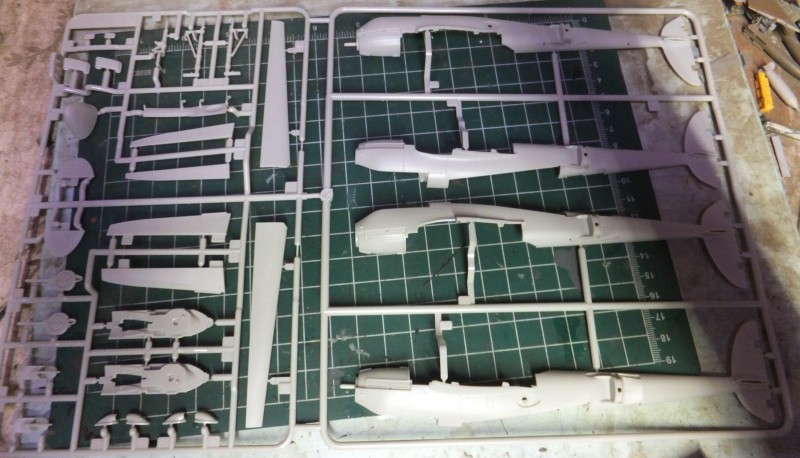
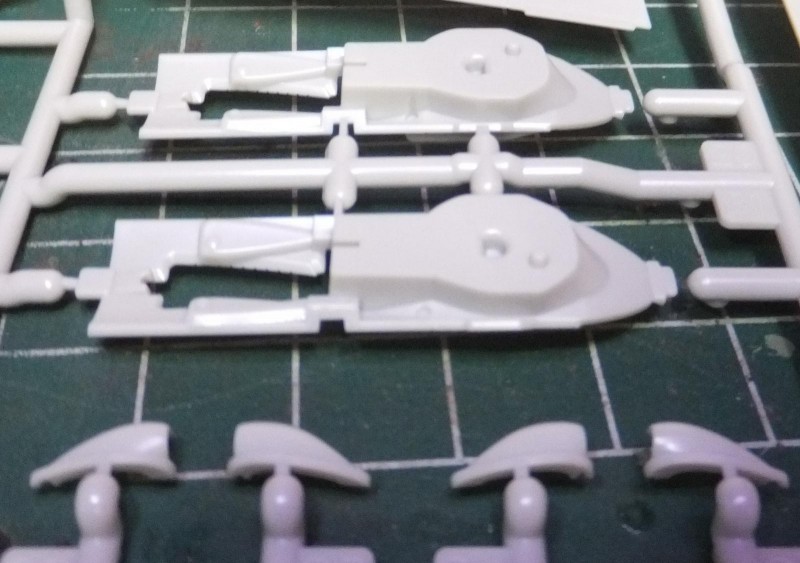
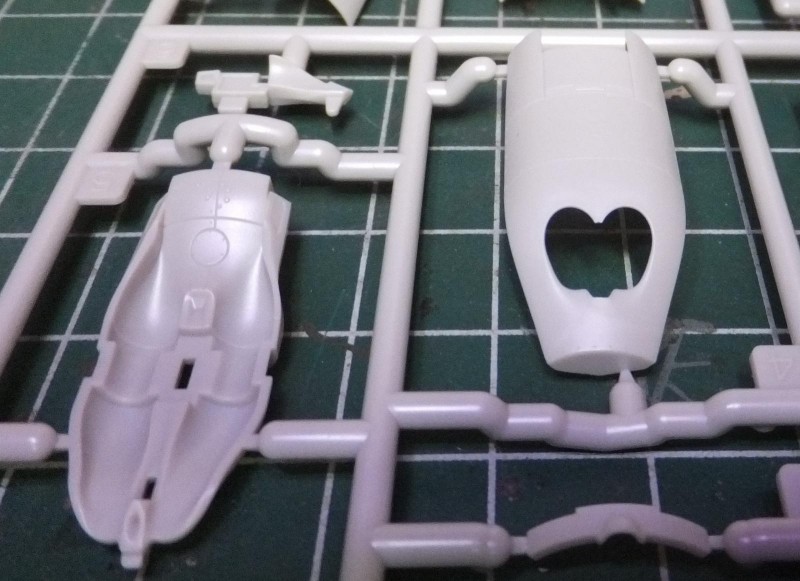
The next sprue contains the booms in LH/RH halves, and already the difference is apparent compared to what I have experienced with the Academy and a quick peek at the Hase kit and
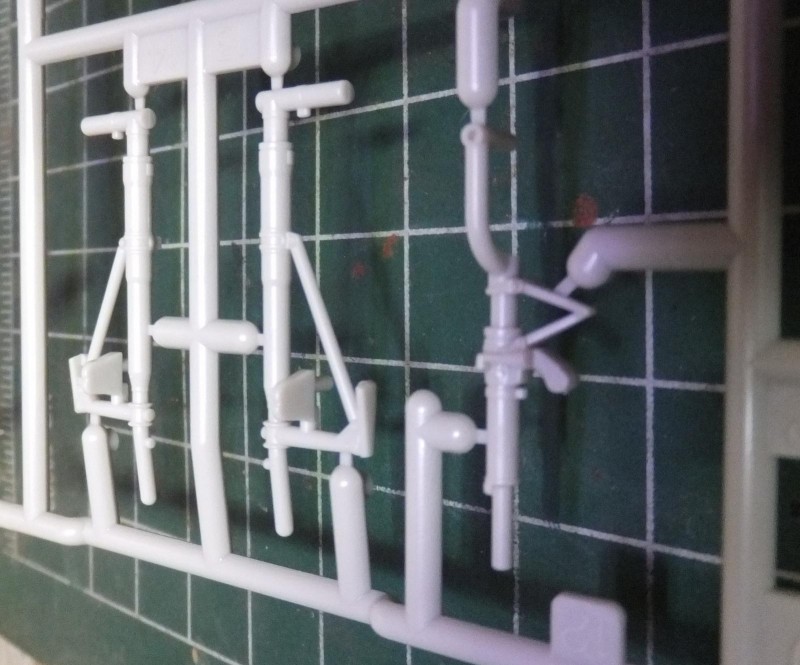
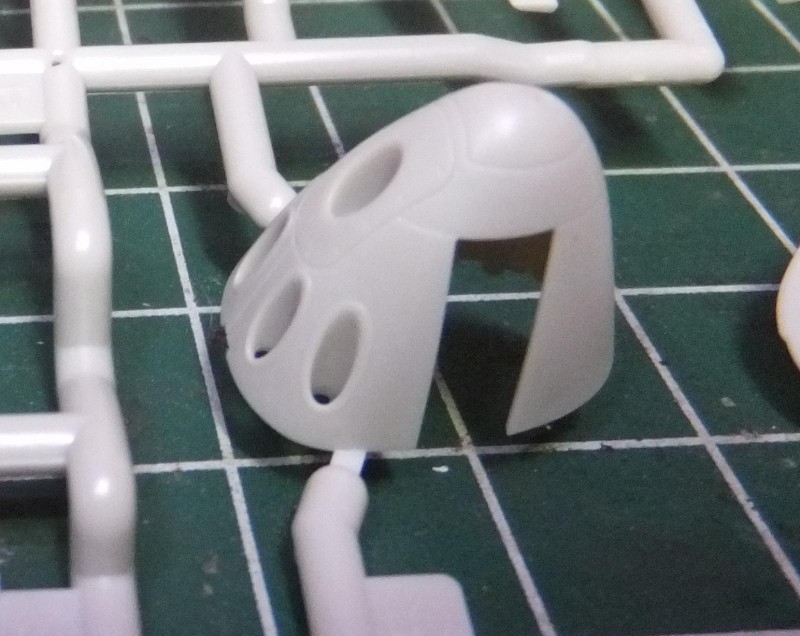
Tamiya has a much different yet simpler approach. Also the landing gear struts, main and nose, the 2 different style of turbo chargers for the F and G variants. The upper inserts on the booms for the turbos. The cooling intake scoops and gun nose.
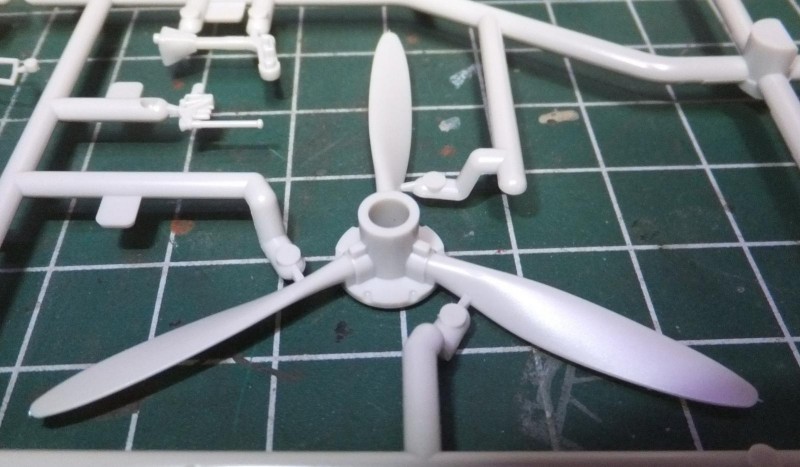
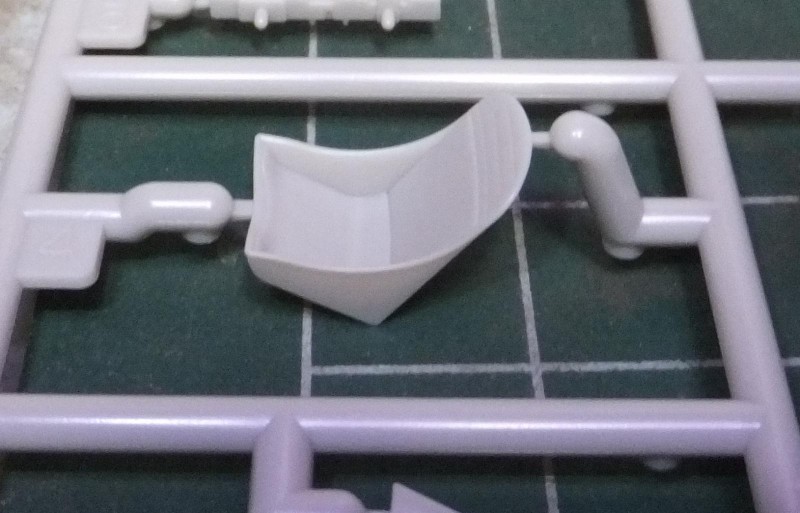
The next sprue is the lower outer wing panels, nose side panels. The horizontal tail is one piece and part of the mechanism built into it to lock the booms in alignment what that part of the build is in process. The crew step ladder, can be displayed open or closed. The propellers are handed so make sure they are on the correct side when installed. The pilots seat just need seatbelts.
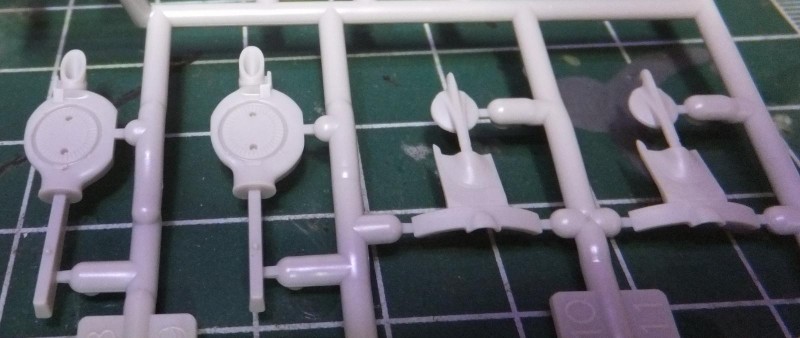
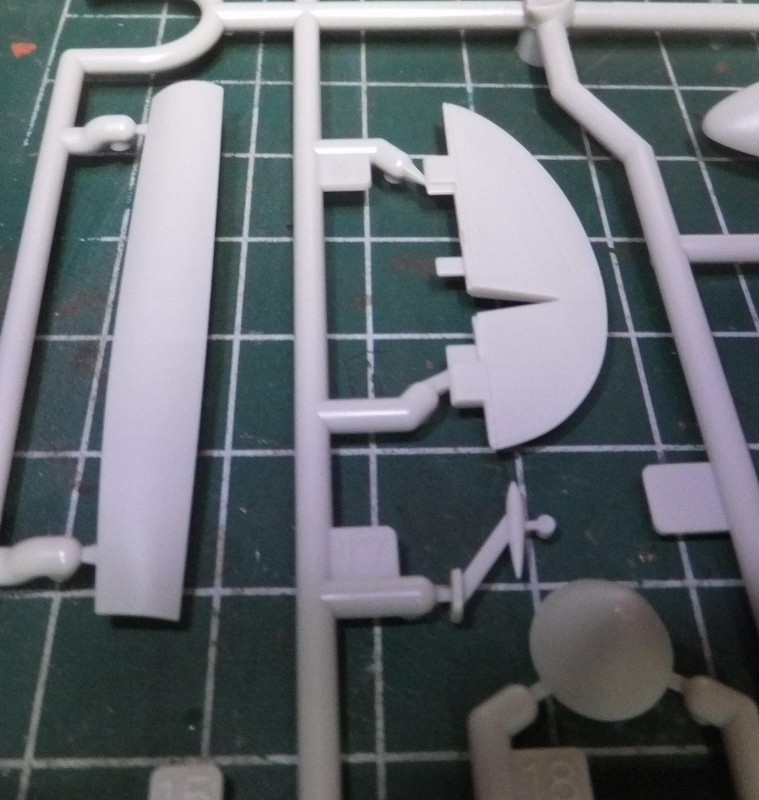
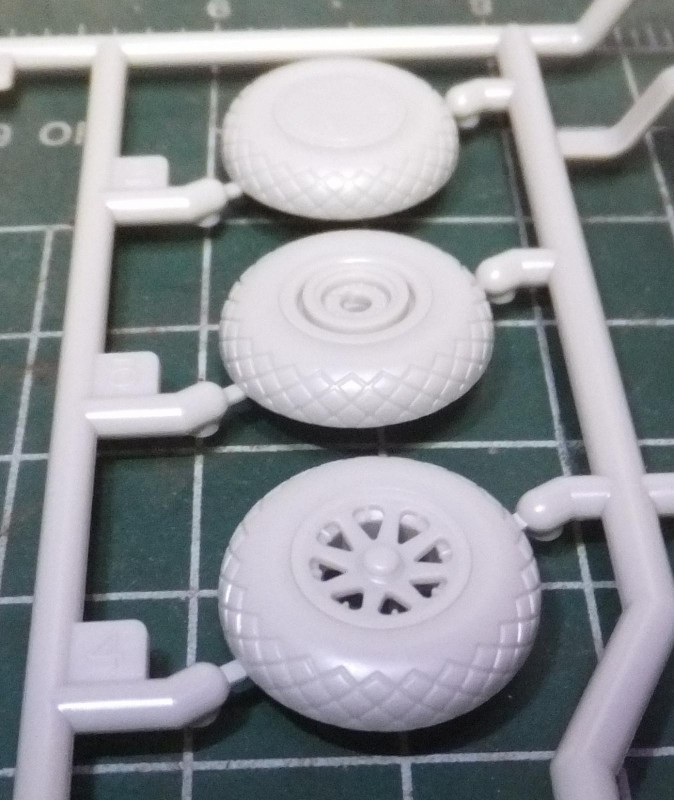
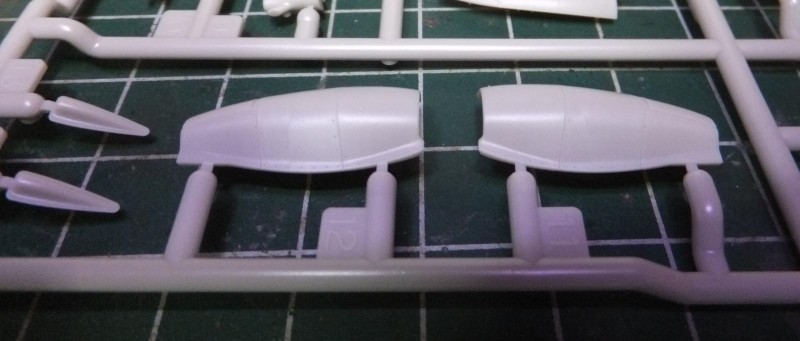
Next sprue contains the separate rudders, main gear doors, 2 style main wheels, the lower intake scoops. And the distinctive boom intakes
The rudders are separate parts, Academy and Hasegawa are moulded as one piece on their Lightnings. So one can pose them in either direction when parked. The main gear doors have been another issue on the Academy kit this I know, Tamiya has designed them with the hinges molded on a rail that will solve that issue when installing them. 2 style of wheels are provide, open spoke or with a dust wheel cover. No bulge or weighted tires. The separate lower scoop inserts suggest that Tamiya is planning other versions down the road. Well done and detailed. The large side intake scoops that sit on each side of the boom are separate parts. Again Hasegawa and Academy are molded on the booms.
[
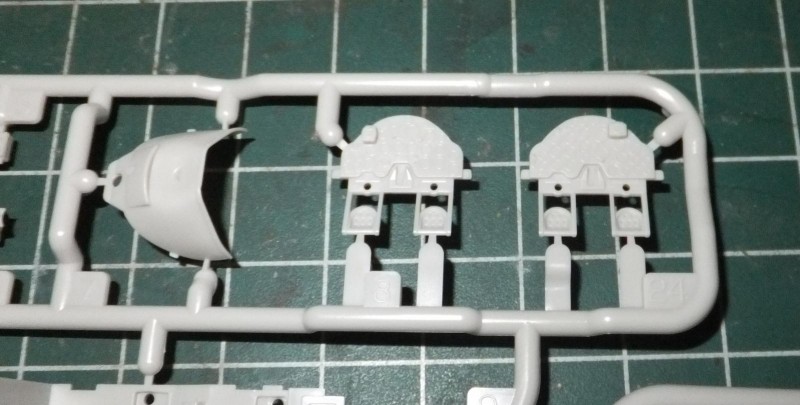
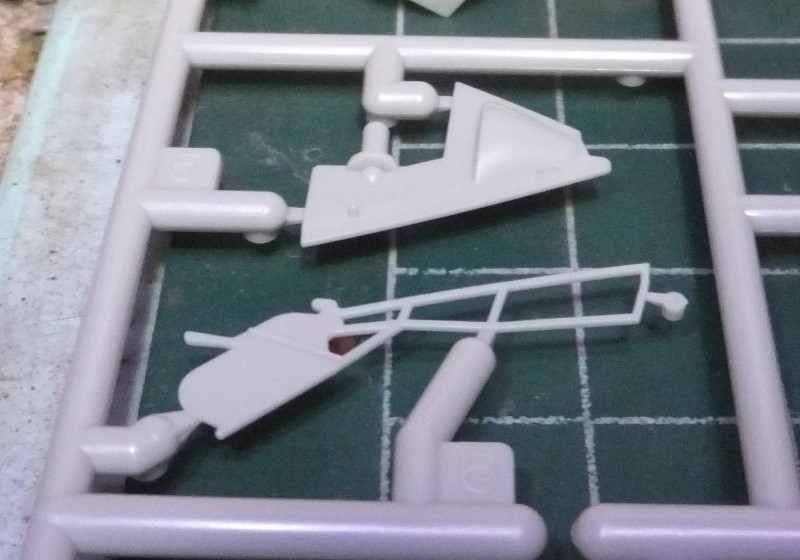
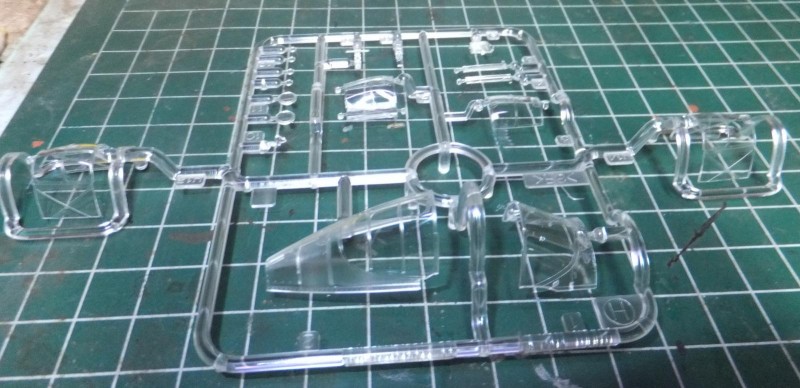
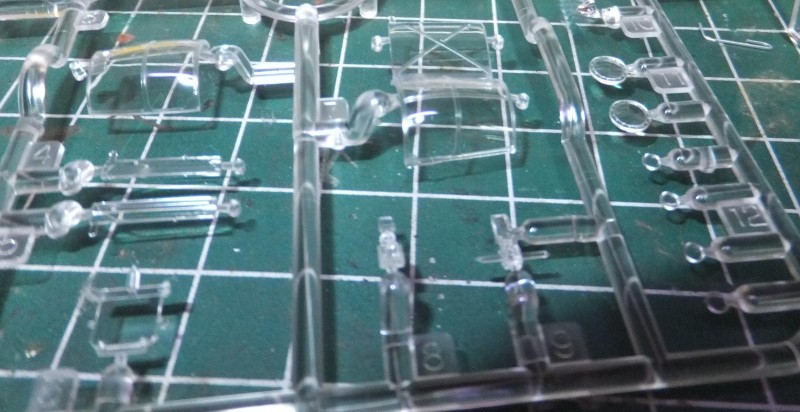
Finally the clear sprue. Very crystal clear, 2 canopy styles are provided. Can be posed open or closed, also the rear glass panel is framed.
Not shown were the 3 ball bearings supplied in the kit for weight. Excellent idea.
Thats it, your new P-38 Lightning from Tamiya, and an early one at that, yippee! It has been 25 years since Hasegawa introduced their P-38J and Academy soon after in the same year. Both fiddly in different ways to build. Tamiya has addressed those issue and has provided an aircraft with a complicated design, a model that has been kept simple with no moving features (flaps,etc.), 207 parts, decals and masking set. A model that has been produced by Monogram, Academy and Hasegawa all difficult in nature to build (like the Tomcat) and Tamiya has surpassed them all. But just know this, they are not bad kits, not at all. There are so many excellent builds out there from those that I have seen, and like any model in this hobby, you build them, overcome the issues and come out with a fulfilling and beautiful model. Thats the fun of it. Tamiya's goal, is that despite the price, a beginner can build it. And that is the ultimate goal, build it enjoy the experience, and build another, and another etc. Instead of hand held computer devices, go build a plane, a tank a car, whatever need to get those kids building like the days of our youth. Part II tomorrow as we peek at the Hase kit and a summary of the Academy,
Fly Navy
Chuck


Nice review Chuck, I may have to break down and buy one of these. Since I have three more Academy kits in the stash that's going to be a tough sell to the Misses. I've build several P-38's, Minicraft, just an awful kit, three Academy kits, much easier, however the gear doors are a challenge, and of course the Revell/Monogram kit. Fundekals is producing some new E/F decals for this kit. These guys do some excellent research on their subjects and having used them I can assure you they are excellent.
1 attached image. Click to enlarge.
Thanks Tom, so the Minicraft kit is not at all the same as the Academy kit then? No one seemed sure about that. Never tried the Fundekals yet, then again I haven't had any subjects to try them. Who runs that outfit?
The Monogram kit is one I built as a kid. Typical fun kit to build when your around 11-12 years old. Tube glue, paint brushes, Testors and Pactra paint in the small bottles.
Chuck it's a great mystery of the sea as to what's up with the Minicraft vs the Academy P-38's. To my observation the parts are the same but the overall fit was awful with the Minicraft kit I built. Could be the plastic or manufacturer, not sure, but if they use the same molds there's a world of difference between them IMHO.
http://www.fundekals.com/
Fundekals is an on line business and joint venture between Jonathan Strickland and Jennings Heilig, who is a well know decal artist. They spend a lot of time researching their subjects for accuracy and they use Cartograf for printing. There is a distinct lack of carrier film on the edges of their decals so silvering is practically eliminated. Check out their Spitfire Mk I as well as Corsair decals as they have produced some impressive subjects.
Thanks, Chuck. As always a great, in depth, review. I will be looking forward to the build reports. I have two of these kits coming as we "speak" And I will be looking into the Fundekals that Tom reported.
Thanks Gary, you can go check out Darren Dickerson's WIP as he is got a Tam P-38 in progress. Well done so far. Looking forward to building this one once I clear a couple of current projects.
Nice Chuck! The last remaining true Hobby Shop here in the Houston area announced the other night on Facebook that their shipment had arrived. I secured one the next morning by phone when they opened for business. I will be following along with interest and taking notes. Won't be able to start it for a few months, have a few other things planned first.
Thanks James, your like most chomping on the bit waiting for one. Like me seeing many advertised but on Pre-order, those who had them were price gouging for 100.00-120.00, I got this one for 65.00 with the shipping the other 2 coming in for 106.00 for the pair. So there are deals out there already. Just look and you will find one.
They quoted $83 on the phone, so with tax it will be less than $90. I'll probably pick it up over the weekend and make a lunch run stop out of it. It's in an area of town that has some fun spots to eat.
I posted these on another thread, but for your enjoyment I'll drop them here as well. Glacier Girl from 2008, the first and last time I've seen her in Houston.
9 attached images. Click to enlarge.
Great pics, thanks for sharing them with us James.
Great review Chuck. My kit is in the mail now so now I know what to look forward to.
Dale I cannot wait to see what you will do with yours, seldom seen paint scheme always something that will be unique. It is one kit when you pop the lid it, just looking how well detailed it is you may just get started on it as soon as it lands on your porch.
What a wonderful kit review ! I'm sure that part 2 will be just as comprehensive. Looking forward to seeing that.
This has to be the very best kit that has been released in a while. That is really saying something since there have been a lot of new tool kits hitting the market recently, and they all appear to be very good.
You even included pictures with your review... LOL
I remember watching your Aleutian P-38 come to life during our Midway Group Build. For an older kit, it turned out looking great. You did a fantastic job with that older one, so I can only imagine how nice this Tamiya will turn out. Please keep us posted on that...
As soon as my 38 arrives it will be hitting the work bench. It's been many years since I have built a Lightning... I've only built two in my lifetime ! One was the ancient 1/48 scale Aurora kit that had raised panel lines to show you where the decals went ! I was about 8 or so when I built that one. The last one was the 1/32 scale Revell kit, and I was a teenager when I built that one. So I am well past due. Besides I don't have a built P-38 in the display case. These two older 38's didn't survive all these years.
I'll probably toss in a matching 1/48 scale G4M "Betty" bomber to go along with it at the same time. I will be using your excellent WIP from when you built your Betty... so many thanks are in order to you my friend.
"liked"
Thanks Louis, well a review isn't a a review without pics. Why just talk about it when everyone wants to see what you are talking about. Anyone can read books without pictures those are called novels. A hobby site is mostly visual. As some would rather see the pics and not even bother to read the article. Why, this hobby is based on what your going to look at that interests you, I enjoy the postings of some of the hobby shows, don't write anything just post pics of all those excellent models that you wouldn't otherwise see? Show your work, and not all of us can write or just don't like to but can take pics of your work. Show your passion. So on a site that is based on seeing the models finished or in progress doesn't make sense to post an article without pictures and a box cover doesn't cut it. I want to see whats inside the box. Show the parts. You know Louis, when you do that project with the Betty, you may want to also build one of the escorts as well. Was the Betty escorted by A6m5's? Don't remember, but just a suggestion.
You know what Chuck ? @uscusn
I really like this idea about adding a Zero in the mix... Consider it done. Now I'll go back and do some more research to see exactly what unit it was that escorted the Admiral, and try to cobble together some markings for a Zero from that unit. I remember watching a TV documentary some years ago where they interviewed one of the surviving Zero pilots that flew the escort mission.
I might even try to find some markings for Lamphier's plane "Phoebe"... But I don't know if there were ever any made for his plane. I do have some decent photos of it.
You got my wheels turning !
Thanks brother...
great review. Andy's Hobbys has a great youtube video of his build and it looks absolutely gorgeous. This one just screams for photo-etch and resin upgrades. I'm glad companies like Tamiya and Eduard willing to put money in to these molds. Can't wait to see how yours turns out.
Thanks Jim, I have seen that video, very well done detailed review while building it. Yes it does, I already have the resin wheels and more to come.
Great kit review and I am close to finishing mine.
My only negatives on what is an outstanding kit -
Kit Wheels - resin replacements are recommended
Guns - Master / Quickboost/ Eduard replacements are highly recomended, kit details are poor. Not sure Tamiya didn't get a set of brass barrels done for this kit as part of the package...
Uundercarriage - some of these parts are highly vulnerable to breakage (ask me how I know this), easy to damage as the P-38 is an awkward plane to hold, paint, add final parts etc
Suggestions welcome on this!
I have another Tamiya P-38 (production kit, the kit is normal Tamiya grey plastic) in my possession and my experiences with this first one will serve well on the next build.
Looking forward to those new decal sheets (Fundekals, Xtradecals) in the works as well for added variety from the kit options.
Happy Modelling
Darren
Thanks Darren, I have been following your WIP. Looks great, I usually install the landing gear if possible once all the air frame is completed and painted, part of my final assembly process. To avoid any breakage with lots of handling still involved while doing seam work, sanding and masking. Looking forward to the final finish of your Lightning.