C-124A GLOBEMASTER - Part 2.
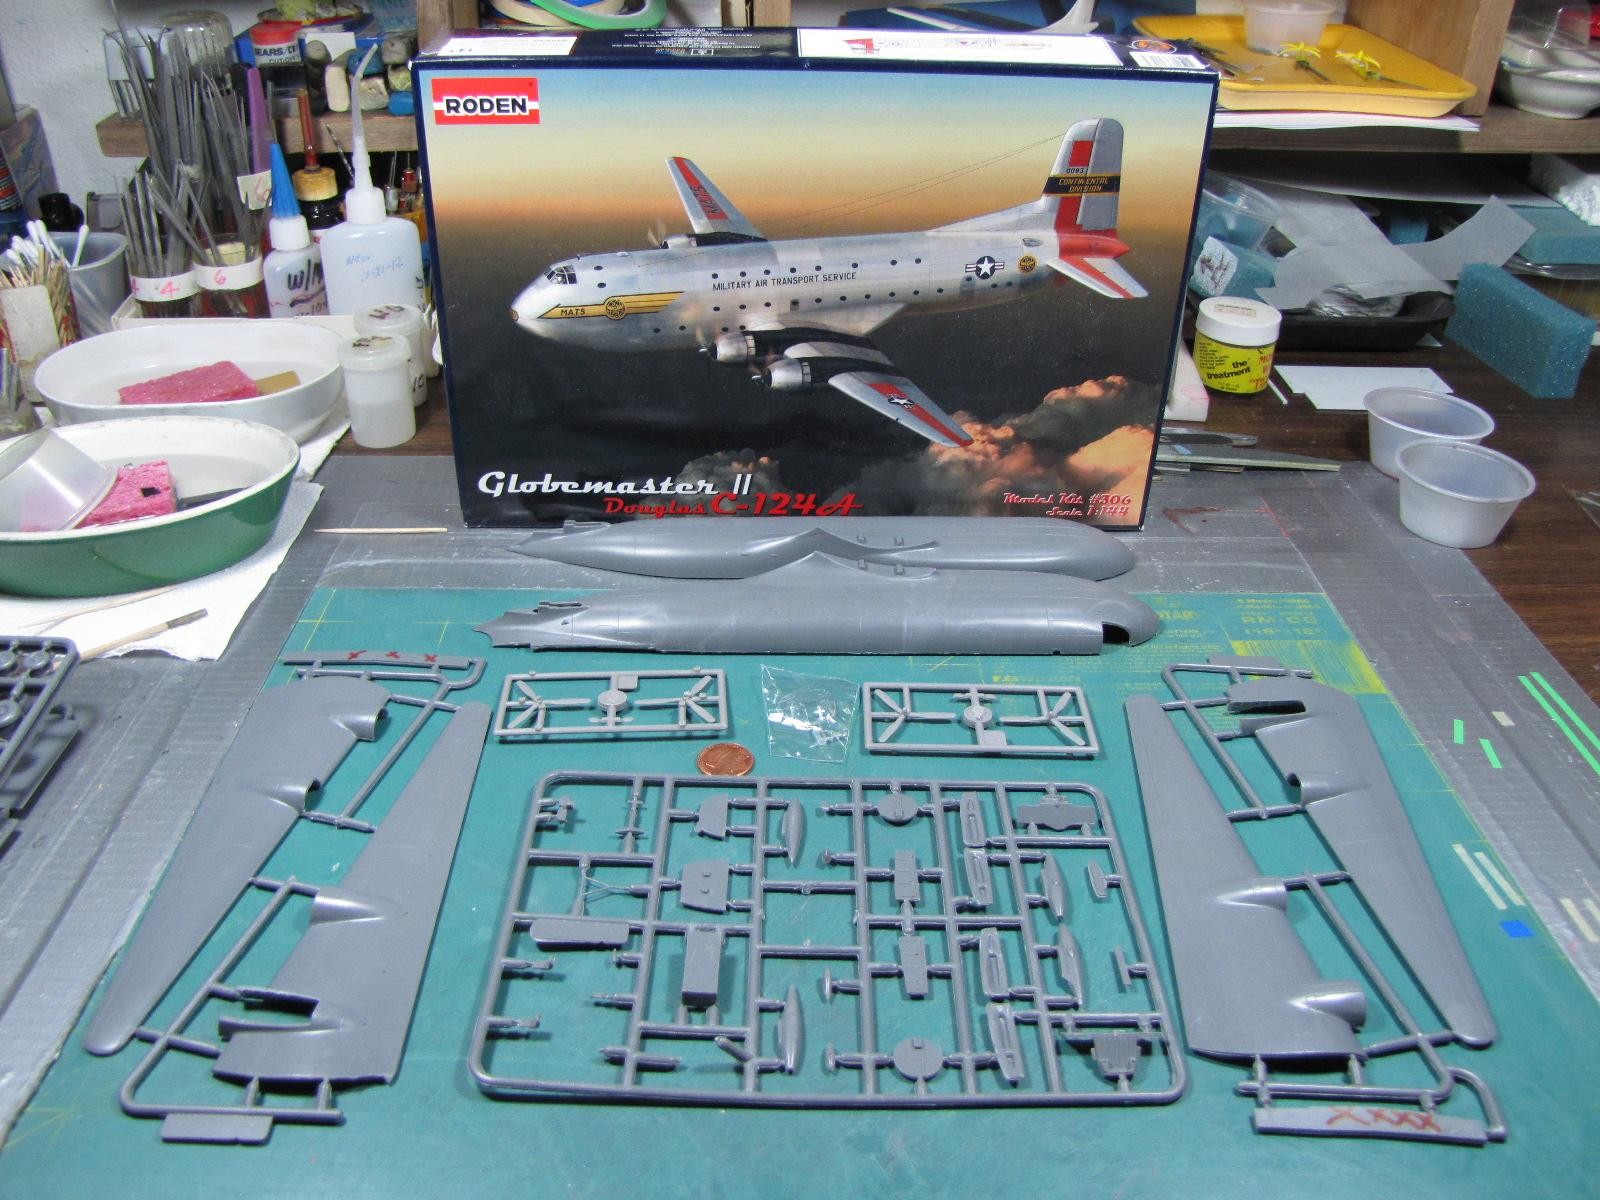
This part of the story is titled "C-124A-Plans/Fuse/Tail." Fuse is my abbreviation for "Fuselage."
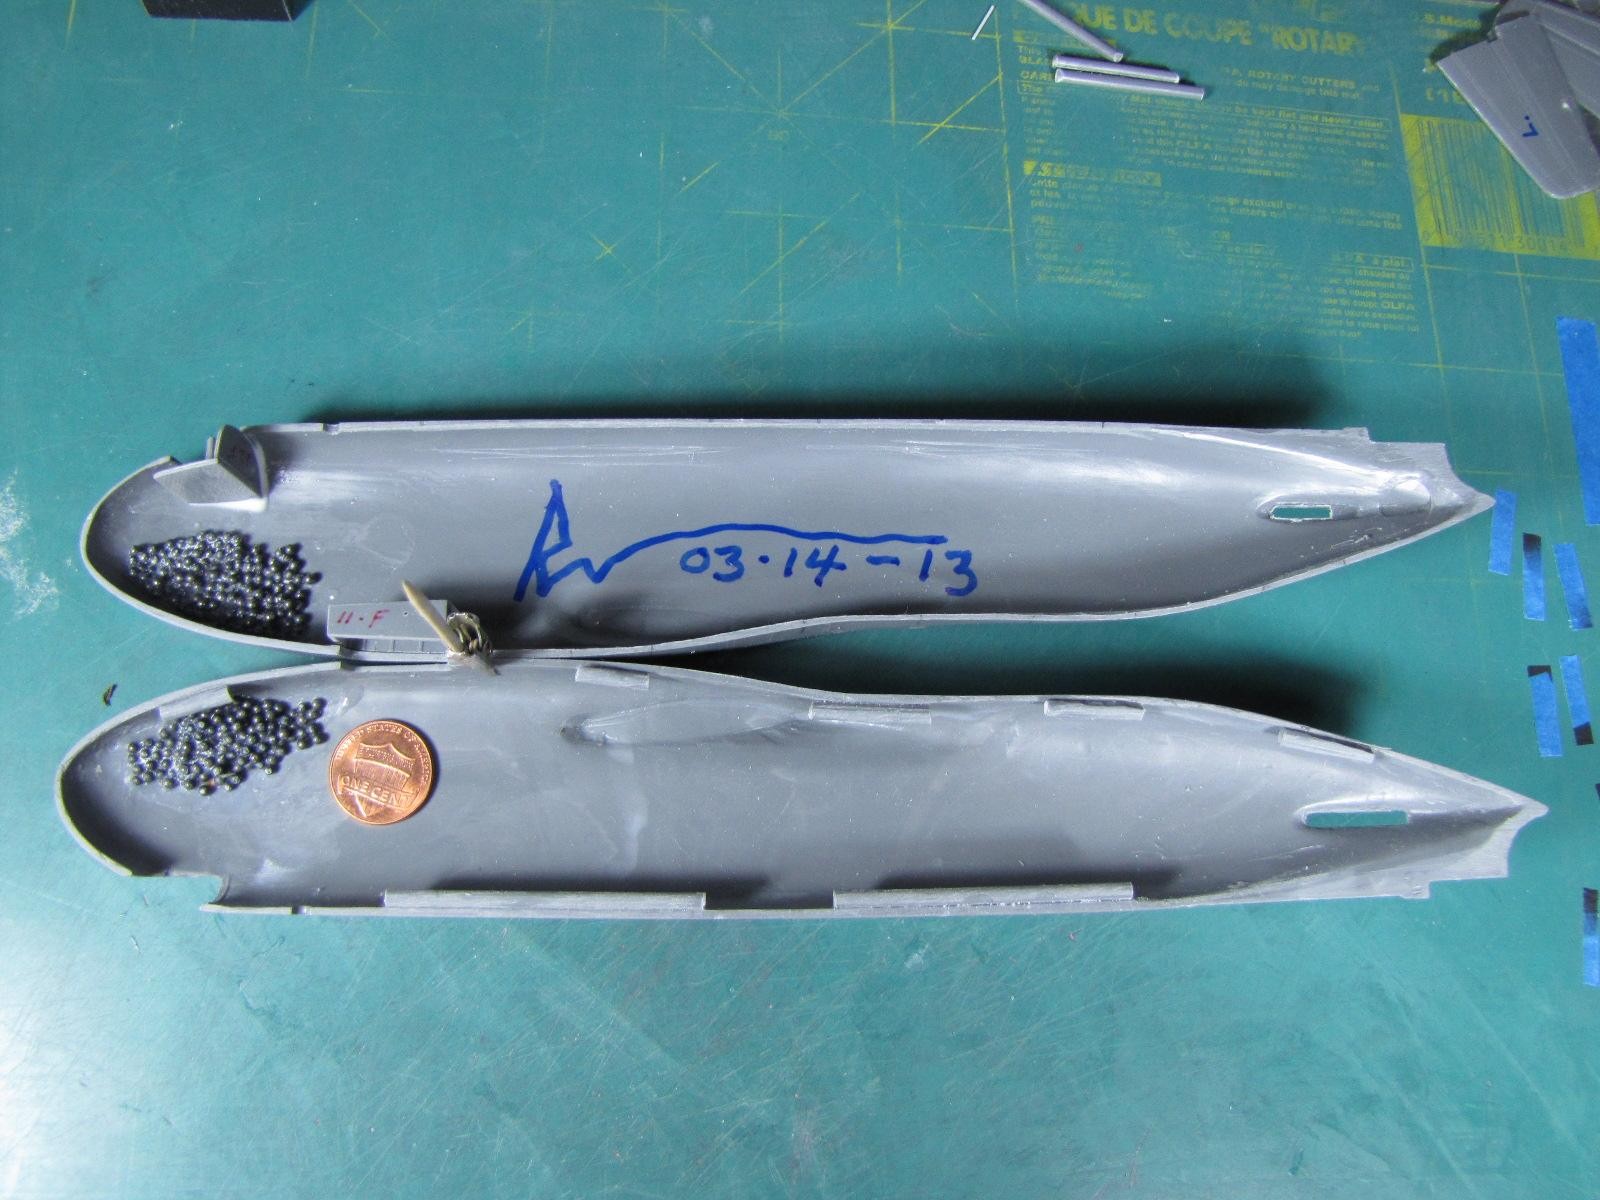
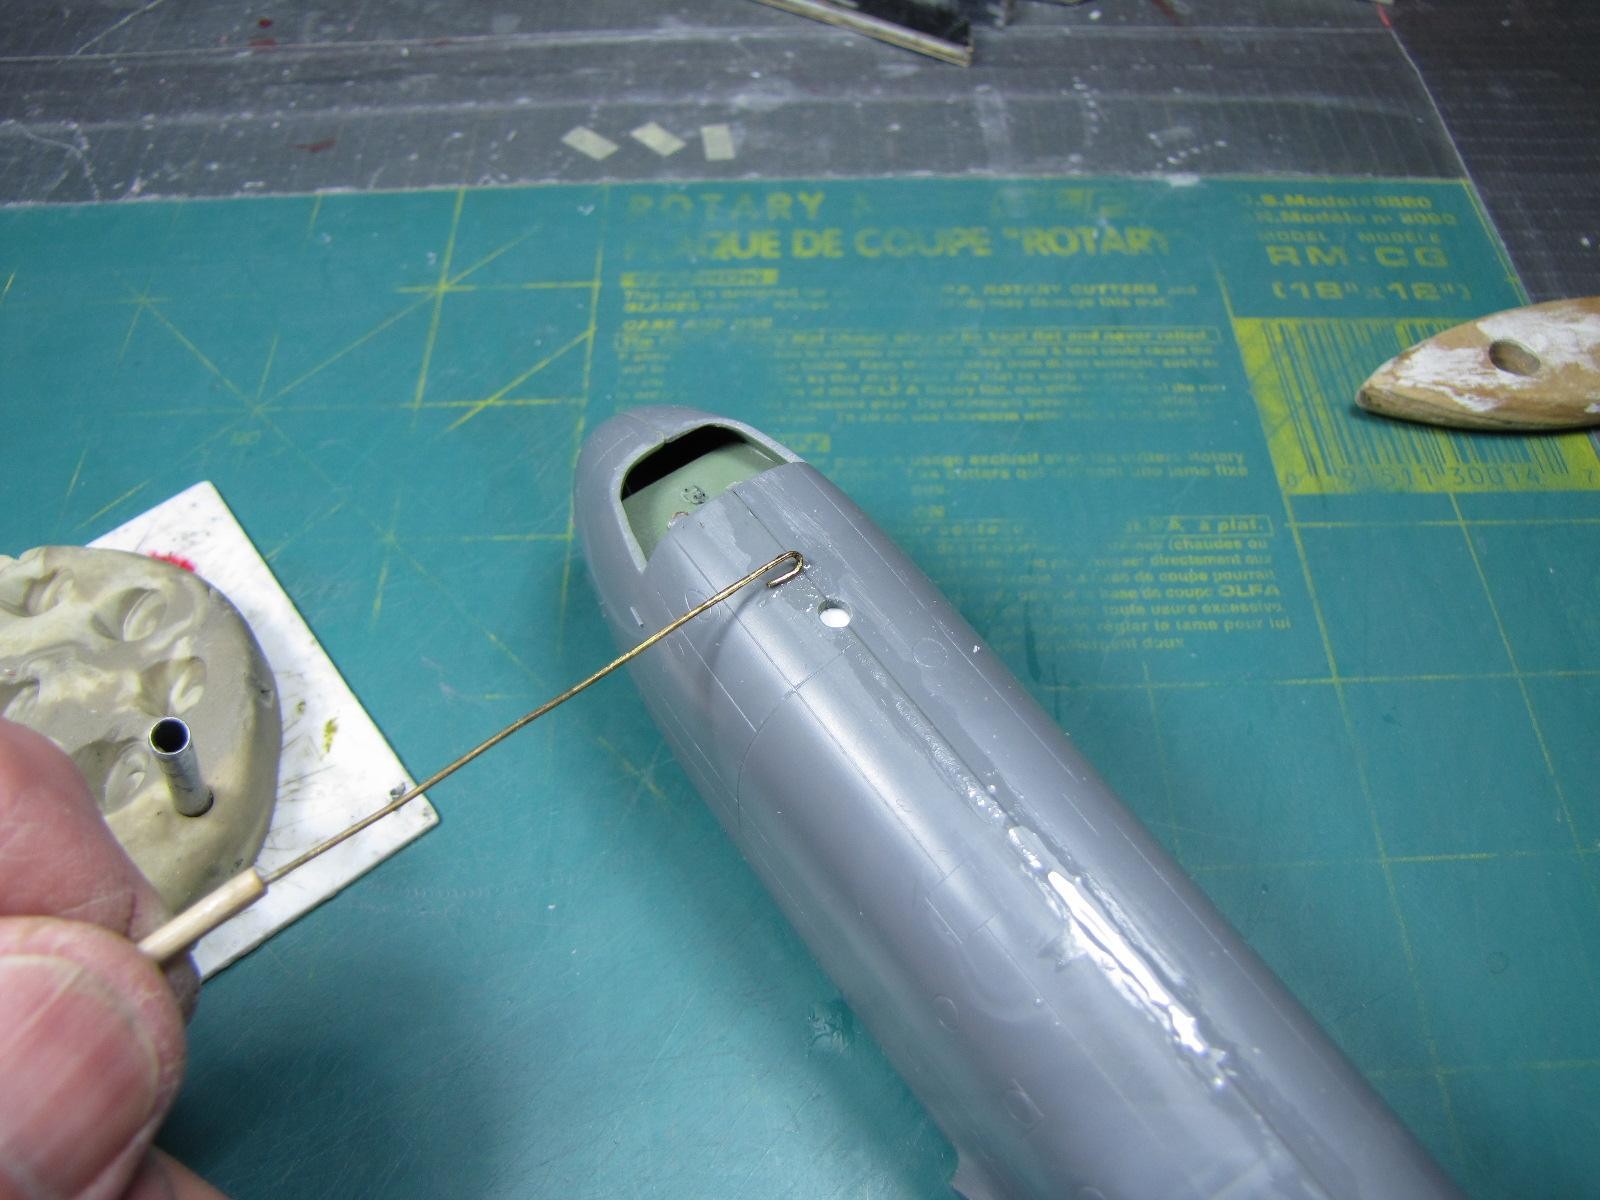
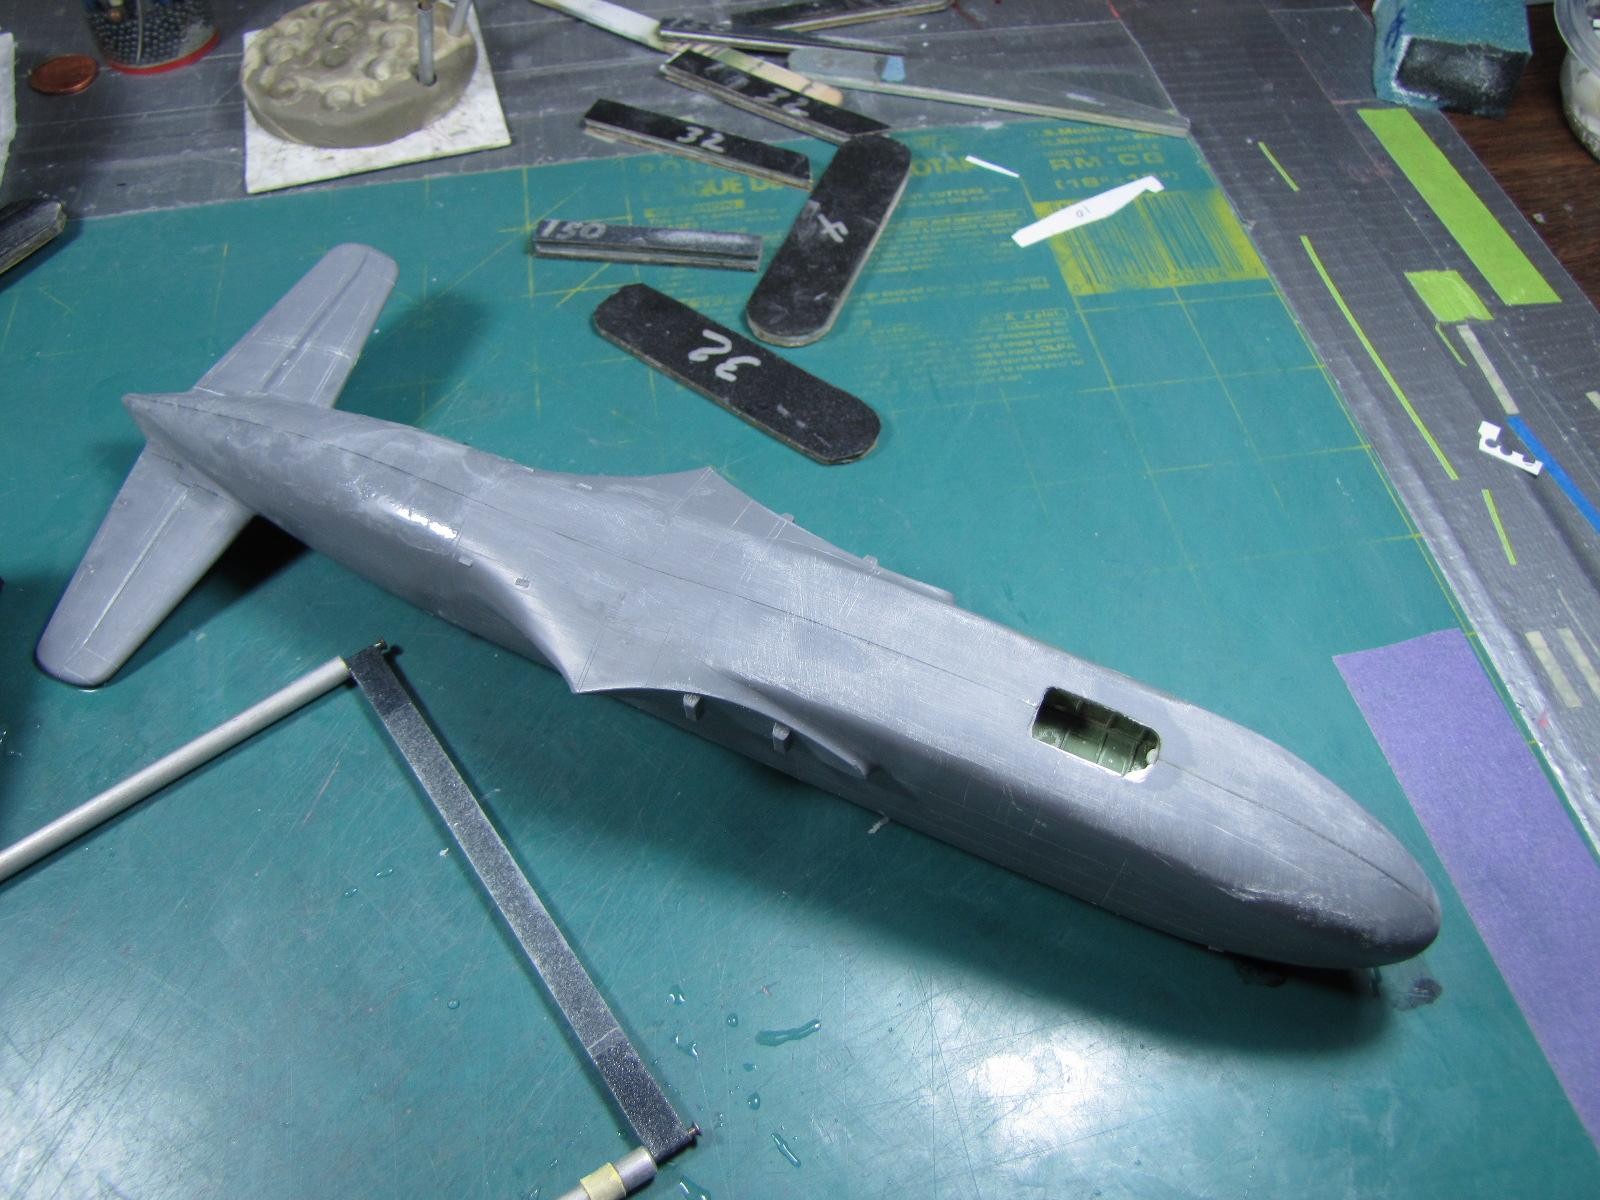
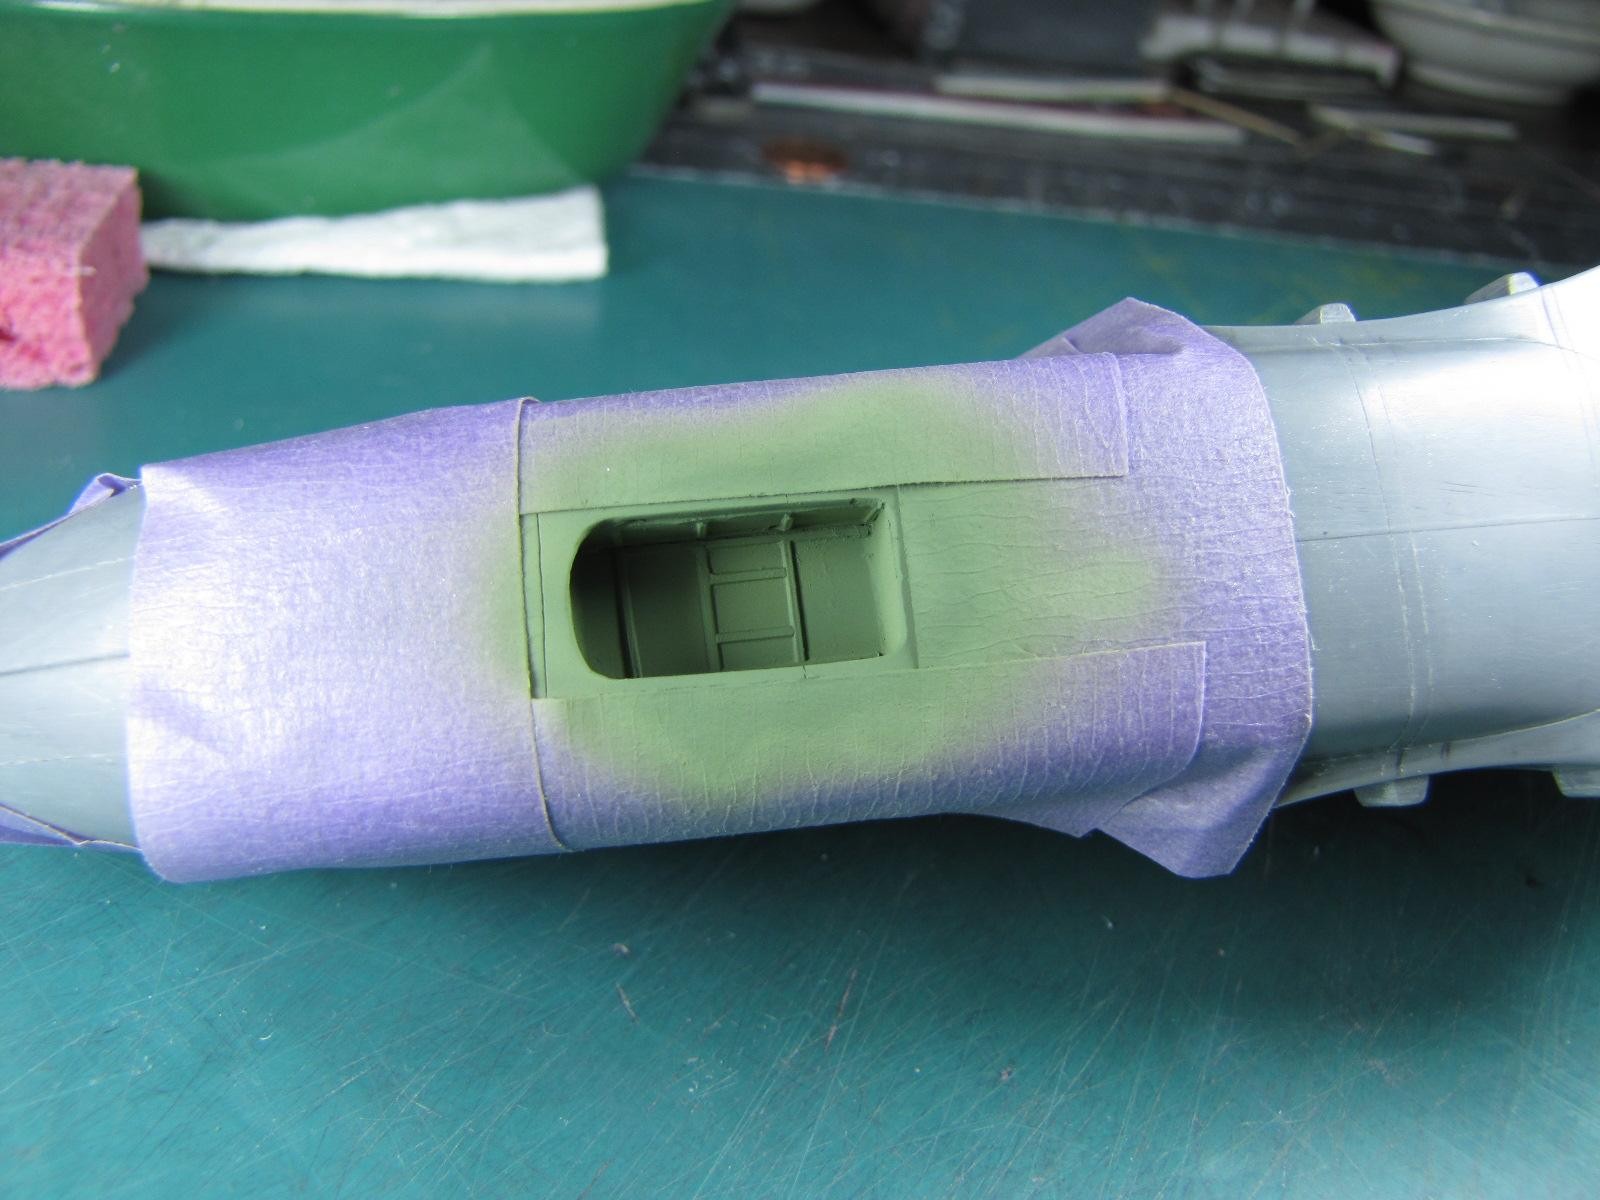
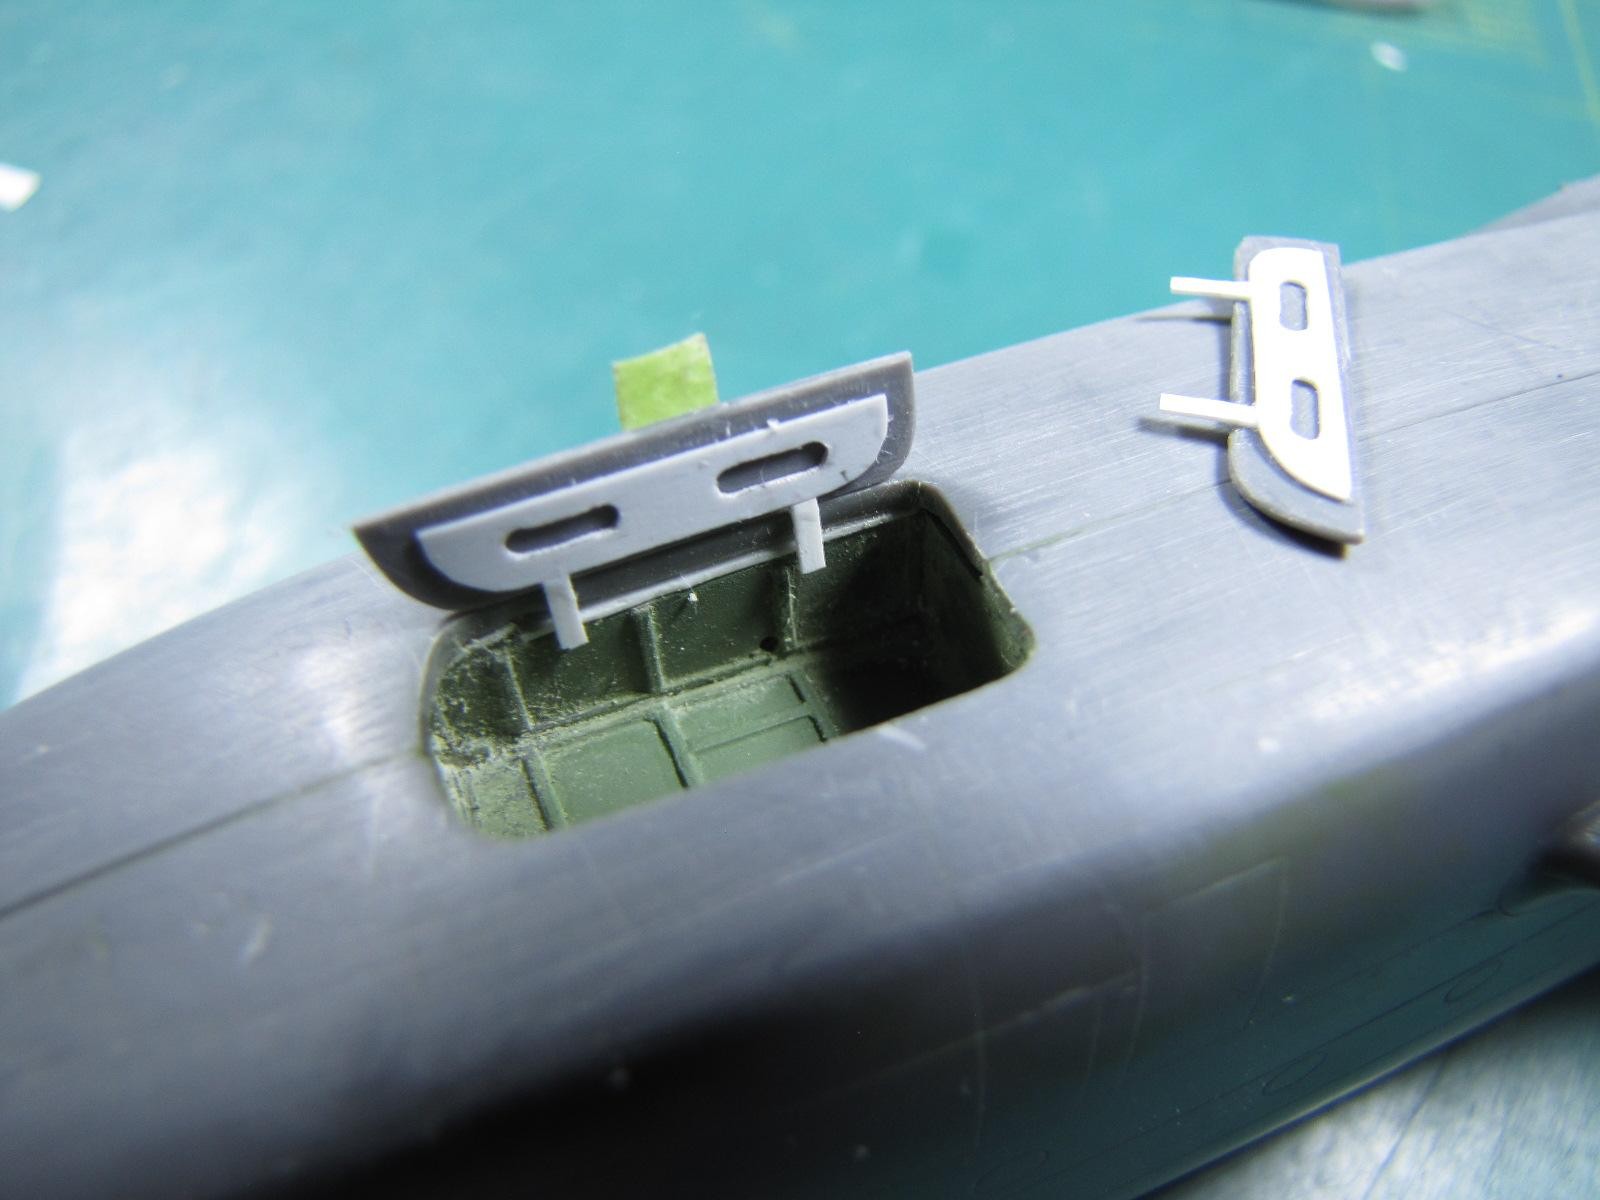
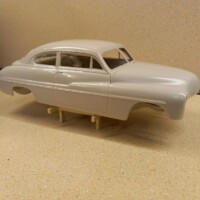
As you recall the cockpit is finished, so it's time for me to finish the rest of the fuselage by sanding everything smooth and re-scribing some panel lines.
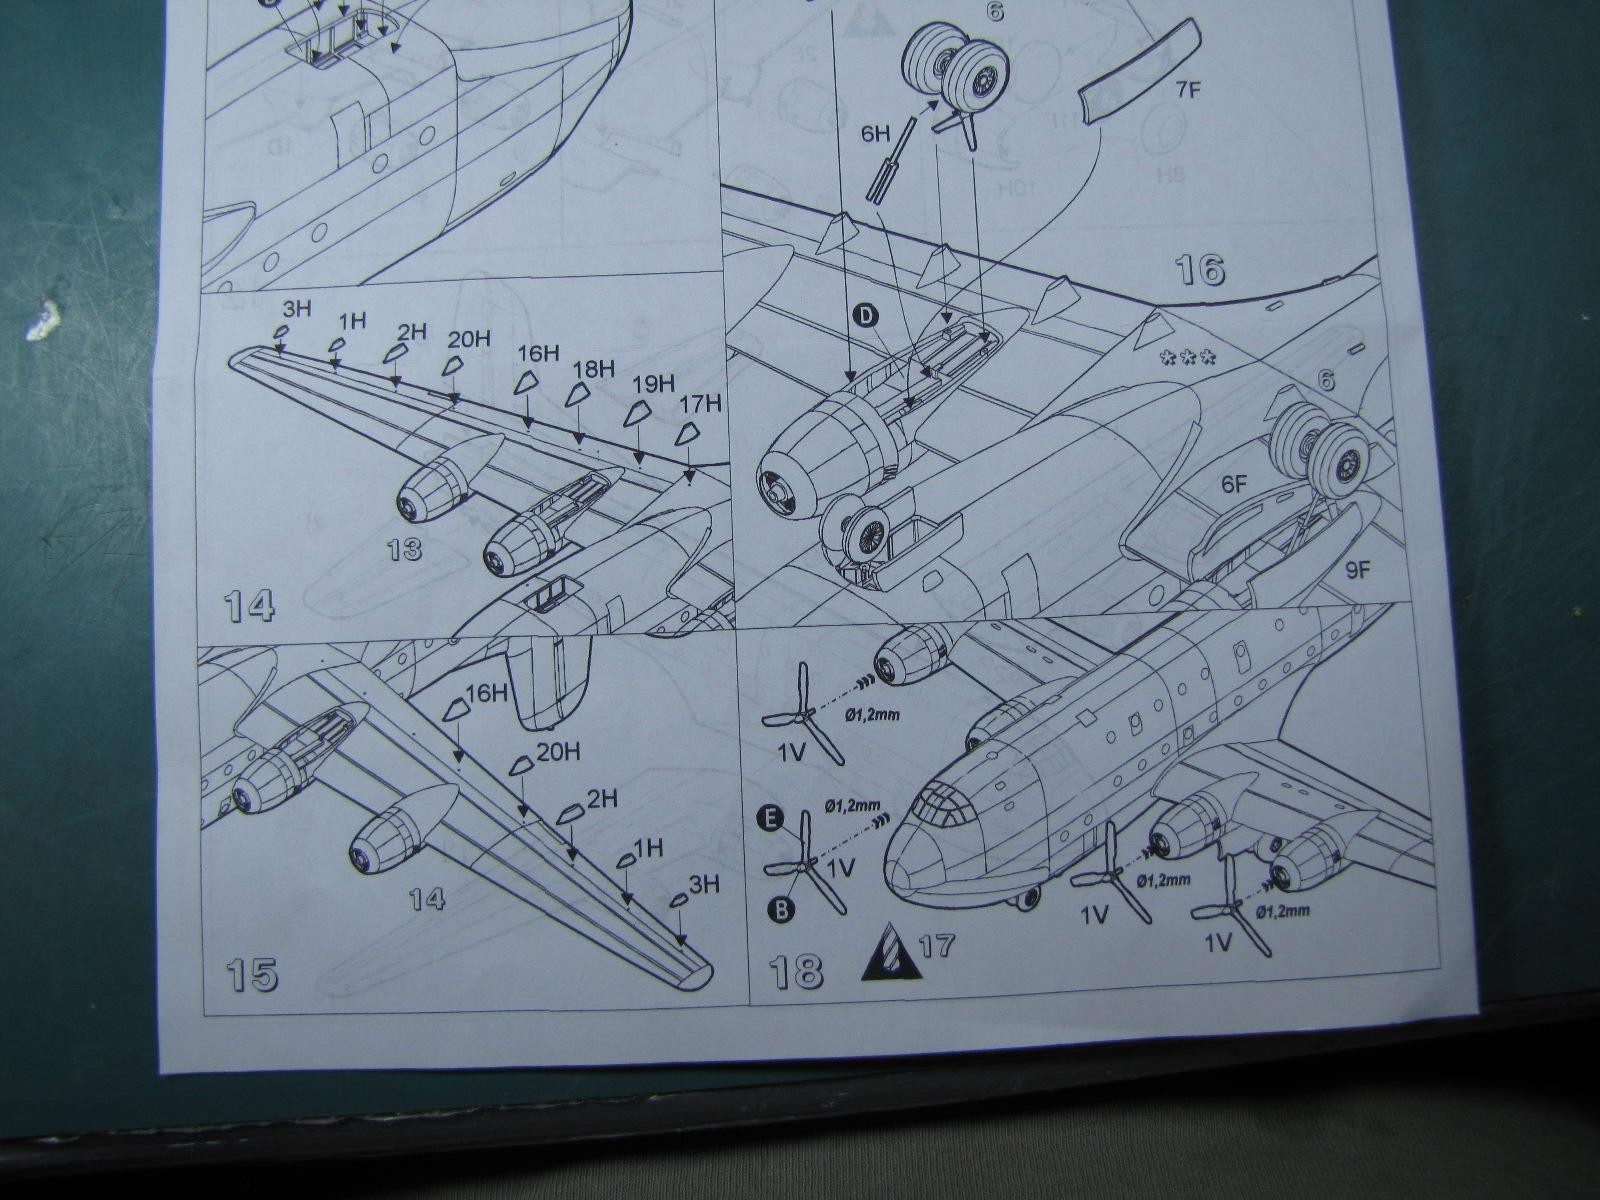
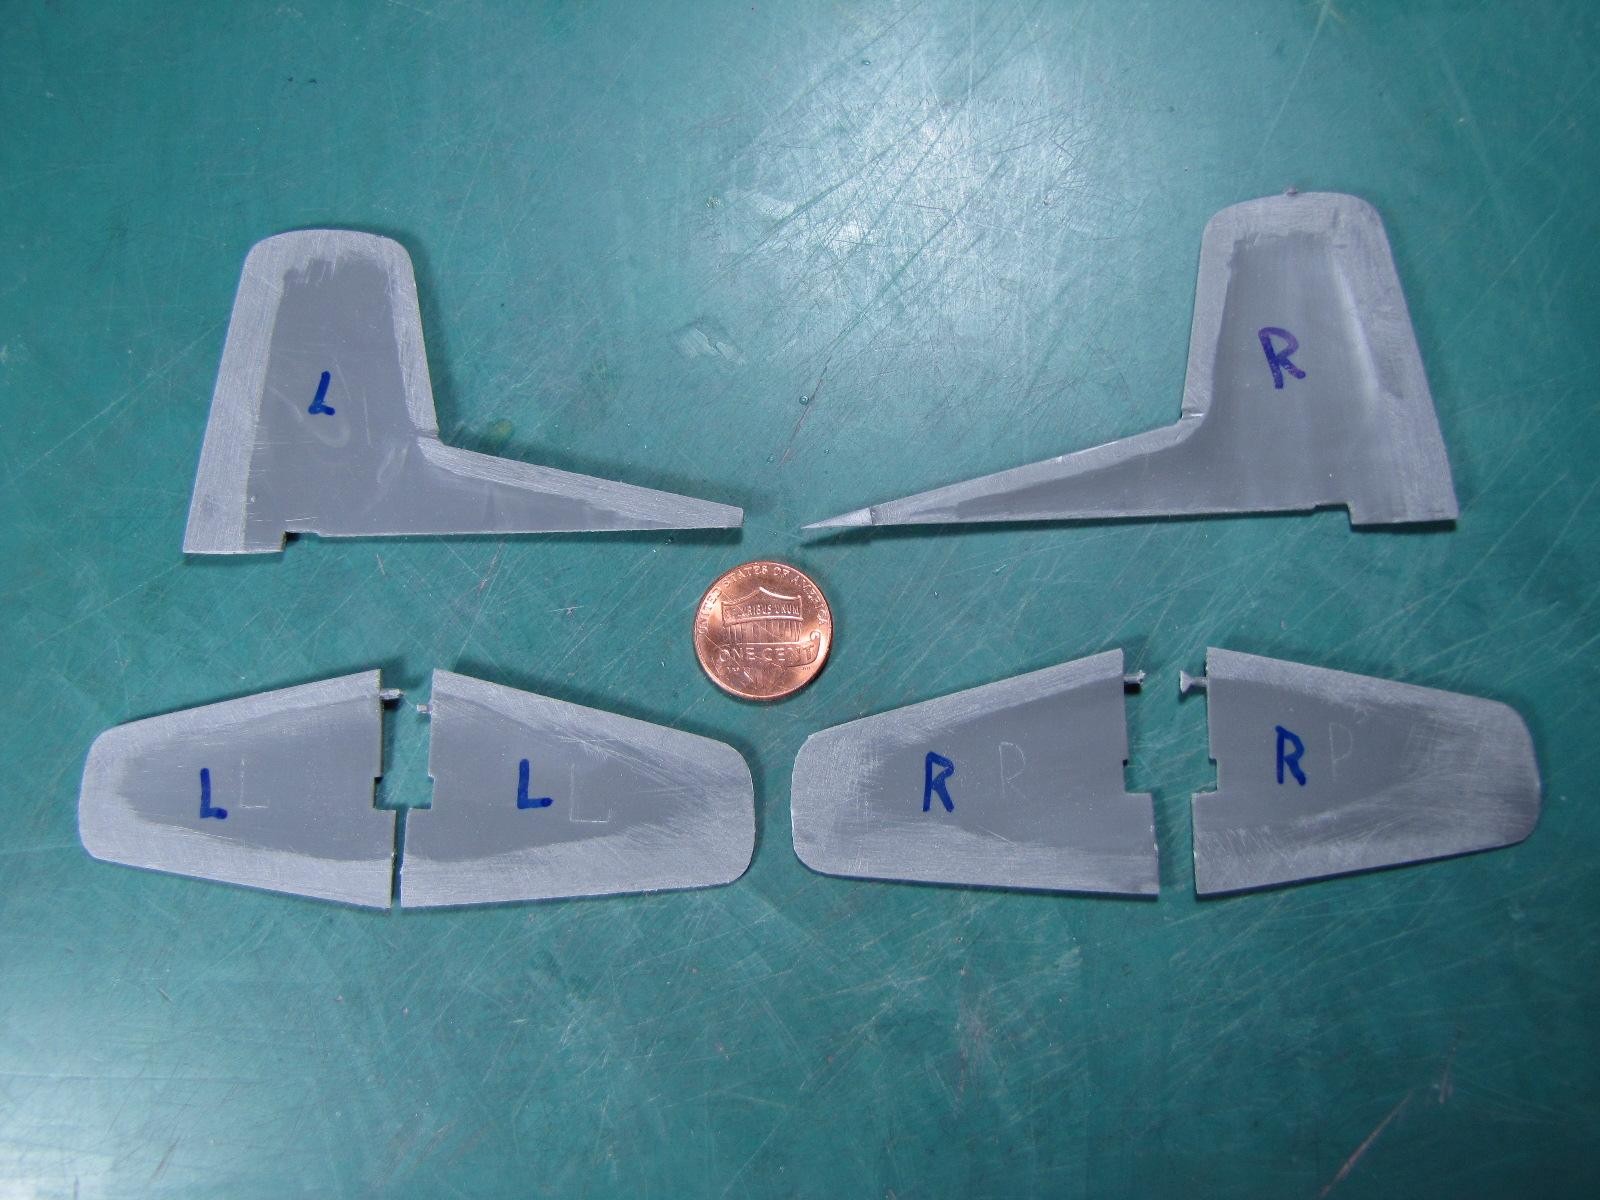
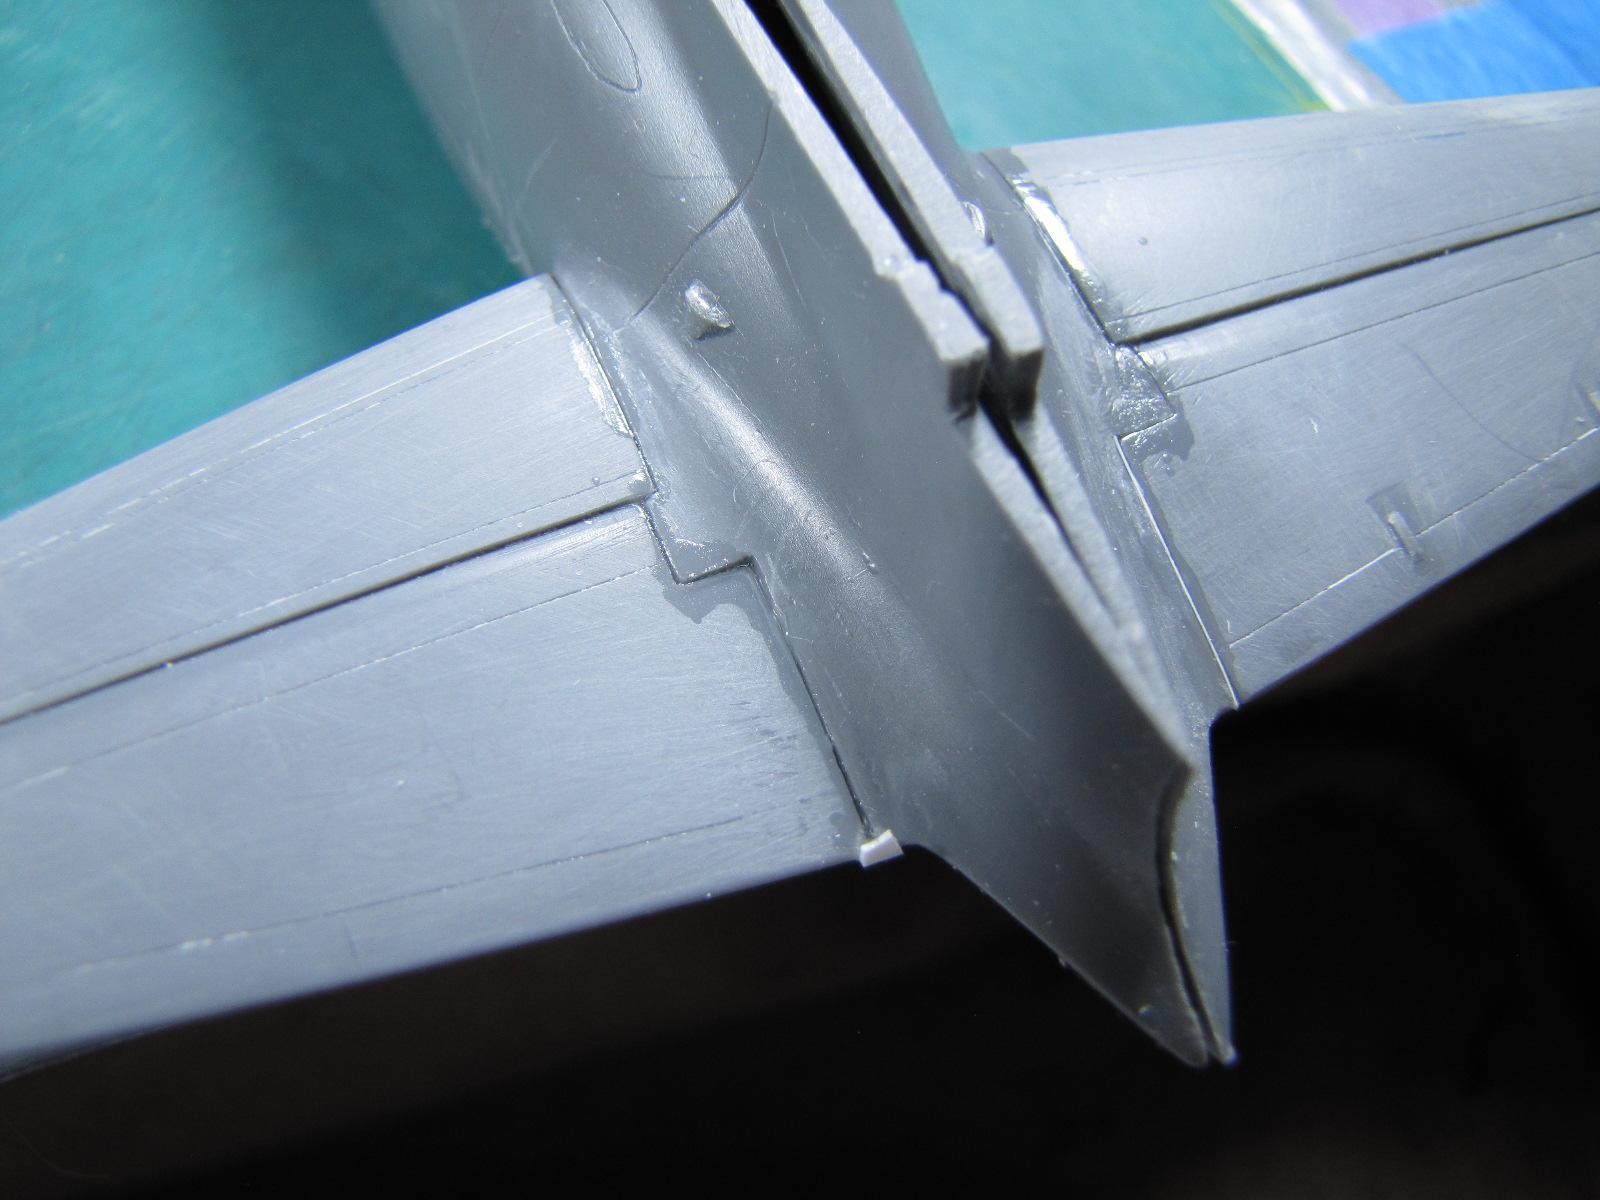
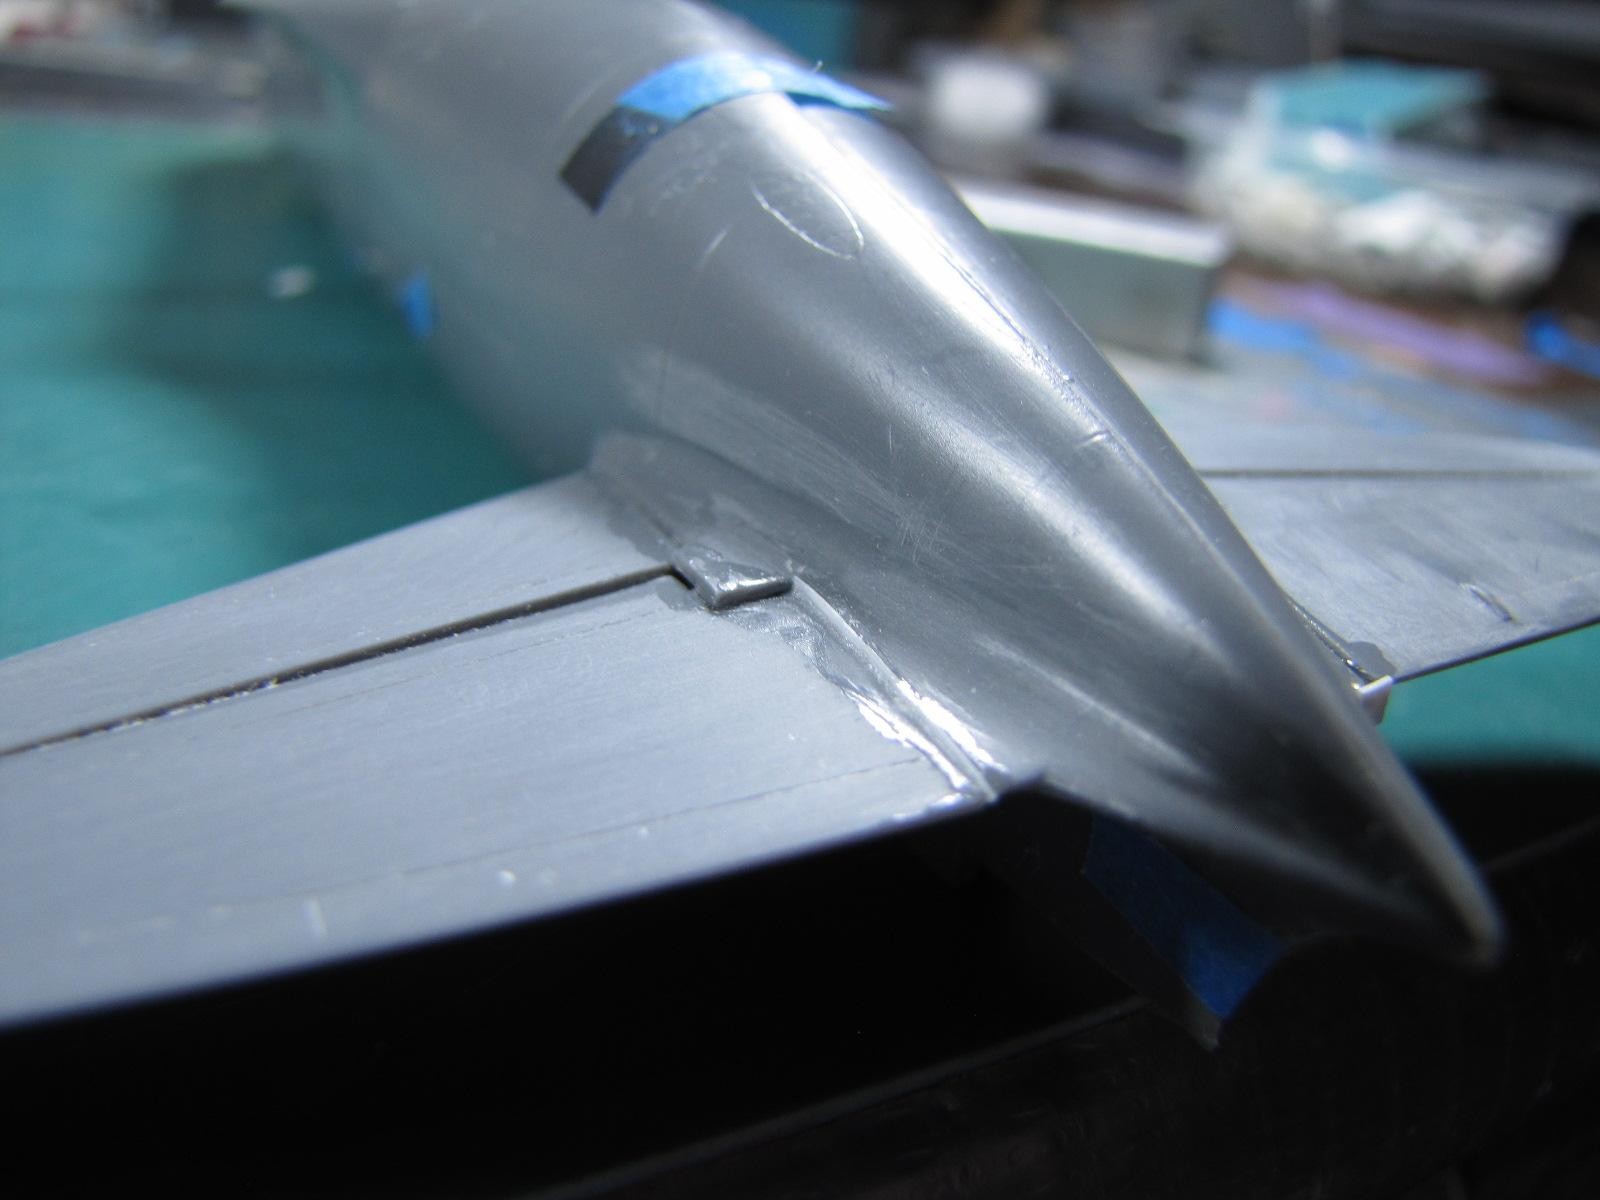
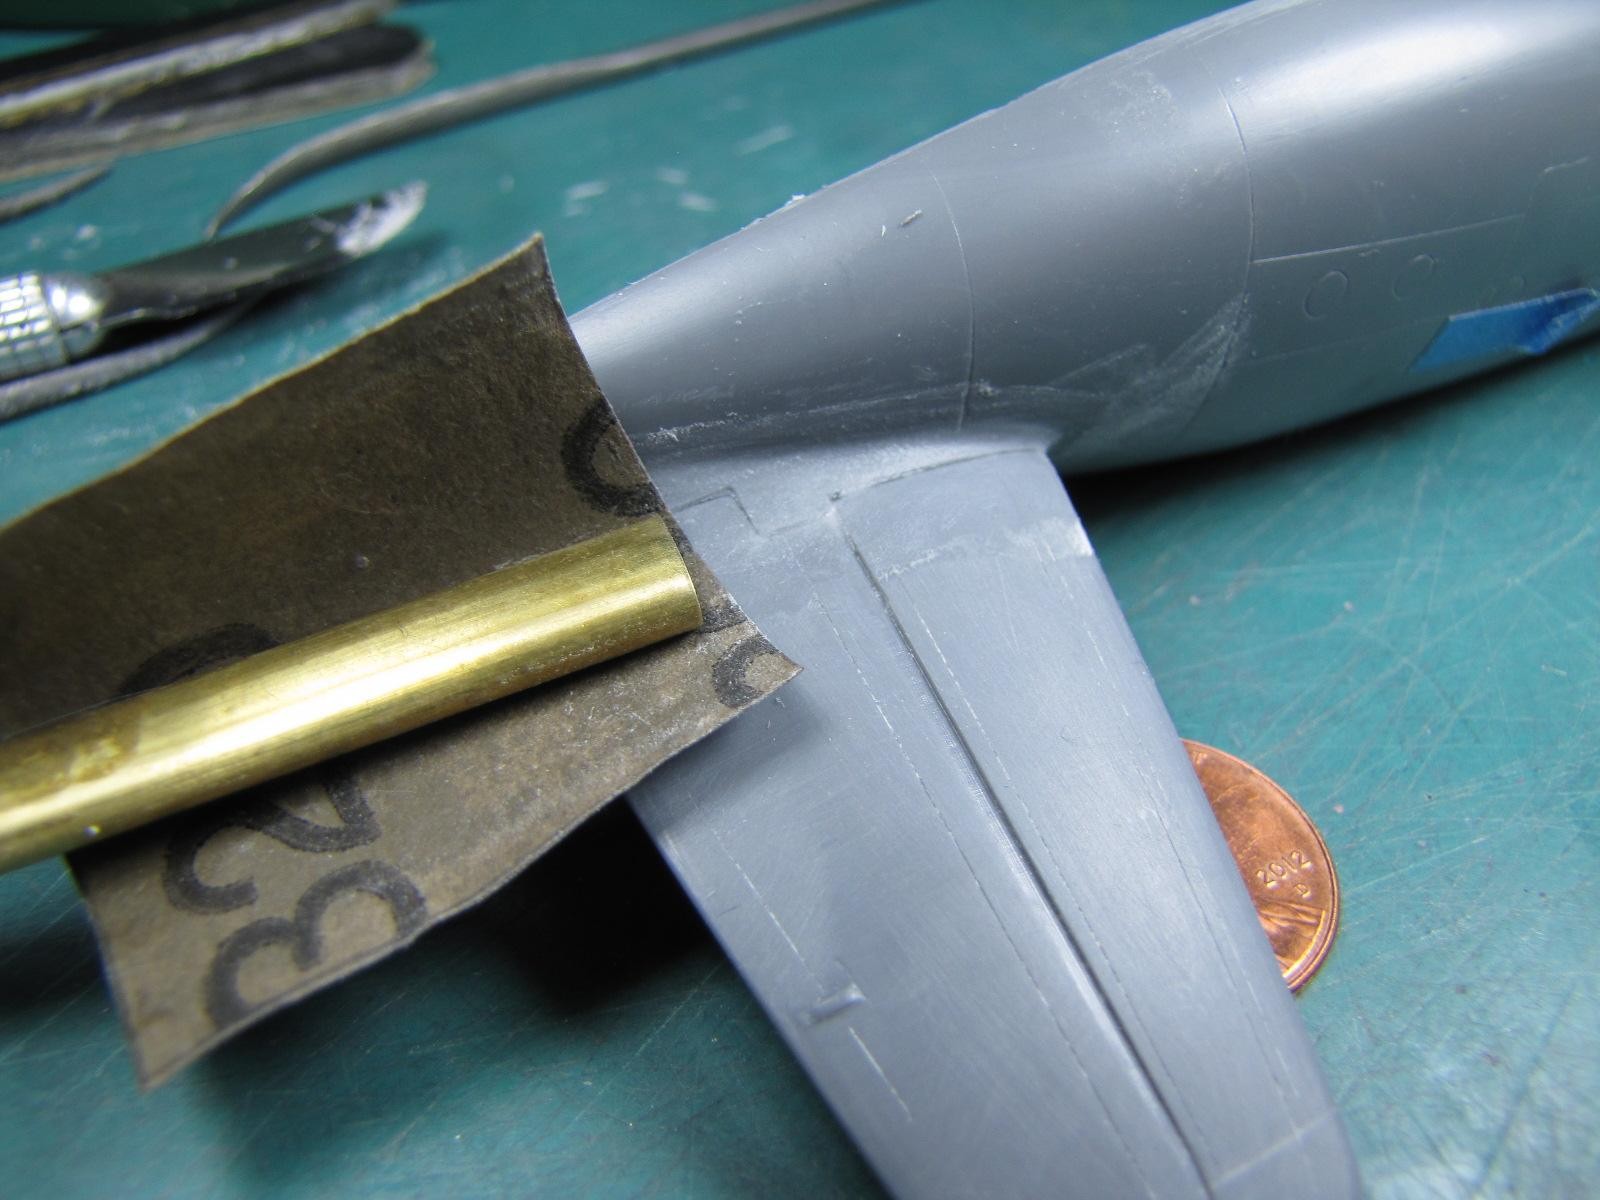
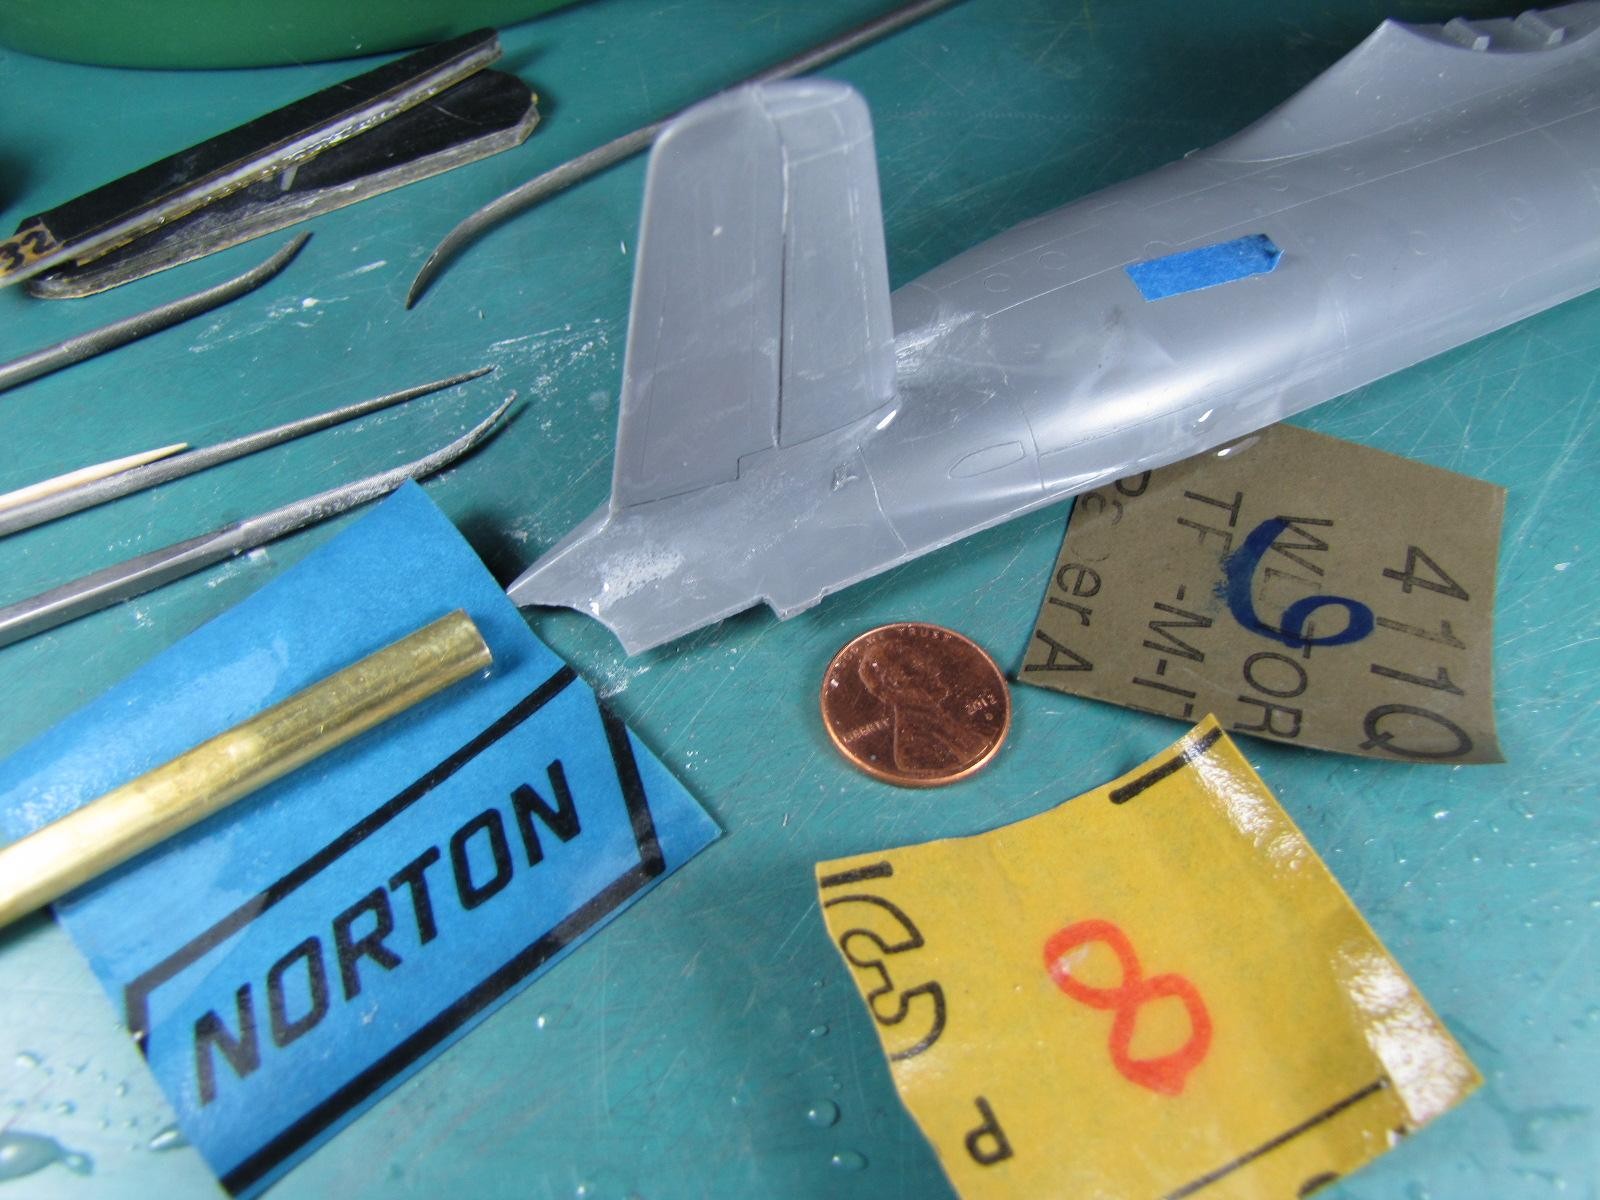
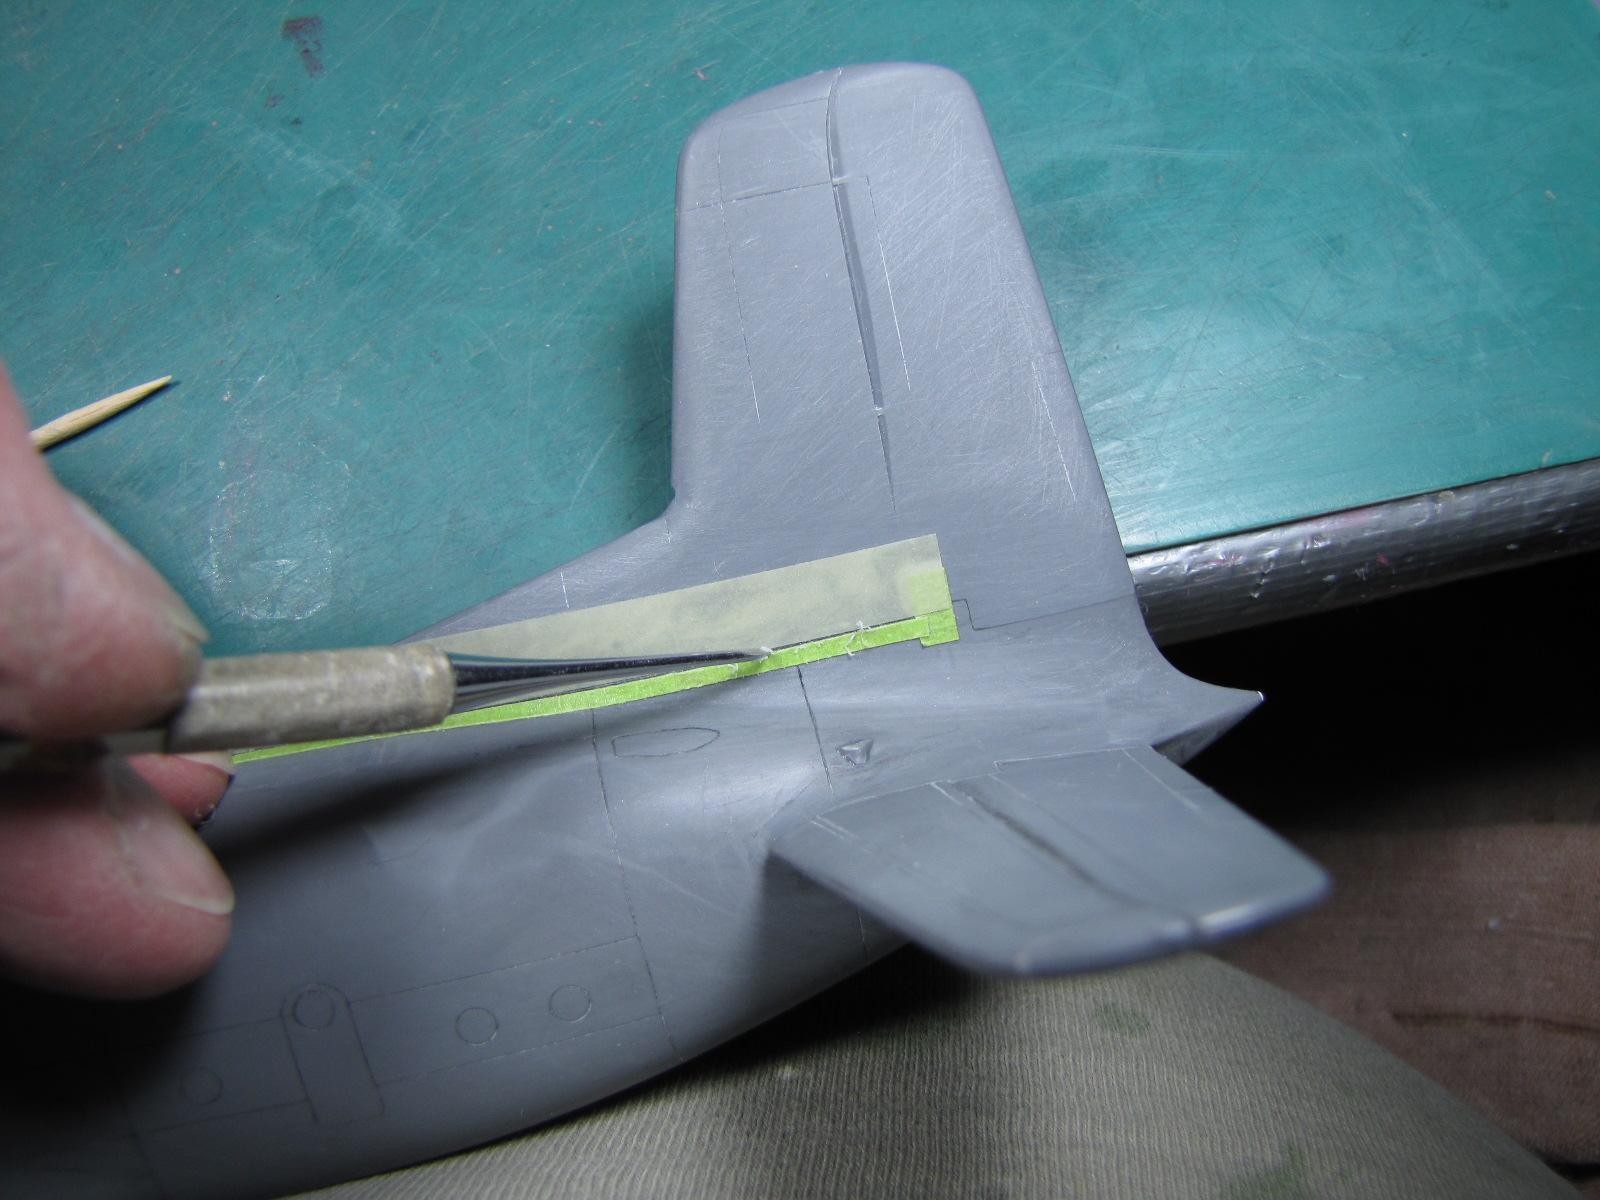
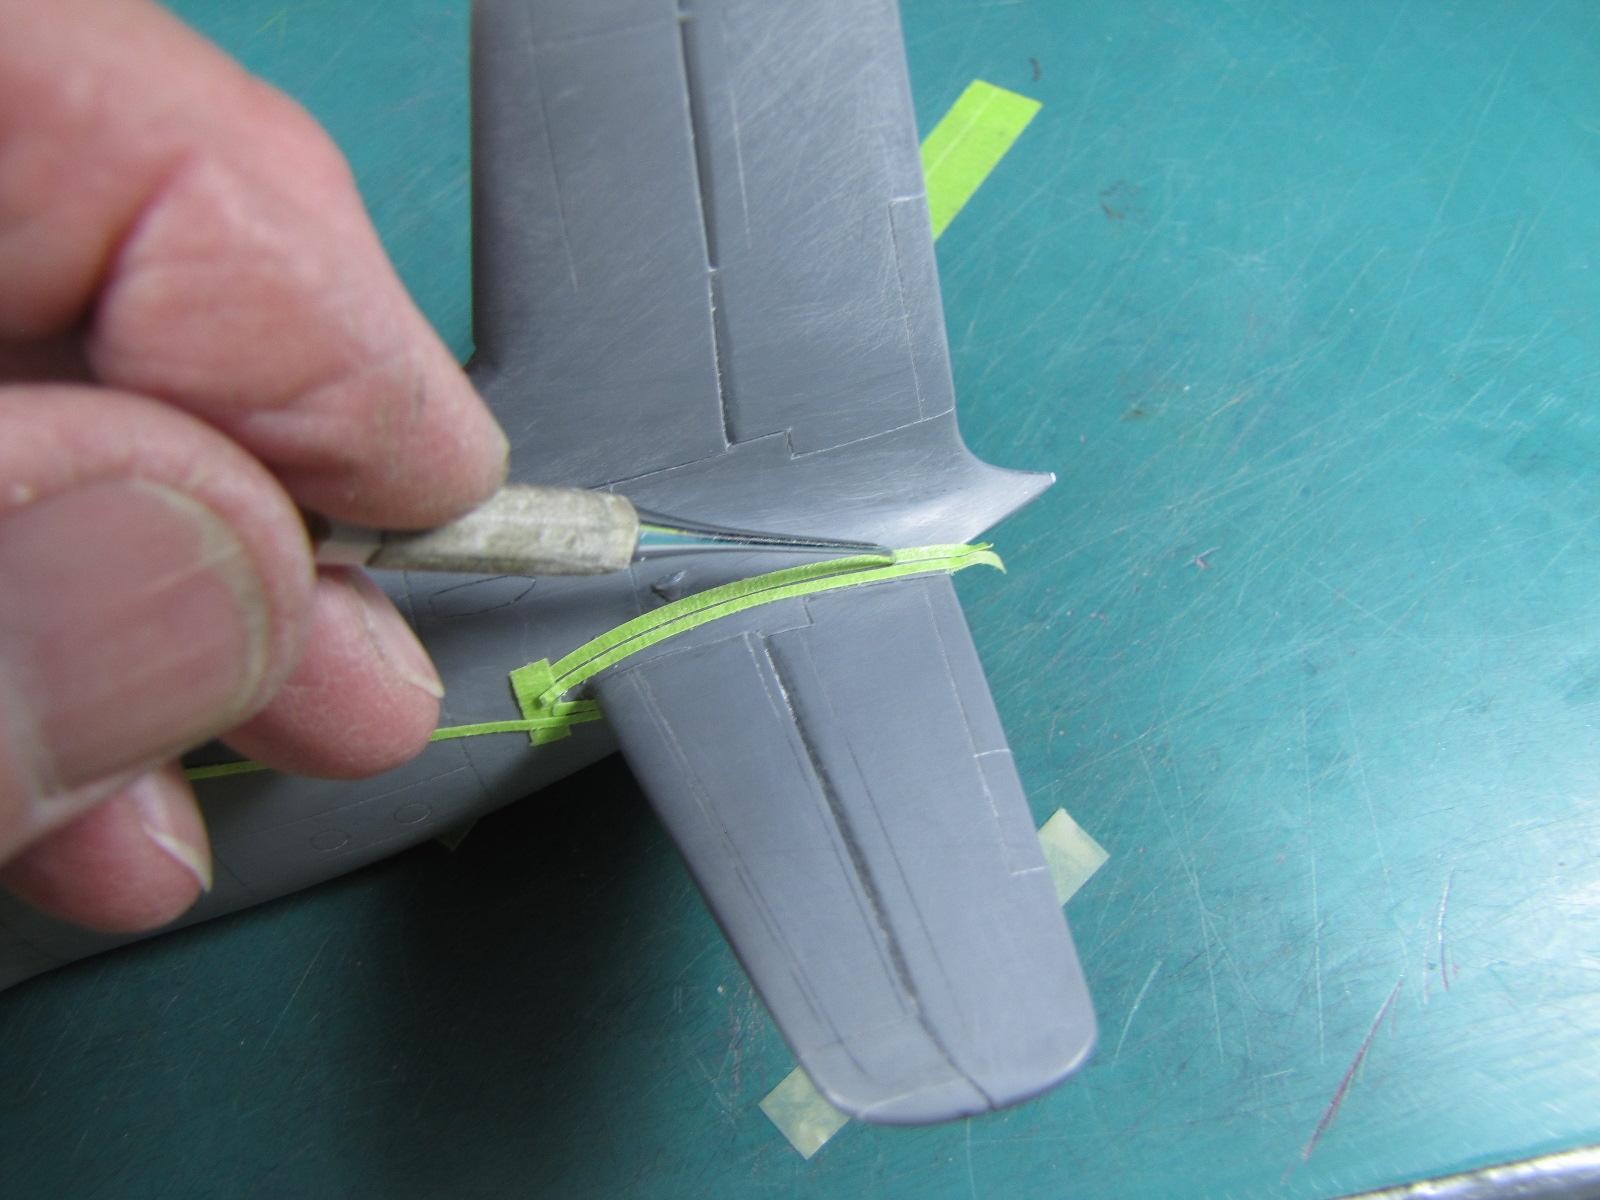
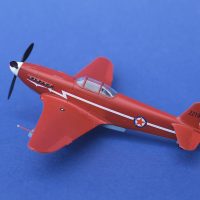
The next operation of this part of the build is to install both elevator/stabilizer one piece parts along with the 2 pre glued fin-rudder combo parts. Each part was sanded lightly and dry fit together. Everything looked ok so I added dots of thin superglue on the edges of the parts and again I double checked for proper alignment which turned out ok which met my high standard rules of model building.
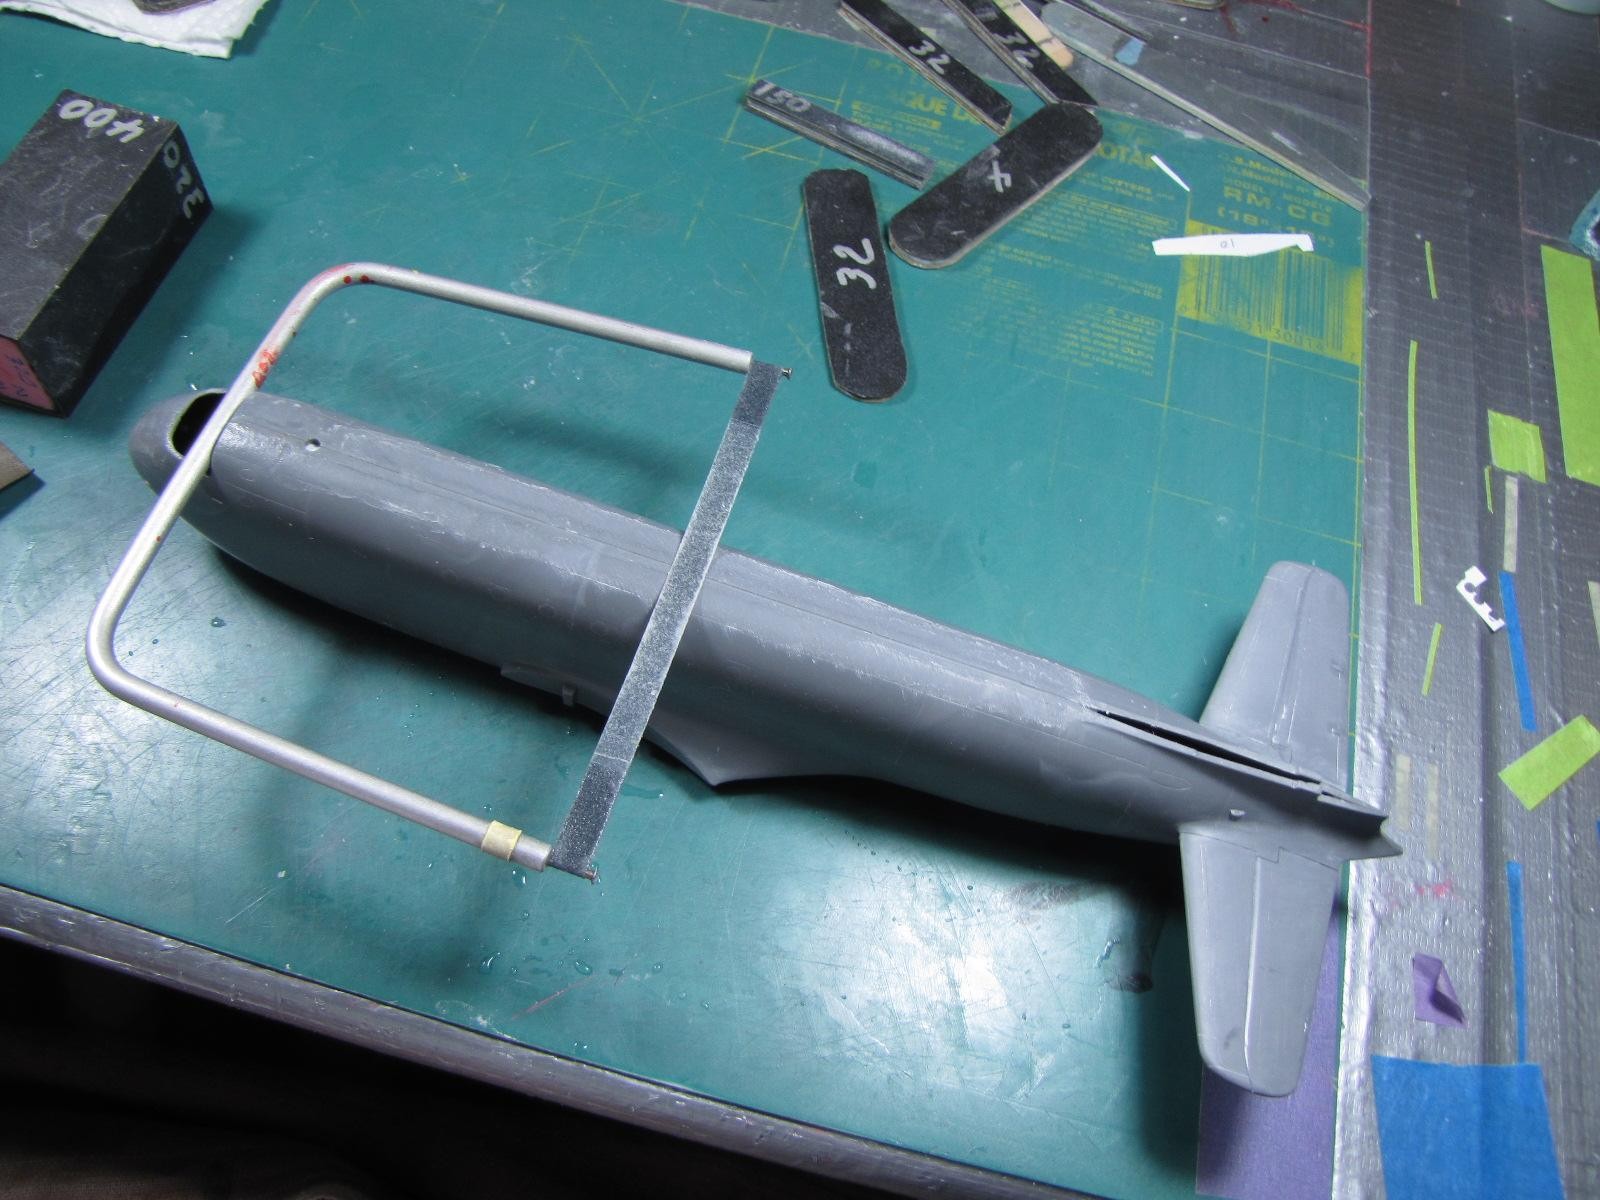
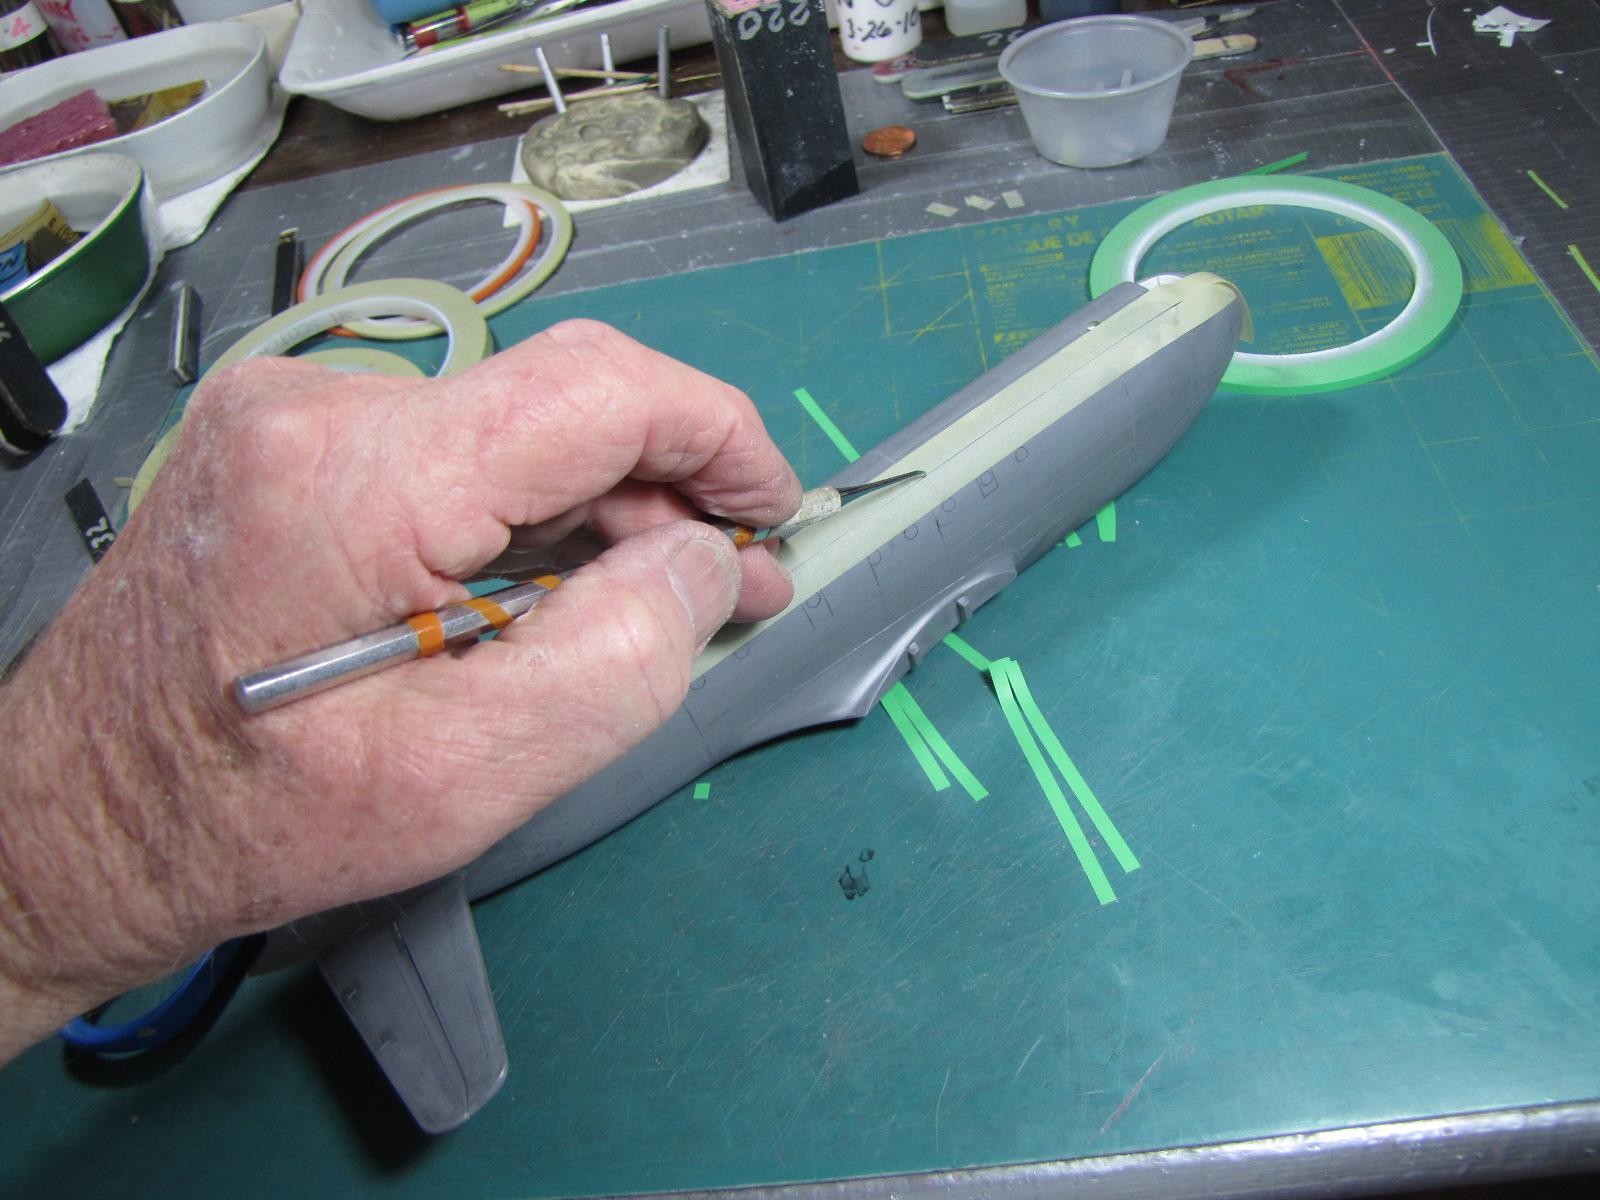
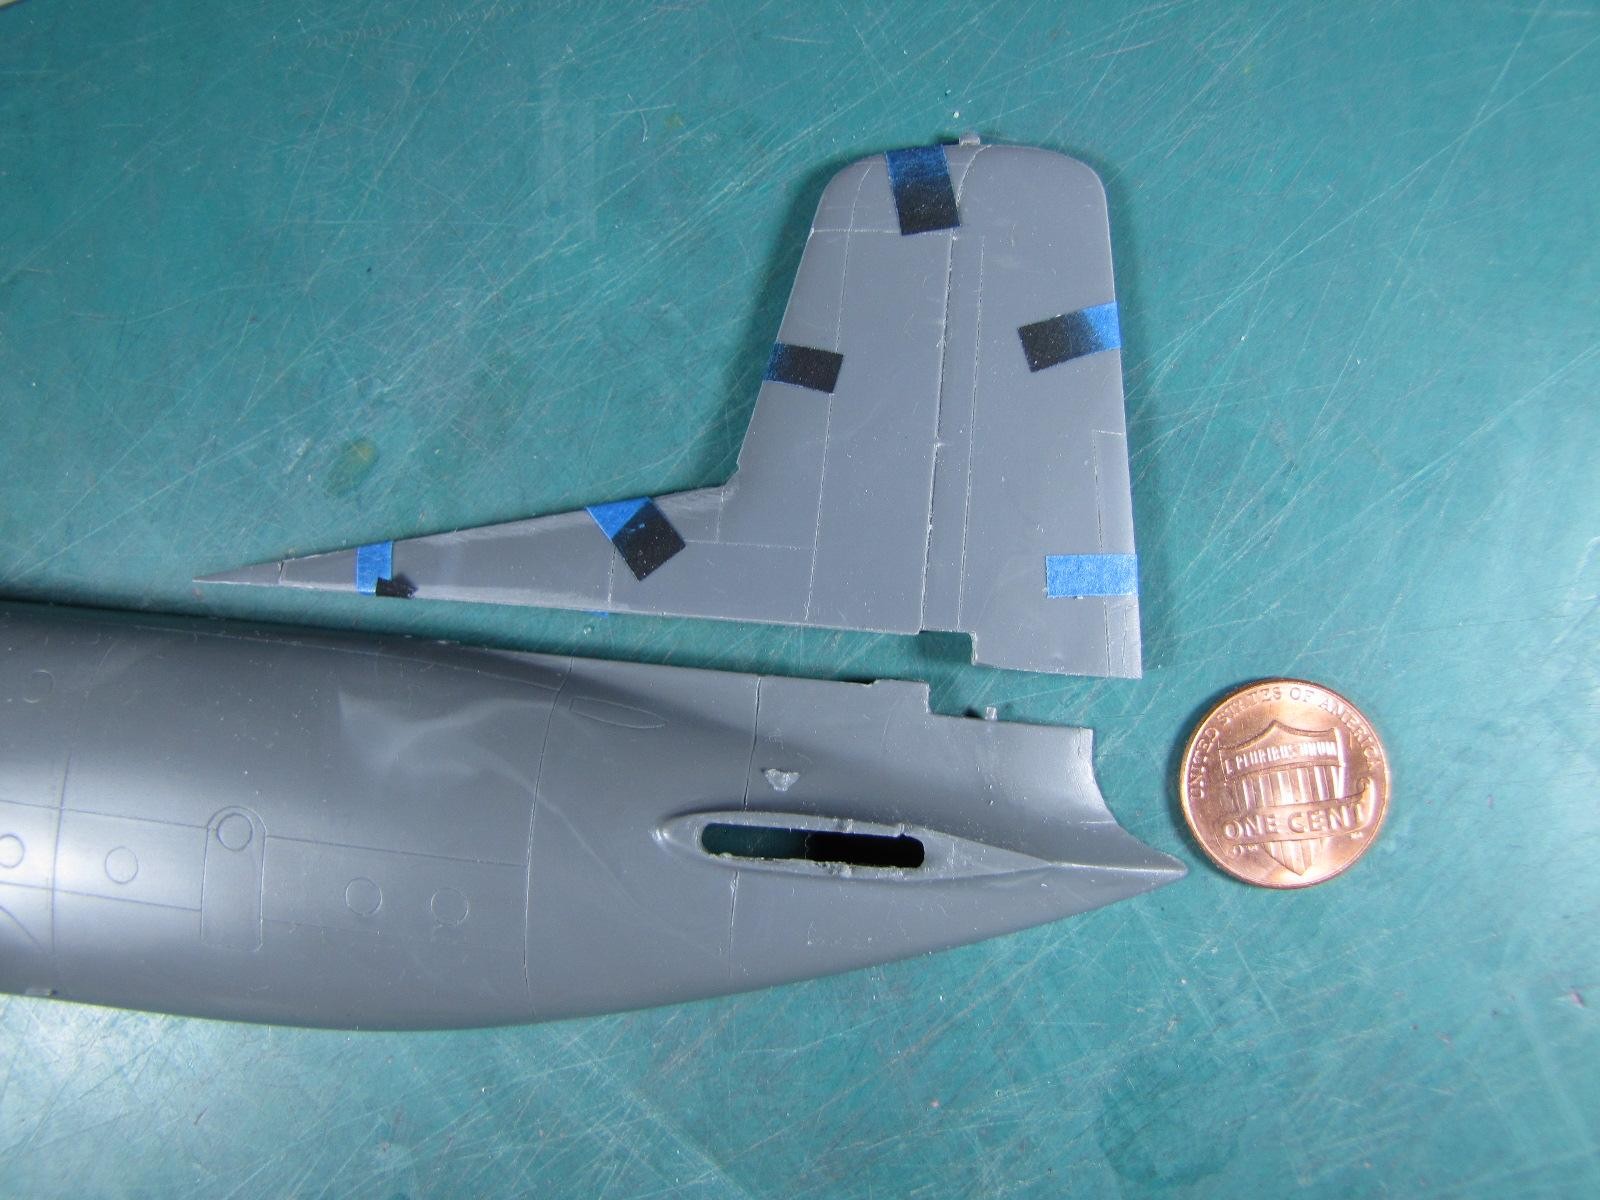
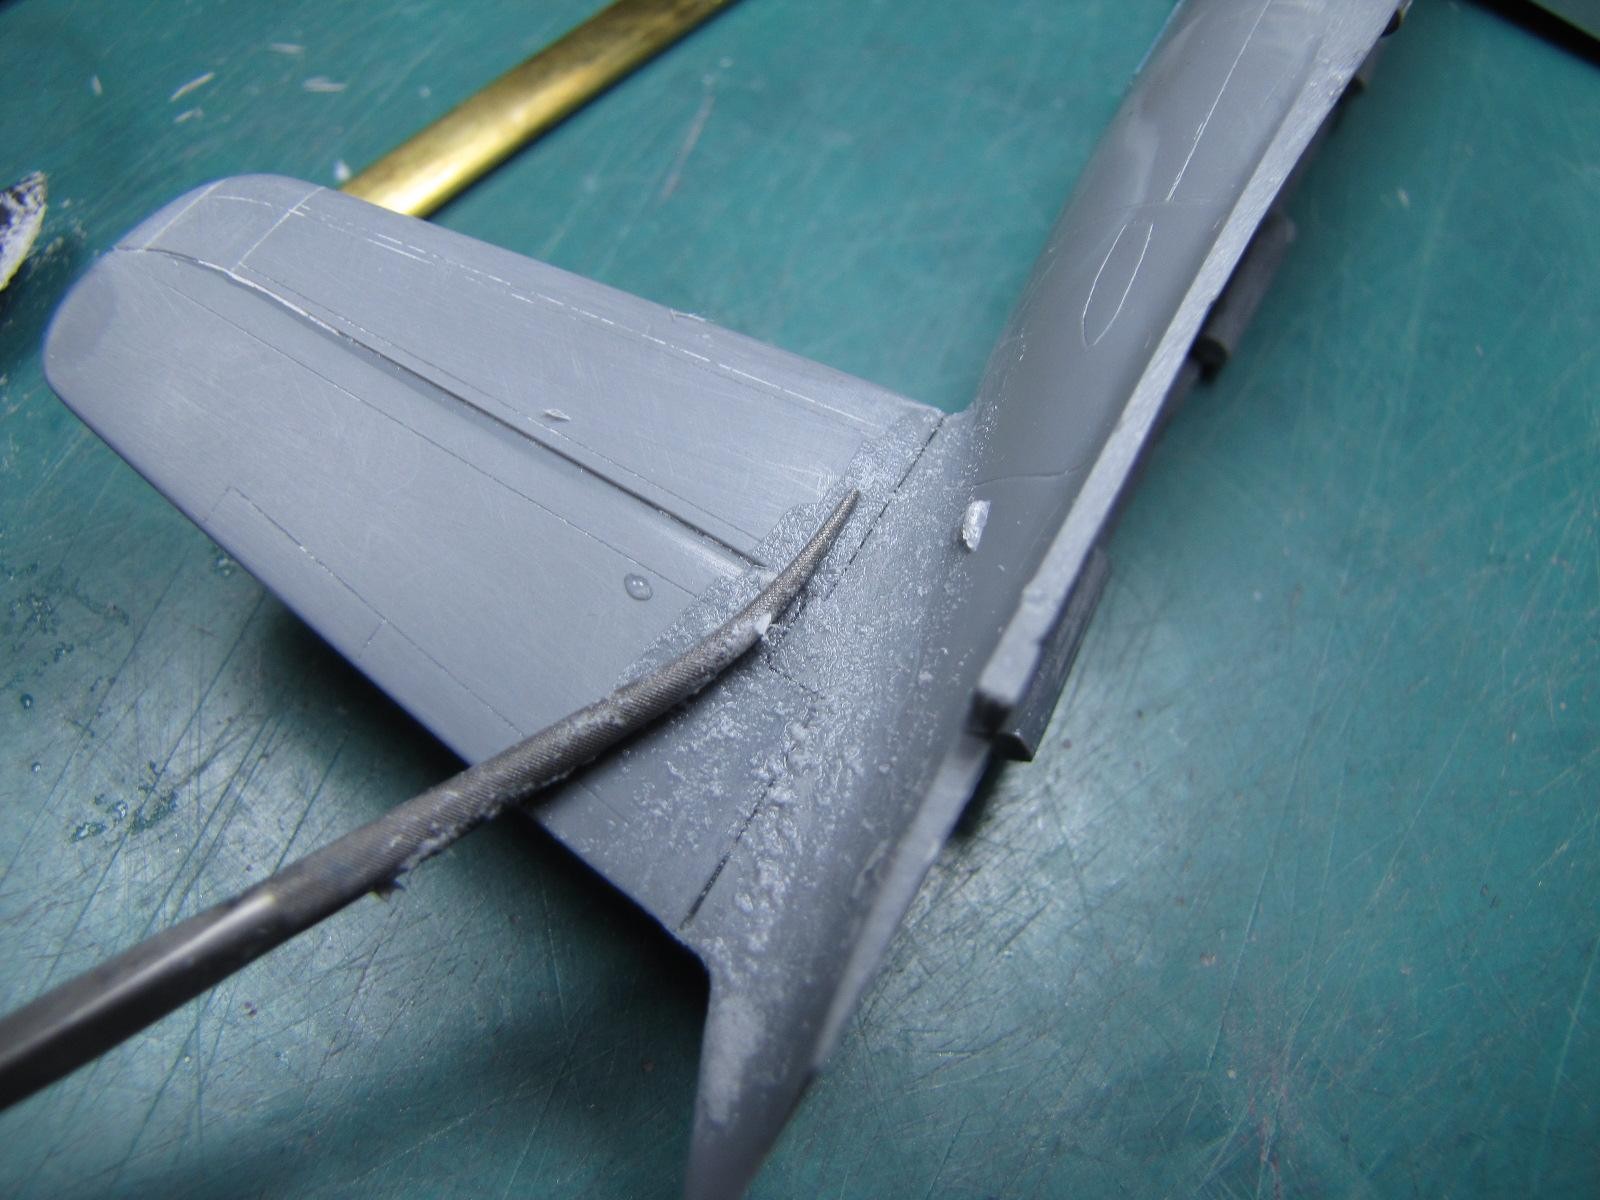
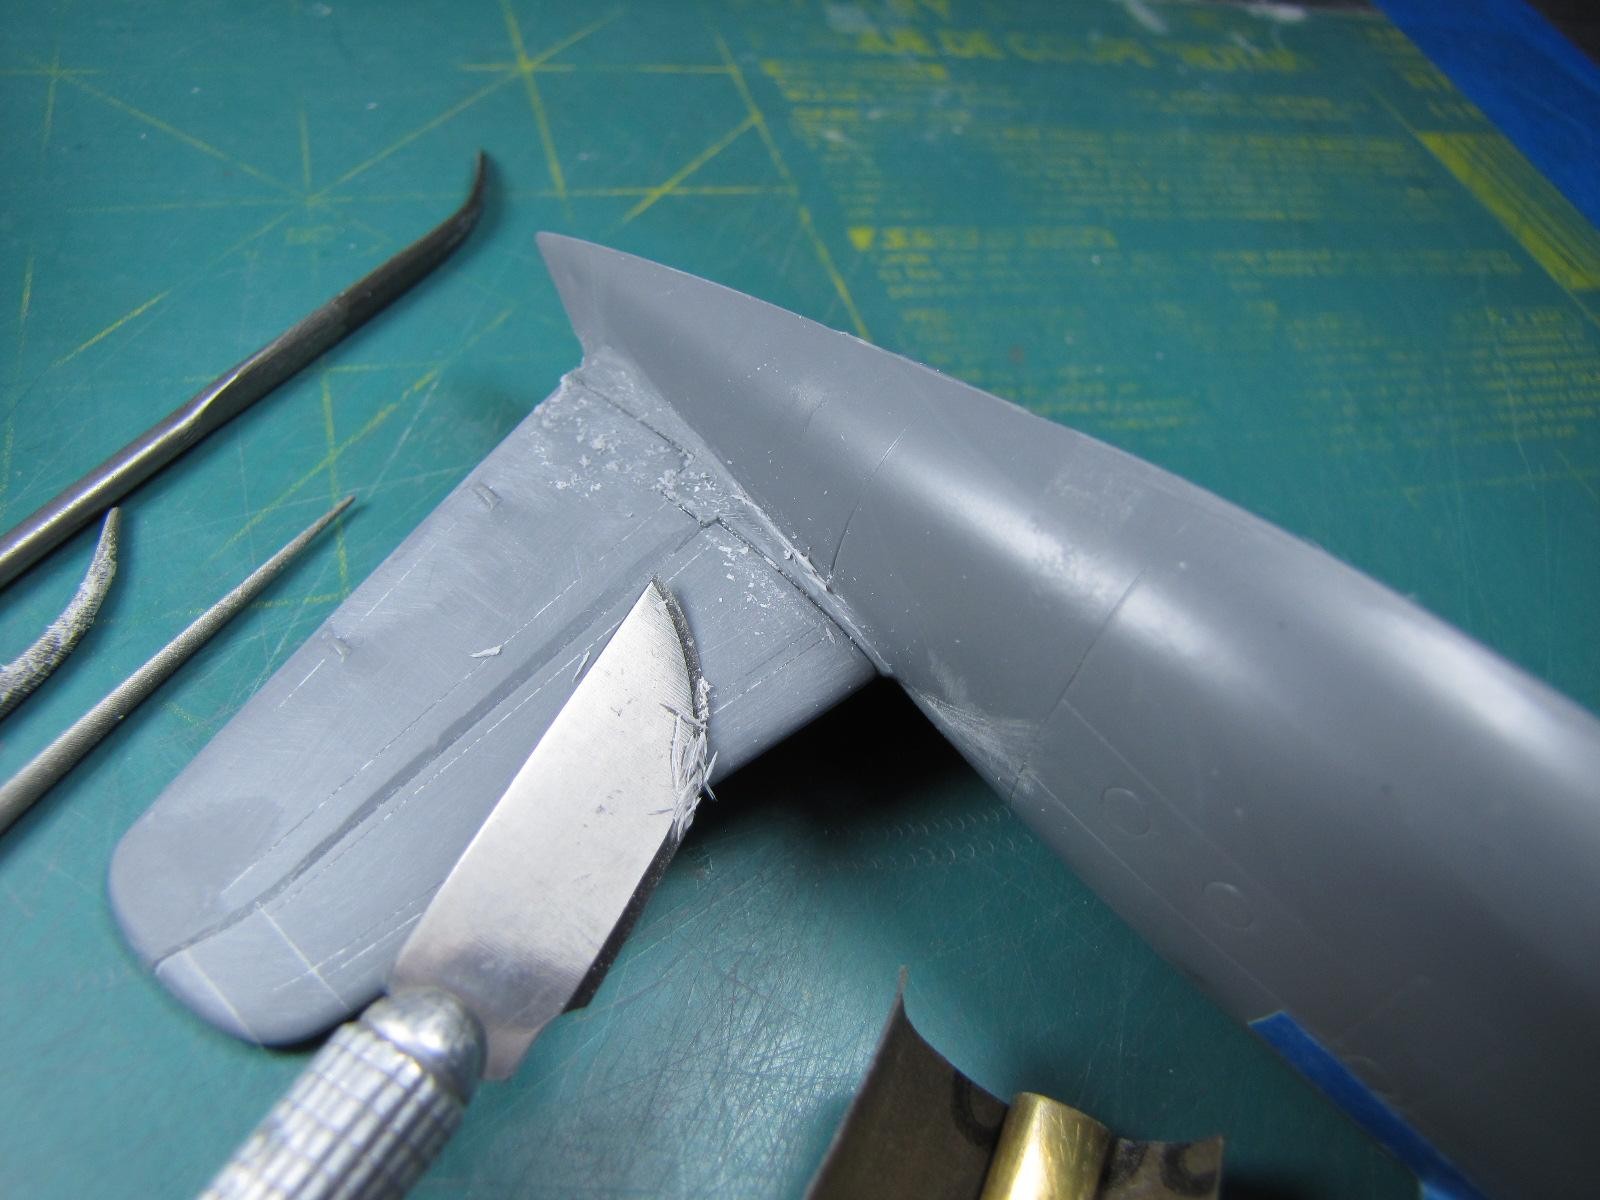
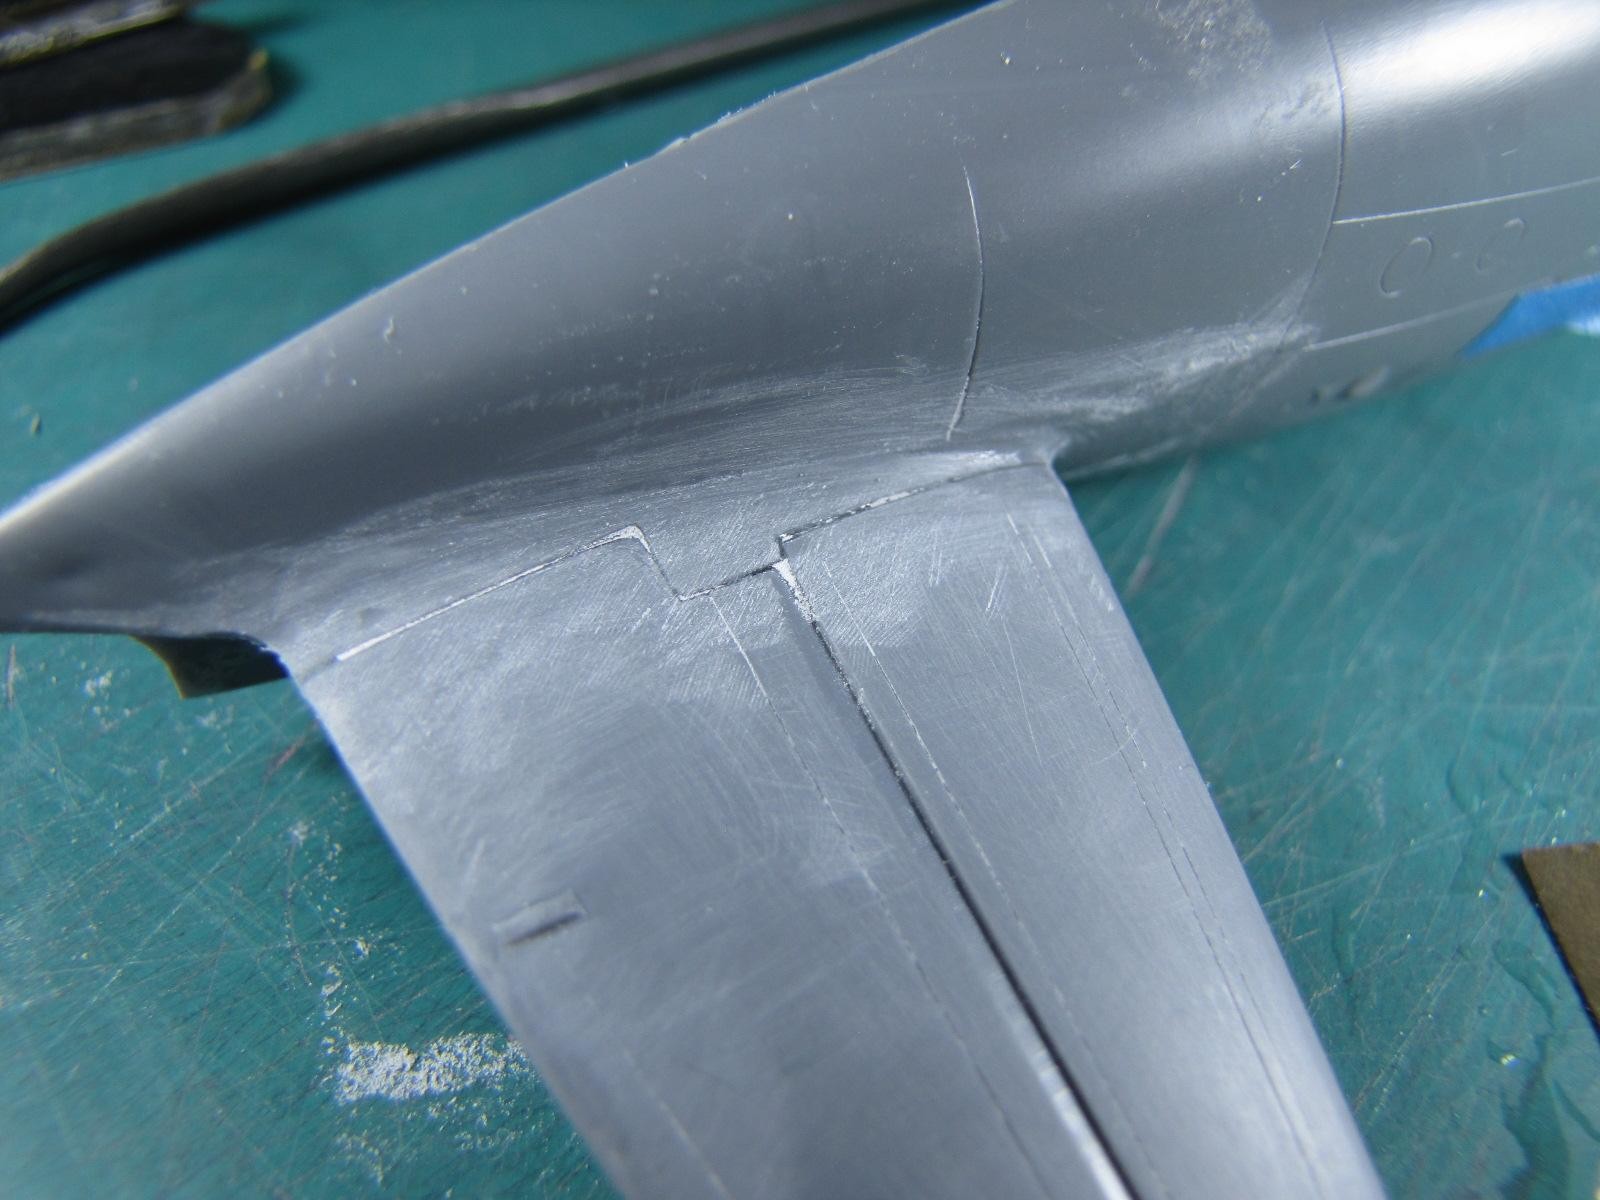
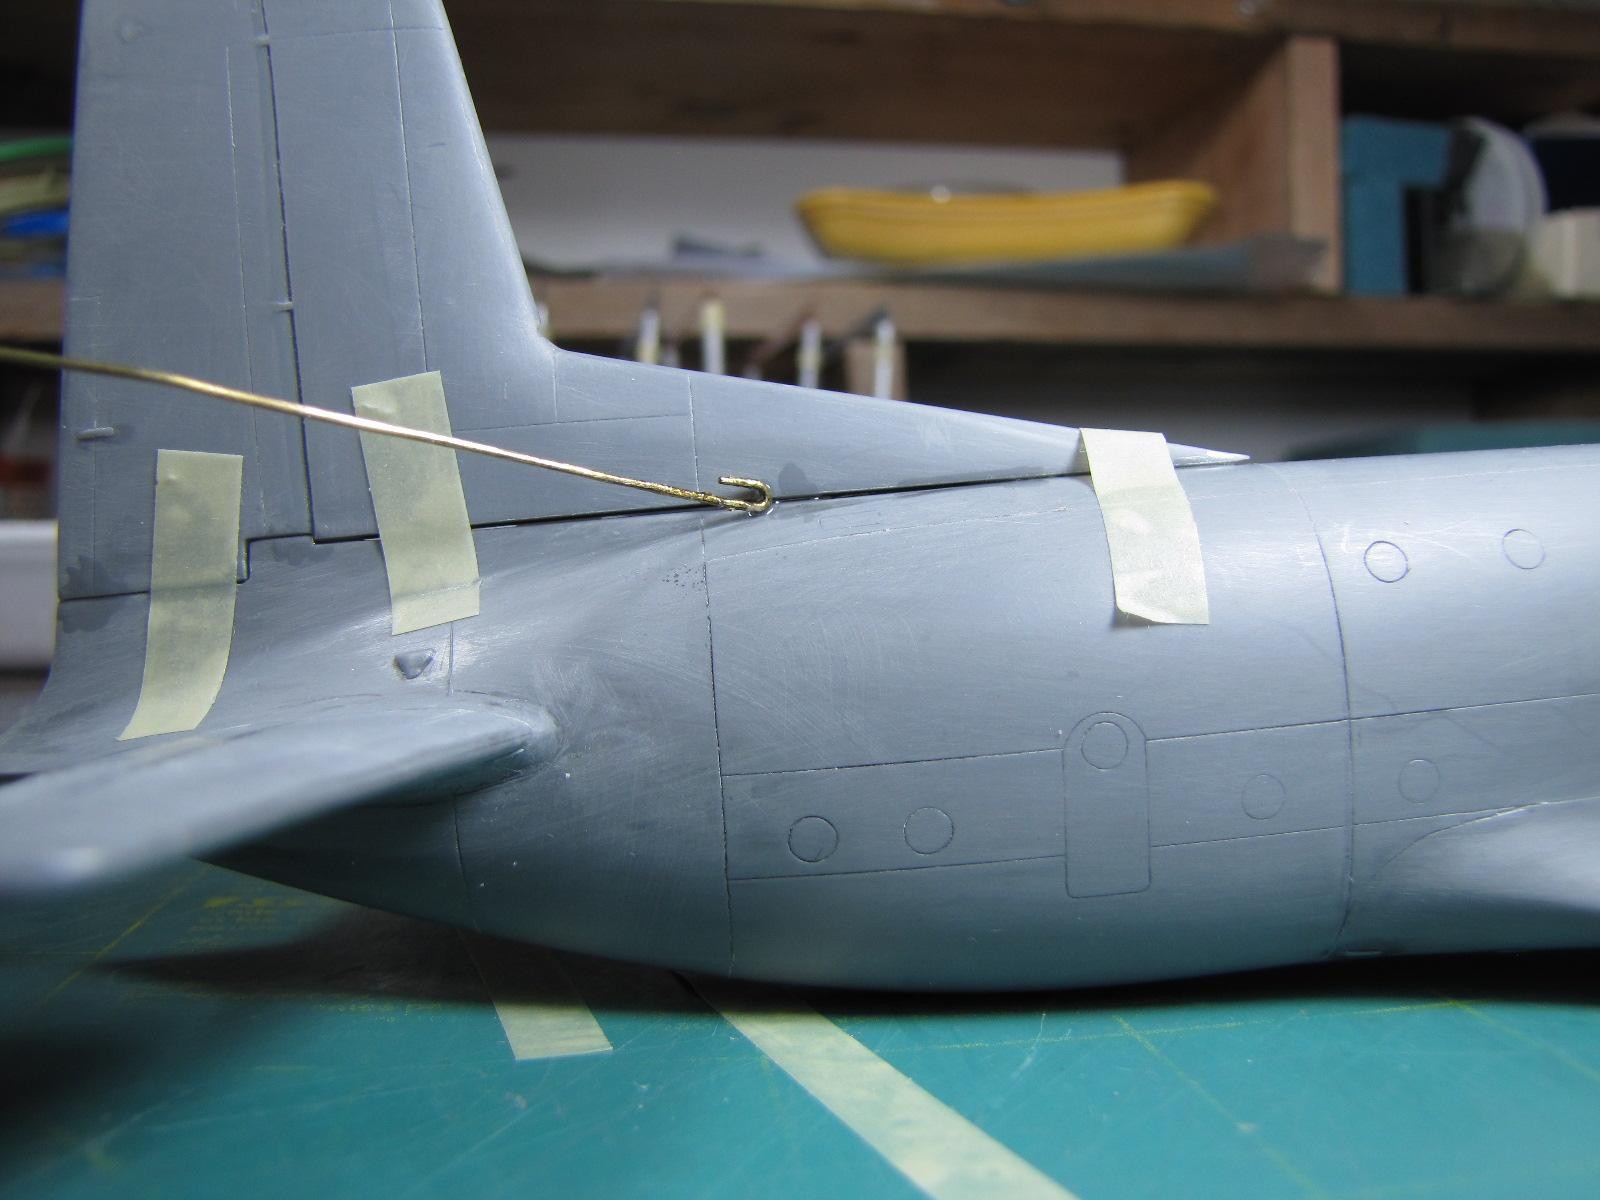
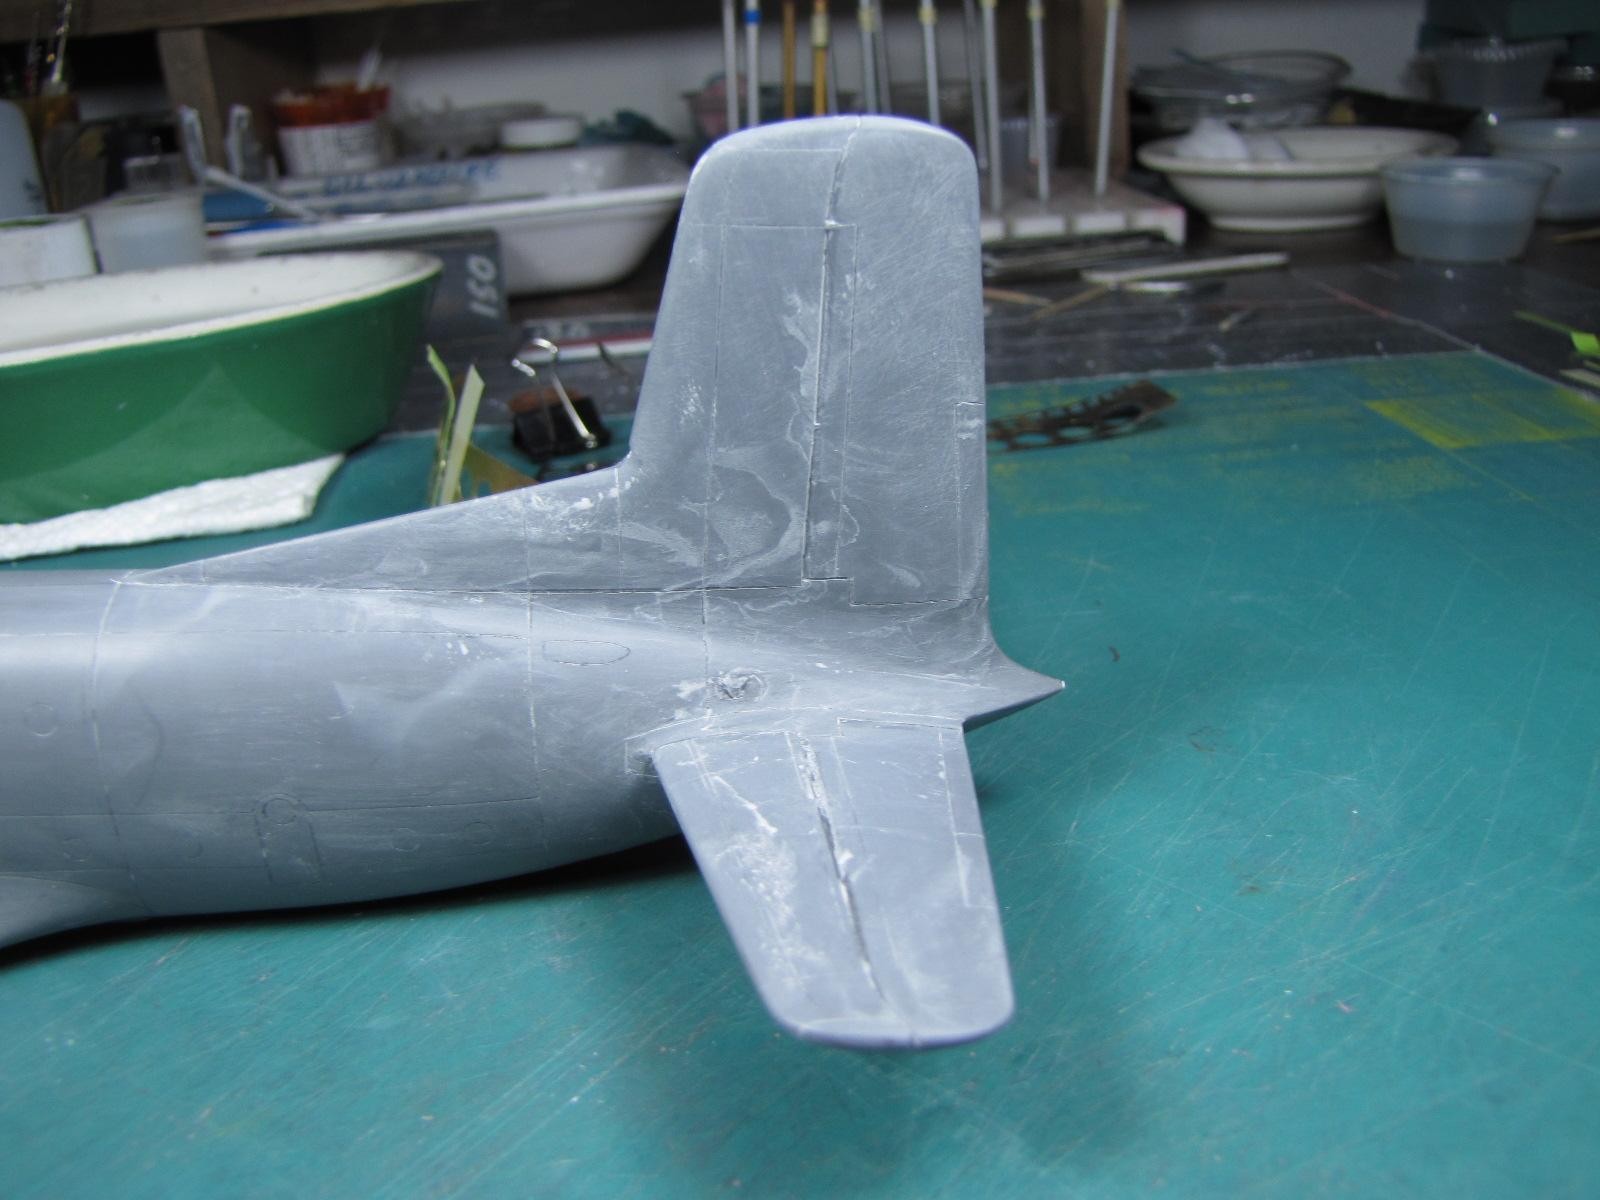
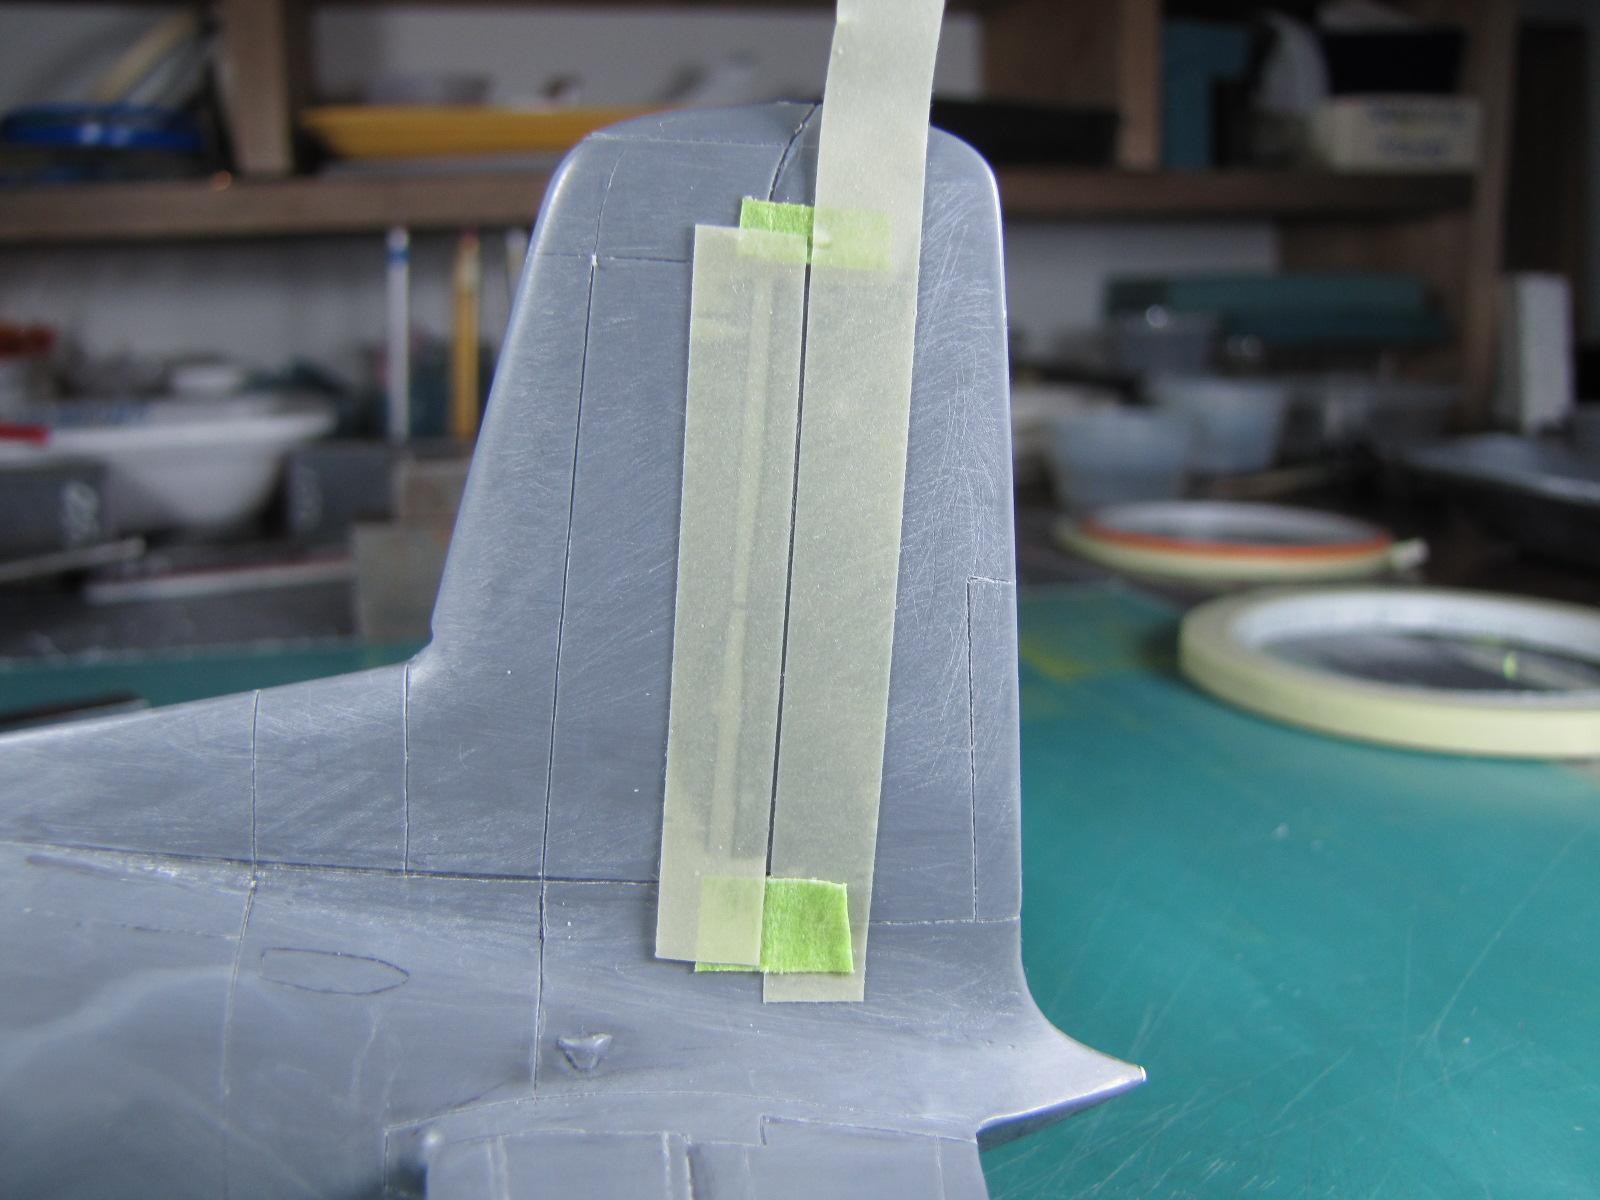
These 3 parts were sanded down to about 400 grit with my 3M wet/dry sandpaper. Now it was time to dry fit them to the area of the aft tail section of the fuselage. To my amazement the 3 parts did not align up properly. They were glued in and then I begin the process of cutting, filing and sanding all 3 "attachment points" to mate up with one another. After inspection, I re-scribed in several panel lines then sanded the entire aft section of the fuselage using 320, 400 and 600 grit 3M sandpaper.
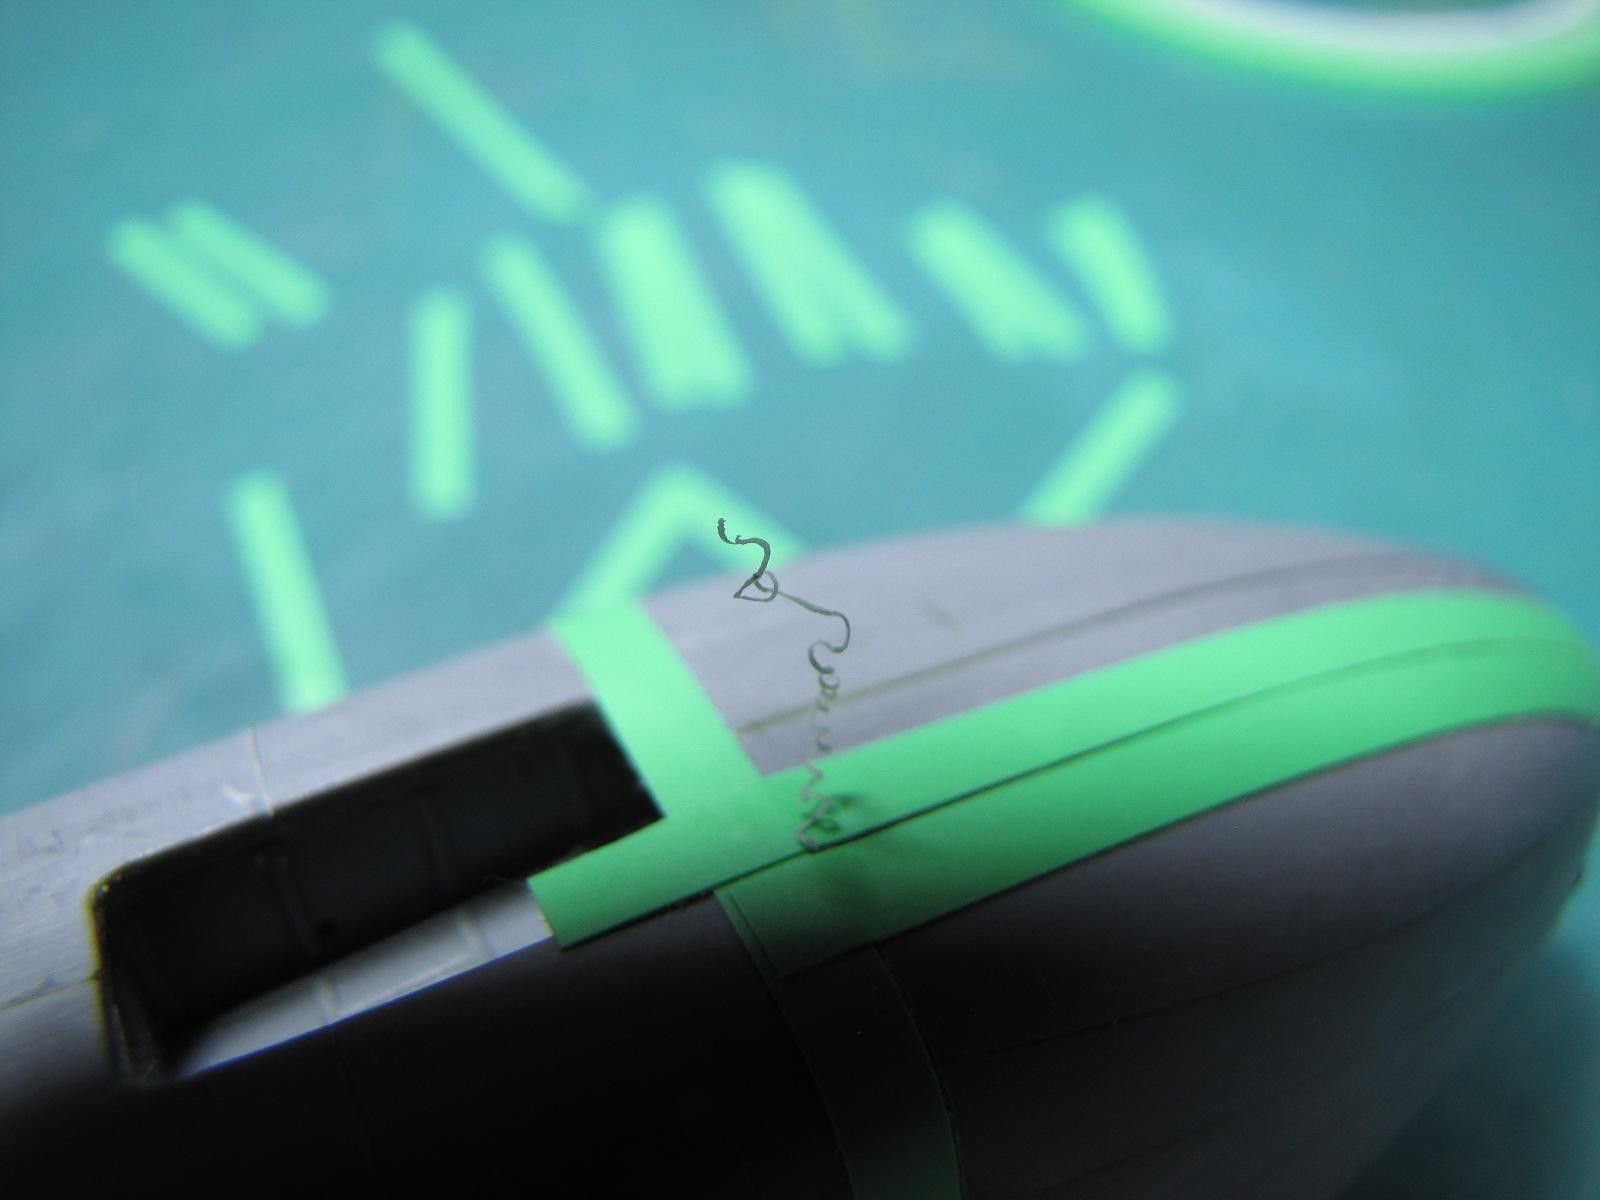
I did not keep a record of my time, however the end result was OK! When you look at the close up photos you can see that I accomplished the impossible by taking the time to do the job right.
My next segment will show what I did to the large wings, including the four engine's.
Til then, keep on modeling...Enjoy RJW.


Leave a Reply
You must be logged in to post a comment.