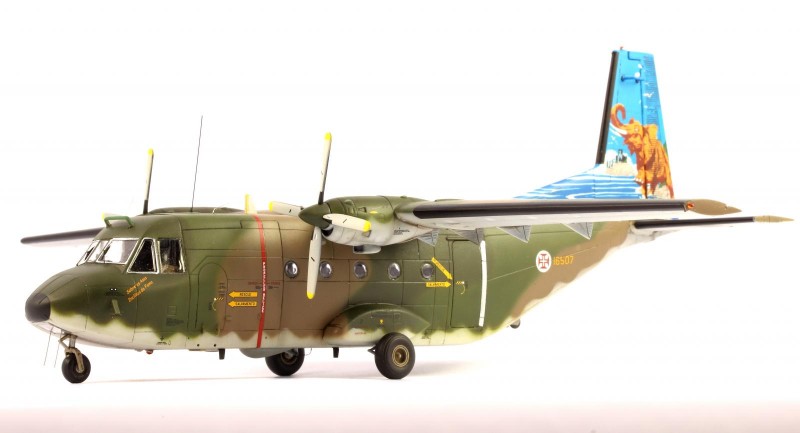
1/72 CASA 212 Aviocar – Portuguese Air Force by Special Hobby
The first prototype of the C-212 flew on 1971 and towards the end of 1973, Portugal ordered 20 units in order to replace the ageing and obsolete C-47 Dakotas and Nord 2501 Noratlas. In 1974 The CASA C-212-100 became operational with the Spanish Air Force and in October of that year, the Portuguese Air Force received the first four units. Until 1976 another 16 airframes were delivered and in 1994 two more airframes were received, but in the C-212-300 version, destined to maritime surveillance duties.
The C-212 became a sale success for CASA, and served in more than 20 countries around the world.
This build was received and tackled with a mixture of expectation and nostalgia. When the editor presented me with the opportunity of building the Casa C-212, my heart just started racing. For both the Azorean people and those that cross the Atlantic Ocean, these small twin engine aircraft meant, in a multitude of occasions the difference between life and death. The FAP used this platform to perform the SAR duty as well as sanitary evacuation of patients between the Azorean islands and the two main hospitals on the region.
Inside the box
It was with great expectation that the special hobby box was opened up. Inside it, there were five grey plastic sprues which contained 148 parts, two clear sprues with 40 parts, a small photo etched fret, eleven resin pieces and two gorgeous decal sheets printed by Cartograph. Rounding up all this plastic was a instruction booklet printed in gloss paper. The building diagrams were clearly designed, and the coloured decal instructions comprised by four plan views. The colour codes for both the main paint scheme and the detail painting was only provided for Gunze Mr. Hobby Colour or Mr Colour, therefore, for a lot of modellers conversion is mandatory.
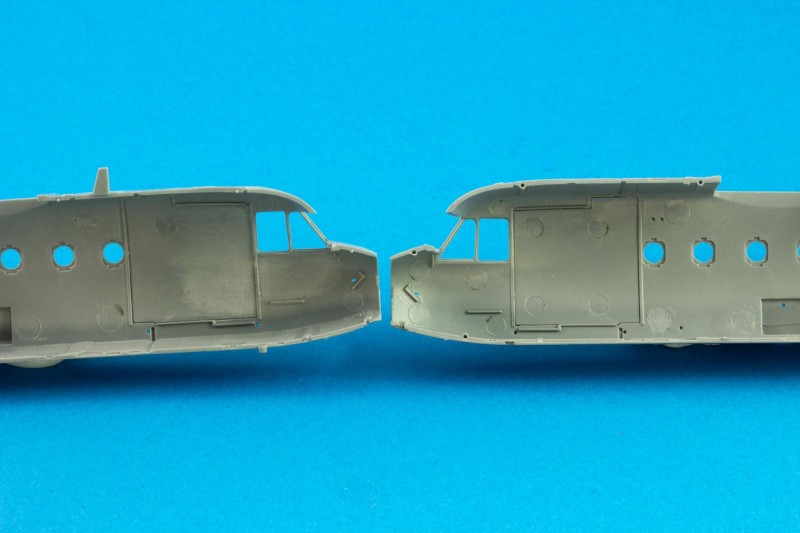
The first task to perform was to choose the correct plug-in for the fuselage, depending of the version to be moulded. The ejection pin marks were eliminated on the areas that were going to be visible.
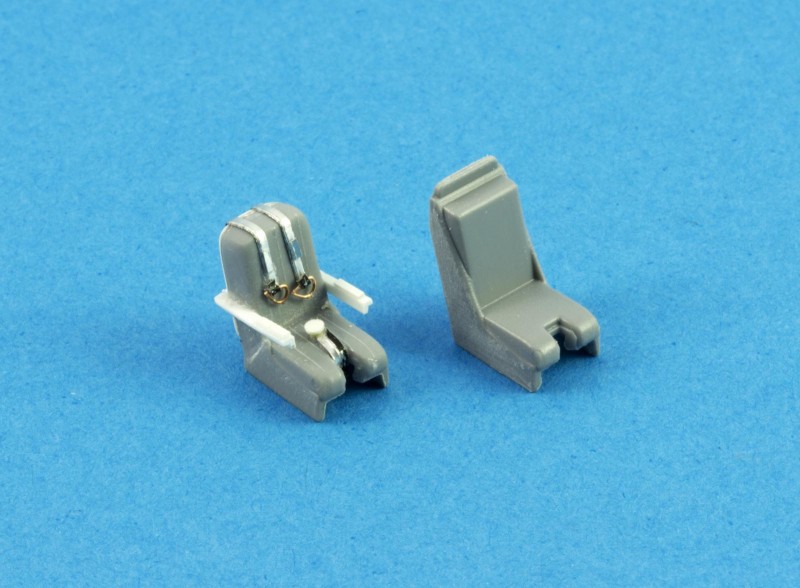
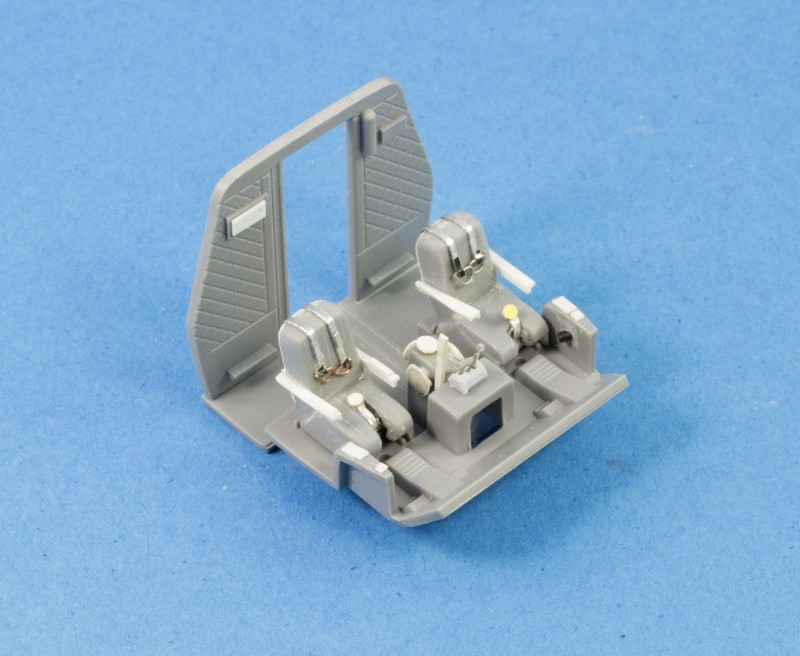
Several bits of plastic card and wire were employed on the detailing of the cockpit structures. Special attention was paid to the centre console and pilot seats.
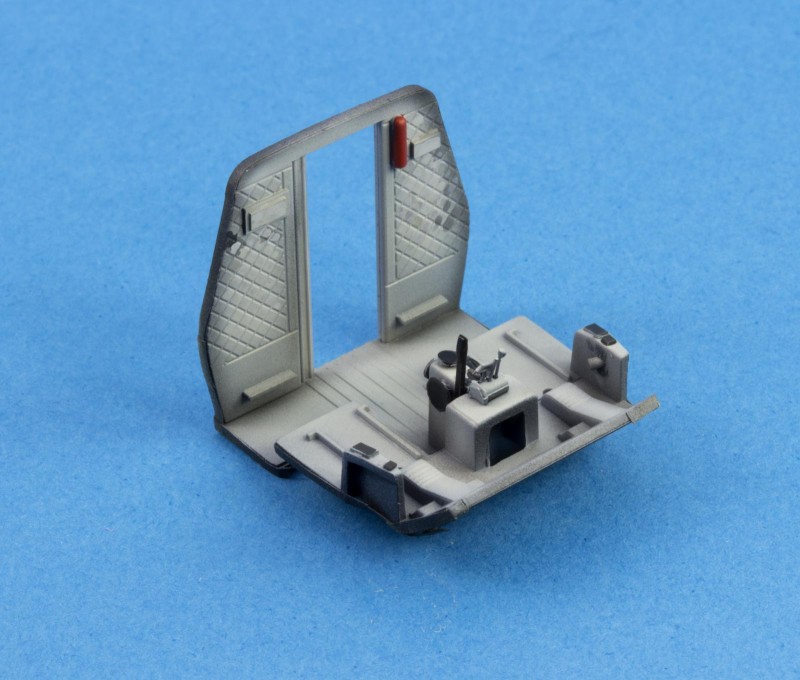
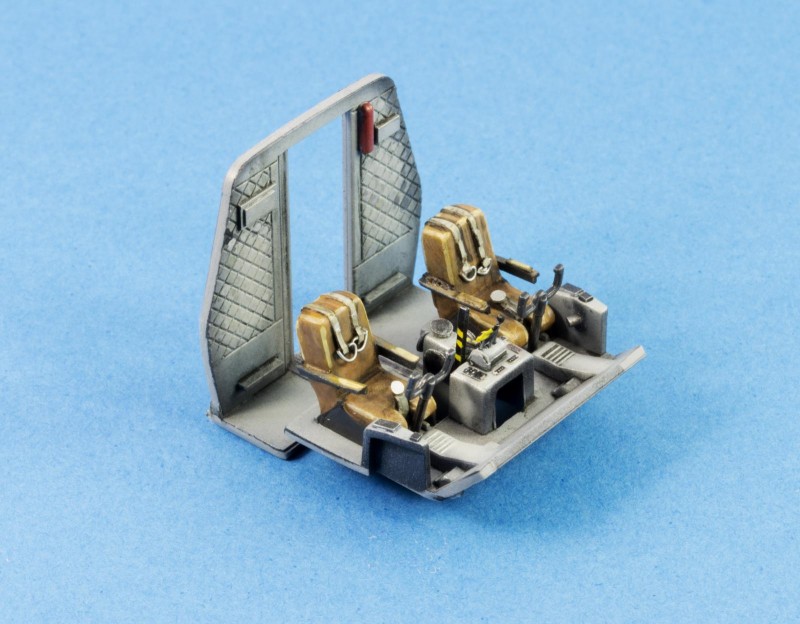
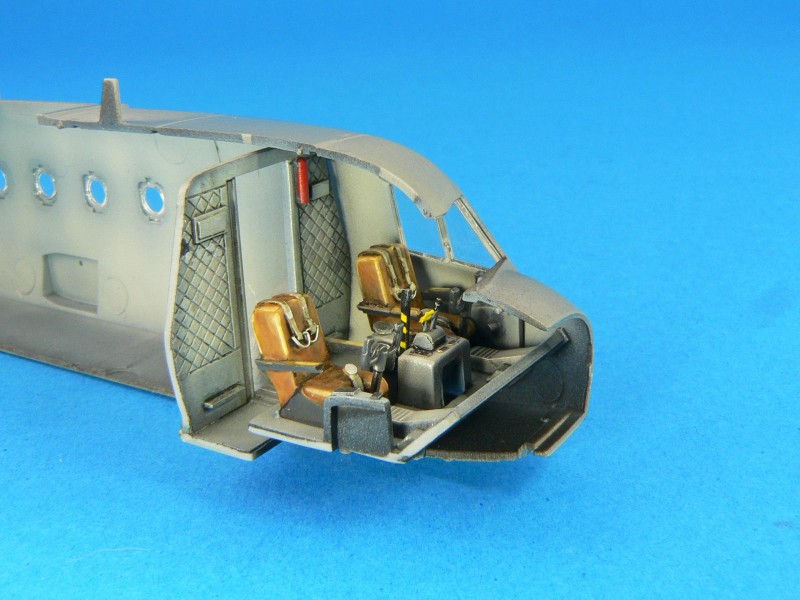
The interior was painted Mr. Hobby Colour H-51 Light Gull Grey over black primer. Note the shadows kept on the corners and recesses. The detail painting was performed with Vallejo Model Colour acrylics. A combination of enamel filters and washes enhanced the chromatic interest of this area. Note the harsh light spots on the pilot seats with the purpose of been seen once the fuselage is closed.
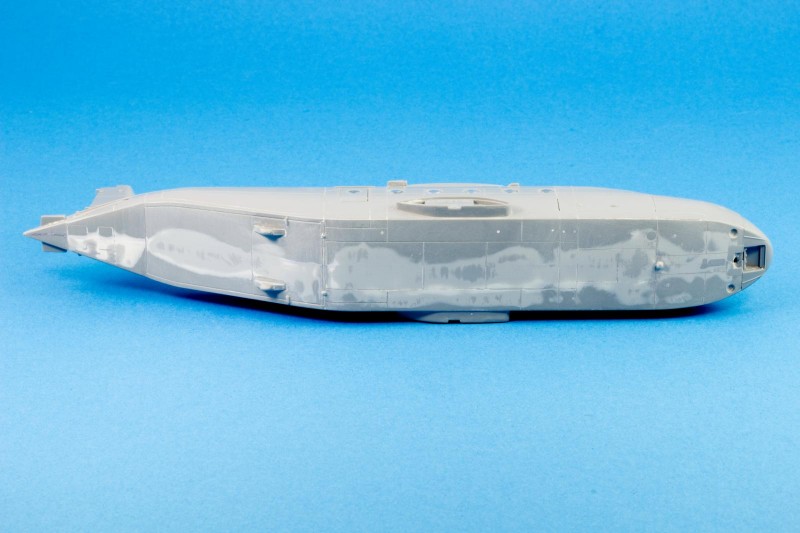
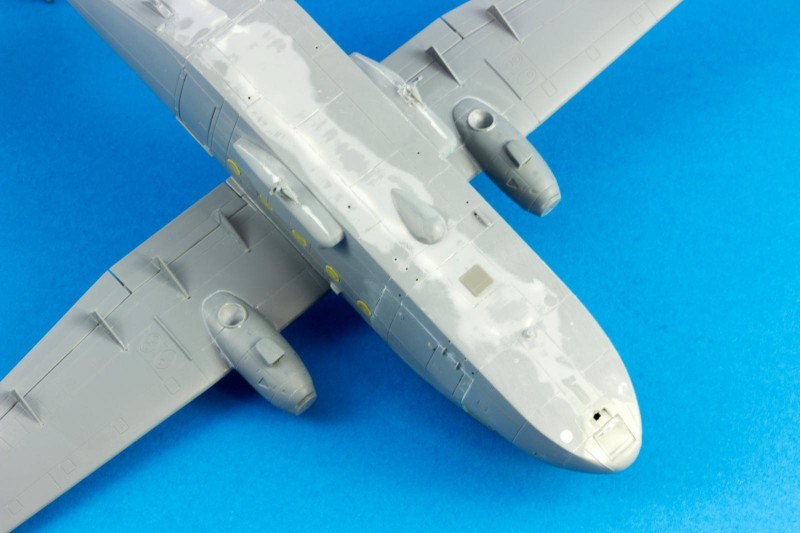
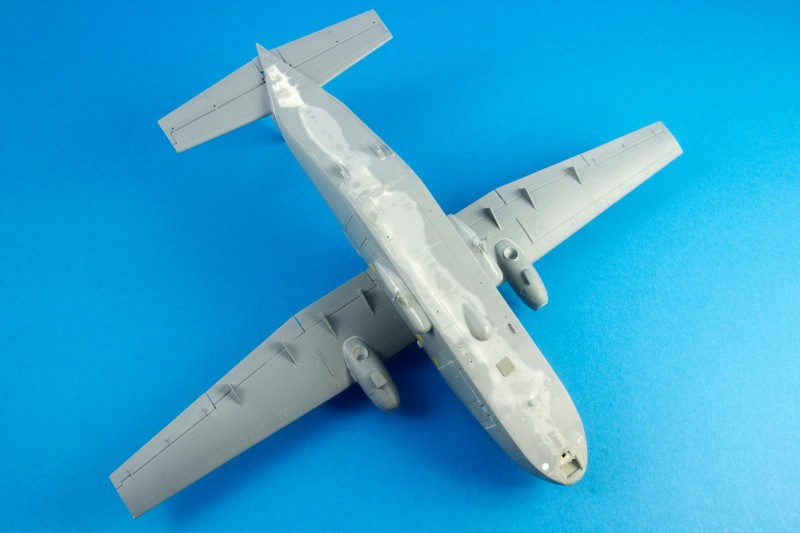
Due to clumsiness from this modeller, the fuselage union resulted on a step on the fuselage underside. This was corrected with both Vallejo Plastic Filler and Mr. Surfacer 500. The addition of several tabs to one fuselage half could have prevented this work.
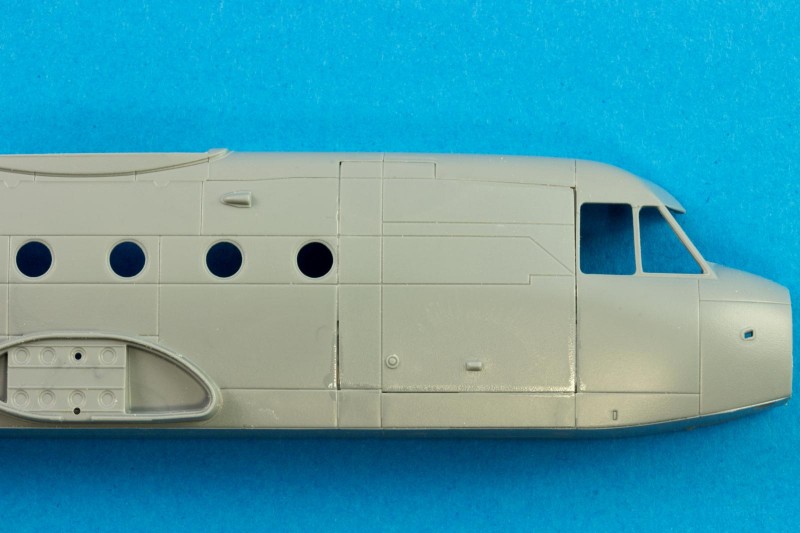
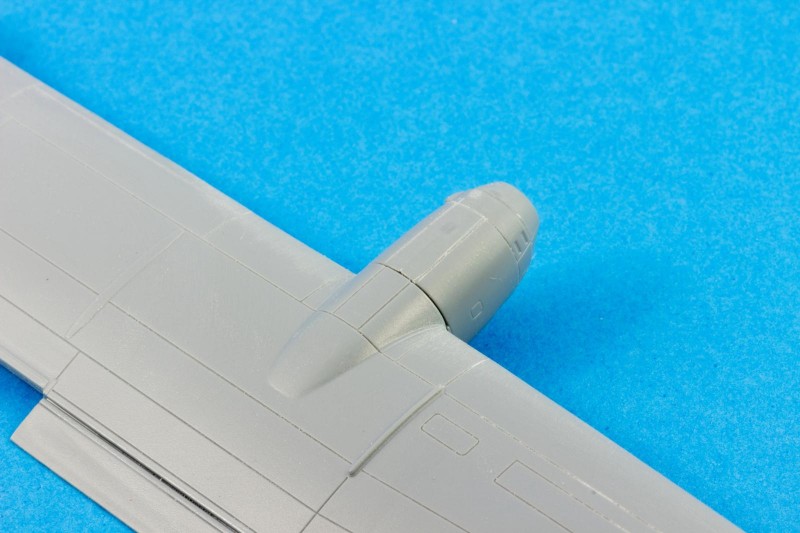
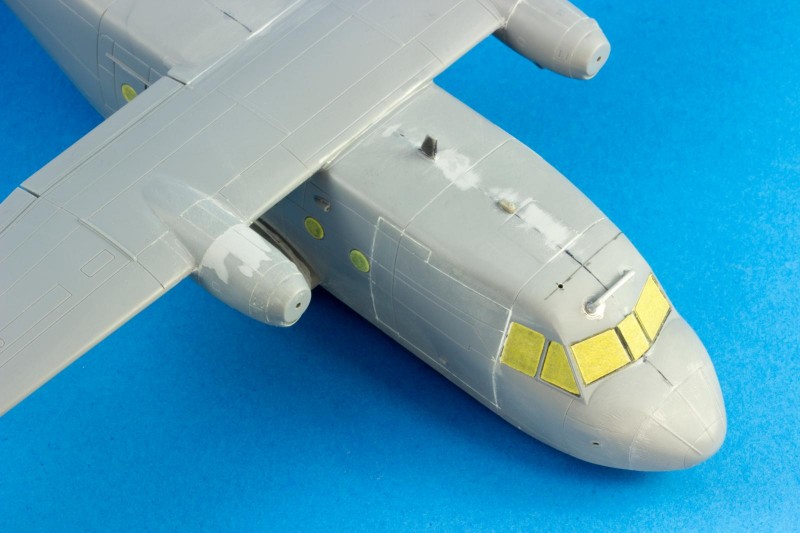
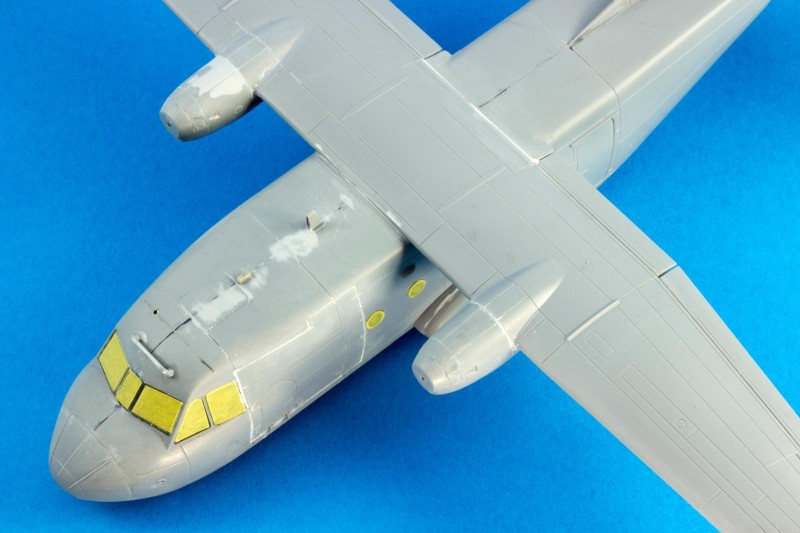
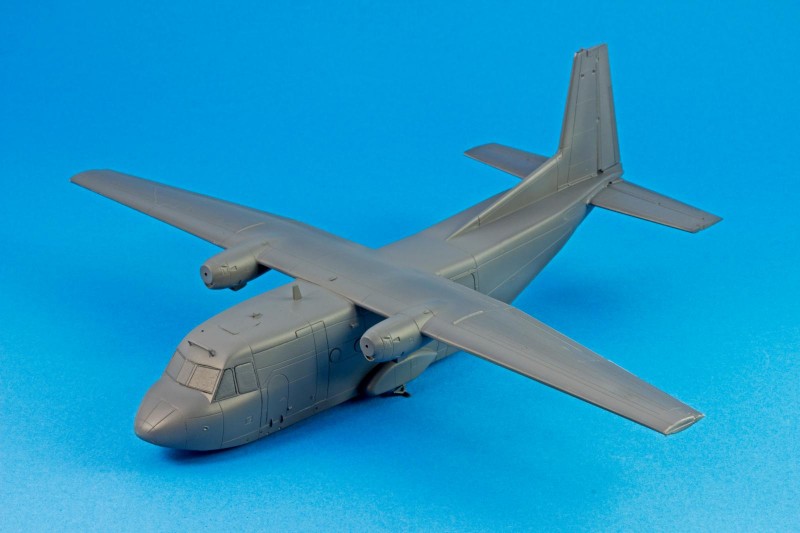
The engine nacelles presented a very positive fit, but needed some seam work. Of note are the delicate panel lines present on the wing surfaces.
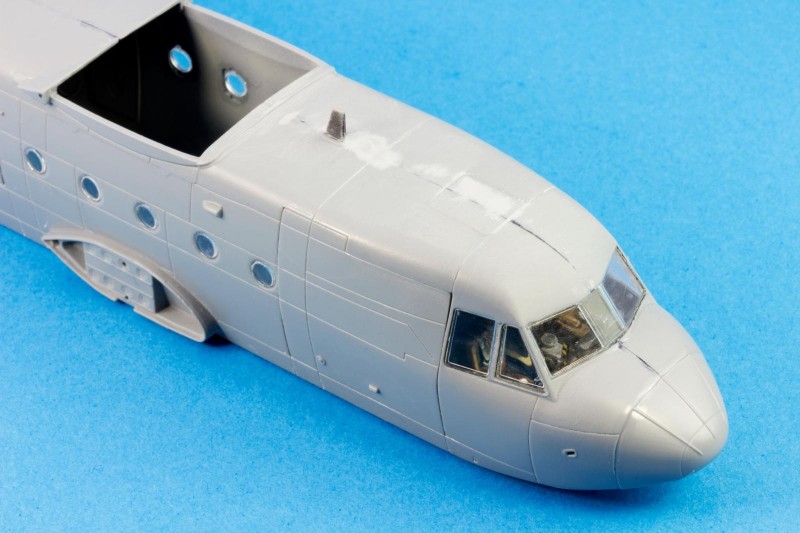
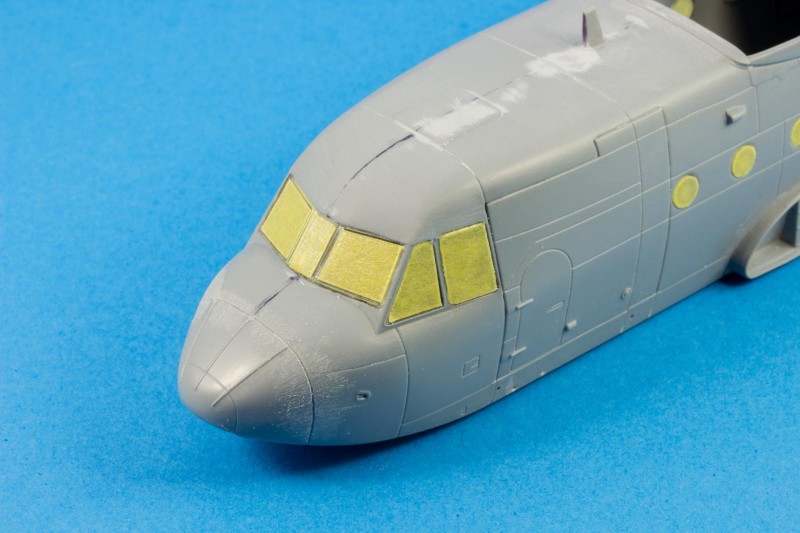
The windscreen was secured with PVA glue and masked up with Tamiya tape, burnished and cut with a fresh nº11 scalpel blade. Note the light file work needed to blend the nose cone onto the fuselage.
Special hobby provided measurements as a guide to install several avionics and antennae. The fuselage halves and engine nacelles were filled and sanded to a flush finish.
The wheel sponsons also required some tidying up. Note the absence of filler on the wing to fuselage seam. Before the primer layer, all the specific aerials were prepared and glued in place.
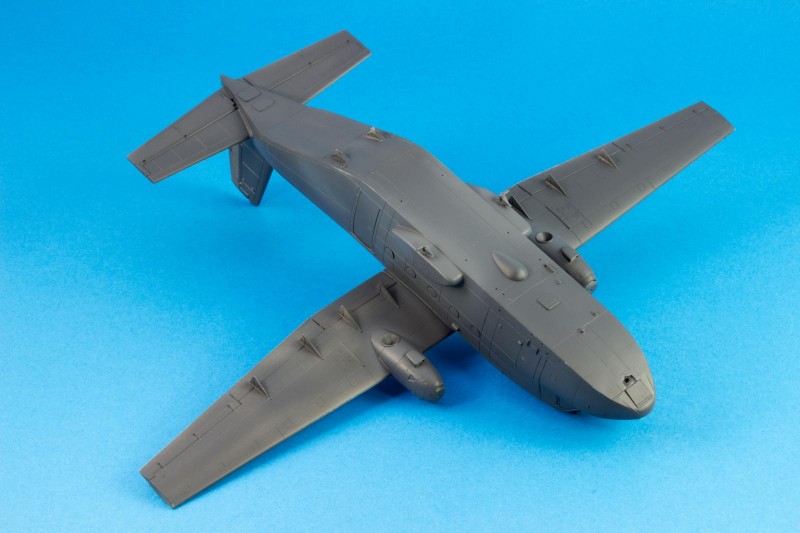
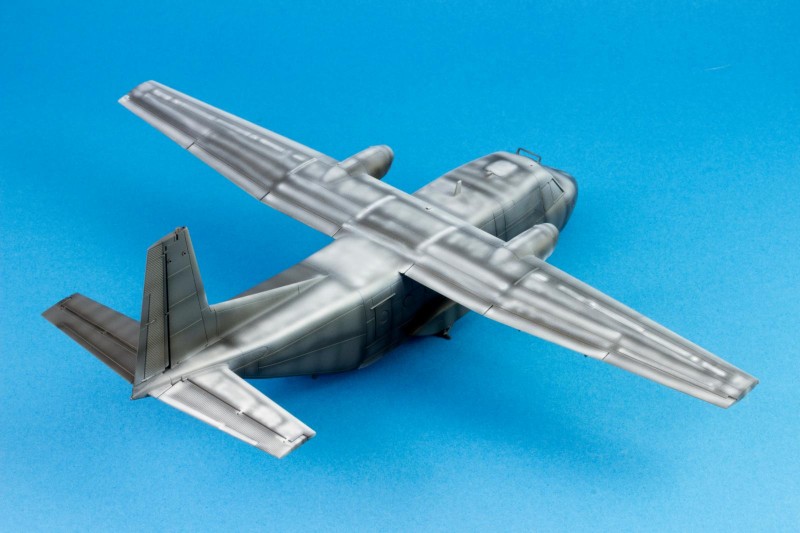
A dark grey primer, mixed from both Vallejo`s 74600 and 74602 White and black polyurethane primers was sprayed over the entire fuselage. This is most important to uniformize the surfaces and provide a good key for the subsequent paint layers.
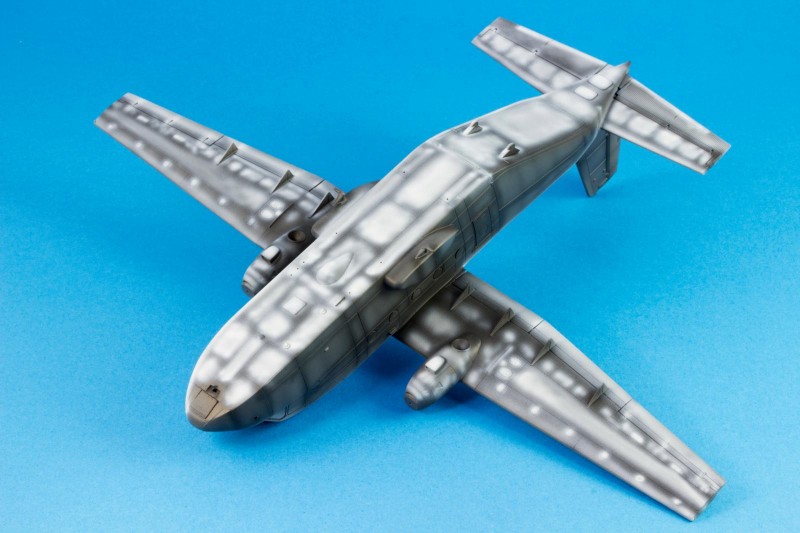
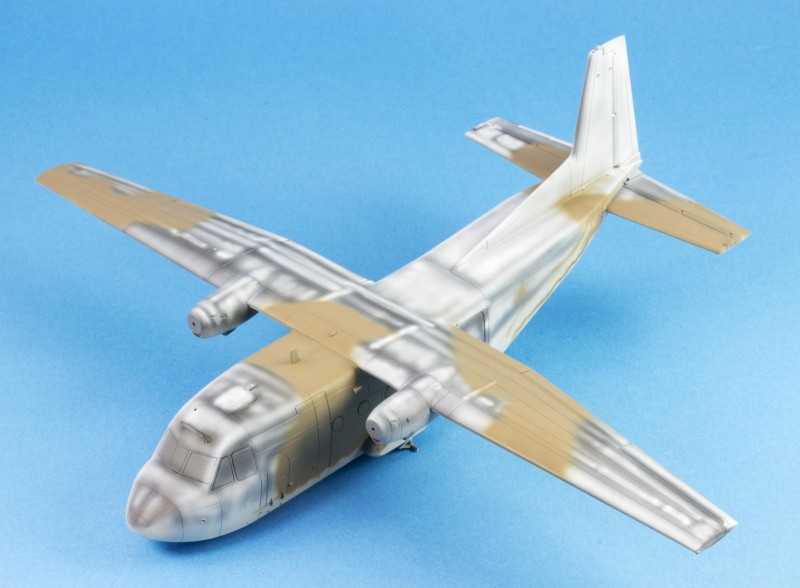
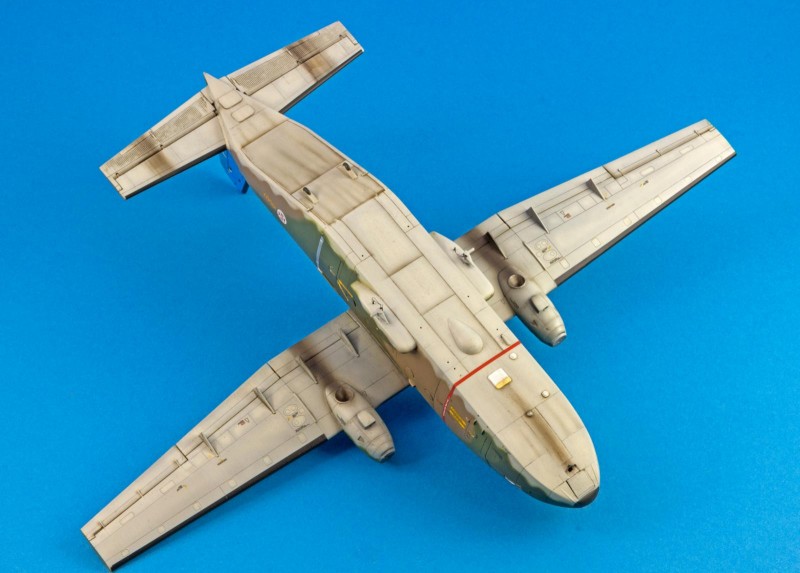
The weathering started at the base. Black and white paint were used to create a strong contrast between different panels and their respective panel lines.
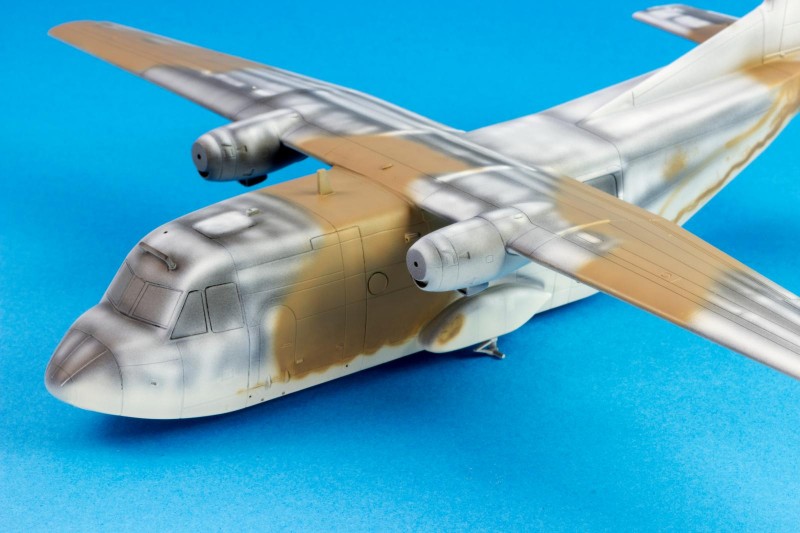
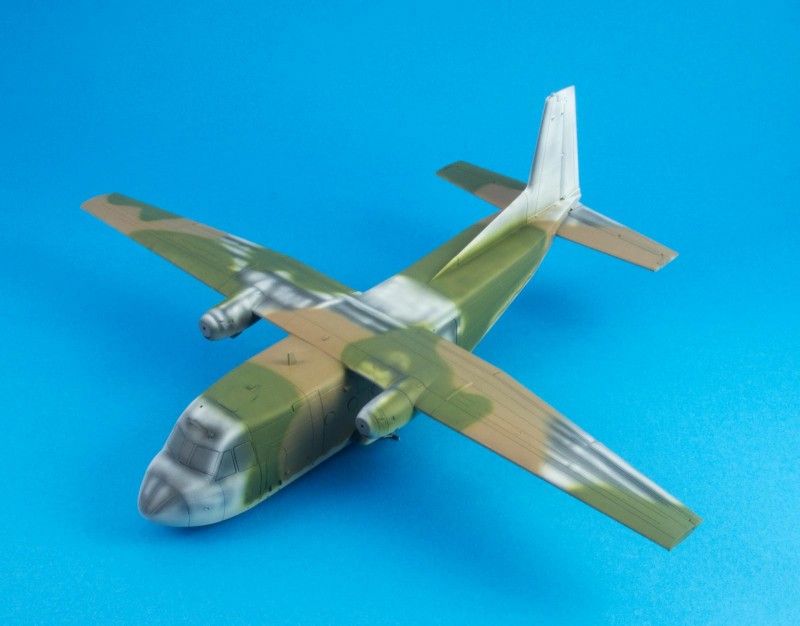
Vallejo Model Air 71125 USAF Brown (FS30219) was the first colour to be applied on the upper surfaces. This modeller chose to go from light to dark shades.
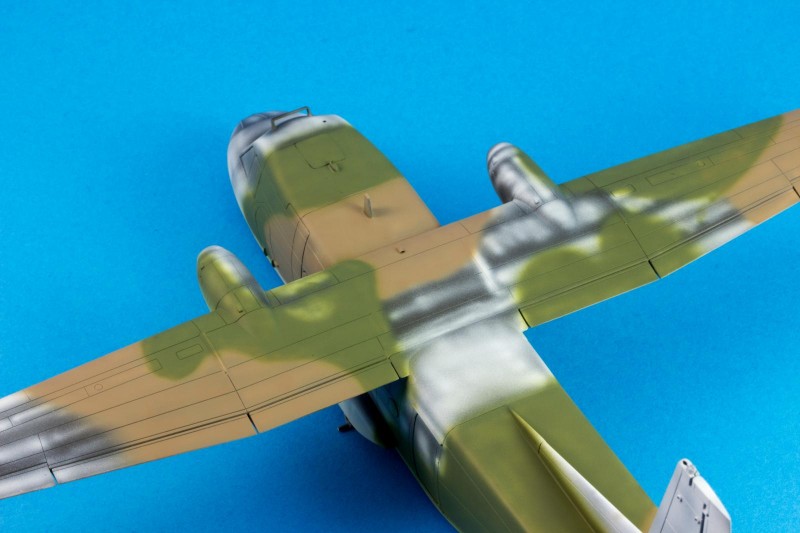
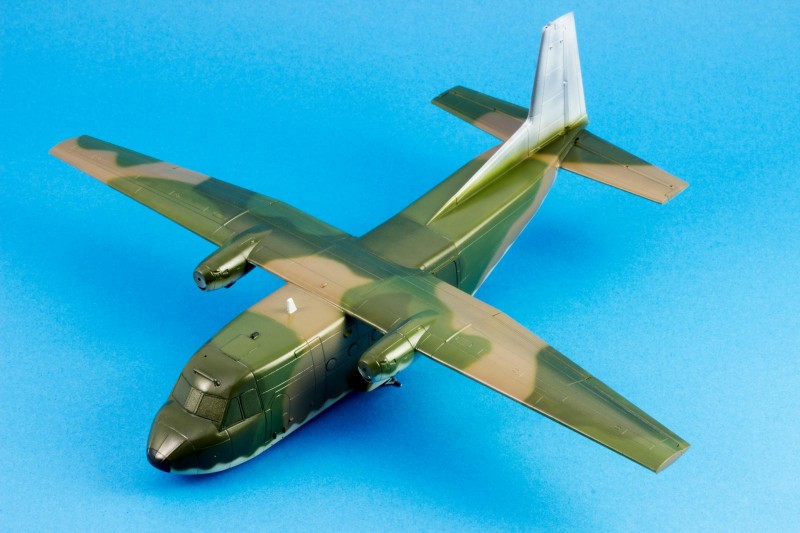
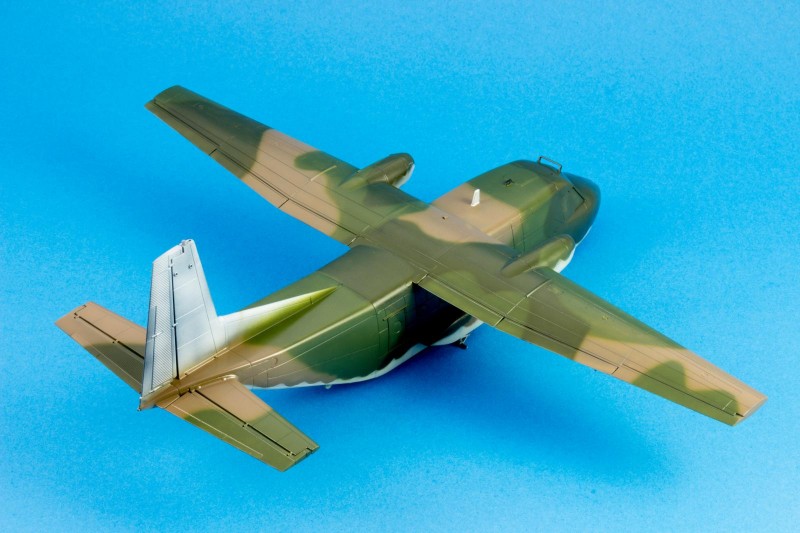
Mission Models Paint MMP-066 US Medium Green (FS 34102) was then sprayed freehand. The strategy was to delimitate the area and then fill the inside.
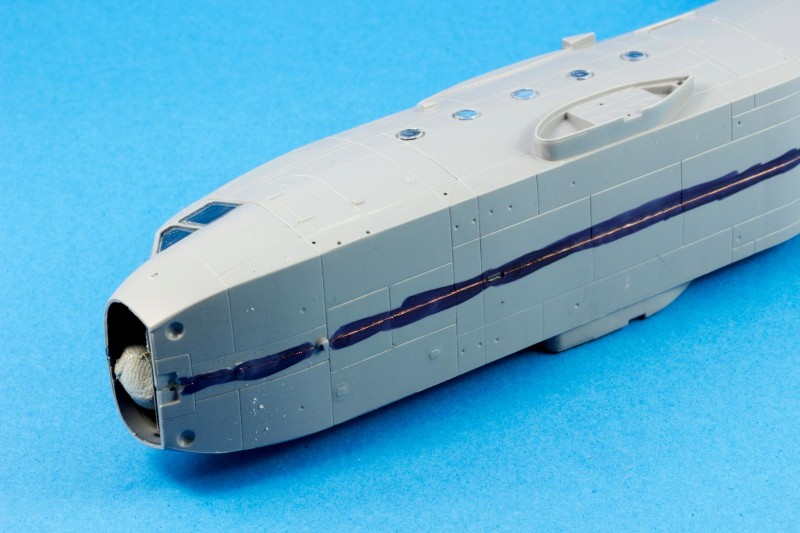
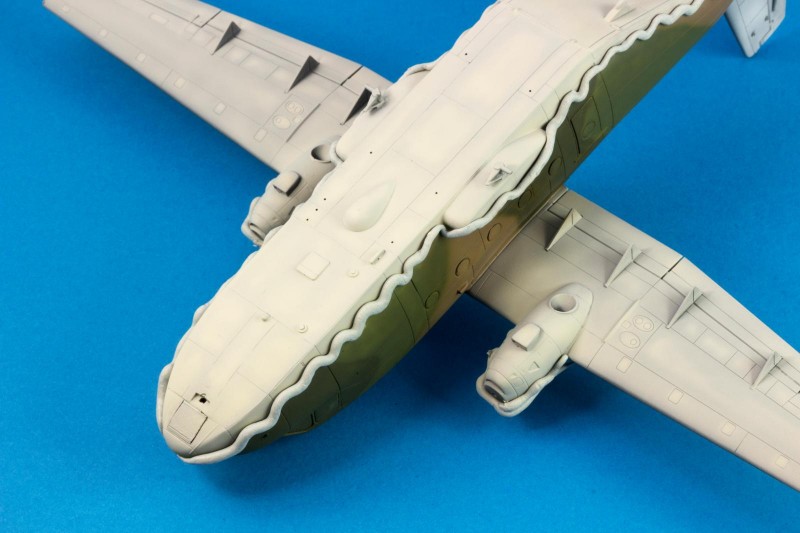
The demarcation line between the upper and lower fuselage was masked with blu-tack worms. Then, very thin layers of MMP-095 US Camouflage Grey (FS 36622) were sprayed at low pressure, in order to even out the transition between colours.
The model was gloss coated with MMA-006 Gloss Clear Coat in order to avoid the dreaded silvering effect on the decals which performed flawlessly with the application of the Micro Set and Sol solutions. Note how the decal conformed to the surface detail.
The panel lines received a pin wash of MIG 1602 PLW Deep Grey. When dry, the excess was wiped with an enamel thinner damp cotton bud. On the darker colours of the fuselage, the choice fell on MIG 1618 PLW Deep Brown.
The underside also received a enamel filter, via A.Mig-1509 Blue for Dark Grey Filter, which added some tonal richness and interest.
The window seals were painted with Vallejo Model colour White. The excess was scraped out with a damp toothpick, and before the mask removal, a fresh nº11 scalpel was run along the edge of the mask, which provided a clean edge.
Before the final assembly run, the model shine was reduced with Mission Model`s MMA-004 Flat Clear Coat.
Tamiya`s XF-1 Flat Black and XF-64 Red Brown were mixed up and thinly sprayed on the undersides. This created a grimy streaked look present on reference photos.
Finished model
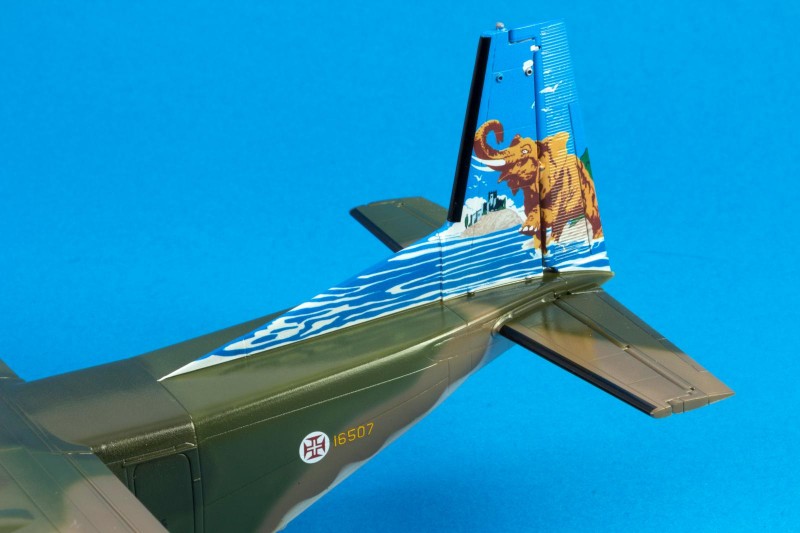
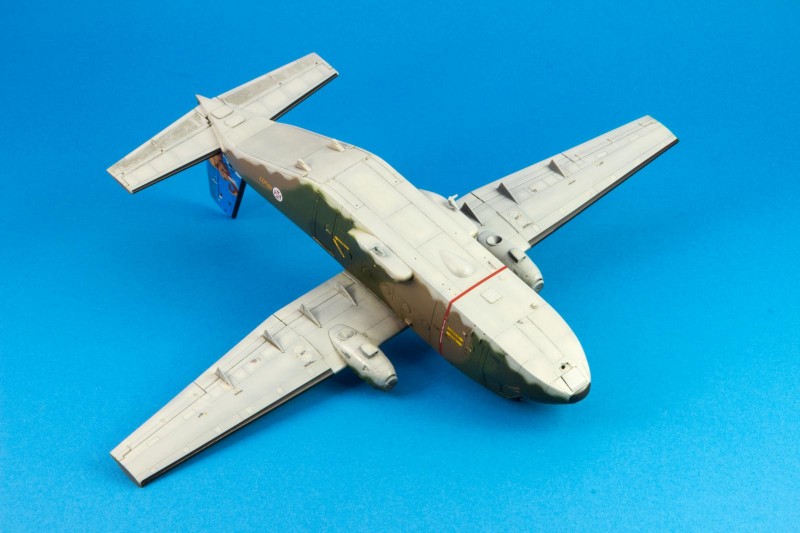
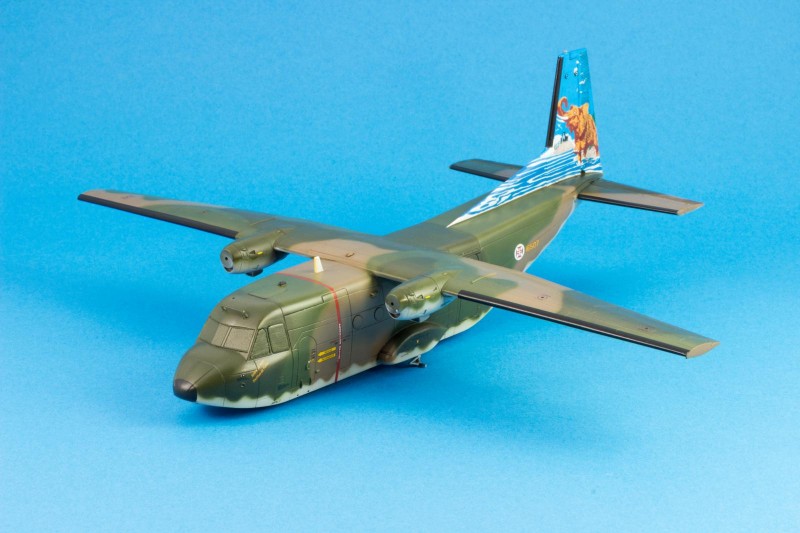
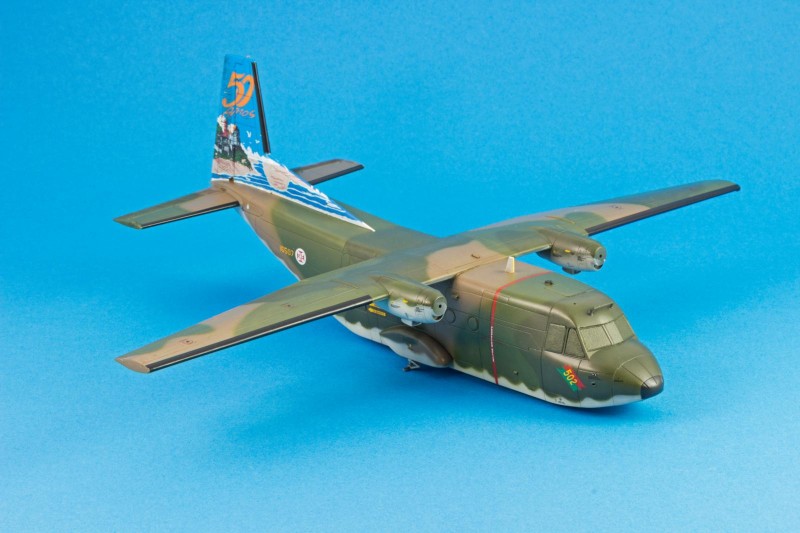
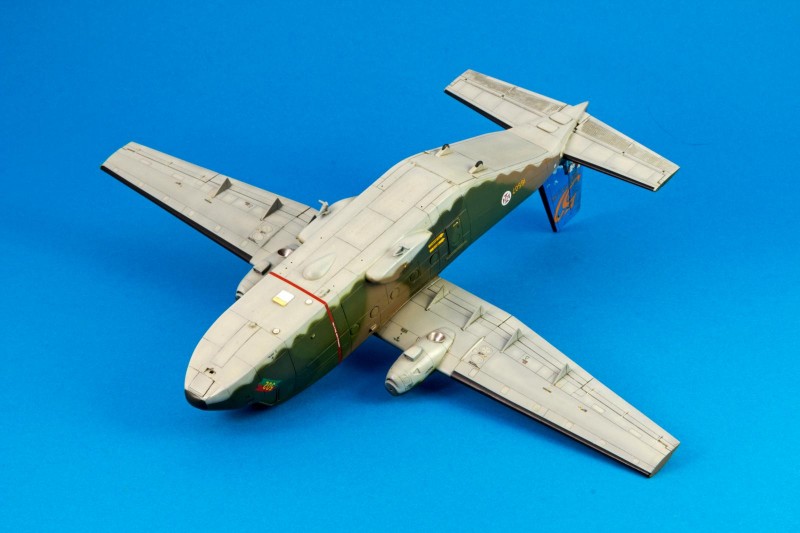
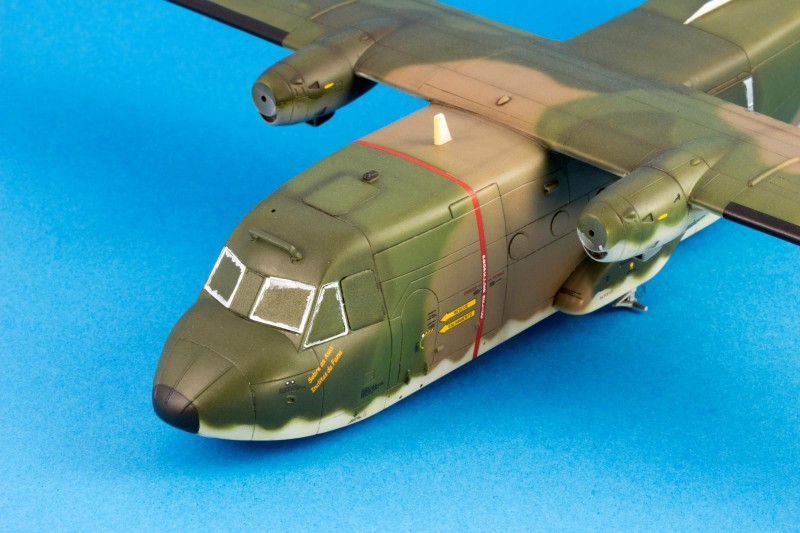
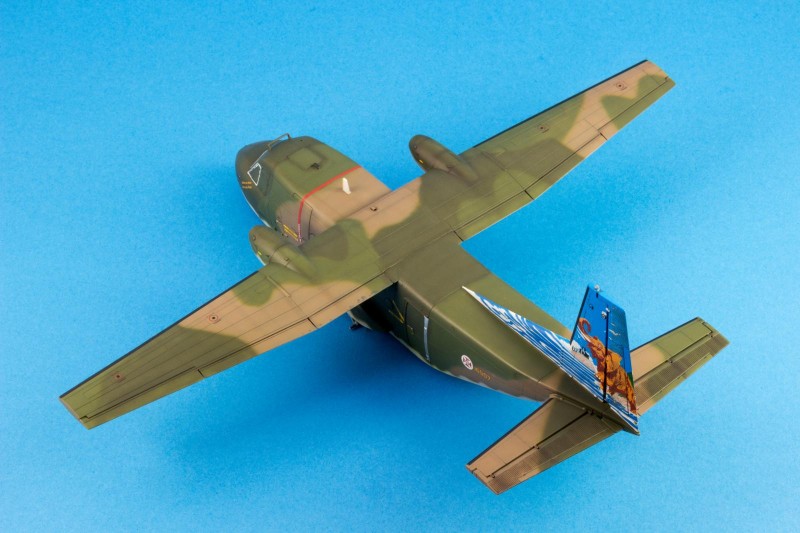
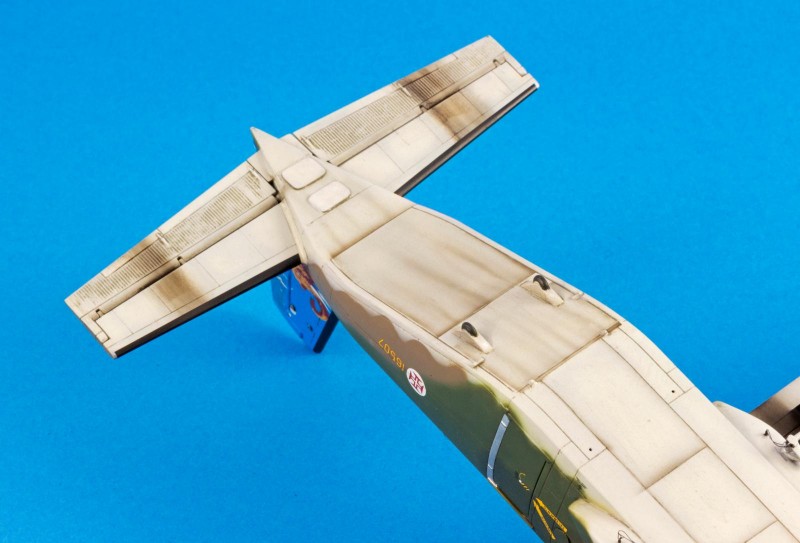
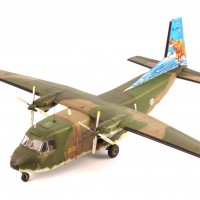
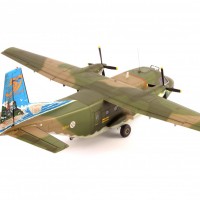
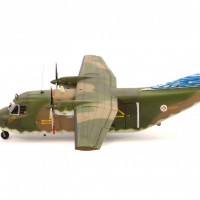
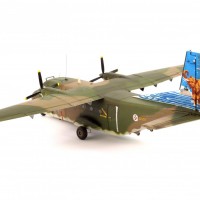
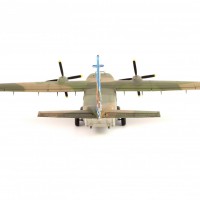
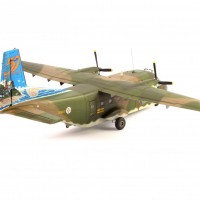
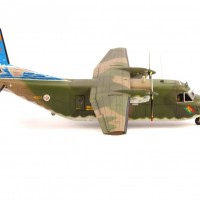
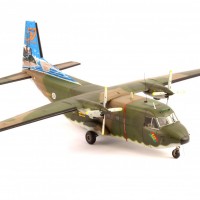
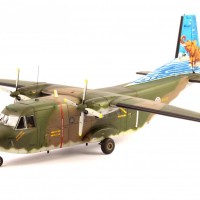
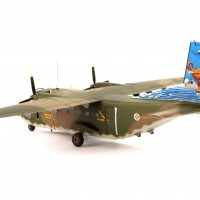
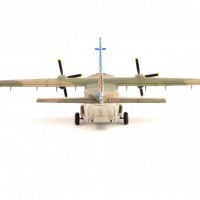
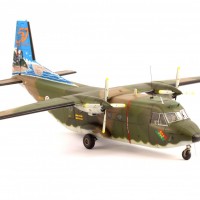
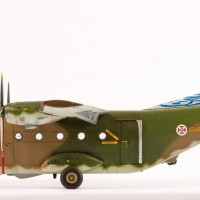
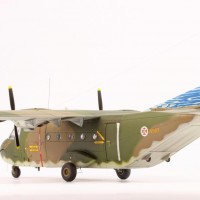
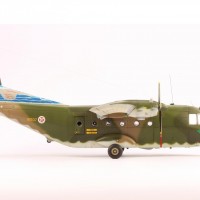
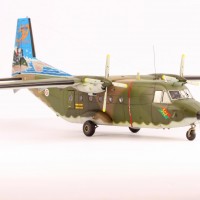
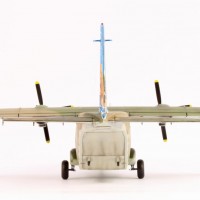
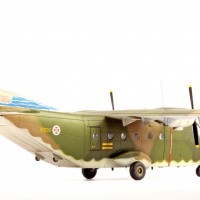
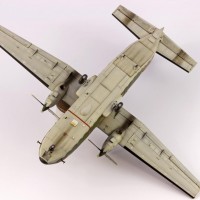

What a joy is seeing such step by step build of the Aviocar. It’s a small but very precise model this one, and you got the best from it my friend! I’ll build the other version if the decal sheet. I had started building it sometime ago for a GB but got shelved away.
Que bom voltar a ver um dos teus trabalhos José! Um grande abraço e espero que esteja tudo bem por aí. Estou de quarentona o que me forçou a adiar uma ida aí à Terceira que estava agenda para esta semana precisamente. Abraço!
Thanks a lot for the reply Pedro!
The kit is very good. That amount of putty on the fuselage underside was my fault. I should have glued some plastic tabs inside the fuselage to prevent it. Looking forward to see your build!
Obrigado. Também estou em casa, mas de quarentena preventiva. Entro daqui a 10 dias em turnos de 12 horas.
Fica bem, para podermos partilhar uma cervejinha na tua próxima vinda aqui à ilha!
Abraço!
Great modeling. Very good airbrush work.
Hi John!
Thanks for the feedback!
Nice build, good looking aircraft.
Hello Robert!
Thanks for the comment!
This a beautiful build, Jose. Your step by step presentation was very helpful. For example, I was lately wondering how to implement the worm blue tack technique and I saw it pictured here! A great model and a great article.
All the best!
Hello Spiros!
Thanks for the comment!
When using the blu-tack worms, it is essencial to have them aproximatelly the same calibre, and maintain a constant angle with the airbrush. It is quite easy!
Cheers!
José Pedro
Thank you Hose! I will try it in my next Hellenc Air Force C-130 with SEA camo.
All the best my friend!
Looking forward to see it!
Cheers!
Great concept and build, I like the tail-art!
Hello Michel!
Thanks for the feedback!
The step-by-step painting photos are very helpful! Nice job.
Hello Robert!
Thanks for your feedback and comment on the photos. I´m glad if i can be of some help!
Cheers!
José Pires
What's not to love about this super build, finish and markings. All good, including the tutorial.
Special.
Hello Bob!
Thanks a lot for your feedback!
José Pires
A great build, beautiful model, and very readable/helpful post! Well done.
Hi Greg!
Thanks for the feedback! I hope the article triggers someone to build this kit!
Hi José!
What a pleasure seeing one of ours Aviocar around where. You did an amazing job with this one, congratulations!
É sempre bom ter umas cores nacionais para desanuviar. Em breve também conto contribuir com mais umas
Hello Manuel!
Thanks a lot for the feedback!
Apenas tenho dois em cores nacionais... mas tenciono aumentar a contagem.
Tenho por ali um T-6 da Ocidental que gostava de decorar com a pintura comemorativa dos 50 anos. Vamos a ver!
Abraço!
Terrific looking build and article. I love the graphic art many countries are putting on their airplanes. Well Done!
Hi George!
Thanks for the comment!
I am also a huge fan of the graphic art appearing around the air forces of the world!
In fact, some of my planned builds will focus in that. (F-15, F-4, T-6, Tornado, F-104 and P-3 Orion!