So far, sort’a kinda’ ok
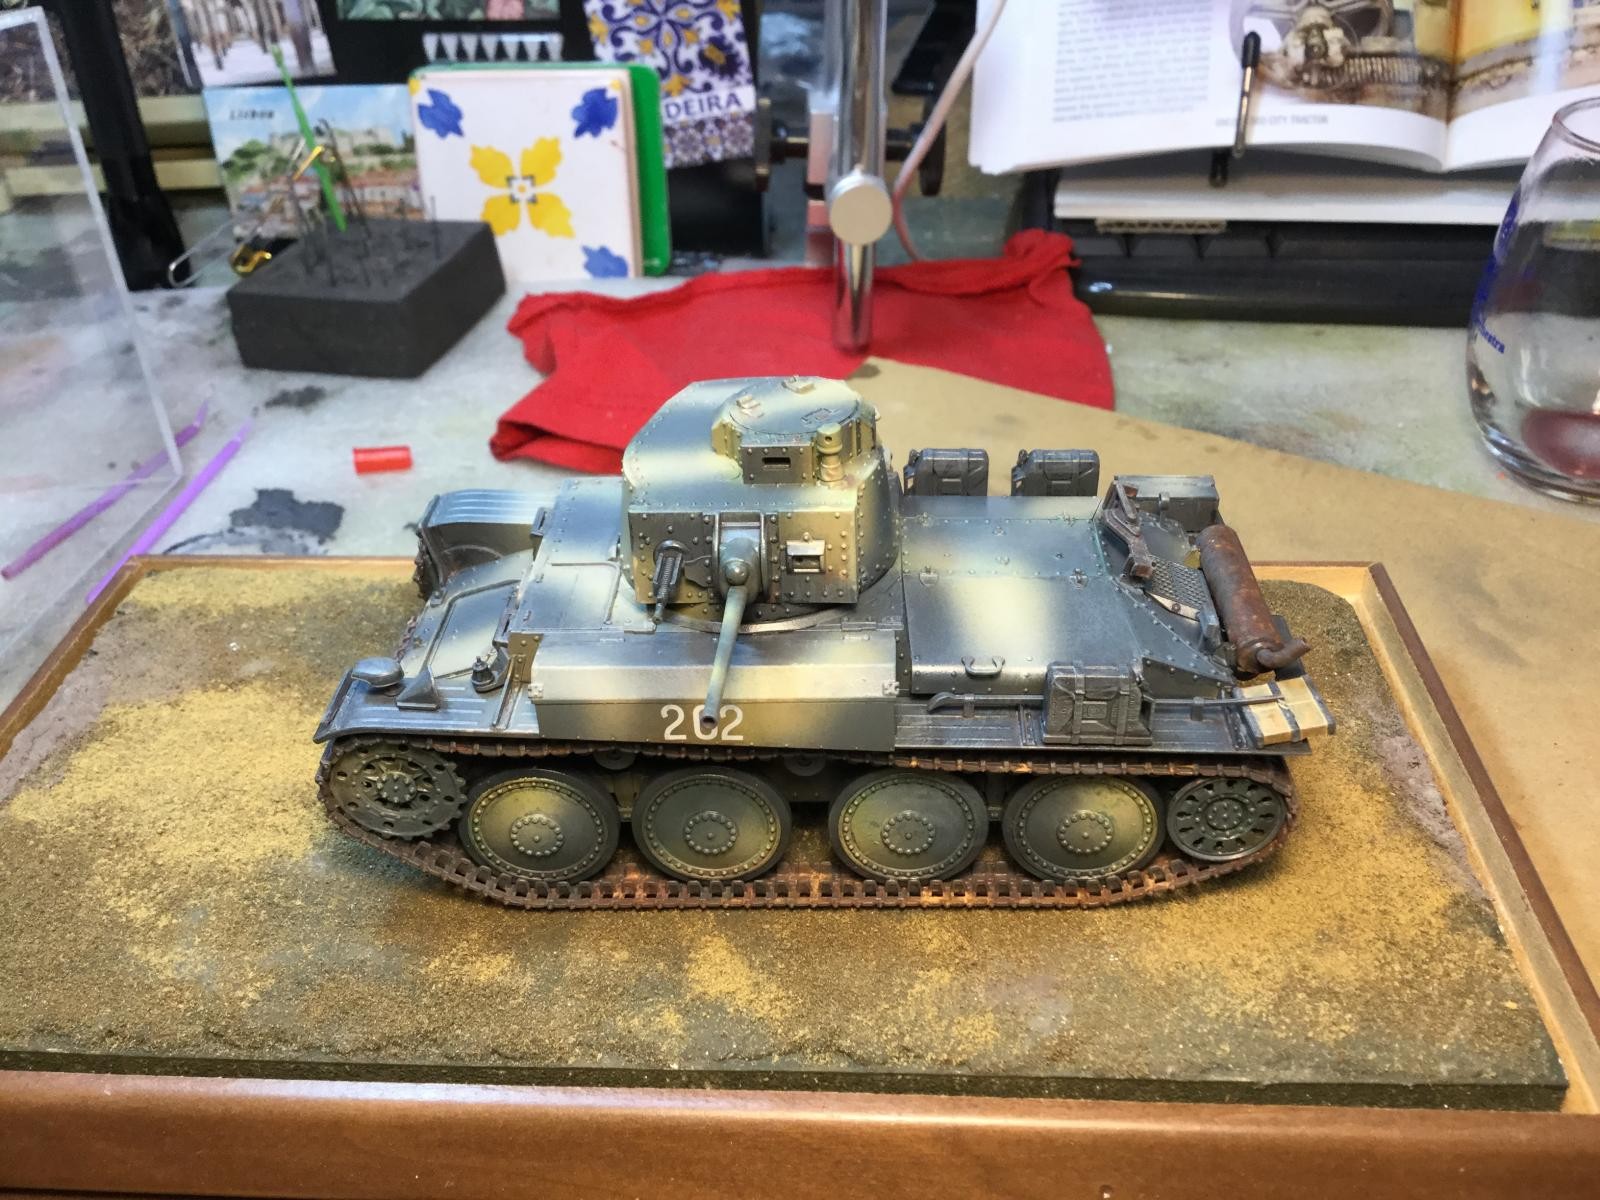
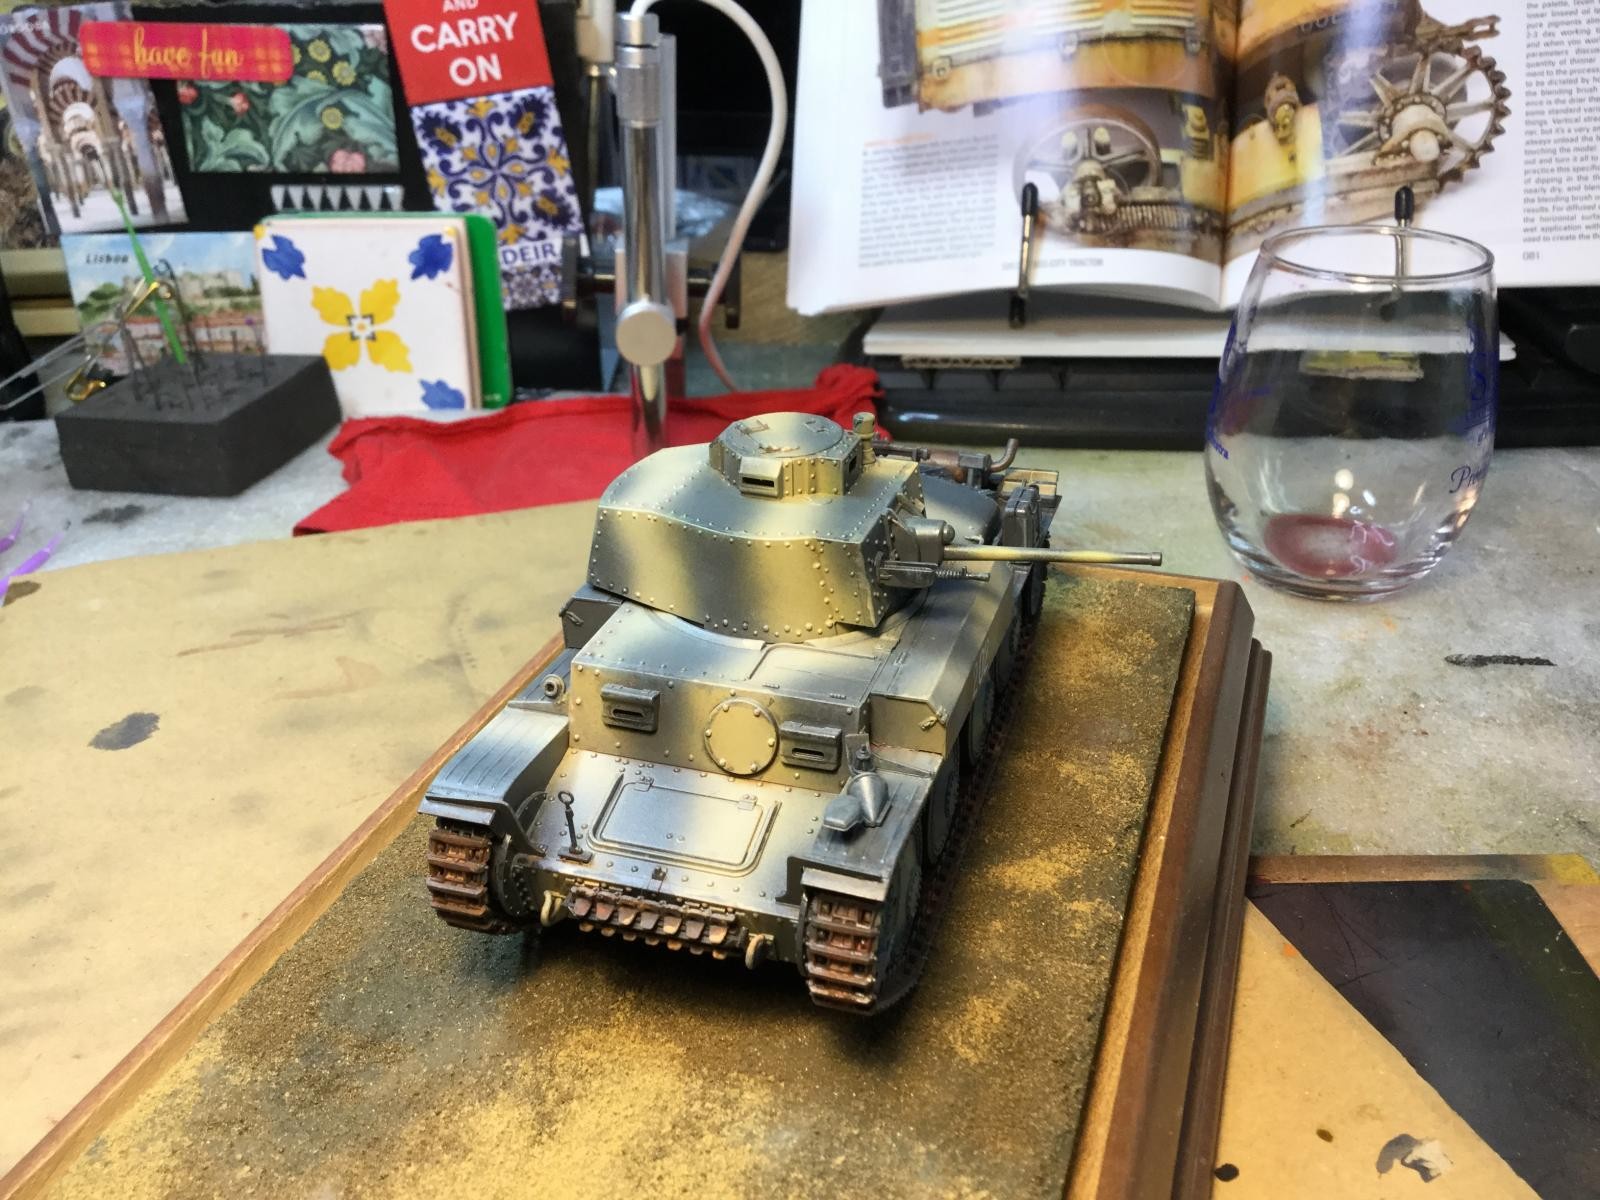
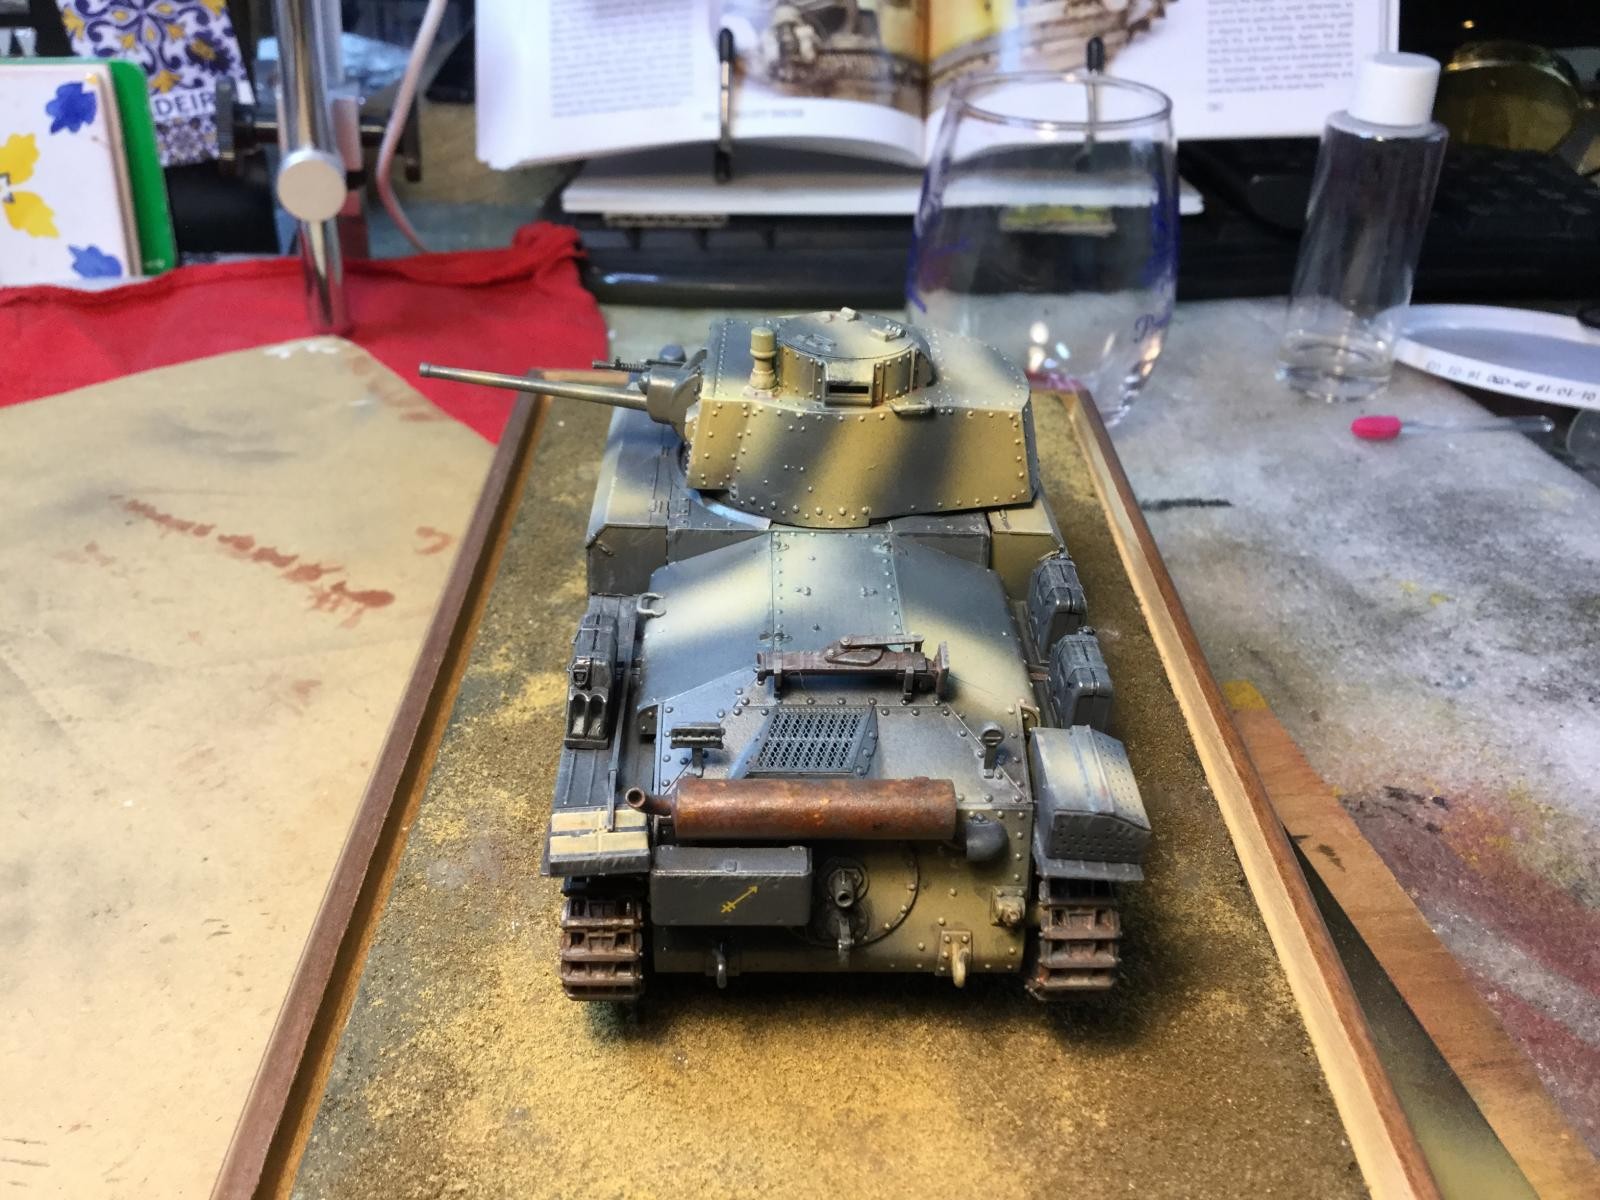
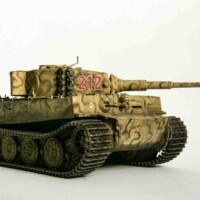
Ok,…it's time-out. Here's my work in progress; a Tamiya 1/35th 38(t) E/F. I decided to stop at this point, with very light dry brushing and pinwash. As an aside, this is a great kit, easy to handle, without lots of fiddly parts, suited for my limited abilities, zero fit problems. Used, so far: Tamiya Extra Thin cement; Deluxe Perfect Plastic Putty; Tamiya paints thinned variously with Tamiya X-20 thinner; Tamiya paint retarder and Winsor&Newton Blending Medium; Liquitex High Gloss Varnish; Testors Lusterless Lacquer Overcoat.
I'm going to follow Michael Rinaldi's playbook and work two projects together, wherein one will be the ‘first' application/experiment with a weathering technique, followed hopefully by a superior application on the second model. Here to fore, I've kept my armor projects very clean. This 38(t) will be the testbed for second kit I'll start tomorrow, (probably either a new Tamiya 1/35 Stuart or the Tamiya 1/48 Pershing). Here's some lessons learned and sometimes relearned:
-
Study the assembly sequence carefully. It seems like a chicken-egg situation as to when the wheels and tracks can be installed without compromising weathering, mud, rust and grease applications. Same with many of the on-board tools and accessories. I continue to wrestle with this and go back and forth...oh well, indecision is the key to flexibility. As an aside, don't cut more pieces off the spru than you really, absolutely, immediately need. How many times did I walk out the door not knowing a part was hitching a ride on my elbow? Double sigh!
-
Have the best weathering references, I'll recommend two: Rinaldi Studio Press SM.02 S-65 City Tractor, (ISBN 978-0-9883363-5-3, 2016); and AFV Publications “Adam's Armour Modelling Guide,” (ISBN 978-0-9555413-9-1, 2015). These two books treat the subject with depth, clarity, excellent photography, stepwise detail and maturity. Wilder and Rinaldi succeed in their purpose without needing photos of bimbos with big guns to compensate for smaller, lesser publications.
-
Remain mindful of temperature and humidity when airbrushing; warm and dry works best. Use scrap plastic card to test airbrush mixtures first…it takes time, but woe to us who lose so many hours of good, careful construction to a bad airbrush session. How many times?...sigh!
-
If you're in a hurry, do something else.
-
For weathering, I intend to work slowly on small patches of the model's surface. The little bit of weathering I tried with this kit quickly convinced me that there's much more to it; more time, more thought, more planning, more care. There is no fast, easy way...period.
-
Apparently, they weren't kidding when they said “…and let it dry overnight.”
-
The lacquer-toothpick ‘chipping' method isn't!..and not the least reason is that it requires too many layers of paint and lacquer and paint and lacquer and...etc.
Thanks for looking.

it's beautiful...it pops
Very nice work, Bert. Being into aeroplanes, I have only built one tank in the past, struggling here and there into the road of the unknown. Somehow it was finished and though mediocre, gave me a lot of satisfaction. I might try something in the future. Also your article was really good and motivating.
All the best!
Nicely done Jim!
Looks great!
Thanks to you guys for your kind response. I see from the photo that some parts are rightly still ajar, as I hope to learn a lot more from my next go-around. I started on the Tamiya 1/48 Pershing this afternoon...it appears to be a sweetheart of a kit with minimum parts count so I can get to the weathering sooner. I’ll continue to share as I try to learn and apply with these two kits.