PACIFIC PRINCESS – Part Two & Last Part.
This article is part of a series:
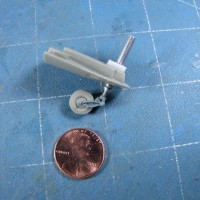
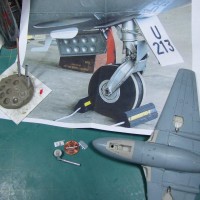
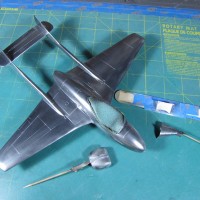
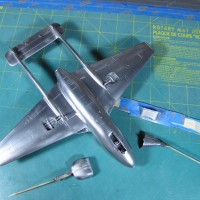
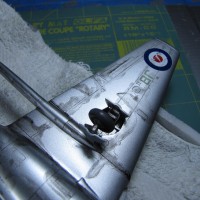
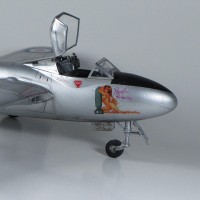
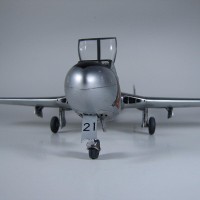
In part one I showed the beginning of making this fine looking model and ended by adding some aluminum tubing to the nose wheel. In Part 2 I'm showing the finished nose wheel along with a print of the real wheel.
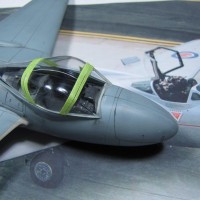
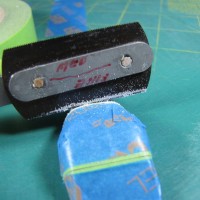
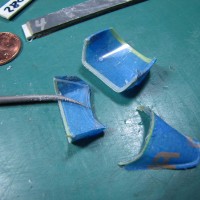
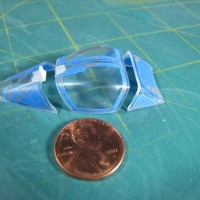
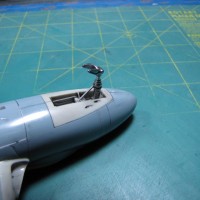
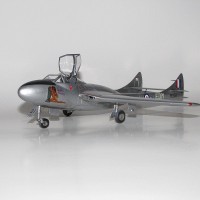
I like my canopies open so I had to cut the one piece unit into 3 parts. I have done this before, so it was no big deal, however I must pay attention to what I'm doing while cutting the windscreen off and cutting loose the aft section of the canopy. With patient's I accomplish this task.
I somehow forgot to take any construction photo's of the cockpit. Shame on me, and I do not have a close-up photo of the finish unit. What else did I do wrong?
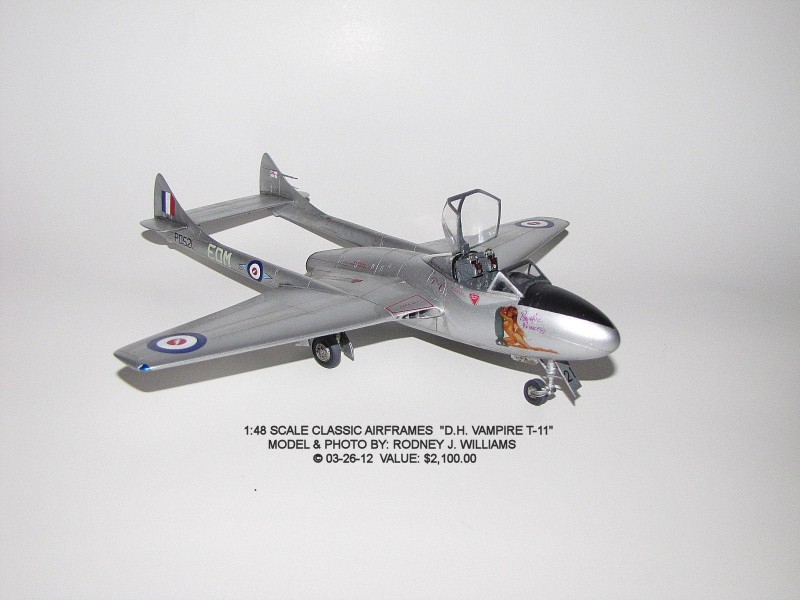
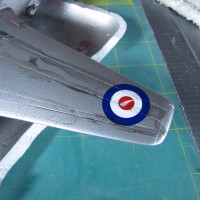
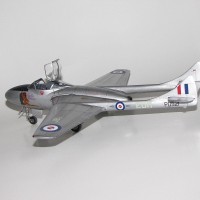
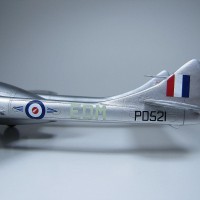
I somehow copied the "Pacific Princess" image, then reduced it down and then printed it on clear decal film. The decal was over-coated with Future and then applied to the model.
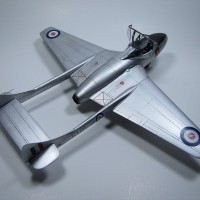
I don't recall what brand of aluminum paint that I sprayed on this model, so I wonder if Tamiya had come out with its' "Titanium Silver" in November, 2011?
Despite all of my lost memory @89 years old, I still remember some thing's about building and painting this model.
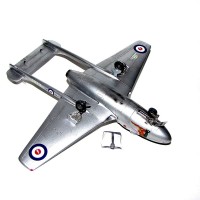
Remember one thing about building a model! It has to be as good on the bottom as it is on the top. As a "local, regional and IPMS/USA National Judge with over 30 year's of experience has taught me many extra tips on how to build my models.
So go "Be a Judge at Your Next Contest," and you will learn how to be a better builder.
Enjoy
Rodney


What a superb job Rodney. As I recall, this kit requires a fair amount of effort to build, and yours looks stunning.
Cheers,
Scott
A masterpiece, Rodney, and a joy to read your article!
Fantastic build, Rodney.
Thanks for sharing your story.
It really shows how great modelling is.
A first class build!
A sharp and clean build Rodney, looks just great.
Hello Rodney,
You did put a lot of effort into this build and article.
Appreciated and the finish looks fantastic.
Worth all the effort.
Regards, Dirk
Thanks to all of you! The reason why I don't answer each reply is: My right arm and hand is next to useless, so I have been using my left arm/hand & index finger. Typing with one finger takes a lot of time, especially with these shaky hands from acquiring "Parkinson's" disease several years ago. We have had "spell-check" on our Apple p.c. since we bought the first one 11 years ago, so when I click on "SEND'" it come up and fixes all my mis-spelled words from this hand of mine.
And now you know the rest of the story.
I've posted 130 stories already and have another 100 or so to go. Guess...I'll keep at it. I wish more of you modeler's would post "in progress building" photos like I do.
I am just curious, are you selling this model, if you why for 2100 dollars? Is something really special about this model? Btw look great!
Hi Adam:
You look real young!... I'm 89 and counting!
The "value" price that is written on one of the digital images is for my insurance company.
In1984 I started build models for clients who offered prices from $400.00 and up to $10,000.00. When I quit modeling in 2016, I had built about 25 models for clients and I made over $120,000.00 American Dollars. On some models I spent over 1,500 hours.
***So what would you charge for that amount of labor?*
Go over to http://www.largescaleplanes.com and hunt for my 81 model-building stories.
Or email me at "foxx700777@gmail.com.
See you soon!